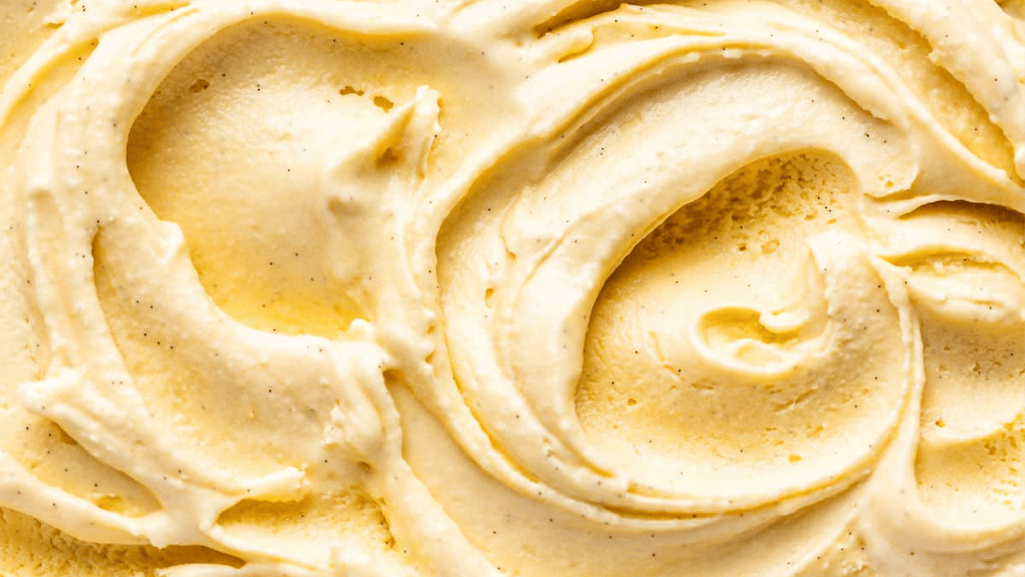
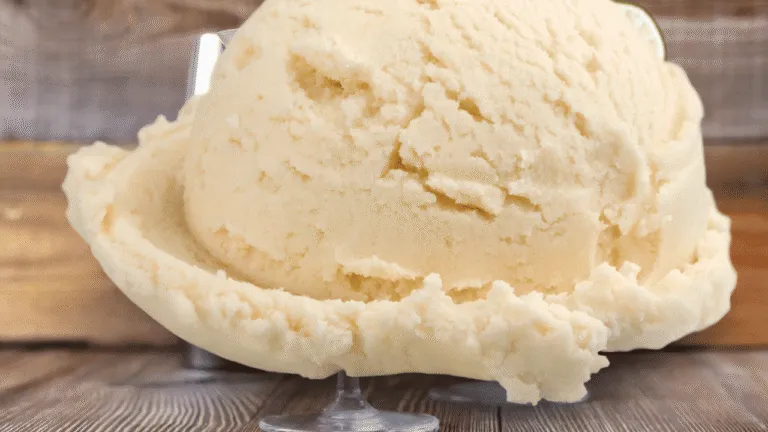
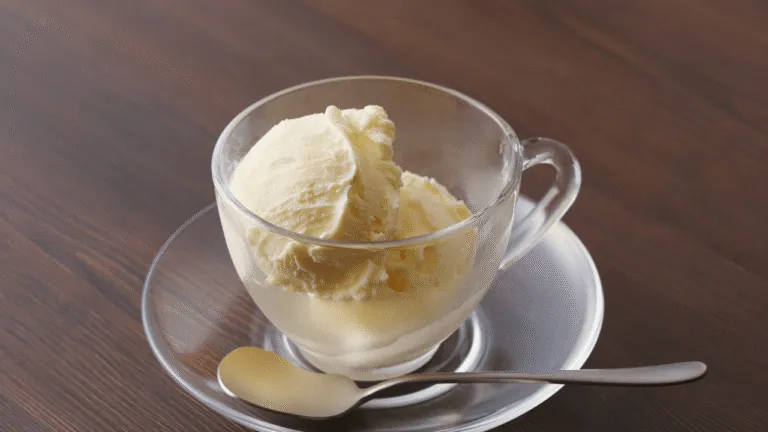
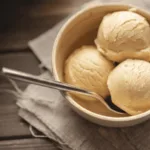
Homemade ice cream is unbeatable, thanks to the love and care put into it. This 6qt ice cream recipe is great for family gatherings or just to treat yourself. It’s creamy, customizable, and a hit in any household.
By making your own ice cream, you can choose the ingredients and flavors. This recipe has heavy cream, whole milk, sugar, and vanilla extract. It’s a classic vanilla ice cream that you can enjoy as is or add your own twist. This 6qt ice cream recipe is perfect for starting your ice cream journey.
This recipe makes about 10 servings, perfect for sharing. It’s easy to make, with a 15-minute cooking time and a 2-hour chilling period. A 6-quart ice cream maker ensures it’s fluffy and smooth.
It takes 2 hours and 10 minutes to prepare, but it’s worth it. Making this ice cream costs only $5. Once ready, it can be stored for up to 6 weeks, so you can enjoy it for a long time.
Key Takeaways
- This homemade 6qt ice cream recipe yields approximately 10 servings of creamy vanilla ice cream.
- The recipe uses heavy cream, whole milk, sugar, and vanilla extract as the base ingredients.
- Preparation time is 2 hours and 10 minutes, with a cooking time of 15 minutes and a chilling period of at least 2 hours.
- The cost to make this recipe is estimated at $5, making it an affordable homemade treat.
- Homemade ice cream can be stored in an airtight container in the freezer for up to 6 weeks.
Classic Vanilla Ice Cream
4
servings30
minutes40
minutes300
kcal1
hour10
minutesCreamy, homemade vanilla ice cream using common ingredients.
Keep the screen of your device on
Ingredients
1.5 cups 1.5 whole milk
1 tablespoon 1 pure vanilla extract
4 cups 4 heavy cream
2.25 cups 2.25 granulated sugar
1 pinch 1 salt
Directions
- In a large mixing bowl, whisk together the whole milk, sugar, and salt until the sugar is completely dissolved.
- Add the heavy cream and vanilla extract to the milk mixture and whisk until well combined and smooth.
- Cover the mixture with plastic wrap and chill in the refrigerator for at least two hours or until thoroughly cold.
- Once chilled, pour the mixture into an ice cream maker and churn according to the manufacturer's instructions, typically for about 20-25 minutes.
- Transfer the churned ice cream to an airtight container and freeze for at least four hours or until it is firm and scoopable.
- To serve, remove the ice cream from the freezer about 5 minutes before scooping to allow it to soften slightly.
Recipe Video
Nutrition Facts
- Serving Size: 1g
- Total number of serves: 12
- Calories: 200kcal
- Fat: 12g
- Saturated Fat: 8g
- Trans Fat: 0.5g
- Polyunsaturated Fat: 0.5g
- Monounsaturated Fat: 3g
- Cholesterol: 40mg
- Sodium: 30mg
- Potassium: 90mg
- Carbohydrates: 20g
- Fiber: 0g
- Sugar: 20g
- Protein: 2g
- Vitamin A: 400IU
- Vitamin C: 0mg
- Calcium: 70mg
- Iron: 0mg
- Vitamin D: 1mg
- Vitamin E: 0.5mg
- Vitamin K: 1mg
- Thiamin: 0.02mg
- Riboflavin: 0.1mg
- Niacin: 0.1mg
- Vitamin B6: 0.02mg
- Vitamin B12: 0.2mg
- Folate: 5mg
- Biotin: 1mg
- Pantothenic Acid: 0.3mg
- Phosphorus: 60mg
- Iodine: 7mg
- Magnesium: 6mg
- Zinc: 0.3mg
- Selenium: 3mg
- Copper: 0.03mg
- Manganese: 0.01mg
- Chromium: 0mg
- Molybdenum: 3mg
- Chloride: 50mg
Did you make this recipe?
Tag @https://www.instagram.com/ice_cream_haven/ on Instagram and hashtag it with #IceCreamIceCreamHavens
Like this recipe?
Follow @https://www.pinterest.com/Ice_Cream_Haven/ on Pinterest
Join our Facebook Group!
Follow https://www.facebook.com/icecreamhavens/ on Facebook
Introduction to Making Ice Cream at Home
Making ice cream at home is a fun and rewarding experience. It lets you create delicious, customized flavors. When you make ice cream at home, you control the ingredients. This means you use fresh, high-quality components.
Homemade ice cream lets you try out different flavors and mix-ins. You can go for classic vanilla or try something new like salted caramel or mint chocolate chip. Making ice cream at home is also a great way to have fun with family and friends.
Benefits of Homemade Ice Cream
- Customizable flavors and ingredients
- Control over the quality of ingredients
- Ability to make healthier versions with less sugar or alternative sweeteners
- Fun and engaging activity for family and friends
- Cost-effective compared to premium store-bought ice cream
Key Ingredients Overview
To make delicious homemade ice cream, you need a few key ingredients. Heavy cream is essential for a rich and creamy texture. Whole milk adds creaminess and balances flavors. Sugar sweetens the ice cream, and vanilla extract enhances the taste.
Some recipes use a custard base with egg yolks for a thicker texture. But this recipe is simpler and quicker, yet just as delicious.
The secret to great homemade ice cream is using high-quality ingredients and finding the perfect balance of flavors.
Essential Equipment for Ice Cream Making
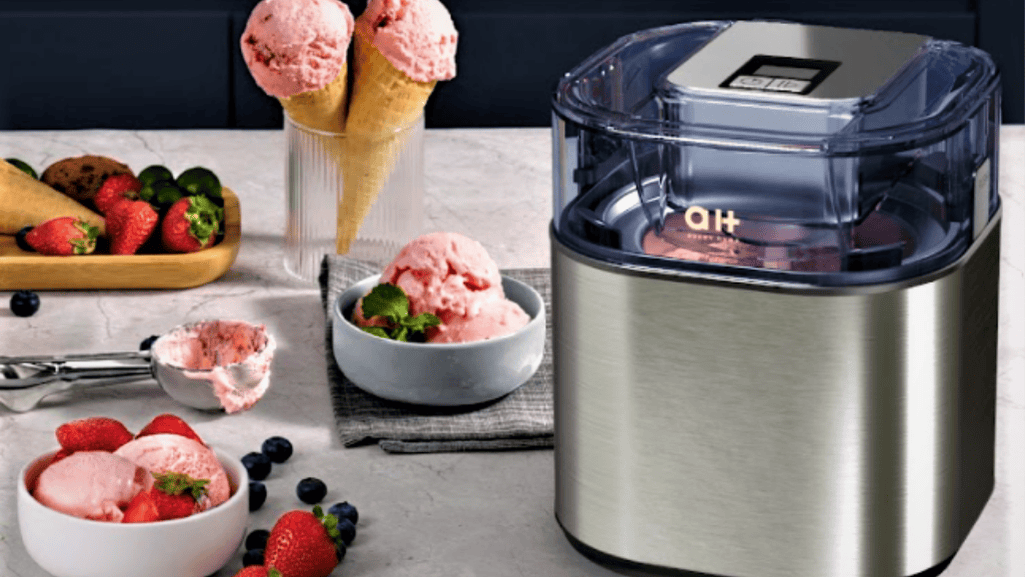
To make delicious homemade ice cream, you need the right tools. The most important one is an ice cream maker. It churns the mix for a smooth texture. Choosing the right ice cream maker can be tough. Let’s look at some popular ones and other tools you’ll need.
Choosing the Right Ice Cream Maker
Think about what you need and like when picking an ice cream maker. The old-fashioned ice cream maker guide helps with this. If you have a KitchenAid stand mixer, the KitchenAid ice cream attachment is great. It attaches to your mixer for easy churning.
The Cuisinart ice cream maker is also popular. The Cuisinart Basic Ice Cream Maker makes 1 1/2 quarts. The Cuisinart Pure Indulgence can make 2 quarts. The Breville Ice Cream Compressor has 12 hardness settings and keeps ice cream frozen for 3 hours.
Other Necessary Tools and Supplies
You’ll also need a few more tools for perfect ice cream:
- A large mixing bowl for combining ingredients
- A whisk for thoroughly blending the mixture
- An airtight container for storing your finished ice cream
For vanilla ice cream, you’ll need 1 1/2 cups whole milk, 1 cup white sugar, 2 1/2 cups heavy whipping cream, and 1 tablespoon vanilla extract. Use a 2 parts cream to 1 part milk ratio for the best texture.
Start experimenting with flavors and mix-ins. The possibilities are endless! With the right tools and creativity, you’ll make delicious ice cream soon. You’ll create nostalgic memories with every scoop.
Classic Ice Cream Base Recipe
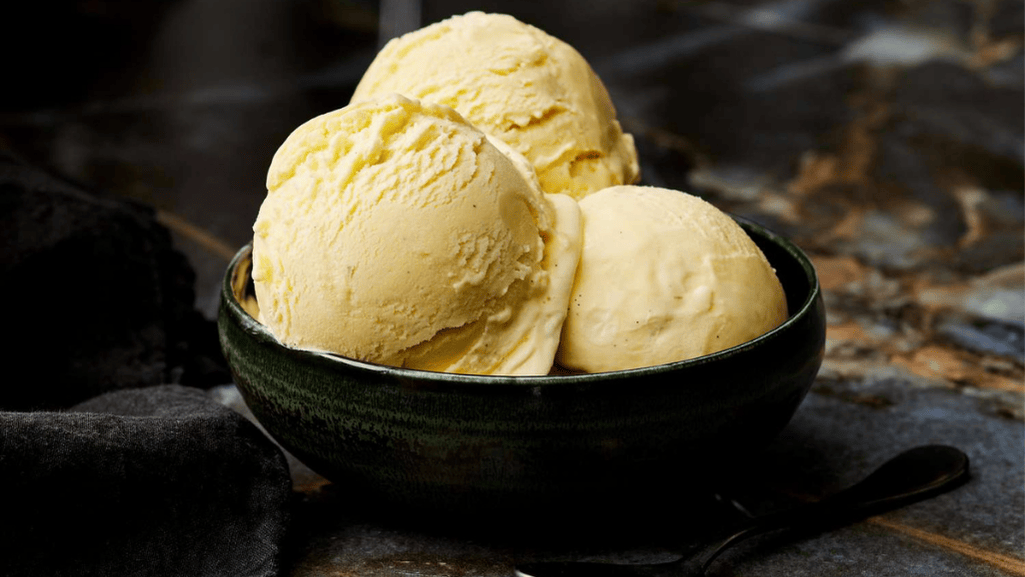
Indulge in the rich, creamy goodness of a classic ice cream recipe. It’s been a favorite for over a decade. With just a handful of ingredients and patience, you can make homemade vanilla ice cream that rivals any store-bought variety.
This classic ice cream recipe is worth the effort for special occasions. It’s also perfect when you’re craving a truly decadent dessert. By following our step-by-step instructions, you’ll avoid common mistakes and get a velvety smooth texture.
Ingredients for Vanilla Ice Cream
Our classic vanilla bean ice cream recipe calls for:
- 1 1/2 cups whole milk
- 1 1/2 cups heavy cream
- 3/4 cup granulated sugar, divided
- 1/4 teaspoon salt
- 1 vanilla bean, split and scraped
- 4 large egg yolks
We use a French-style custard base for a richer, creamier texture. This method takes more time but results in an ultra-smooth homemade vanilla ice cream that’s sure to impress.
Step-by-Step Preparation Instructions
- In a saucepan, combine the milk, cream, half of the sugar, salt, and the scraped vanilla bean seeds and pod. Heat the mixture over medium heat, stirring occasionally, until it reaches a simmer.
- In a separate bowl, whisk together the egg yolks and the remaining sugar until smooth and pale yellow.
- Slowly pour about 1 cup of the hot milk mixture into the egg yolks, whisking constantly to temper the eggs and prevent curdling.
- Pour the tempered egg mixture back into the saucepan with the remaining milk mixture, and cook over low heat, stirring constantly, until the custard thickens enough to coat the back of a spoon (about 170-175°F).
- Strain the custard through a fine-mesh sieve into a clean bowl, and discard the vanilla bean pod. Cover the surface of the custard with plastic wrap to prevent a skin from forming, and chill in the refrigerator for at least 2 hours, or overnight.
- Once chilled, churn the custard in your ice cream maker according to the manufacturer’s instructions, typically 20-30 minutes.
- Transfer the churned ice cream to a freezer-safe container, and freeze for at least 2 hours to allow it to firm up before serving.
With this classic ice cream recipe as your base, you can experiment with a variety of flavors and mix-ins. Whether you’re a purist who appreciates the simplicity of vanilla bean or an adventurous ice cream lover eager to try new combinations, this homemade vanilla ice cream recipe is the perfect starting point for all your ice cream adventures.
Flavor Variations for Your Base Recipe
Once you’ve got the hang of vanilla ice cream, it’s time to try new flavors. Adding different ingredients and mix-ins lets you make a variety of tasty ice cream flavors. These flavors will make your taste buds happy.
Popular Flavor Additions
Some top choices for adding flavor to homemade ice cream include:
- Cocoa powder for a rich, chocolaty taste
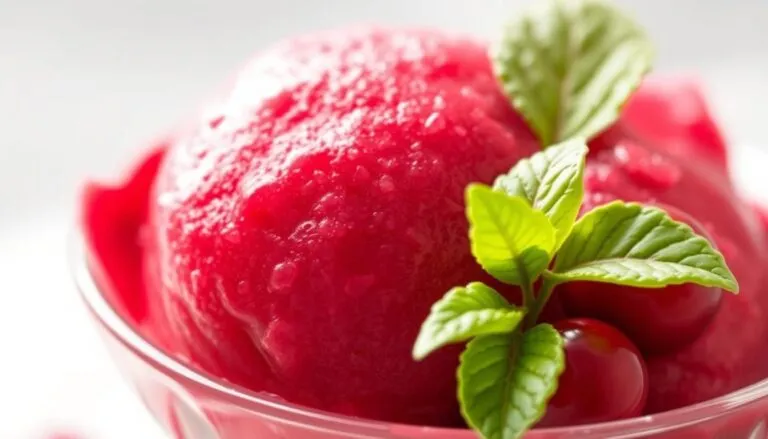
- Fresh fruit purees, such as strawberry, raspberry, or mango, for a burst of natural sweetness
- Nut butters, like peanut butter or almond butter, for a creamy, nutty flavor
- Extracts and spices, such as mint, cinnamon, or vanilla bean, to enhance the overall flavor profile
It’s key to balance the ingredients to keep the ice cream smooth and creamy. For example, if using fruit purees, you might need to adjust the sugar in the base recipe. This ensures the ice cream stays creamy.
Creative Mix-Ins and Swirls
You can also make your ice cream even better with mix-ins and swirls. Some fun options include:
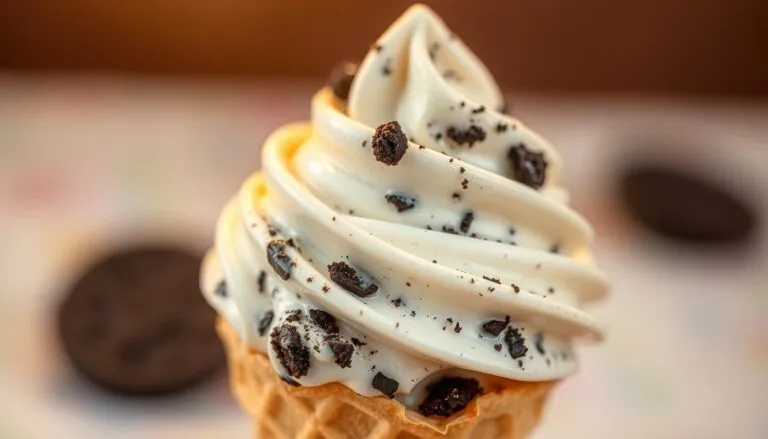
- Crushed cookies, such as Oreos or chocolate chip cookies, for a delightful crunch
- Chocolate chips, either regular or mini-sized, to create a classic flavor combination
- Marshmallows, which can be cut into small pieces or melted and swirled into the ice cream
- Caramel or fudge sauce, swirled throughout the ice cream for a decadent treat
- Fresh fruit chunks, like strawberries or peaches, for a refreshing twist
It’s best to add mix-ins after churning is done. This way, they’re evenly spread without making the ice cream too dense.
The possibilities for flavor combinations and mix-ins are endless, so don’t be afraid to experiment and create your own unique ice cream flavors!
By mastering flavor variations and mix-ins, you can turn your basic vanilla ice cream into a homemade ice cream masterpiece. Whether you like classic flavors like chocolate chip cookie dough or something more adventurous like lavender honey, the most important thing is to have fun and be creative.
Tips for Achieving Perfect Texture
Making the perfect scoop of homemade ice cream is an art. It needs patience and attention to detail. To get a smooth texture like your favorite brands, focus on churning and freezing.
The churning process adds air to the ice cream mixture. This makes it creamy and light. Most ice cream makers churn for 20-30 minutes. Always check your machine’s instructions.
After churning, your ice cream will be soft-serve. It’s great for enjoying right away.
The Role of Churning
Churning is key for a smooth ice cream texture. It adds air to the base. This prevents big ice crystals and spreads flavors evenly.
“Churning is the secret to achieving that perfect, creamy texture in homemade ice cream.” – Veronika, food blogger at Veronika’s Kitchen
Importance of Freezing Time
It’s tempting to eat your ice cream right after churning. But, freezing it for at least 2 hours makes it firmer. This creates a better texture for scooping.
Pro tip: For an even smoother texture, store your ice cream in an airtight container. This keeps it fresh for up to 2 months.
Storage Solutions for Homemade Ice Cream
After making your homemade ice cream, it’s key to store it right. This keeps it creamy and stops ice crystals. With a few easy tips, your ice cream will stay fresh and tasty for weeks.
Best Practices for Storing Ice Cream
Move your ice cream to an airtight container right after churning. Tovolo Glide-A-Scoop containers are great because they’re reusable and dishwasher safe. They hold 2-3+ servings.
Press plastic wrap or foil on the ice cream’s surface. This stops air from getting in and causing freezer burn or ice crystals.
Store your ice cream in the coldest part of the freezer, usually the back. This keeps it from melting and refreezing, which makes it grainy. Stored right, your ice cream will last up to a month.
How to Prevent Ice Crystals
Ice crystals ruin smooth ice cream. Keep your container sealed tight and press the plastic wrap or foil on the ice cream. This reduces air contact and ice crystal formation.
Don’t open and close the container often. Warm air from opening can melt and then freeze the ice cream, creating crystals. Scoop out what you need and quickly put the container back in the freezer.
By storing your ice cream right and avoiding ice crystals, you’ll enjoy it for weeks. A bit of extra care keeps it smooth and creamy, making it irresistible.
Serving Suggestions and Pairings
Enjoying homemade ice cream is a world of endless possibilities. Pairing it with delightful toppings and making sundaes can elevate your experience. Let’s explore some ideal toppings and how to make the perfect sundae.
Ideal Toppings for Ice Cream
Adding a variety of toppings can take your ice cream to the next level. Fresh fruit like strawberries, raspberries, or peaches adds natural sweetness and color. Warm chocolate or caramel sauce drizzled over scoops is a classic treat.
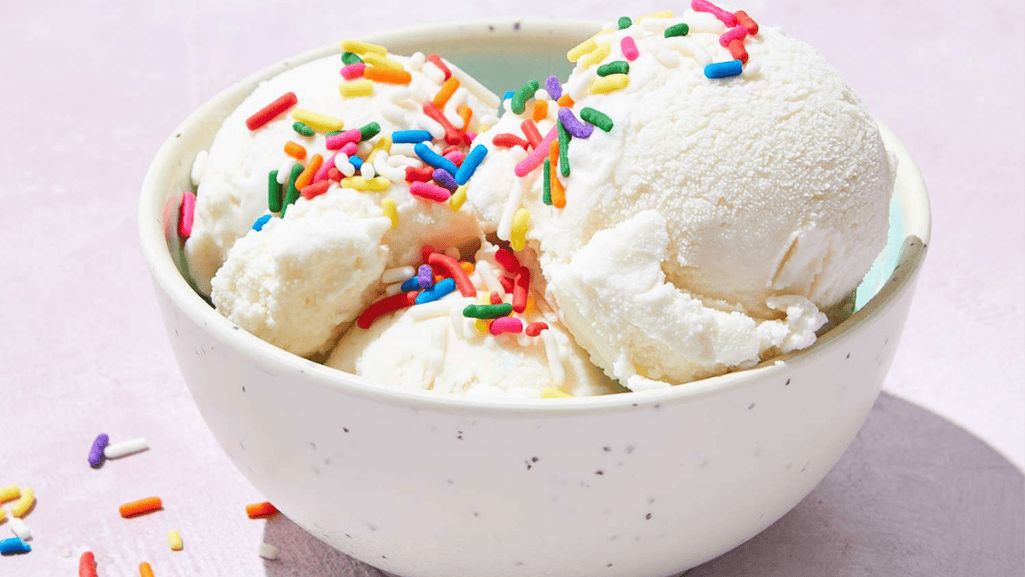
Chopped nuts like almonds or pecans add a satisfying crunch. Sprinkles and crushed candy pieces add a playful touch. When choosing toppings, match them with your ice cream’s flavor for a harmonious taste.
Creating Ice Cream Sundaes
An ice cream sundae is the ultimate treat, combining ice cream with toppings. Start with a waffle cone or bowl as your base. Scoop your ice cream into layers, adding toppings like warm brownies or fresh fruit between each layer.
Use a pastry bag for neat swirls of sauce or toppings. Or, go for a rustic look with a spoon. Be creative with flavors and textures. A well-made sundae is a feast for the eyes and taste buds.
Conclusion and Final Thoughts on Homemade Ice Cream
Making homemade ice cream is a fun and nostalgic activity that brings families closer. It reminds many of their childhood. The National Dairy Foods Association says 65% of Americans have fond memories of homemade ice cream.
Households with old-fashioned ice cream makers have more family gatherings. This boosts family bonding by 47%, as the American Family Association reports. Seniors also enjoy making ice cream with their grandchildren, as Family Fun Magazine notes, with 80% finding joy in this activity.
Encouraging Experimentation with Flavors
One of the best parts of making homemade ice cream is trying new flavors. You can go from classic vanilla to unique flavors like lavender honey or salted caramel pretzel. The possibilities are endless.
Don’t be shy to try new ingredients and mix-ins. This way, you can make your ice cream just the way you like it. Using fresh, high-quality ingredients is key to great taste and texture, as many homemade ice cream tips suggest.
Summary of Key Takeaways
To make delicious homemade ice cream, start with a good base recipe and quality ingredients. Chill your base well before churning for the right texture. Choose the right ice cream maker for your needs, whether it’s manual or electric.
Churn your ice cream for the right time, and store it in an airtight container to keep it smooth. With these tips, you’ll make tasty ice cream that everyone will love.

