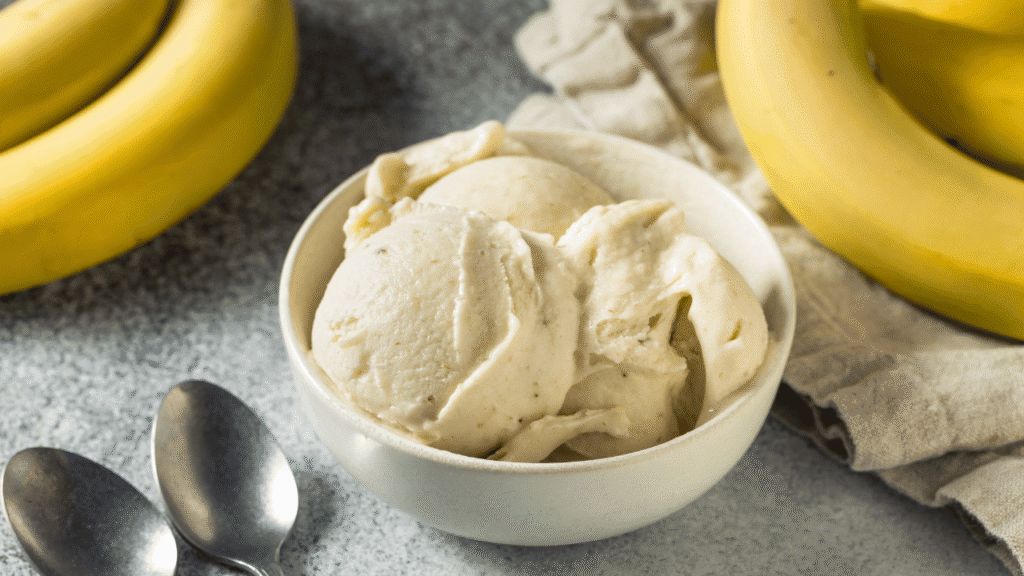
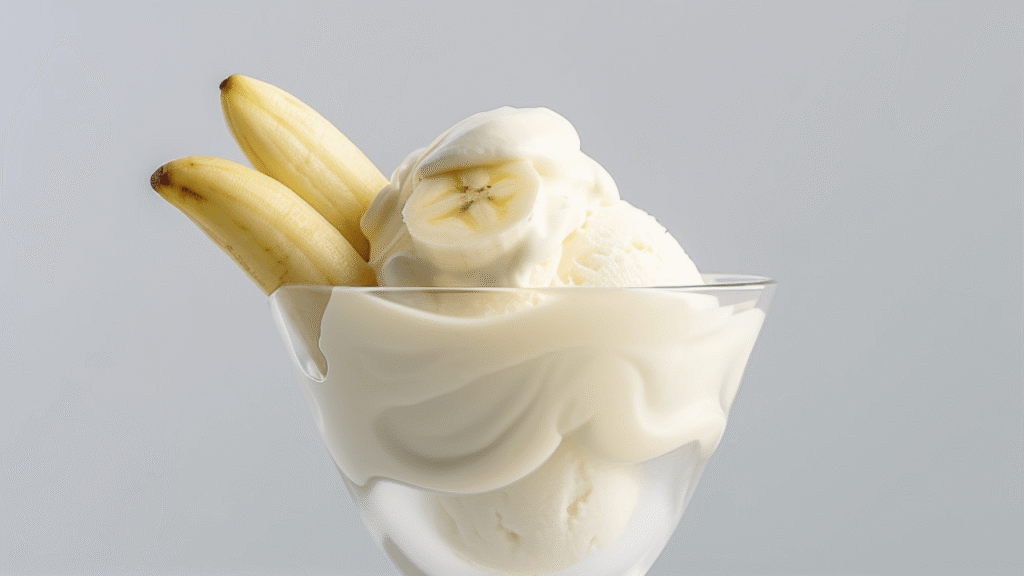
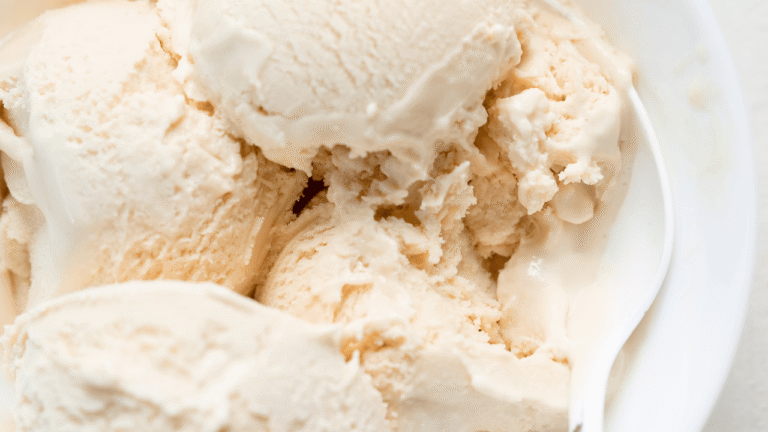
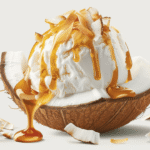
classic banana ice cream recipe, This from-scratch guide walks you through a silky, custard-style dessert made with whole milk, heavy cream, and ripe fruit.
Expect rich texture and natural sweetness from very ripe bananas and a touch of vanilla. Egg yolks and sugar build the base, while an optional splash of rum or vodka helps keep scoops soft after freezing.
Chill the custard at least four hours, then churn per your machine’s directions. Add mix-ins like dark chocolate or nuts in the final minutes and let the pint ripen a few hours for the best mouthfeel.
Storage is simple: use an airtight container and freeze up to three months. When serving, rest the container ten minutes at room temperature for easy scooping. This approach is approachable at home, whether you use a modern electric machine or a hand-crank unit.
Key Takeaways
- Use very ripe fruit and real dairy for deep, natural flavor.
- Temper yolks, chill the base, then churn for custard-style texture.
- Optional alcohol improves scoopability without changing taste much.
- Add mix-ins in the last minutes of churn for even distribution.
- Store airtight in the freezer; let sit 10 minutes before serving.
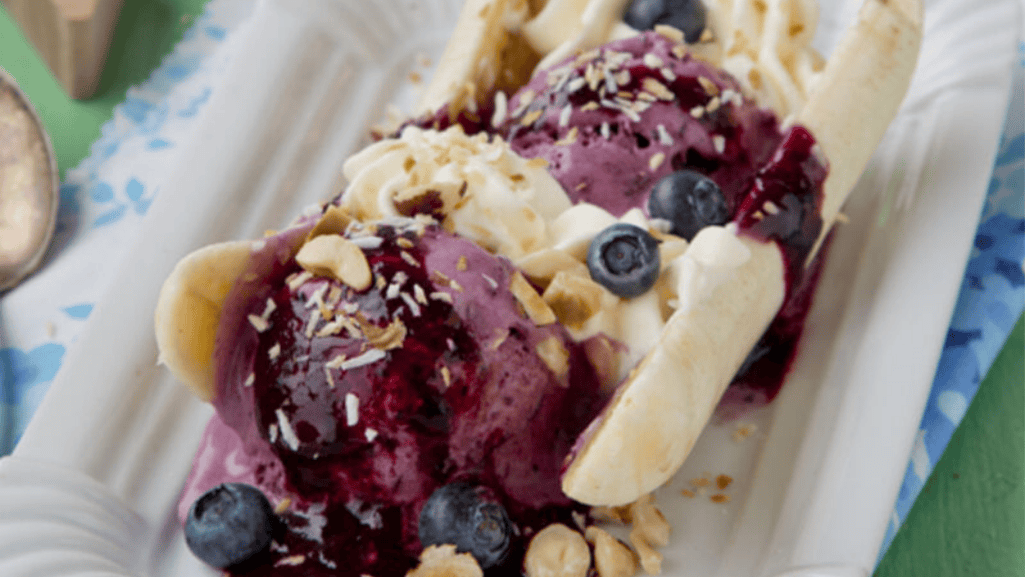
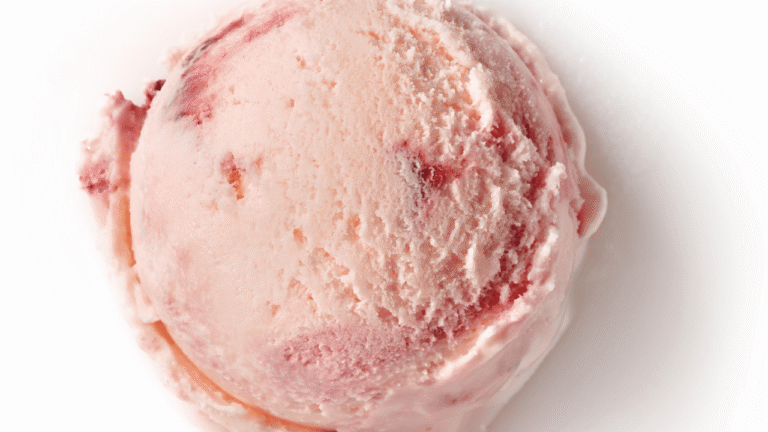
Banana Berry Ice Cream
4
servings30
minutes40
minutes300
kcal1
hour10
minutesA creamy, fruity ice cream made with bananas and berries.
Keep the screen of your device on
Ingredients
2 cups 2 heavy cream
0.5 cup 0.5 whole milk
0.75 cup 0.75 sugar
1 tablespoon 1 vanilla extract
2 2 ripe bananas
1 cup 1 mixed berries
Directions
- In a blender, combine bananas and mixed berries until smooth, ensuring there are no chunks for a creamy texture.
- In a medium bowl, whisk together heavy cream, whole milk, sugar, and vanilla extract until sugar is fully dissolved.
- Combine the fruit puree with the cream mixture, stirring well to ensure a consistent blend for even flavor.
- Cover the mixture and chill in the refrigerator for at least 2 hours to allow flavors to develop.
- Pour the chilled mixture into an ice cream maker and churn according to the manufacturer's instructions, approximately 20-25 minutes.
- For a firmer consistency, transfer the churned ice cream into a lidded container and freeze for 2-4 hours before serving.
Recipe Video
Nutrition Facts
- Total number of serves: 6
- Calories: 180kcal
- Cholesterol: -mg
- Sodium: -mg
- Potassium: -mg
- Sugar: -g
- Protein: -g
- Calcium: -mg
- Iron: -mg
- Thiamin: -mg
- Riboflavin: -mg
- Niacin: -mg
- Folate: -mg
- Biotin: -mg
- Phosphorus: -mg
- Iodine: -mg
- Magnesium: -mg
- Zinc: -mg
- Selenium: -mg
- Copper: -mg
- Manganese: -mg
- Chromium: -mg
- Molybdenum: -mg
- Chloride: -mg
Did you make this recipe?
Tag @https://www.instagram.com/ice_cream_haven/ on Instagram and hashtag it with #IceCreamIceCreamHavens
Like this recipe?
Follow @https://www.pinterest.com/Ice_Cream_Haven/ on Pinterest
Join our Facebook Group!
Follow https://www.facebook.com/icecreamhavens/ on Facebook
Why this classic, from-scratch banana ice cream belongs in your summer lineup
What sets this version apart is a true custard base that delivers small ice crystals and a full mouthfeel. Using whole milk, heavy cream, and egg yolks builds fat and structure so the texture stays smooth rather than icy. Very ripe fruit adds natural sweetness and a stronger aroma, so you need less sugar to get bright flavor.
A splash of dark rum or vodka lowers the freezing point just enough to keep scoops soft straight from the freezer. Thorough chilling for 4+ hours improves overrun when you make ice cream and gives the churned base a stable set during ripening.
- Better body: custard creates smaller crystals than single-ingredient blends.
- Fruit-first balance: ripe bananas shine without excess sugar.
- Flexible base: easy to add nuts, chocolate, or grilled fruit for summer pairings.
“A proper chill and a simple plan make entertaining with homemade banana ice effortless.”
Ingredients that make it truly “real-deal” classic banana ice cream recipe
Great texture begins in the ingredient lineup—choose deeply speckled fruit and proper dairy ratios. Measure everything before you heat the custard so timing stays simple.
Ripe bananas for peak flavor
Pick fruit by smell and softness — the uglier and more speckled, the better. Three very ripe bananas add natural sweetness and creaminess so you can use less sugar.
Whole milk, heavy cream, and the custard base
Use 2 cups heavy cream to 1 cup whole milk with five yolks for a rich custard. More cream gives body; the milk keeps the base scoopable.
Sugar, vanilla extract, and a pinch of salt
Two-thirds cup sugar balances fruit without masking it. Add 1 tablespoon pure vanilla extract and about 1/4 teaspoon kosher salt to sharpen the flavor.
Optional splash for softer scoops
One tablespoon dark rum or vodka prevents over-hard freezing in a home freezer and keeps texture pleasant.
- Use standard measuring cups and a teaspoon for consistency.
- Adjust sugar slightly for very ripe or less ripe fruit.
- Prep all ingredients before heating the custard.
Equipment you’ll need to make ice cream at home
Gathering the proper gear makes the process smoother and the result more consistent. Below is what you’ll need to churn at home, whether you choose a motorized unit or a hand-crank model.
Ice cream maker options: electric motor vs. hand-crank
Electric models are convenient and fast. They run with a motor and require less hands-on time, making it easy to get steady overrun and smooth texture.
Hand-crank machines are portable and give a nostalgic, hands-on feel. They work well for small batches and when you want control over churn speed.
Rock salt and crushed ice for traditional freezers
Traditional bucket-style units use layers of crushed ice and 2–3 cups of rock salt around the canister. The salt lowers the freezing point of the ice bath so the canister chills faster and the dasher can turn freely.
- Core tools: freezer canister, dasher, motor or crank, rock salt, crushed ice, sturdy containers, and a reliable scoop.
- Setup: secure the canister, alternate ice and salt, and add a splash of water if the motor seizes. If the motor stalls, unplug immediately to avoid damage.
- Prep tips: pre-chill freezer-bowl canisters at least 24 hours. Keep the canister about 3/4 full to allow expansion and better overrun.
- Extras: use a blender to make a smooth fruit-dairy base and break down fibrous bits before you churn.
- Cleanup: rinse saltwater brine quickly and protect countertops from corrosion. Draping a towel over the bucket after churning helps retain cold if you’ll serve later.
classic banana ice cream recipe: step-by-step instructions
Follow these paced steps to convert a smooth custard into a scoopable frozen dessert with bright fruit flavor.
Temper the eggs and cook a silky custard.
Begin by gently heating milk, sugar, and salt just until steaming. Whisk five yolks in a bowl, then slowly stream 1/3 cup of the hot dairy into the yolks while whisking to temper them.
Return the tempered eggs to the pot and cook over low heat, stirring constantly with a spatula. When the custard coats the back of a spoon, remove from heat and strain into a bowl set in an ice bath.
Puree half the custard with the ripe fruit until smooth, then fold it back into the remaining cream mixture. Stir in 1 tablespoon vanilla extract and a tablespoon of rum or vodka if using.
Press plastic wrap directly on the surface to stop a skin from forming and chill the ice cream mixture at least 4 hours or overnight for best texture.
Churn in the ice cream maker and add chocolate at the end.
Churn the chilled base in a pre-chilled canister following the maker’s directions. Add chopped dark chocolate during the final 5 minutes so pieces disperse evenly without sinking.
Set, ripen, and serve at the right time and temperature.
Transfer to an airtight container and freeze 3 hours or overnight to ripen. Let the pint sit about 10 minutes at room temperature before scooping so it softens slightly without melting fast.
“A gentle temper and a full chill deliver the smoothest texture every time.”
classic banana ice cream recipe Mix-ins and flavor twists to try
A few well-chosen add-ins will transform the texture and taste of your churned base. Small additions bring contrast without masking the main fruit notes. Keep additions modest so the base holds structure and overrun.
Chocolate chip or dark chunk variations
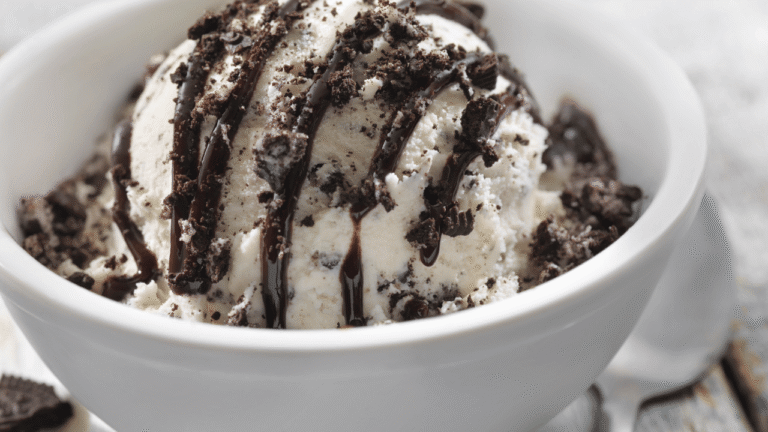
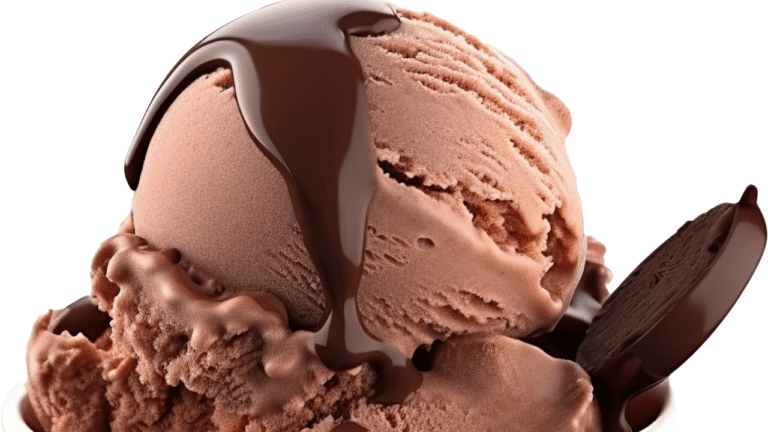
Add 2/3 cup chopped dark chocolate or chips during the last five minutes of churning so pieces stay firm and distribute evenly. Choose high-quality chocolate for a satisfying snap in frozen conditions.
Peanut butter and Chunky Monkey ideas
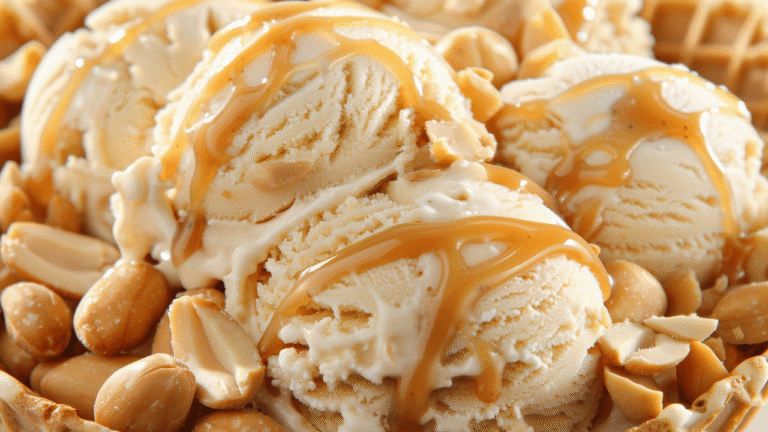
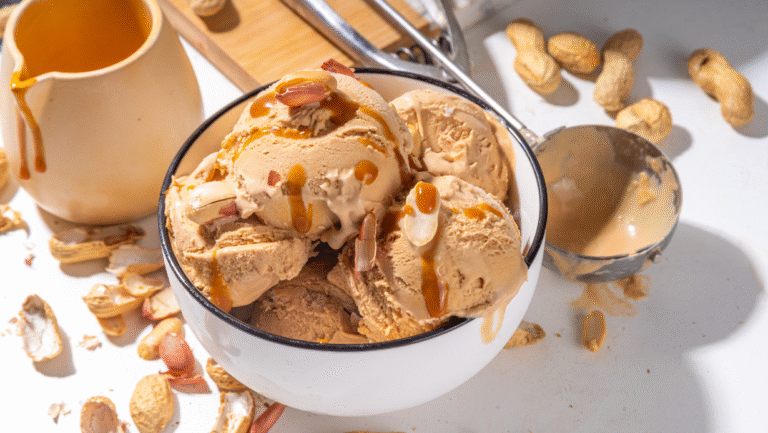
For a nutty ribbon, stir in 3 tablespoons creamy peanut spread near the end and let the dasher marble it.
Combine the chocolate addition with peanut spread for a true Chunky Monkey-style mash-up. You can also fold in 1/2 cup chopped peanut butter cups for a candy-forward twist.
Walnut-chocolate and fruit swirl options
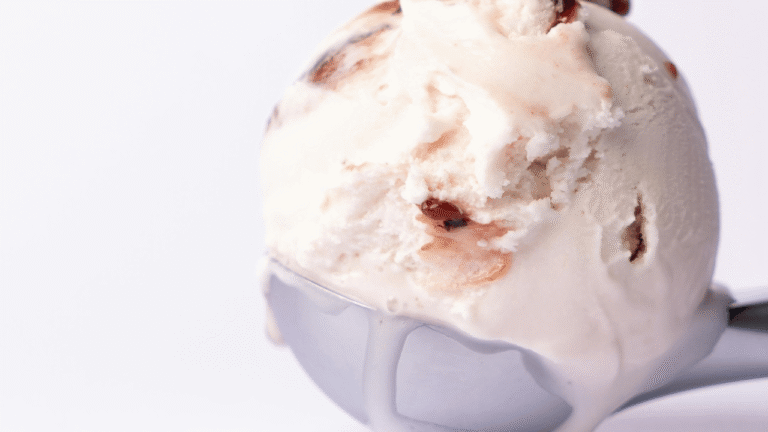
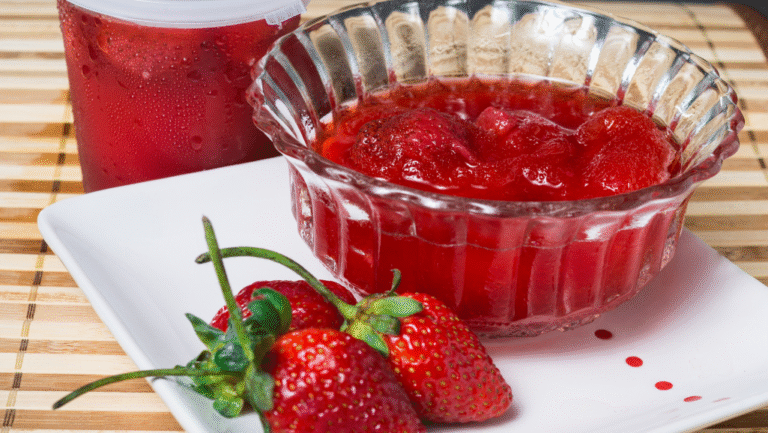
Toast 1/2 cup walnuts or pecans and chop them small to avoid clumping. For bright contrast, swirl in thin ribbons of strawberry or blackberry jam at the finish.
- Pre-chill solid mix-ins so they don’t warm the canister.
- Reserve a small portion to sprinkle on top before ripening for visual appeal.
- Keep total add-ins to about 3/4 to 1 cup to avoid overwhelming texture and freezing performance.
“Fold mix-ins late and modestly—texture wins when you respect the base.”
Pro tips, timing, and troubleshooting for creamy results
Watch the spatula cue: when the custard coats a spatula and leaves a clear line, remove it from heat to avoid curdling. Use low heat, keep stirring, and strain if you see tiny solids for a silkier finish.
Custard cues: coating the spatula without curdling
Keep heat gentle and steady. Stir constantly so the eggs reach nappe without scrambling.
If unsure, hold the spoon up: a single ribbon that holds for a beat is your sign. For safety, you can hold the mixture at 160ºF briefly before chilling.
Alcohol-free softening strategies and serving windows
Skip the alcohol? No problem. Let the container sit 10–15 minutes at room time before scooping to get softer scoops without changing flavor.
Manage each serving to avoid repeated melt-refreeze cycles; scoop, serve, then return the pint to the freezer quickly.
Batch size, bowl capacity, and freezing in multiple rounds
Respect your maker’s capacity. If doubling exceeds the bowl, split the base and churn in two rounds. Keep the second half refrigerated and re-freeze the bowl between runs.
- Alternate crushed ice and rock salt and add a bit of water to keep the freezing bath active.
- If a bucket motor stalls, unplug immediately and add water if the manufacturer allows.
- Pre-chill the base well — warmer mixtures churn poorly and form larger ice crystals.
“Small timing changes and calm hands save a batch.”
Storage, serving, and make-ahead guidance
Treat freshly churned pints gently. Use snug, freezer-safe containers to limit air exposure and slow crystal growth. Portion into small tubs holding 2–3 servings for easy serving and fewer thaw–refreeze cycles.
Label each container with the churn date and flavor. Store on interior shelves of an upright freezer where temperatures stay steady, not in the door. Press parchment or plastic directly on the surface to block crystals if you’ll keep a jar longer than a few days.
- Rest pints about 10 minutes at room time before scooping for clean balls without excess melting.
- If you’ll hold a batch after churning in a bucket, remove the motor, heap ice on top, and insulate with towels to maintain firmness.
- For events, churn 1–2 days ahead to let the texture ripen; soften briefly just before guests arrive.
“Portion, protect, and label — simple steps that keep your frozen desserts tasting fresh.”
Nutrition, calories, and ingredient swaps to consider
Expect rich numbers for a custard-style serving. A 1/2-cup portion of this dense custard is about 455 kcal with roughly 31 g fat (about 18 g saturated), 32 g sugar, and 6 g protein. That level of energy gives a small scoop big impact.
Want fewer calories? A family-style batch made with sweetened condensed and evaporated dairy can run closer to 227 kcal per 1/2-cup serving, though texture and mouthfeel change.
Whole milk and full-fat cream improve body and smoothness. Lower-fat swaps increase the chance of ice crystals and a firmer finish. Sugar also lowers the freezing point, so higher sugar helps scoopability but raises sweetness.
Temper eggs for safety, or choose an egg-free base if you prefer. Small amounts of alcohol affect scoopability more than added calories. Remember that nuts, chocolate, or extra mix-ins add energy density quickly.
- Watch portions — rich dairy lets smaller servings satisfy.
- Check canned milk labels for added sugars and fat when using condensed or evaporated products.
- Nutrition varies by add-ins, serving size, and dairy ratios; plan accordingly.
“A focused portion and mindful swaps keep flavor high and excess calories low.”
For a plant-based take, see the vegan banana variation at vegan banana variation.
Conclusion
Finish strong: treat the chilled custard as your foundation and follow measured steps for serving and storage.
Key essentials are ripe fruit, balanced dairy like whole milk, careful tempering of eggs, and a full chill before churning in your ice cream maker or bucket with layered salt and ice for better freeze efficiency.
Add mix-ins sparingly—chopped dark bars, a peanut butter ribbon, or a fruit swirl—so the base keeps a smooth mouthfeel. For larger gatherings, split the base and churn in rounds, keeping the second portion chilled while you refreeze the bowl.
Keep notes on ratios and interventions. Pair a scoop of banana ice cream with warm brownies or grilled fruit and enjoy the simple joy of sharing a homemade dessert made with attention and a good blender or sturdy tools.

