Craving a familiar drive‑thru favorite made at home? This cookies cream milkshake brings that bold cookie crunch with a lush, creamy base. It uses just vanilla ice cream, milk, and Oreos to deliver a frosty, nostalgic sip in minutes.
Simple steps make a standout drink: blend ice cream and milk for 10–20 seconds, then add crushed cookies for a brief 5–7 seconds to keep texture. Chill glasses for about 10 minutes so each pour stays thick and café‑worthy.
This copycat inspired by Chick‑fil‑A leans on French vanilla and a splash of vanilla extract for extra lift. A typical serving sits between 538–628 calories depending on toppings, so decide if you’ll savor solo or share.
Key Takeaways
- Fast, few ingredients: ice cream, milk, Oreos for classic flavor.
- Blend base first, pulse cookies last to preserve crunch.
- Chill glasses and use wide straws for best texture.
- Copycat tips: French vanilla and a dash of vanilla extract.
- Portion and toppings affect richness and calories.
Cookies and Cream Milkshake Ice Cream
4
servings30
minutes40
minutes300
kcal1
hour10
minutesClassic cookies and cream flavor in a creamy milkshake ice cream.
Keep the screen of your device on
Ingredients
2 cup 2 heavy cream
1 cup 1 whole milk
0.75 cup 0.75 granulated sugar
1 teaspoon 1 vanilla extract
1 pinch 1 salt
1 cup 1 cream-filled chocolate sandwich cookies
Directions
- In a large bowl, whisk together the heavy cream, whole milk, granulated sugar, vanilla extract, and a pinch of salt until sugar is dissolved.
- Cover the mixture with plastic wrap and chill in the refrigerator for at least 2 hours or until thoroughly chilled.
- Pour the chilled mixture into an ice cream maker and churn according to manufacturer's instructions, usually 20-25 minutes.
- While the ice cream is churning, coarsely chop the cream-filled chocolate sandwich cookies.
- Add the chopped cookies to the ice cream maker during the last five minutes of churning or until evenly distributed.
- Transfer the churned ice cream to an airtight container, smoothing the top. Freeze for at least 2-4 hours or until firm.
- Scoop and serve the ice cream in bowls or cones. Store leftovers in an airtight container in the freezer.
Nutrition Facts
- Total number of serves: 4
- Calories: 350kcal
- Cholesterol: 80mg
- Sodium: 100mg
- Sugar: 22g
- Protein: 4g
- Calcium: 120mg
Did you make this recipe?
Tag @https://www.instagram.com/ice_cream_haven/ on Instagram and hashtag it with #IceCreamIceCreamHavens
Like this recipe?
Follow @https://www.pinterest.com/Ice_Cream_Haven/ on Pinterest
Join our Facebook Group!
Follow https://www.facebook.com/icecreamhavens/ on Facebook
Why This Oreo Milkshake Is the Ultimate Creamy Indulgence
Pulse the cookies first to lock in tiny crunchy bits that suspend through a silky vanilla base. This simple step gives each sip contrast without clogging a straw. It also keeps texture balanced so the shake stays smooth but interesting.
Start with quality ingredients: premium vanilla ice cream, two teaspoons of vanilla extract, and your favorite oreos. Use a blender to make a lush cream milkshake, then add cookie bits last for the best mouthfeel.
Home cooks have found 2% milk or oat milk blend well, letting you tailor thickness. Use less milk for a spoonable treat or a touch more to sip. This copycat approach channels that Chick Fil texture while staying easy and forgiving.
- Flavor play: try flavored oreos or a peanut butter ribbon for a twist.
- Kid- and adult-friendly for parties or movie night.
- Save it as a pin recipe—repeatable and reliable.
Frequently asked: yes, swaps work—just keep the pulse, blend, pour sequence for best results.
Cookies and Cream Milkshake
Ready in about five minutes, this retro treat pulls classic flavors into a thick, café-style pour. It comes together fast, so it fits when dessert must appear now.
Quick overview: prep time, total time, and yield
Prep time: about 5 minutes. Total time: same—this is a scoop-to-glass recipe.
Yield: Two tall servings (roughly 24 ounces total). Use the larger batch for sharing or scale down for one indulgent glass.
Classic flavor profile: vanilla ice cream meets crushed Oreos
The heart of the drink is simple: premium vanilla ice cream blended with a splash of milk, then studded with crushed Oreos for texture. Pulse the cookies first to make sip-friendly bits without turning the base gritty.
- Fast method: blend ice cream and milk until ultra-smooth, then add cookie bits briefly.
- Two texture tracks: super-thick single serving (1 cup ice cream, 1/3 cup milk, 3 Oreos) or a lighter two-glass batch (2.5 cups ice cream, 1/3 cup milk, 8 Oreos).
- Tip: chill glasses to extend that perfect thickness; a standard blender is all you need.
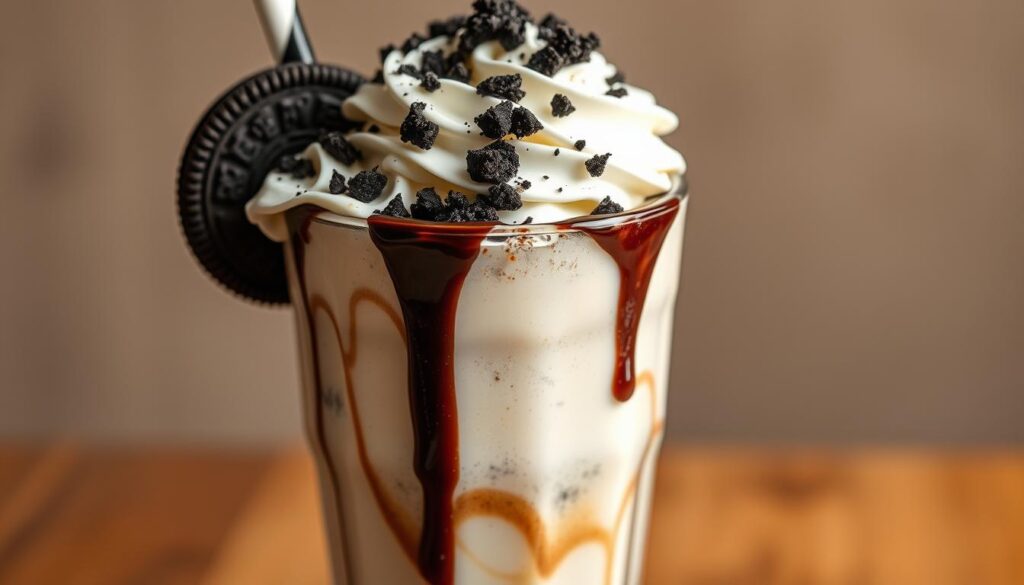
Finish: top with whipped cream and a cherry for a true soda-fountain vibe. Adjust the cookie count to control sweetness without changing the blend method.
Ingredients & smart substitutions
A smart ingredient list lets you customize richness, texture, and diet needs. Use quality staples for the best result and plan a quick 10-minute soften step so measuring is clean and blending stays silky.
Vanilla base
French vanilla ice cream is the top pick for a custardy profile. Add 2 teaspoons of vanilla extract for extra depth. Let the ice cream sit about 10 minutes at room temperature for easier scooping and fewer aeration issues.
Milk & fat choices
Whole milk amplifies body and gives a thicker pour. If you prefer lighter or dairy-free, 2% or oat milk blend smoothly while cutting some fat.
Cookie options and toppings
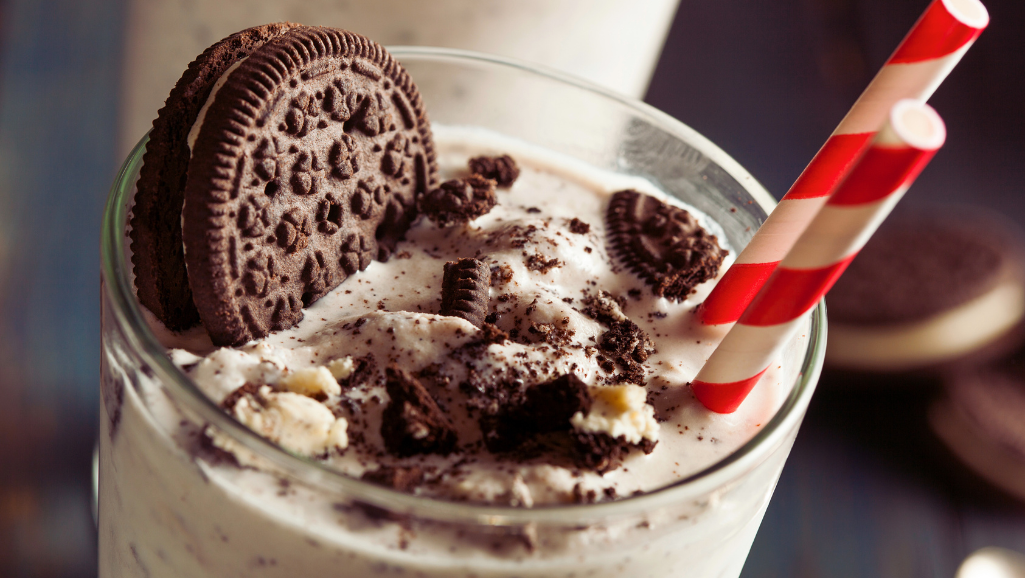
Use regular oreos, double-stuffed for extra sweet filling, thins for less density, or gluten-free for special diets. Finish with whipped cream and maraschino cherries. A sprinkle of crushed cookie on top adds texture.
- Measure about one cup of ice cream per serving for ultra-thick results.
- Chill tall glasses for 10 minutes to keep thickness longer.
- Shopping list: French vanilla ice cream, whole milk or oat milk, oreos, vanilla extract, whipped cream, maraschino cherries.
“Let the ice soften briefly — it makes the blend smoother and the texture more indulgent.”
Essential tools, blender tips, and the best glasses
Gather the right gear before you blend. Pick a sturdy blender that can power through dense ice cream without overheating. A good unit yields a velvety base and keeps cookie bits well distributed.
Work in a simple sequence: pulse the cookie pieces first to control chunk size. Then blend ice and vanilla with the cream until glossy smooth. Finish with a short blitz that folds in the cookie bits so texture stays lively.
- Choose a strong blender or give a standard model extra rests to avoid strain.
- Use extra-wide straws so cookie pieces travel easily and a long spoon for spoonable thickness.
- Chill tall glasses in the freezer for about 10 minutes to keep the milkshake cold and thick.
“Listen for the blend to settle — the sound tells you the base is smooth and ready to pour.”
Set your station — glasses, straw, spoon — before you blend. This simple prep keeps the experience consistent whether you aim for a classic home treat or a Chick Fil copycat recipe.
Step-by-step: how to make this milkshake at home
A few precise steps turn plain ingredients into a thick, nostalgic pour. Gather your blender, chilled glasses, and the measured ingredients so the process flows.
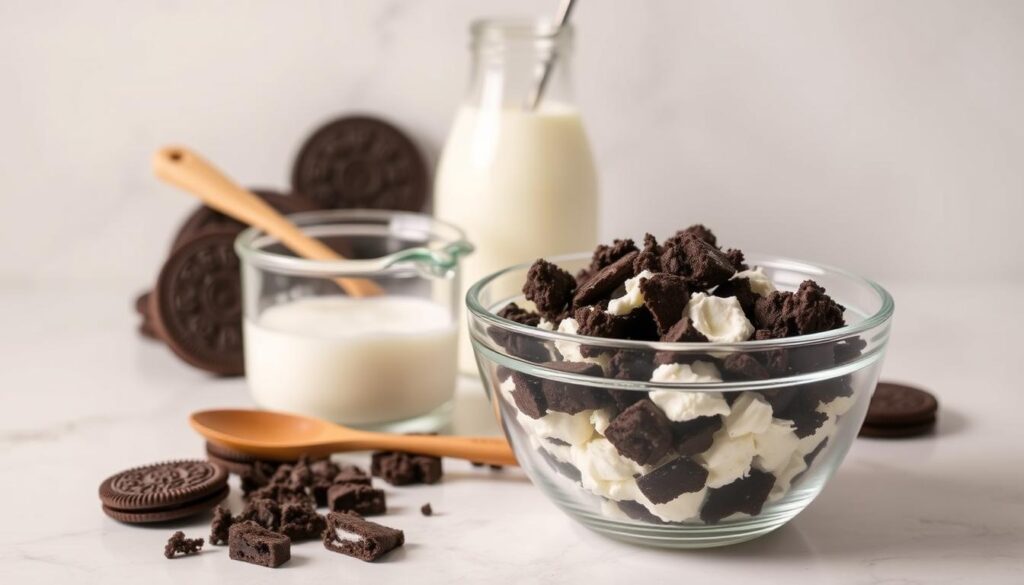
Pulse cookies first — add 6–8 oreos to the blender and give short bursts until you have small pieces. This keeps texture in the final drink instead of dust.
Blend ice cream and milk until ultra-smooth
Add 2.5 cups vanilla ice cream, 1/3 cup milk, and 2 teaspoons vanilla extract. Blend for about 10–20 seconds until the base is glossy and even.
Briefly blend in Oreos to keep texture
Return the remaining crushed oreos to the mix and pulse for only 5–7 seconds. Short blends preserve those crunchy pockets so each sip has contrast.
Pour, top with whipped cream and a cherry, and serve
Pour into pre-chilled glasses to lock in thickness. Top with whipped cream and a maraschino cherry for a classic finish.
- Use whole milk for a thicker result; add a splash more milk for a thinner, sippable style.
- Softening ice cream a few minutes before you start reduces total minutes and eases blending.
- If you prefer bigger cookie pockets, stir a spoonful of crushed oreos in by hand at the end.
“Watch and listen as you blend—when the sound evens out, the base is ready.”
Pro tips for the thickest, creamiest results
A few smart habits in the kitchen are all you need to get café-thick results at home. These small moves help the texture hold and the flavor sing without extra fuss.
Soften the ice cream on the counter for about 10 minutes before you measure. This makes scooping easier and lets the blender form a smooth emulsion without overworking the motor.
Freeze your glasses for roughly 10 minutes while you prep. Cold glasses slow melt and keep the first pour rich and dense from top to bottom.
Dial in the ratio: use less milk and more ice cream when you want spoonable thickness. A splash of milk turns the cup into an easy sipper instead of a thick treat.
- Favor whole dairy for fuller body—higher fat gives a slower melt and richer mouthfeel.
- Pulse briefly; long blending warms the base and breaks crunchy bits down.
- If your blender strains, pause between short bursts to protect texture and temperature.
- Add cookie pieces at the end and stir minimally so speckles remain in each sip.
“Pour immediately after blending—the perfect thickness window is short and glorious.”
Flavor variations and Chick-fil-A copycat twists
A few small swaps take this classic into Chick‑fil‑A territory with minimal fuss. Use French vanilla ice cream plus 2 teaspoons vanilla extract and pulse cookie bits first to get that signature flecked look.
Try playful cookie swaps: trade standard oreos for flavored oreos like birthday cake or peanut butter to set a theme without changing the method.
Want more depth? Ribbon in a warm peanut butter swirl or blend a light chocolate‑vanilla duo for a malt‑shop vibe. For double cookie impact, start with cookies & cream ice cream and still pulse a few extra pieces at the end.
- Recreate Chick‑fil‑A style: French vanilla, extra vanilla extract, pulse first.
- Keep blender work short so cookie pockets survive for texture.
- Add finishing drizzles — hot fudge, caramel, or peanut butter — over whipped topping.
“Bump the vanilla slightly for a stronger backbone, but watch sweetness so the cookie notes still shine.”
Dietary-friendly swaps without losing the magic
Small ingredient switches let this treat fit vegan, gluten-free, or lighter diets. A few thoughtful swaps preserve texture and flavor so the result still feels indulgent.
Dairy-free and vegan:
Plant-based bases and toppers
Oreos are already dairy-free, so a vegan version is simple. Use a plant-based frozen dessert and oat or almond milk for a rich base.
Tip: dairy-free whipped topping recreates the classic crown without dairy.
Gluten-free options
Pick GF-labeled Oreos or similar certified cookies and always check ingredient lists. This keeps the cookie-studded joy intact for gluten-sensitive guests.
Lighter swaps
Choose 2% milk or reduced-fat ice cream to cut fat and calories. Expect a slight change in body—freeze glasses and use minimal blend time to keep thickness.
- Use a touch less milk with plant bases; they can be softer.
- Keep the sequence: pulse cookie bits, blend base, then a short final blitz.
- Adjust cookie count or sweetness to match your substitute’s flavor strength.
“Balance ratios and you’ll still get the beloved cookies cream experience.”
Serving suggestions, storage, and make-ahead
Serve this rich treat the moment it leaves the blender to capture peak texture and temperature. Quick action keeps the mix frosty and the cookie bits suspended in each sip.
Serve immediately with tall glasses and wide straws
Pour into chilled tall glasses so the first pour stays thick. Use wide straws or a long spoon to enjoy the pockets of oreo and soft cream without fuss.
Short holds: fridge for up to about an hour
If you need a brief delay, refrigerate for up to about 60 minutes. The drink becomes a pleasant slushy; stir once before serving to revive texture.
Longer storage: freeze, then thaw in the fridge
For longer time, freeze leftovers in a sealed container. Move a single cup to the fridge about 30 minutes before you want to sip. Give it a quick stir to recombine any separation.
- Top each pour with whipped cream and a maraschino cherry for a classic finish.
- Portion into cup-sized servings before freezing so each thaw is just what you need.
- Pre-chill multiple glasses and set a toppings bar with extra Oreos, cookie crumbs, or cherries for guests.
- Label containers with date and flavor twist so future you knows what to expect.
“Work efficiently from blender to glass—every minute preserves that creamy, icy integrity.”
Approximate nutrition and portion guidance
Calories, fat, and sugar swing widely with how much ice cream and toppings you add. A typical 12-ounce serving ranges roughly 538–628 calories, with about 26–32g fat, 57–66g sugar, and 9–12g protein.
For context, a batch using 2.5 cups ice cream, 1/3 cup milk, and 8 Oreos with vanilla extract averages ~599 kcal per serving. A richer build — six scoops, 2/3 cup whole milk, and 6 Oreos plus extras — can reach ~628 kcal.
- Be honest: portion size drives totals more than one single ingredient.
- Use leaner milk or reduced-fat bases to cut fat and calories without changing the recipe steps.
- Split a large pour into two cups for built-in portion control that preserves the experience.
- Track your own ingredients and scoops if you count macros — vanilla, extract, and cookie count shift numbers.
Mindful portions let you enjoy every creamy sip with confidence.
Conclusion
A quick, reliable routine gives you thick, speckled goodness that comes together in minutes.
Make this your go-to and pin recipe—it’s a five-minute, café-worthy treat. The method is simple: pulse the cookie pieces, blend the base, give a brief blitz, then pour and top.
Use French vanilla plus a splash of vanilla extract for depth. Chill glasses about 10 minutes, serve with whipped cream and a cherry, and enjoy the oven-free nostalgia.
This copycat cookies note shines for chick fil style fans. Share a batch, set a toppings bar, or try copycat cookies cream twists; minimal gear and a little together time make magic.
Try it, rate it, and tell us which riff became your new favorite.

