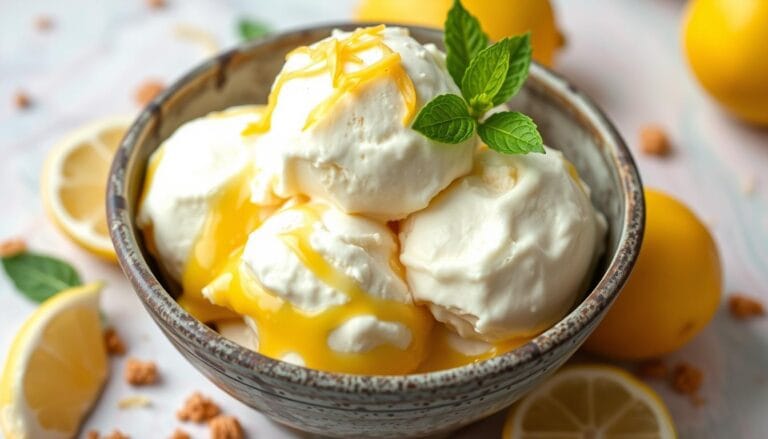
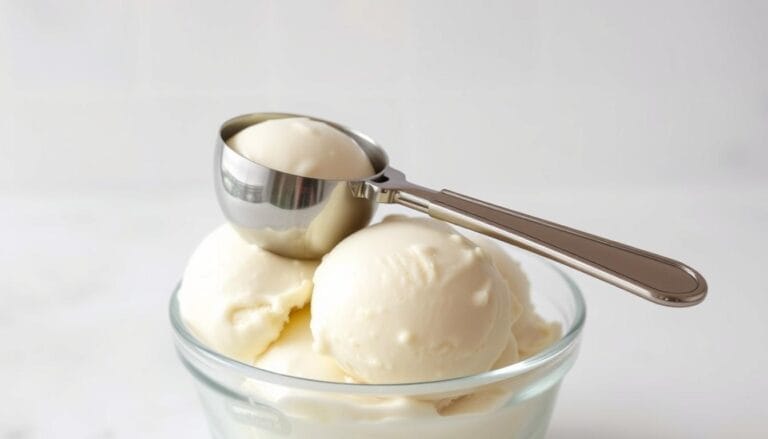
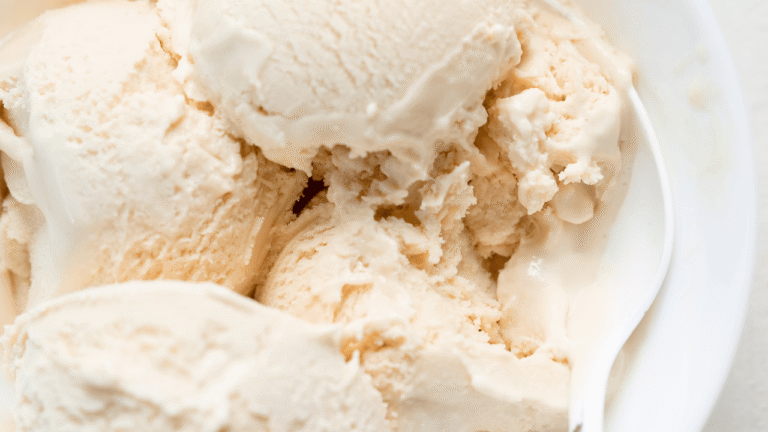
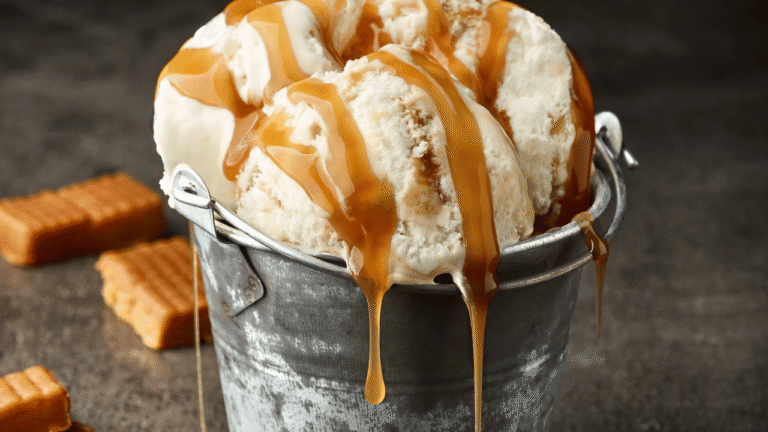
Making the best homemade ice cream is a fun, rewarding way to treat your family and control ingredients. With evaporated milk and the right techniques, you can make a rich, creamy milk ice cream that rivals store-bought brands.
Use high-quality dairy, balance sugar and fat, and follow proper chilling and churning steps. Many premium store-bought ice creams have an overrun near 22–25% (overrun varies by brand), and a good ice cream maker can churn a smooth, soft-serve-style base in about 20 minutes — though you’ll usually need extra freezer time to fully firm the container. Read on for a simple evaporated milk recipe, pro tips, and gear notes so you can make ice cream the right way.
Key Takeaways
- Evaporated Milk Ice Cream.
- Customize flavors and ingredients to create unique, ideal milk ice cream for your tastes.
- Use high-quality milk, cream, sugar, and flavorings for the best homemade ice cream results.
- Learn the right techniques for a creamy texture (proper chilling, correct overrun, and correct churn time).
- A quality ice cream maker can produce a smooth base in ~20 minutes of churning; plan additional freezer time to firm the pint.
- Proper storage in an airtight container preserves texture and flavor — label with date for family servings.
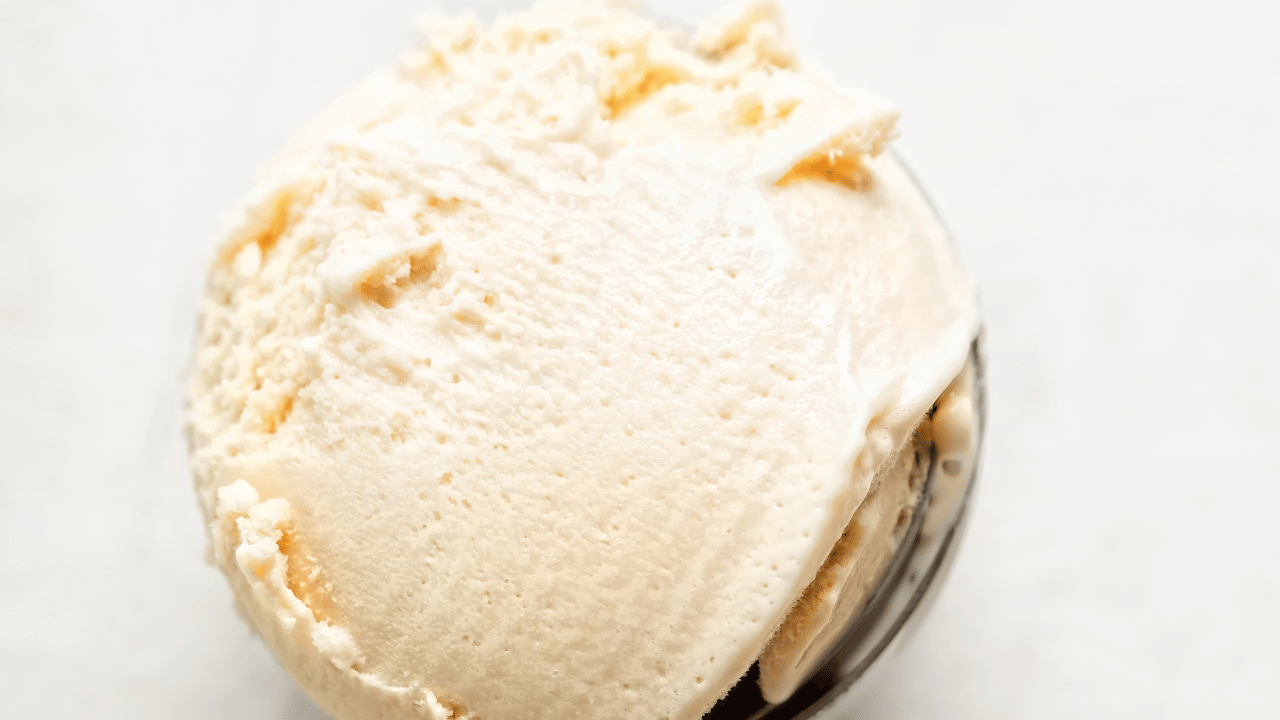
Evaporated Milk Ice Cream
8
servings15
minutes4
hours200
kcal4
hours15
minutesSimple homemade ice cream using evaporated milk.
Keep the screen of your device on
Ingredients
1 can 1 evaporated milk
1 cup 1 sugar
2 cups 2 whole milk
1 teaspoon 1 vanilla extract
Directions
- In a mixing bowl, combine the evaporated milk, sugar, and whole milk. Stir until the sugar is fully dissolved.
- Add the vanilla extract to the milk mixture and stir until well blended.
- Cover the mixture and chill it in the refrigerator for at least two hours or until cold.
- Once cold, pour the mixture into an ice cream maker and churn according to the manufacturer’s instructions, usually about 20-30 minutes.
- Transfer the ice cream to an airtight container and freeze for an additional two hours or until firm.
- For best results, serve the ice cream with your preferred toppings or mix-ins.
Recipe Video
Nutrition Facts
- Total number of serves: 8
- Calories: 200kcal
- Fat: 10g
- Saturated Fat: 6g
- Trans Fat: 0g
- Polyunsaturated Fat: 0g
- Monounsaturated Fat: 2g
- Cholesterol: 35mg
- Sodium: 75mg
- Potassium: 150mg
- Carbohydrates: 25g
- Fiber: 0g
- Sugar: 20g
- Protein: 4g
- Vitamin A: 300IU
- Vitamin C: 2mg
- Calcium: 150mg
- Iron: 0.5mg
- Vitamin D: 1mg
- Vitamin E: 0.1mg
- Vitamin K: 0.1mg
- Thiamin: 0.1mg
- Riboflavin: 0.2mg
- Niacin: 0.2mg
- Vitamin B6: 0.1mg
- Vitamin B12: 0.5mg
- Folate: 5mg
- Biotin: 0mg
- Pantothenic Acid: 0mg
- Phosphorus: 100mg
- Iodine: 0mg
- Magnesium: 10mg
- Zinc: 0.5mg
- Selenium: 3mg
- Copper: 0.1mg
- Manganese: 0.1mg
- Chromium: 0mg
- Molybdenum: 0mg
- Chloride: 0mg
Did you make this recipe?
Tag @https://www.instagram.com/ice_cream_haven/ on Instagram and hashtag it with #IceCreamIceCreamHavens
Like this recipe?
Follow @https://www.pinterest.com/Ice_Cream_Haven/ on Pinterest
Join our Facebook Group!
Follow https://www.facebook.com/icecreamhavens/ on Facebook
Understanding the Magic of Evaporated Milk in Ice Cream Making
Evaporated milk is a concentrated milk product made by removing roughly 60% of the water from fresh milk, leaving a richer liquid that contributes both milk solids and a creamier mouthfeel. Because it increases the solids-not-fat (and reduces free water), evaporated milk can help reduce iciness and produce a smoother, more velvety ice cream texture.
Many no-cook and condensed-milk–style recipes — including classic carnation ice cream approaches — use evaporated milk as a quick way to add body without a custard base. Compared with using only whole milk, evaporated milk boosts perceived creaminess even when you don’t increase total fat.
That said, evaporated milk is a useful technique, not an absolute requirement. For richer, custard-style ice cream you can still use whole milk plus heavy cream or an egg-based custard. Condensed milk, by contrast, adds sweetness and density because it contains added sugar; evaporated milk contributes body without extra sugar.
Key benefits of using evaporated milk in ice cream include:
- Richer, creamier texture without adding as much fat
- Reduced ice-crystal formation for a smoother consistency
- Neutral dairy flavor that blends well with vanilla and other flavors
Use evaporated milk when you want a quick, reliable way to improve mouthfeel in homemade ice cream recipes — especially in “no-cook” or condensed-milk styles. For custard-style or high-fat recipes, pair evaporated milk with heavy cream or an egg base depending on the outcome you want.
Essential Ingredients for Perfect Ideal Milk Ice Cream
Great homemade ice cream starts with the right ingredients. For a reliable, creamy milk-based ice cream, balance milk, cream, sugar, and flavorings so the finished product has body, mouthfeel, and flavor. A common guideline for a rich, scoopable texture is roughly 2 parts heavy cream to 1 part milk — this raises the overall fat and produces a luxurious mouthfeel without relying only on eggs.
Typical, crowd-pleasing base components include heavy whipping cream, whole milk, granulated sugar, and real vanilla. Aim for heavy cream around 35% fat and whole milk near 3.5% fat when possible; these numbers are common on labels but can vary by brand. Sugar is usually 1/2 to 3/4 cup per batch depending on sweetness preference; reduce sugar slightly if you plan to add sweet mix-ins or use sweetened condensed milk.
How ingredients affect the end result:
- Cream: Adds fat and richness — more cream = creamier, higher saturated fat.
- Milk: Contributes water and milk proteins; whole milk helps with body without excessive fat.
- Sugar: Lowers freezing point and keeps the texture scoopable; balance to taste.
- Vanilla and flavorings: Real vanilla extract gives a clean, classic vanilla ice cream base — use about 2 teaspoons for standard batches.
Here’s a simple starting ingredient list you can scale up or down:
- 1 1/2 cups heavy whipping cream
- 1 1/2 cups whole milk
- 1/2 to 3/4 cup granulated sugar
- 2 teaspoons vanilla extract
Substitutions and notes:
- If you want a no-cook, lower-fat option, replace part of the cream with evaporated milk — it adds solids and creaminess without increasing fat as much.
- Sweetened condensed milk increases sweetness and density; use carefully or reduce added sugar.
- For a custard-style base, add egg yolks (temper and cook to 160°F) for extra richness and stability.
Mix-ins and timing: add small, solid mix-ins (nuts, cookie crumbs) in the last few minutes of churning; soft or watery mix-ins (fresh fruit) should be macerated and reduced to avoid excess water that creates ice crystals. Typical add-in amounts: about 1 cup fruit or 1/2 to 1 cup chopped mix-ins per batch.
Finally, the quality of ingredients matters: choose fresh heavy cream and whole milk, real vanilla (or vanilla bean), and good sugar. If you plan to display nutrition information or per serving counts, calculate based on your final recipe — fat and saturated fat will vary depending on cream:milk ratio and whether eggs or condensed milk are used.
Choosing Your Ice Cream Making Method
Choosing the right way to make milk ice cream affects texture, time, and cleanup. You can use an ice cream maker (machine-based), a no-machine method, or traditional hand churning — each approach has clear pros and cons. Because evaporated milk increases dissolved and suspended milk solids, it can change mouthfeel and reduce iciness, which some people describe as a chewier or denser texture depending on the recipe.
Here’s a quick comparison to help you decide which method fits your equipment and goals:
- Machine-based (compressor or freezer-bowl ice cream machine): Best for consistent results and smooth texture. Compressor machines churn and freeze in one unit (no pre-freezing) and are fastest and most convenient; freezer-bowl types need pre-freezing and can be less consistent but are more affordable. Pros: reliable churn, better overrun control, less manual work. Cons: cleaning and storage of parts.
- No-machine methods: Ideal if you don’t own an ice cream machine. Common approaches include the shallow-pan freeze and periodic scraping method or the “freeze-and-blend” method for condensed/evaporated milk bases. Pros: low equipment cost, accessible. Cons: more hands-on time and sometimes slightly icier texture unless the recipe balances solids and sugars well.
- Traditional churning (hand crank or dasher): Offers a tactile, old-school experience and can produce dense, artisan-style cream. Pros: fun activity and dense texture. Cons: labor-intensive and slower.
Quick method tips to make ice cream the right way:
- If you buy an ice cream maker, choose a compressor model if you want frequent batches and precise control; choose a good freezer-bowl maker if you’ll make ice cream occasionally and can pre-freeze the bowl.
- For no-machine recipes using evaporated milk, follow chilled-churn or freeze-and-blend instructions carefully and use a shallow metal pan to speed freezing.
- When using any machine, chill the base thoroughly (overnight when possible) so the ice cream maker can reach a smooth overrun more quickly — this helps achieve a creamy result in ~20 minutes of churning for many machines, though firming time in the freezer will add to total time.
- Clean your cream machine parts immediately after use to avoid sticky residue and simplify maintenance.
Experiment with a method that matches your budget, time, and desired texture. If you want, I can link to in-depth guides for the best ice cream maker models, a step-by-step no-machine recipe, or a short video showing compressor vs freezer-bowl machines.
Step-by-Step Guide to Crafting Your Base Mix
To make a reliable recipe for evaporated milk ice cream, start with a well-balanced base. Below are two consistent base options — a quick no-cook evaporated-milk style and a richer custard-style base. Use top-notch dairy and measure carefully for the creamiest homemade ice cream.
Quick evaporated-milk base (no-cook)
Ingredients and method:
- 1 cup evaporated milk
- 1 1/2 cups whole milk
- 1/2 cup heavy cream
- 1/2 cup granulated sugar
- 1/4 teaspoon fine salt
- 1–2 teaspoons vanilla extract
Mixing steps: In a medium bowl, whisk together the evaporated milk, whole milk, heavy cream, and sugar until the sugar dissolves. Add salt and vanilla and whisk again. Chill the mixture in the fridge for at least 2 hours or overnight — a thoroughly chilled base helps your ice cream maker reach optimal texture faster. This no-cook approach boosts solids (from evaporated milk) to reduce iciness while keeping the method simple.
Richer custard base (optional)
Ingredients and method (yields similar batch size):
- 1 1/2 cups heavy cream
- 1 cup whole milk
- 1/2 cup granulated sugar
- 3 large egg yolks
- 1/4 teaspoon fine salt
- 2 teaspoons vanilla extract
Mixing steps: Warm the cream, milk, and half the sugar in a saucepan until it steams (do not boil). Whisk yolks with remaining sugar, then temper the yolks by slowly whisking in a small amount of the warm milk. Return the tempered mixture to the pan and cook gently, stirring, until it reaches 160°F and coats the back of a spoon (this creates a safe, stable custard). Immediately cool the custard in an ice bath, then stir in vanilla. Chill thoroughly before churning.
Notes and troubleshooting
- Consistency check: The quick evaporated-milk base uses evaporated milk to raise solids while keeping fat moderate; the custard-base increases richness and stability via egg yolks and higher cream content. Choose based on desired texture and time.
- Salt: 1/4 teaspoon helps flavor balance; adjust slightly to taste.
- Chill time: at least 2 hours, preferably overnight — colder bases churn faster and produce smaller ice crystals.
- Ice cream maker settings: many bowl-style machines reach soft-serve texture in ~20 minutes of churning; compressor machines may be faster and more consistent. After churning, transfer to an airtight container and freeze 2–4 hours to firm.
- Add-ins: add chips, nuts, or cookie pieces in the last 2–3 minutes of churning; add fruit purées before chilling to reduce excess water.
Creating Classic Variations of Your Ideal Milk Ice Cream
Now that you have a dependable base, use it as a canvas for classic and creative flavors. Homemade ice cream using evaporated milk adapts well to both simple vanilla scoops and bolder combinations — it keeps texture smooth while letting flavors shine.
Here are a few reliable, family-friendly templates and proportion tips (per batch):
- Classic vanilla: Use the base recipe and add 2 teaspoons real vanilla extract (or split a vanilla bean and scrape the seeds). Chill, churn, and freeze for a clean, top-rated vanilla ice cream.
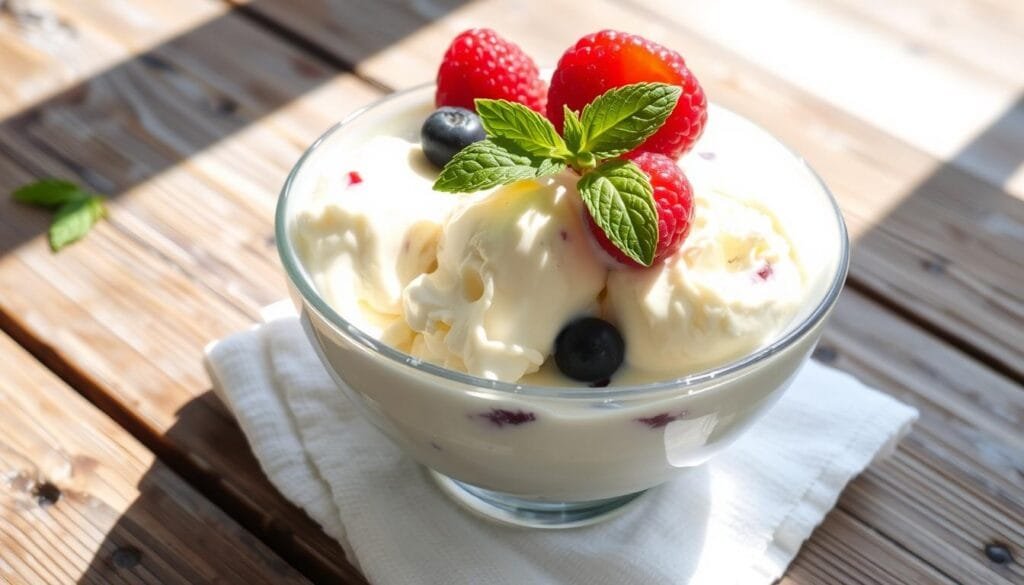
- Strawberry: Stir in 1 cup mashed or macerated strawberries (toss fruit with 1–2 tablespoons sugar and let sit 15–30 minutes to draw off juices), or fold in a 3/4–1 cup strawberry purée during mixing; reserve some chunks to add in the last 2 minutes of churning.
- Chocolate: Whisk in 1/4 to 1/2 cup unsweetened cocoa powder (sifted) into the warm or room-temperature base and adjust sugar to taste; for deeper flavor add 2–3 ounces melted dark chocolate cooled before stirring in.
Mix-in timing and tips:
- Dry mix-ins (cookie crumbs, chopped nuts, chocolate chips): add about 1/2 to 1 cup during the final 2–3 minutes of churning so they distribute evenly without sinking.
- Wet mix-ins (fruit purées, swirls, caramel): fold into the chilled base before churning or ripple in after churning; macerate fresh fruit to prevent excess free water that creates ice crystals.
- Delicate flavors (matcha, lavender): infuse gently — for matcha, whisk 1–2 teaspoons sifted matcha with a small amount of warm milk before blending into the base; for lavender, steep 1–2 teaspoons culinary lavender in warm cream, strain, and proceed.
Quick family-serving ideas and pairings:
- Serve vanilla ice cream with a warm fruit sauce or crumble for a simple family dessert.
- Top chocolate or vanilla ice cream with toasted nuts and a pinch of flaky salt to highlight richness.
- Make small batches of different flavors for a sampler day — use labeled airtight containers so each batch keeps its top texture.
These simple ratio suggestions and timing tips will help you produce consistently creamy, flavorful homemade ice cream — from classic vanilla ice cream to bold matcha or strawberry variations — all while keeping the smooth texture that evaporated-milk–based and high-quality cream bases deliver.
Troubleshooting Common Ice Cream Making Challenges
Even with a good base, problems can crop up when you make ice cream. The most common complaint is an icy texture caused by large ice crystals, but there are fixes and preventative steps that will get you back to creamy scoops.
Most common problems and quick fixes
- Icy or grainy texture: Cause — too much free water or inadequate solids. Fix — increase dissolved solids (use evaporated milk or a small amount of glucose/corn syrup), reduce added water, or use 1–2% stabilizer (e.g., a small pinch of xanthan or guar gum blended in) and chill thoroughly before churning.
- Too soft after freezing: Cause — low fat or high sugar/alcohol. Fix — transfer churned ice cream to an airtight container and freeze 2–4 hours; if it stays too soft, reduce sugar slightly next batch or increase cream percentage.
- Too hard or icy straight from the freezer: Cause — overfreezing or excessive water crystallization. Fix — let the container sit at room temperature for 5–10 minutes before scooping; use an ice cream spade warmed in hot water; next batch, add more fat or sugar to lower freezing point slightly.
- Curdled or broken mixture: Cause — overheating or adding cold ingredients too quickly. Fix — gently rewarm and whisk to reintegrate if safe, or blend, strain, and re-chill before re-churning.
Temperature and food-safety targets
- If using eggs for a custard base, cook the custard to 160°F (71°C) to safely pasteurize the yolks and create a stable base.
- Cool hot mixtures quickly in an ice bath and refrigerate to below 40°F (4°C) before churning — colder bases churn faster and produce smaller ice crystals.
Stabilizers, proteins, and ingredient notes
- Stabilizers (small amounts of guar gum or xanthan) help control texture — use sparingly (follow product recommendations) and dissolve them evenly to avoid sliminess.
- Milk proteins and egg yolks add emulsifying power and improve scoopability and mouthfeel — yolks also contribute to a richer custard base.
- Sugar and dissolved solids lower the freezing point and keep the ice cream scoopable; alcohol will also soften the final product, so use cautiously.
Storage and last-resort fixes
- Store in an airtight container in the coldest part of the freezer; press plastic wrap directly on the ice cream surface before sealing to minimize ice crystal formation.
- If you end up with an icy batch, try re-churning it in an ice cream maker or food processor after it softens slightly, or fold in a small amount (1–2 teaspoons) of glycerin or a tablespoon of liqueur per quart to soften texture.
Following these troubleshooting steps — correct temperatures, balanced mixture, appropriate stabilizers, and smart storage in an airtight container — will resolve most issues and help you consistently make creamy homemade ice cream. If you’re seeing a specific problem, tell me the symptoms (texture, flavor, timing) and I’ll give a targeted fix.
Conclusion: Enjoying Your Homemade Frozen Masterpiece
With the right ingredients, techniques, and a little practice, you can make delicious ice cream flavors that satisfy cravings and impress family and friends. Recipes that combine condensed milk and evaporated milk produce an especially creamy, indulgent texture — condensed milk adds sweetness and density while evaporated milk increases solids to reduce iciness — together they create a rich, slightly caramel-like mouthfeel without always needing a cooked custard.
More than the final pint, making ice cream is about the moments it creates: neighborhood cookouts, a family day of tasting, or a simple after-dinner scoop. Keep experimenting with new recipes and flavors, and remember that chilling, churning, and proper storage make all the difference in the finished texture.
Quick storage and serving tips: transfer finished ice cream to an airtight container and press plastic wrap directly on the surface before sealing to minimize ice crystals. Freeze in the coldest part of your freezer and plan 2–4 hours for the pint to firm up; if serving sooner, expect a softer, spoonable texture.
Want one last nudge? Try the evaporated milk recipe in this guide (print or save it), then make small test batches of vanilla, chocolate, and strawberry so you can compare textures and flavor balance — that’s the fastest way to learn what your family prefers.


