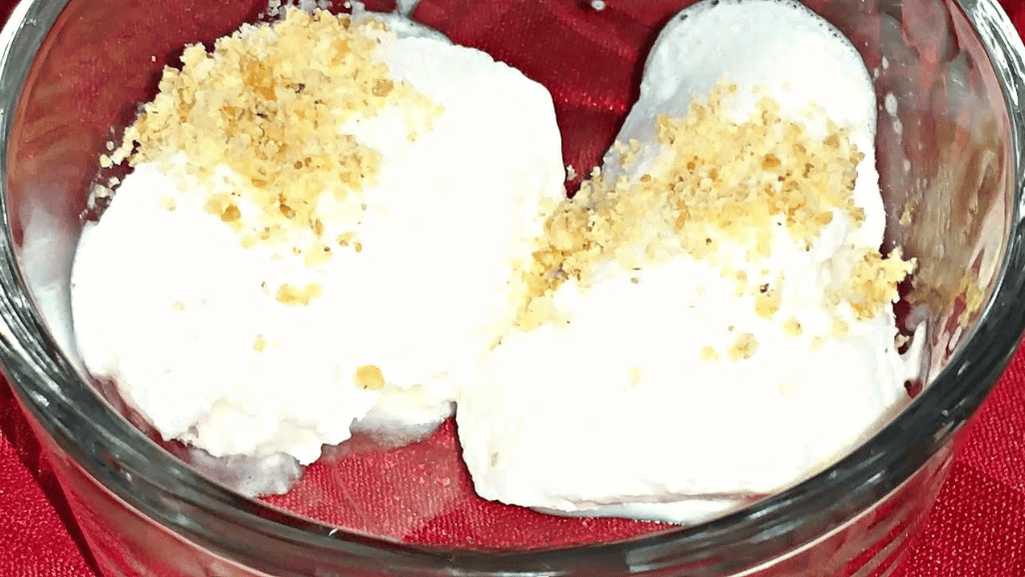
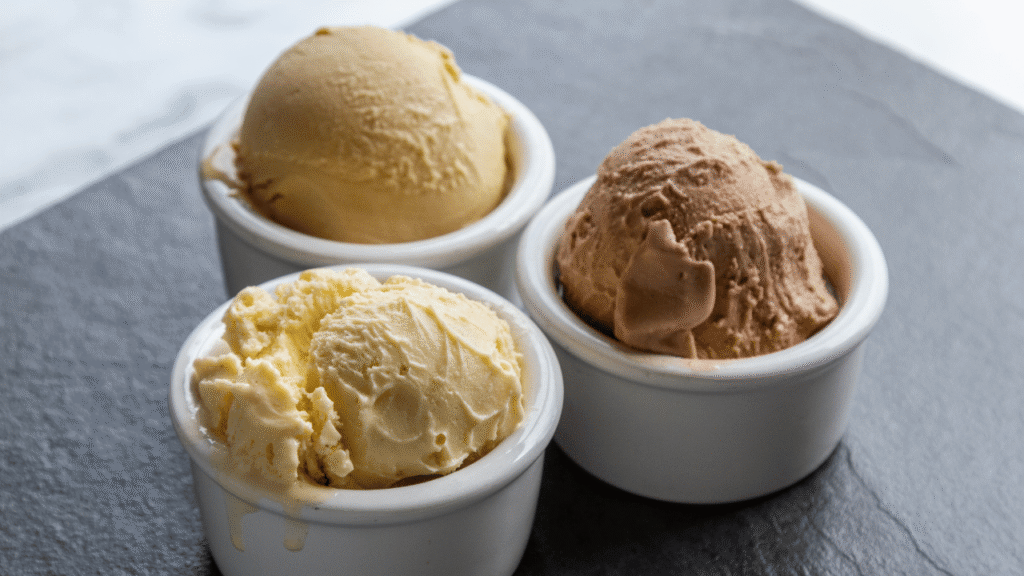
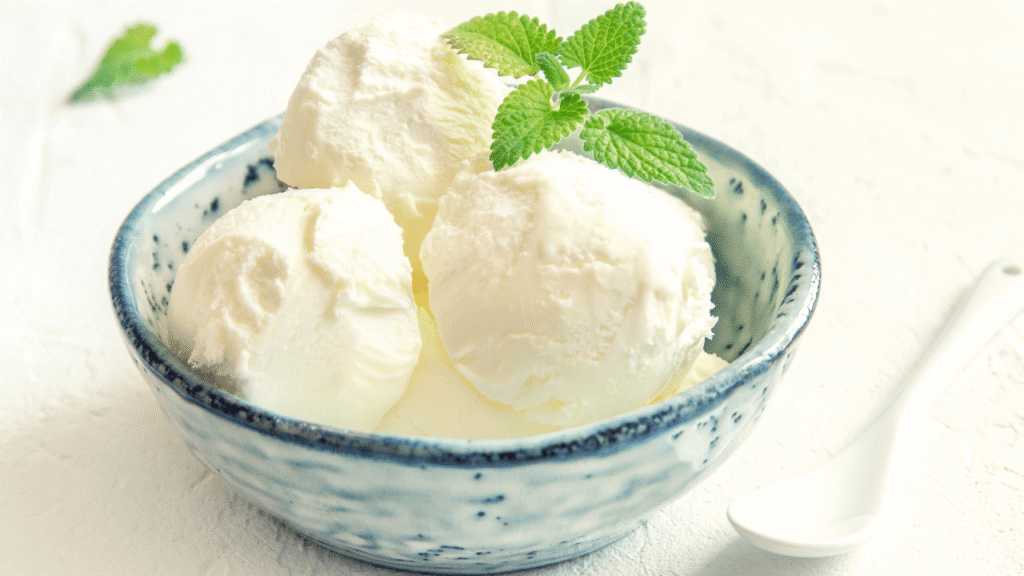
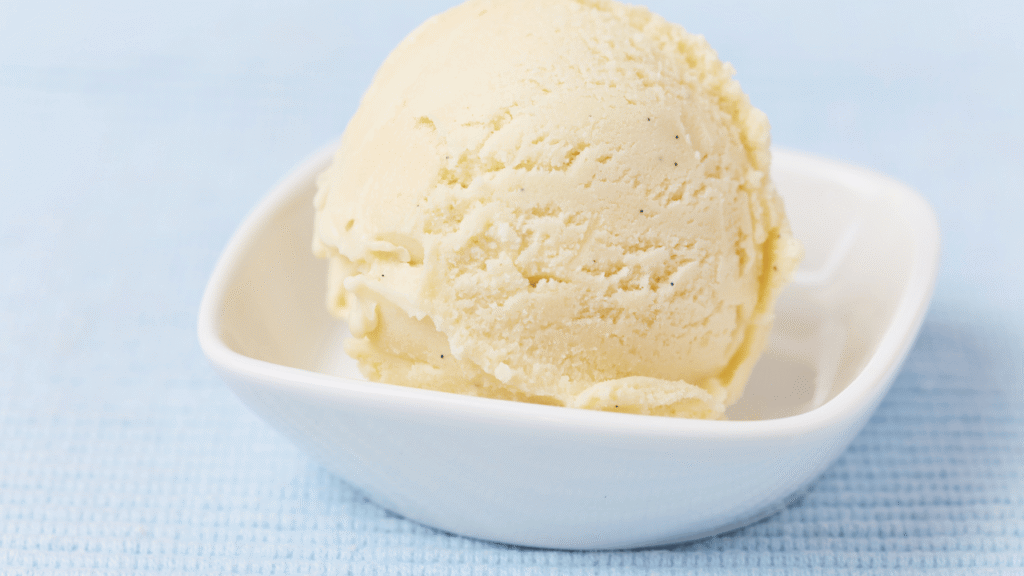
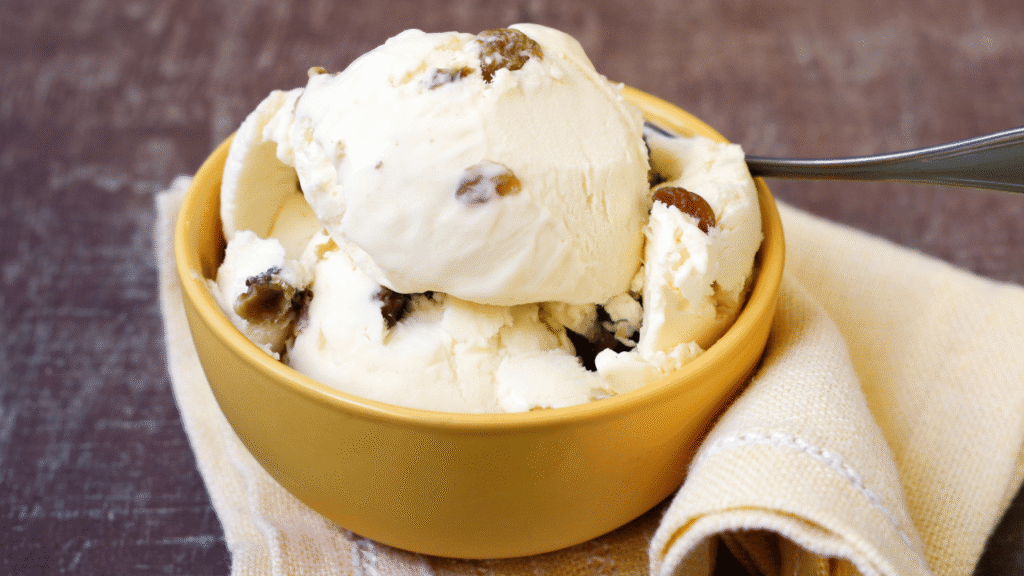
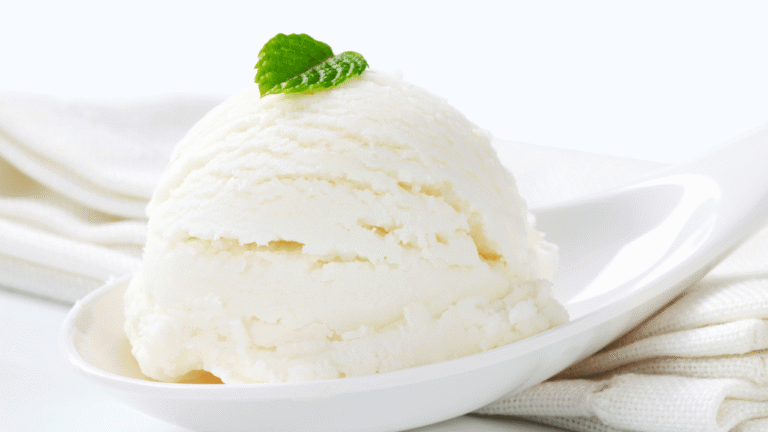
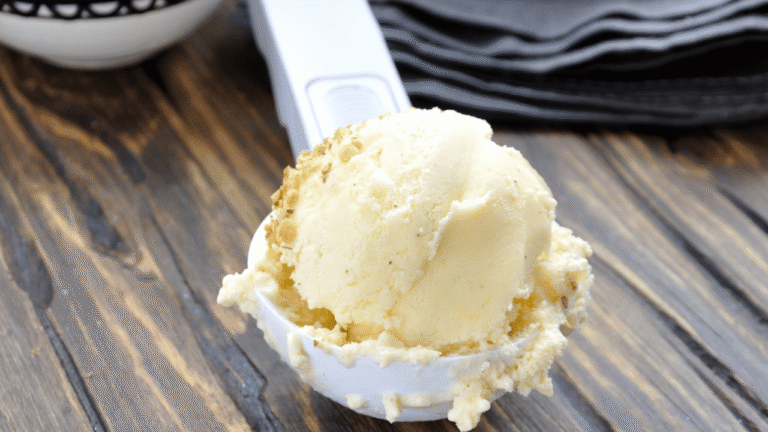
This easy Homemade Ice Cream with Evaporated Milk recipe shows how evaporated milk gives rich body and scoopability without a custard base. It fits busy cooks: short active steps, few tools, and a reliable result that’s light, airy, and true to vanilla.
For a no-churn method, chill one 13 oz can overnight. Whip it on high about 45–50 seconds until the volume nearly triples and it looks like whipped cream. Add 1 1/4 cups powdered sugar in thirds and 2 tsp vanilla for a clean flavor.
Freeze for 1 hour, re-whip about 1 minute, and repeat four to five times for a soft, airy texture. Transfer to a chilled airtight container; it keeps up to one week. Yield is roughly six servings at ~100 calories each.
If you prefer a bigger batch, the guide also previews a churned option using an ice-and-salt setup and 30–45 minute churn for gatherings.
Key Takeaways
- Evaporated milk creates a creamy, scoopable base without cooking a custard.
- No-churn path needs a mixer, a large bowl, and short freeze-and-whip intervals.
- Chill the can ahead and whip until it nearly triples in volume for best texture.
- Repeat quick freeze-and-rewhip cycles 4–5 times, then store in an airtight container.
- Expect about six servings and ~100 calories per serving for the no-churn vanilla ice cream.
Homemade Ice Cream with Evaporated Milk
4
servings30
minutes40
minutes300
kcal1
hour10
minutesCreamy ice cream using simple everyday ingredients.
Keep the screen of your device on
Ingredients
1 can 1 evaporated milk
1 cup 1 granulated sugar
2 cups 2 heavy cream
1 teaspoon 1 vanilla extract
1 pinch 1 salt
Directions
- Combine the evaporated milk, sugar, heavy cream, vanilla extract, and a pinch of salt in a medium saucepan over medium heat.
- Stir continuously until the sugar has completely dissolved and the mixture is heated through, about 5 minutes.
- Be careful not to let the mixture come to a boil to prevent curdling the cream.
- Once heated, remove the mixture from the stove, pour it into a mixing bowl, and let it cool at room temperature.
- Cover the bowl with plastic wrap and refrigerate for at least 2 hours or until thoroughly chilled.
- Once chilled, pour the mixture into an ice cream maker and churn according to the manufacturer's instructions, usually about 20-25 minutes.
- Transfer the churned ice cream into an airtight container and freeze for at least 2 hours for a firmer consistency.
- Serve the ice cream scoops in bowls or cones, and enjoy immediately or store in the freezer for up to one week.
Recipe Video
Nutrition Facts
- Total number of serves: 0
- Calories: 250kcal
- Fat: 20g
- Saturated Fat: 12g
- Trans Fat: 0.5g
- Polyunsaturated Fat: 0g
- Monounsaturated Fat: 6g
- Cholesterol: 70mg
- Sodium: 40mg
- Potassium: 150mg
- Carbohydrates: 15g
- Fiber: 0g
- Sugar: 13g
- Protein: 4g
- Vitamin A: 20IU
- Vitamin C: 0mg
- Calcium: 10mg
- Iron: 0mg
- Vitamin D: 0.5mg
- Vitamin E: 0.5mg
- Vitamin K: 0mg
- Thiamin: 0mg
- Riboflavin: 0mg
- Niacin: 0mg
- Vitamin B6: 0mg
- Vitamin B12: 0mg
- Folate: 0mg
- Biotin: 0mg
- Pantothenic Acid: 0mg
- Phosphorus: 0mg
- Iodine: 0mg
- Magnesium: 0mg
- Zinc: 0mg
- Selenium: 0mg
- Copper: 0mg
- Manganese: 0mg
- Chromium: 0mg
- Molybdenum: 0mg
- Chloride: 0mg
Did you make this recipe?
Tag @https://www.instagram.com/ice_cream_haven/ on Instagram and hashtag it with #IceCreamIceCreamHavens
Like this recipe?
Follow @https://www.pinterest.com/Ice_Cream_Haven/ on Pinterest
Join our Facebook Group!
Follow https://www.facebook.com/icecreamhavens/ on Facebook
Why Evaporated Milk Makes Ultra-Creamy Homemade Ice Cream
Evaporated milk whips into a frothy base that gives exceptional lightness to frozen desserts. Reduced water and concentrated milk solids let it take air and form a stable, almost whipped-cream texture when cold. That structure creates a soft, scoopable finish without the time or heat of a custard base.
Light, airy texture without a custard base
Skipping the cooked custard keeps the process fast and approachable. You still get a rich mouthfeel because the concentrated solids carry body and a clean dairy flavor. Proper chilling of the can and bowl is key to trap air and build volume.
How sugar and milk solids improve scoopability
Simple sugars and milk solids control ice crystal formation. Finer crystals mean a smoother bite and easier scooping straight from a home freezer.
- Concentrated solids: reduce free water and whip into stable foam.
- Added sugars: dissolve and depress the freezing point for softer texture.
- Compared to heavy cream: this approach gives cream without excessive fat, so the result feels bright, not greasy.
For churned versions, adding sweetened condensed components further lowers the freezing point for tender scoops. If you want a tested variation, try the 3-ingredient method to see how milk solids and sugar work together in practice.
Ingredients and Tools You’ll Need for Homemade Ice Cream with Evaporated Milk
Start by laying out a few staple ingredients and the right gear. This keeps the process organized and speeds up the no-churn or churned paths.
Core pantry ingredients
- One 13 oz can of evaporated milk (chilled)
- 1 1/4 cups powdered sugar for quick dissolution
- 2 tsp pure vanilla extract for clean flavor
Classic churned variation
- Evaporated milk plus sweetened condensed (or condensed milk) and whole milk to the fill line
- 1 egg (use pasteurized or temper to 165°F)
- Vanilla to taste; yields about 4 quarts
Optional add-ins and safety
- Sweetened condensed milk for extra softness; a pinch of salt to lift vanilla
Use pasteurized eggs for no-cook bases or temper raw eggs to 165°F, then chill before churning.
Equipment and freezing tips
- For no-churn: stand or hand mixer and a large bowl
- For churned: ice cream maker or cream maker; pre-chill the canister if possible
- Freezer-safe airtight container, measuring cups, rubber spatula
- For salt-ice setups: layer rock salt and ice to the top; check every ~10 minutes and add more. Rock salt lowers ice’s melting point so the mixture freezes faster and forms finer crystals.
Homemade Ice Cream with Evaporated Milk
You can get scoopable, flavorful results from either a quick mixer routine or a classic churned process. Below are clear steps, timing cues, and what to watch for as the mixture firms.
No-churn mixer method
Quick flow: fully chill one 13 oz can, then whip on high about 45–50 seconds until volume nearly triples.
Add powdered sugar in thirds and 2 tsp vanilla, folding gently. Freeze for 1 hour, re-whip about 1 minute, and repeat 4–5 times to build a stable, airy base.
Key cue: the mixture should resemble softly whipped cream before freezing and thicken to a spoonable texture after cycles.
Churned method in an ice cream maker
Combine evaporated milk, sweetened condensed milk, vanilla, and an optional pasteurized egg. Top up to the paddle line with milk so there’s room to expand.
Secure the canister and pack alternating layers of ice and rock salt to the top. Start churning immediately.
Timing, temperatures, and cues
- Churn 30–45 minutes depending on room temp and machine; aim for a thick, soft-serve stage.
- Check ice every 10 minutes and replenish as needed so the bath stays cold.
- Stop when the dasher leaves firm ridges and the motor runs steadily under load.
Transfer to a chilled airtight container at soft-serve stage to harden. Taste and adjust vanilla before the final freeze.
Step-by-Step: No-Churn Homemade Ice Cream with Evaporated Milk (Mixer + Freezer)
Start by chilling a 13 oz can thoroughly so it whips to maximum volume. Place the can at the back of the fridge overnight or a few days for best results.
Chill, whip, sweeten, and flavor
Pour the cold can into a chilled mixing bowl. Whip on high about 45–50 seconds until the mixture nearly triples in volume and looks airy.
Add 1 1/4 cups powdered sugar in three additions, beating after each so it dissolves without grit. Stir in 2 teaspoons of pure vanilla extract and whip to soft peaks.
Freeze-and-whip cycles for an airy base
Slide the bowl into the freezer for 1 hour to start setting the structure. Remove and whip for 1 minute to break forming crystals and re-incorporate air.
Repeat the freeze-and-whip cycle a total of four times. Each pass should thicken the base and reduce ice crystal size.
Transfer, freeze, and serve
When the texture resembles soft-serve, transfer to a chilled airtight container and smooth the top to limit air pockets. Freeze several hours for firmer scoops.
Storage: keep up to one week for best texture. This method yields a rich vanilla ice cream without a cooked custard and needs only a mixer and a bowl.
Step-by-Step: Old-Fashioned Ice Cream Maker Method
This classic maker method rewards a little prep with a big yield and superb texture. Gather the base ingredients and a chilled canister before you start.
Mix the base in the canister: pour in one can of evaporated milk, add sweetened condensed milk, stir in vanilla, and drop in one pasteurized egg. Top to the paddle fill line with cold milk so the dasher has room to work.
Prefer to temper: warm evaporated milk and 1 cup milk until steaming, whisk it slowly into a beaten egg to reach 165°F, then return all milks and whisk in the condensed milk. Chill 30 minutes before pouring into the canister.
- Set the canister, insert the dasher, and secure the lid.
- Pack alternating layers of ice and rock salt to the top to create a very cold brine.
- Churn about 30–45 minutes, checking every 10 minutes to add more ice and salt as needed.
Stop when the mixture becomes a thick, soft-serve texture and the motor strains slightly. Serve immediately for soft scoops, or transfer to a chilled container and harden several hours for clean, round servings. Expect about 4 quarts; store in an airtight container up to 2 months.
Homemade Ice Cream with Evaporated Milk Pro Tips, Flavors, and Storage
Cold tools and quick handling are the secret to finer crystals and a silkier mouthfeel. Pre-chill the bowl and the canister for a few hours so the base freezes faster. This helps the mixture form smaller, more pleasant crystals.
Texture boosters and equipment
Keep the ice-and-salt bath strong by layering 4–6 layers around the canister. Do this over the sink to manage meltwater and keep the area tidy.
Tip: Use pasteurized eggs if you skip tempering. For no-churn batches, re-whip between short freezer rounds so the airy structure holds.
Flavor ideas and mix-ins
- Fold in fruit swirls (macerate and strain juices first) or chocolate ripples once the mixture is thick.
- Add a splash of quality vanilla extract and a pinch of salt to sharpen flavor.
- Try crushed cookies, toasted nuts, or a ribbon of sweetened condensed milk for extra softness.
Containers and storage time
Move the finished base to a shallow, freezer-safe container and press parchment on the surface to limit air. No-churn versions keep best up to one week; churned batches stored in a chilled container can last about two months.
“Let containers sit a few minutes before scooping to improve scoopability and aroma.”
Conclusion
Both paths lead to rich, scoopable results—one relies on rapid whip-and-freeze cycles, the other on steady churning in an ice-and-salt bath. ,
Practical takeaways: chill tools, watch texture cues, and use pasteurized eggs or temper them for safety. The no-churn route yields about six servings; the churned method makes roughly 4 quarts.
Condensed milk or sweetened condensed components boost softness and sweetness in churned bases. Scale flavor with vanilla, chocolate, or fruit swirls and adjust sugar to taste.
Transfer to airtight containers, harden for ideal scoops, and follow storage windows: about one week for mixer batches and up to two months for churned tubs. Try the 3-ingredient method for a quick test, then refine to your favorite flavor.
Share your tweaks and favorite recipes in the comments—classics to seasonal twists help everyone scoop smarter.


