Imagine creating a dessert that’s as fun to make as it is to eat. This easy homemade ice cream cake roll recipe brings together the best of both worlds—a light, fluffy base and your favorite frozen treat. Perfect for any occasion, it’s a dessert that’s sure to impress family and friends alike.
This recipe is designed to be simple, even for beginners. With just a few basic ingredients like cocoa powder, sugar, and vanilla, you can whip up a dessert that feels gourmet. The process is straightforward, and the results are always delightful.
What makes this dessert special is its versatility. You can customize it with different flavors, making it a hit for any taste preference. Whether it’s a summer gathering or a cozy winter treat, this dessert fits the bill.
Ready to get started? Follow along to learn the secrets to creating a perfect roll every time. From equipment tips to ingredient essentials, we’ve got you covered. Let’s dive into the kitchen and make something unforgettable!
Key Takeaways
- Simple and beginner-friendly dessert recipe.
- Combines a light base with your favorite frozen treat.
- Customizable with various flavors for personal preference.
- Requires basic ingredients like cocoa powder, sugar, and vanilla.
- Perfect for any occasion, from summer gatherings to cozy winter treats.
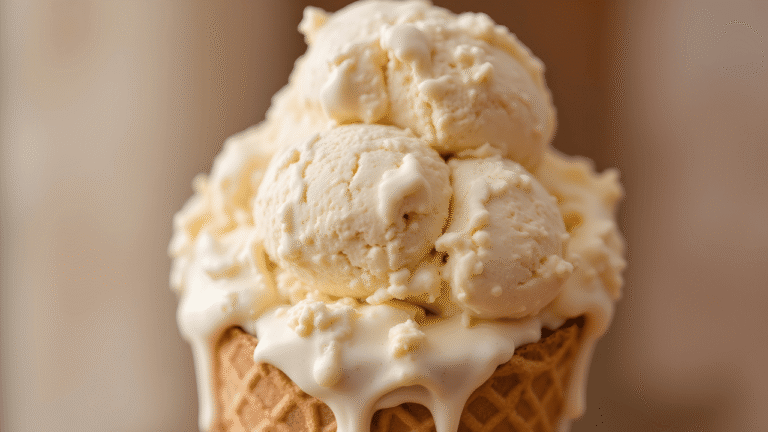
Cake Batter Ice Cream
4
servings30
minutes40
minutes300
kcal1
hour10
minutesDelicious and creamy vanilla ice cream using simple ingredients.
Keep the screen of your device on
Ingredients
2 cups 2 heavy cream
1 cup 1 whole milk
0.75 cup 0.75 granulated sugar
1 tablespoon 1 vanilla extract
1/8 teaspoon 1/8 salt
Directions
- In a large mixing bowl, whisk together the heavy cream, whole milk, granulated sugar, vanilla extract, and salt until the sugar is completely dissolved and the mixture is smooth.
- Cover the mixture and chill in the refrigerator for at least 2 hours or until thoroughly chilled. For best results, leave it overnight.
- Once the mixture is chilled, pour it into the ice cream maker and churn according to the manufacturer's instructions. Typically, churning takes about 20-25 minutes.
- Transfer the ice cream to an airtight container and freeze for at least 2 hours before serving to allow the ice cream to firm up.
- Served chilled in bowls or cones and enjoy. Optionally, top with chocolate syrup or fresh fruit for added flavor.
Recipe Video
Nutrition Facts
- Serving Size: 1g
- Total number of serves: 8
- Calories: 200kcal
- Fat: 12g
- Saturated Fat: 8g
- Trans Fat: 0g
- Polyunsaturated Fat: 0g
- Monounsaturated Fat: 4g
- Cholesterol: 50mg
- Sodium: 35mg
- Potassium: 100mg
- Carbohydrates: 24g
- Fiber: 0g
- Sugar: 23g
- Protein: 2g
- Vitamin A: 10IU
- Vitamin C: 0mg
- Calcium: 8mg
- Iron: 0mg
- Vitamin D: 5mg
- Vitamin E: 1mg
- Vitamin K: 1mg
- Thiamin: 0mg
- Riboflavin: 2mg
- Niacin: 0mg
- Vitamin B6: 0mg
- Vitamin B12: 6mg
- Folate: 0mg
- Biotin: 0mg
- Pantothenic Acid: 1mg
- Phosphorus: 8mg
- Iodine: 0mg
- Magnesium: 2mg
- Zinc: 1mg
- Selenium: 2mg
- Copper: 0mg
- Manganese: 0mg
- Chromium: 0mg
- Molybdenum: 0mg
- Chloride: 0mg
Did you make this recipe?
Tag @https://www.instagram.com/ice_cream_haven/ on Instagram and hashtag it with #IceCreamIceCreamHavens
Like this recipe?
Follow @https://www.pinterest.com/Ice_Cream_Haven/ on Pinterest
Join our Facebook Group!
Follow https://www.facebook.com/icecreamhavens/ on Facebook
A Delicious Journey into Homemade Ice Cream Cake Rolls
Every bite of this dessert carries a story, a memory, and a tradition. For many, it’s a nostalgic reminder of family gatherings, where a simple treat brought everyone together. This recipe is more than just a dessert—it’s a way to celebrate those cherished moments.
Background and Inspiration
The origins of this recipe trace back to a shared tradition between a father and daughter. It’s a blend of love, patience, and the joy of creating something special. The process of carefully mixing eggs, sugar, and cocoa transforms simple ingredients into a light, flavorful base.
Using a stand mixer to beat the egg mixture until it’s lemon-colored is a step that ensures the perfect texture. Adding sugar gradually, as recommended, helps dissolve it evenly, creating a smooth batter. This attention to detail is what makes the recipe so memorable.
Celebrating Family Traditions
Baking this dessert is more than just following steps—it’s about creating a ritual. The use of a jelly-roll pan lined with parchment paper ensures the cake bakes evenly and rolls smoothly. These tools are not just practical; they’re part of the tradition.
From the first mix of ingredients to the final roll, every step is a chance to connect with loved ones. Whether it’s a summer gathering or a cozy winter treat, this dessert brings people together. It’s a reminder that the best memories are made in the kitchen.
For more inspiration on creating your own homemade ice cream cake, explore this guide to make your dessert even more special.
Ingredient Essentials and Must-Have Equipment
Success in the kitchen begins with gathering the best ingredients and equipment. Whether you’re a seasoned baker or a beginner, having the right tools and high-quality components ensures your dessert turns out perfectly. Let’s break down what you’ll need to create a flawless treat.
Key Ingredients Breakdown
Every great dessert starts with a solid foundation. Here’s a list of essential ingredients and their measurements:
- 1 cup all-purpose flour: Provides structure and texture.
- 1/4 cup cocoa powder: Choose high-quality for a richer flavor.
- 3 eggs: Beat until lemon-colored for a light, airy base.
- 1 cup granulated sugar: Adds sweetness and dissolves evenly.
- 1 tsp vanilla extract: Enhances the overall flavor profile.
- 1/4 cup water: Balances the batter’s consistency.
Using precise measurements ensures consistency, so invest in a digital scale for accuracy.
Equipment Checklist for Success
Having the right tools makes all the difference. Here’s what you’ll need:
- 10″ x 15″ jelly roll pan: Essential for baking the base evenly.
- Stand mixer: Beats eggs and sugar to the perfect consistency.
- Parchment paper: Prevents sticking and ensures easy rolling.
- Cooling rack: Allows the base to cool evenly before filling.
- Large bowl: For mixing dry and wet ingredients.
Preparing your kitchen with these tools sets you up for success. For more tips on creating homemade ice cream, explore this guide to elevate your dessert game.
Step-by-Step Instructions: From Batter to Roll
Mastering the art of creating a flawless dessert starts with the perfect batter. This process is simple yet requires attention to detail to ensure a light, airy base. Follow these steps to achieve a stunning result every time.
Preparing the Batter & Baking the Cake
Begin by preheating your oven to 375°F. While it heats, prepare the batter. In a stand mixer, beat the eggs until they are light and lemon-colored. Gradually add sugar, ensuring it dissolves completely for a smooth texture.
Next, sift the flour and cocoa powder together to avoid lumps. Gently fold this mixture into the egg and sugar combination. Add a splash of vanilla for enhanced flavor.
Line a jelly roll pan with parchment paper and spread the batter evenly using a spatula. Bake for 11-13 minutes, or until a toothpick inserted in the center comes out clean.
The Art of Rolling and Cooling
Once baked, immediately dust the cake with cocoa or powdered sugar. Lay a clean towel over the cake and carefully flip it onto the towel. Peel off the paper gently.
While the cake is still warm, roll it tightly using the towel. This step prevents cracking and ensures a perfect shape. Let it cool completely on a cooling rack before adding your filling.
Patience is key here. Cooling the roll thoroughly ensures it holds its shape and texture when sliced. Now, you’re ready to fill and enjoy your masterpiece!
Expert Tips for Rolling, Cooling, and Freezing
The secret to a flawless treat lies in the details of rolling and cooling. These steps are crucial for achieving a smooth, crack-free dessert that holds its shape. With the right techniques, you can create a stunning result every time.
Handling the Towel and Preventing Cracks
When rolling your dessert, the towel plays a key role. Dust it with powdered sugar to prevent sticking. Gently flip the baked base onto the towel and peel off the parchment paper. Roll it tightly while it’s still warm to avoid cracks.
If cracks do appear, don’t panic. A light dusting of sugar can help disguise minor imperfections. For larger cracks, use a bit of filling to seal them before freezing.
Maintaining Ideal Cake Texture
Proper cooling is essential for the perfect texture. Let the rolled base cool completely on a cooling rack. This ensures it holds its shape when filled. If you’re in a hurry, place it in the freezer for a short time, but avoid rushing the process.
When freezing, wrap the dessert tightly in plastic wrap to prevent freezer burn. This also helps maintain the structure. For best results, let it firm up in the freezer for at least 2 hours before serving.
By following these tips, you’ll create a dessert that’s as beautiful as it is delicious. Patience and attention to detail are your best tools for success.
Variations, Flavors, and Creative Customizations
Unlock endless possibilities by experimenting with flavors and toppings for your dessert. This recipe is a canvas for your creativity, allowing you to tailor it to any occasion or preference. Whether you’re celebrating a holiday or simply indulging, these ideas will inspire you to make every bite unforgettable.
Flavor Swap Ideas and Ice Cream Pairings
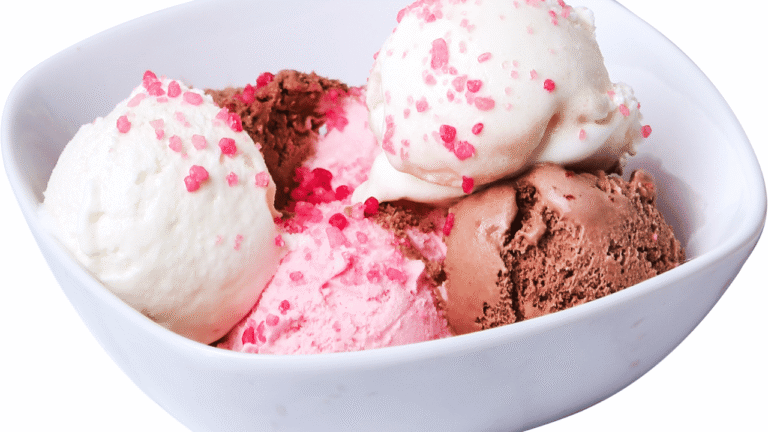
Swapping flavors is an easy way to keep things fresh. For a festive twist, try peppermint during the holidays. Cookies-and-cream is perfect for birthdays, while a hint of cocoa can satisfy chocolate lovers. Pair your base with different ice cream flavors to create unique combinations.
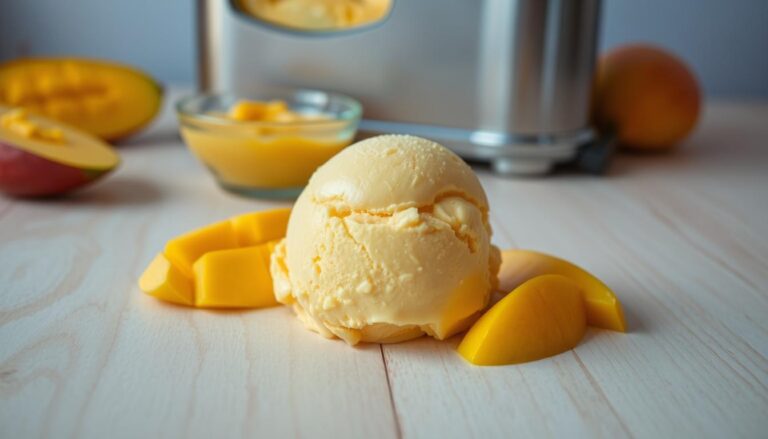
For a tropical vibe, mix in mango or coconut. If you prefer something rich, caramel or hazelnut are excellent choices. The key is to balance the sweetness and texture for a harmonious result.
“The beauty of this recipe lies in its adaptability—every variation feels like a new creation.”
Garnishing and Presentation Techniques
Presentation is just as important as taste. Dust your dessert with powdered sugar for a classic look. Add a drizzle of chocolate or caramel sauce for extra indulgence. Colorful sprinkles or edible flowers can make it visually stunning.
For a glossy finish, try a magic shell topping. It hardens quickly, adding a delightful crunch. Use a spatula to spread toppings evenly, ensuring every slice looks perfect. These small touches elevate your dessert from homemade to gourmet.
Explore more homemade ice cream recipes to find inspiration for your next creation. With these tips, your dessert will not only taste amazing but also look like a work of art.
Mastering the ice cream cake roll recipe: Best Practices and Common Pitfalls
Even the most experienced bakers can face challenges when crafting this treat. From cracks to sticking, small mistakes can disrupt the process. But with the right techniques, you can overcome these hurdles and create a flawless dessert every time.
Troubleshooting Cracks and Sticking Issues
One of the most common issues is cracking when unrolling the base. To prevent this, ensure the cake is rolled while still warm. Dusting the towel with powdered sugar helps reduce sticking and keeps the surface smooth.
If cracks do appear, don’t panic. A light layer of filling can seal minor imperfections. For larger cracks, gently press the edges together before freezing. Patience is key—rushing the process often leads to more issues.
Time-Saving Techniques and Essential Do’s
Streamline your process by pre-measuring ingredients before starting. Using a stand mixer efficiently can save time and ensure a smooth batter. Prepare your pan with parchment paper to avoid sticking and make cleanup easier.
When freezing, wrap the dessert tightly in plastic to prevent freezer burn. Adjust your freezer time based on your kitchen’s temperature. For best results, let it chill for at least two hours before serving.
For more tips on perfecting your dessert, explore this easy no-churn ice cream recipe. With these techniques, you’ll master the art of creating a stunning treat that’s as beautiful as it is delicious.
Conclusion
Creating a homemade dessert is a rewarding experience that combines creativity and precision. This treat offers endless possibilities for customization, from choosing your favorite flavors to experimenting with toppings. The process, though simple, requires attention to detail—especially during rolling and cooling—to achieve a smooth, crack-free result.
Proper storage is key to maintaining the ideal texture. Wrap your dessert tightly in plastic to prevent freezer burn and let it chill for at least two hours before serving. For a polished presentation, slice it neatly and garnish with a drizzle of chocolate or a sprinkle of powdered sugar.
Embrace the joy of making this dessert your own. Whether it’s for a special occasion or a sweet indulgence, the possibilities are limitless. Share your creations and inspire others to explore their culinary creativity. For more ideas, check out this decadent chocolate dessert recipe to elevate your next masterpiece.


