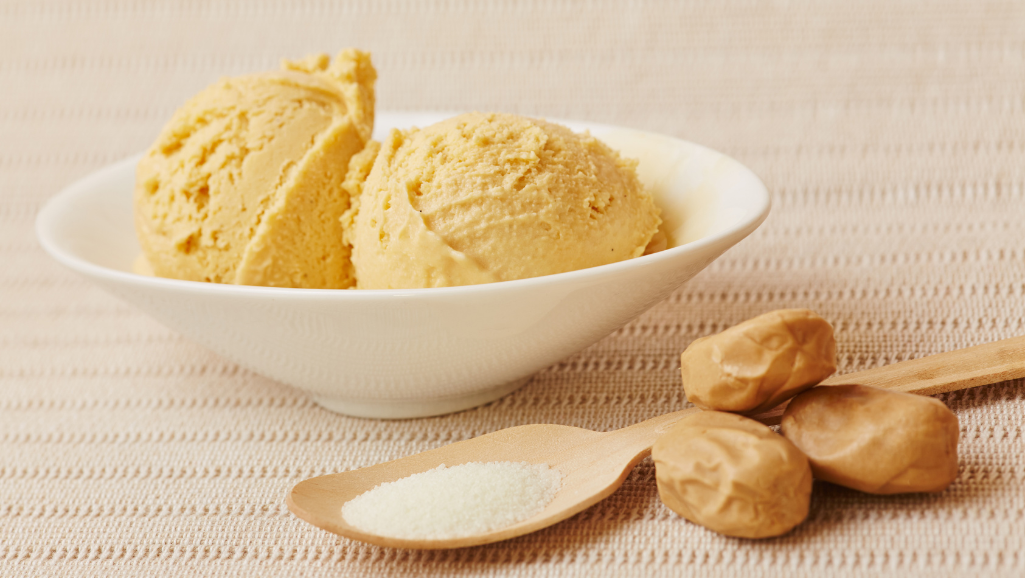
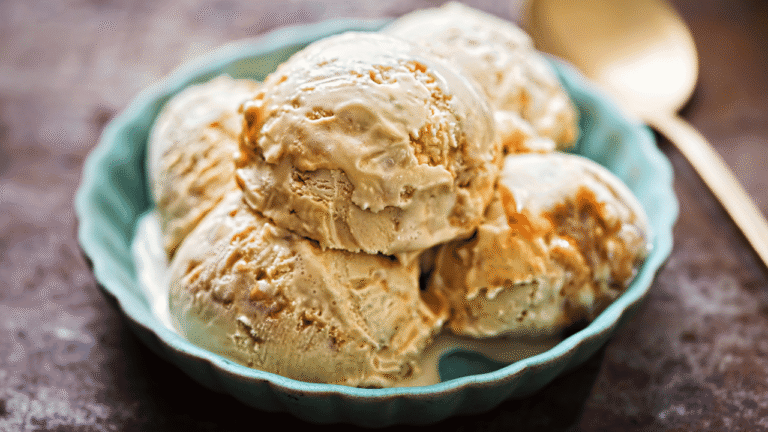
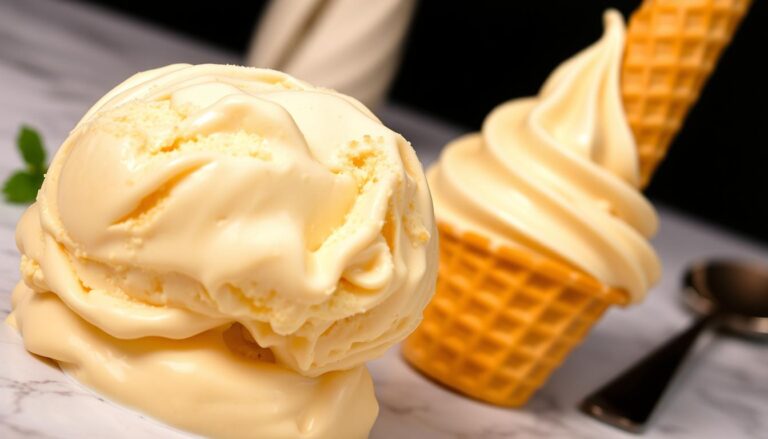
There’s something magical about crafting desserts at home. Imagine transforming everyday ingredients into a velvety, golden-hued treat that rivals artisanal brands. This isn’t just about following a recipe—it’s about creating butterscotch icecream with every swirl of caramelized sweetness.
Picture your kitchen filled with the warm aroma of melted brown sugar and butter. The process becomes a shared experience, drawing loved ones to the counter as you whisk together cream and patience. Each batch tells a story, blending tradition with your unique twist.
Perfecting this classic dessert requires balance. Too much sugar overwhelms; too little loses that irresistible depth. With practice, you’ll master the silky texture that melts effortlessly on the tongue. Add mix-ins like toasted nuts or chocolate shavings to make it uniquely yours.
Key Takeaways
- Homemade versions can surpass store-bought quality with fresh, simple ingredients
- The cooking process creates opportunities for family bonding and nostalgia
- Proper temperature control ensures ideal creaminess
- Brown sugar and butter ratios determine flavor intensity
- Custom toppings let you personalize each serving
- Churning techniques affect final texture and scoopability
Homemade Butterscotch Ice Cream
4
servings30
minutes40
minutes300
kcal1
hour10
minutesCreamy butterscotch ice cream made with simple ingredients.
Keep the screen of your device on
Ingredients
3/4 cup 3/4 brown sugar
2 tablespoons 2 water
4 tablespoons 4 unsalted butter
1 cup 1 heavy cream
1 teaspoon 1 vanilla extract
2 cups 2 whole milk
1/2 cup 1/2 granulated sugar
1/4 teaspoon 1/4 salt
Directions
- In a small saucepan, combine brown sugar and water over medium heat until sugar dissolves, about two minutes, then reduce heat to low.
- Add butter to the saucepan and stir continuously until mixture is smooth and fully combined, forming a butterscotch sauce.
- Remove the saucepan from heat and mix in the heavy cream and vanilla, stirring until fully incorporated, then allow mixture to cool.
- In a separate bowl, whisk together whole milk, granulated sugar, and salt until sugar is fully dissolved.
- Combine the cooled butterscotch mixture with the milk mixture and stir until well mixed.
- Chill the entire mixture in the refrigerator for at least two hours to ensure it is completely cold.
- Pour the chilled butterscotch mixture into an ice cream maker and freeze according to the manufacturer's instructions, usually about 20-25 minutes.
- Once churned, transfer the ice cream to an airtight container and freeze for at least four hours or until firm.
- Before serving, let the ice cream sit at room temperature for five minutes to soften slightly for easier scooping.
Nutrition Facts
- Total number of serves: 8
- Calories: 250kcal
- Cholesterol: 50mg
- Sodium: 90mg
- Potassium: 120mg
- Sugar: 25g
- Protein: 3g
- Calcium: 100mg
- Iron: 0mg
- Thiamin: 0mg
- Riboflavin: 0mg
- Niacin: 0mg
- Folate: 0mg
- Biotin: 0mg
- Phosphorus: 0mg
- Iodine: 0mg
- Magnesium: 0mg
- Zinc: 0mg
- Selenium: 0mg
- Copper: 0mg
- Manganese: 0mg
- Chromium: 0mg
- Molybdenum: 0mg
- Chloride: 0mg
Did you make this recipe?
Tag @https://www.instagram.com/ice_cream_haven/ on Instagram and hashtag it with #IceCreamIceCreamHavens
Like this recipe?
Follow @https://www.pinterest.com/Ice_Cream_Haven/ on Pinterest
Join our Facebook Group!
Follow https://www.facebook.com/icecreamhavens/ on Facebook
Introduction and Inspirational Background
Kitchens become time machines when you whip up frozen delights from scratch. That first scrape of the wooden spoon against the saucepan? It’s the sound of generations whispering their secrets. Homemade desserts carry fingerprints of history, blending nostalgia with tomorrow’s memories.
The Allure of Homemade Ice Cream
One cook’s confession changed everything: “I created this recipe expecting nothing, but now it dethroned my lifelong mint chip obsession.” This transformative power lives in every churn. Unlike store versions with stabilizers, your batch uses real cream and caramelized sugar – ingredients that sing rather than whisper.
Families worldwide interpret flavors differently. In Mumbai, street vendors swirl cardamom into their golden batches. In Ohio kitchens, vanilla beans mingle with toasted pecans. Yet both share that irreplaceable warmth only hands-on creation provides.
Personal Stories and Traditions
Grandmothers teach grandchildren to temper eggs without thermometers. Friends debate perfect churn times over laughter. “Our freezer’s always stocked,” shares a third-generation ice cream maker, “because joy multiplies when shared.”
Every scoop becomes a bridge – between cultures, generations, or simply Tuesday nights. Whether reviving heirloom recipes or inventing new ones, you’re not just making dessert. You’re crafting edible heirlooms that outlast seasons.
Butterscotch icecream: Essential Tips and Techniques
Crafting unforgettable frozen treats begins with unlocking flavor alchemy. The secret lies in balancing science and artistry – especially when working with rich, complex profiles that demand precision.
Understanding the Signature Butterscotch Flavor
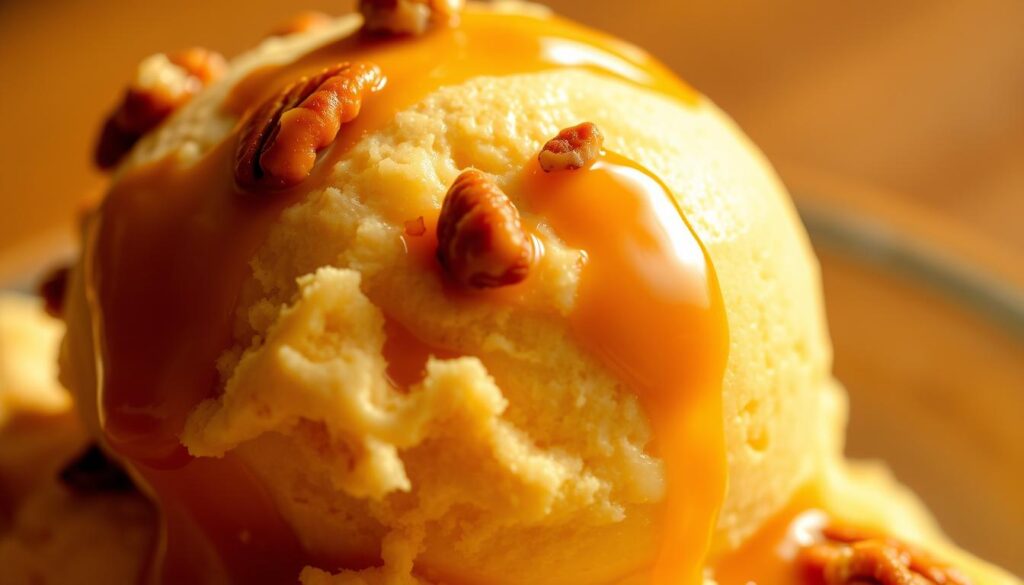
True butterscotch magic happens when brown sugar meets butter over heat. This dynamic duo creates caramelized depth that light brown sugar can’t match. Dark brown varieties pack extra molasses – the key to that Werther’s Original candy essence fans crave.
Texture tells half the story. Cream transforms the mixture into velvet, while a pinch of salt heightens sweetness without overpowering. Vanilla acts as the conductor, harmonizing browned butter notes with caramel undertones.
Many confuse butterscotch with caramel, but their DNA differs. As one pastry chef explains: “Butterscotch’s brown sugar foundation gives it bolder character – like a mahogany library versus caramel’s sunlit porch.” This richness withstands freezing better, maintaining flavor intensity even when chilled.
Experimentation unlocks personalization. Try swapping 25% of dark brown sugar with muscovado for smokier tones. Or add a teaspoon of bourbon during cooling to accentuate vanilla. Master the base recipe first – then let creativity shine through thoughtful tweaks.
Ingredients Breakdown and Preparation Essentials
Transforming simple staples into creamy perfection requires knowing your elements. Every spoonful’s success hinges on thoughtful selection – from dairy percentages to utensil choices that turn effort into artistry.
Key Ingredients for a Decadent Experience
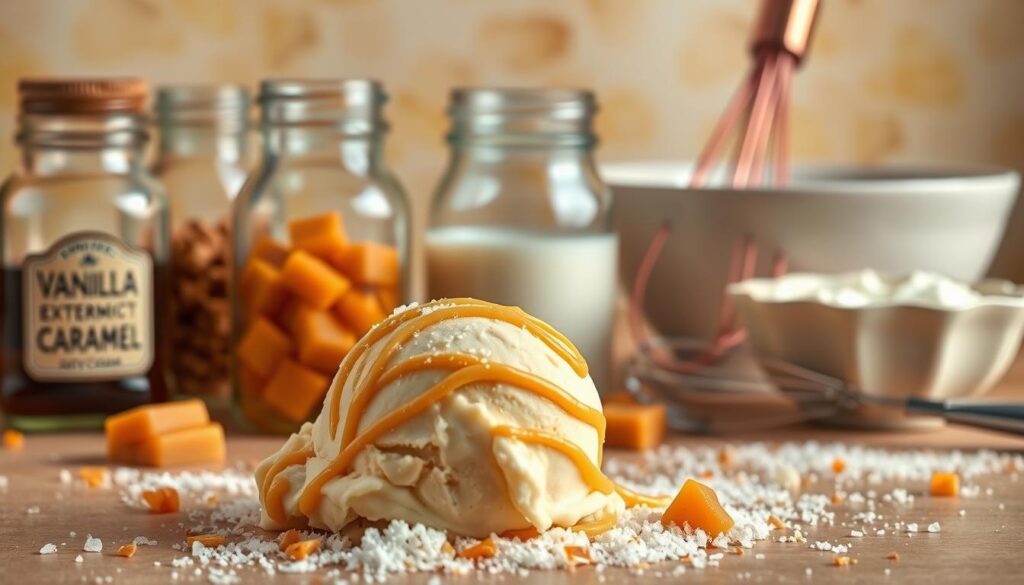
Heavy cream acts as your texture commander, with 36% milk fat creating that signature velvet mouthfeel. “This fat percentage isn’t negotiable,” advises a pastry chef who’s tested dozens of brands. “It’s the difference between good and transcendent.”
Whole milk balances richness without overwhelming sweetness. While 2% works in a pinch, skim milk leaves your base watery – like trying to build a sandcastle with dry sand. Egg yolks work their thickening magic, transforming liquid gold into custard royalty.
Dark brown sugar delivers deeper molasses notes than its lighter cousin. Unsalted butter lets you control salt levels, while pure vanilla extract conducts the flavor orchestra. Together, these basics create magic without artificial stabilizers.
Essential Equipment and Tools
Your ice cream maker does the heavy lifting, but a sturdy loaf pan and hand mixer can achieve similar results. Choose heavy-bottomed pans for even heating and glass bowls that won’t absorb odors.
Whether using a traditional churn or freezer method, success lies in preparation. A digital thermometer prevents scrambled eggs in your base, while silicone spatulas ensure every drop makes it into the freezer. Remember: Great tools don’t make the chef – they simply amplify the artistry already in your hands.
Step-by-Step Preparation: Churn vs No-Churn Methods
Mastering frozen desserts becomes effortless when you choose the right technique. Both traditional and modern approaches deliver creamy results, letting you prioritize flavor over fuss.
Traditional Custard Base Method
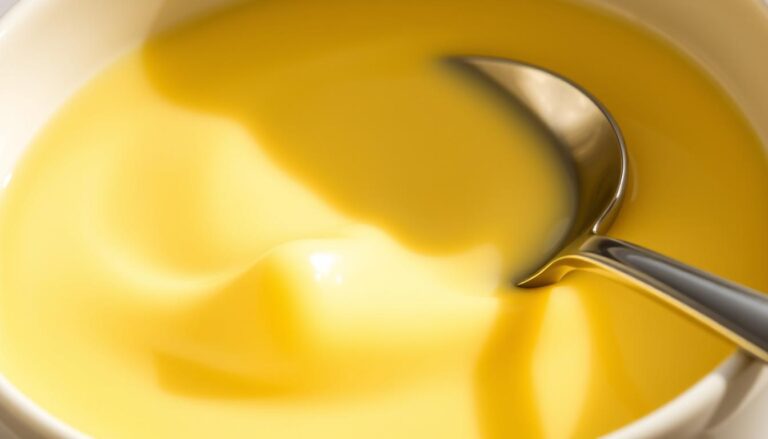
Begin by melting butter in a medium saucepan over medium-low heat. Whisk dark brown sugar until it bubbles – about 4 minutes. Slowly pour in heavy cream, creating a velvety base that coats your spoon.
Temper egg yolks with the hot mixture to prevent scrambling. Return everything to the pan, stirring until thickened. Chill completely before churning in your ice cream maker. This method rewards patience with unparalleled silkiness.
No-Churn Options for Busy Cooks
Whip heavy cream to soft peaks. Fold in sweetened condensed milk and cooled butterscotch sauce. Pour into a loaf pan, freeze 6 hours, and serve. No special equipment needed – just a bowl and whisk.
Both methods celebrate that golden balance of sweet and rich. Whether you churn or freeze, each spoonful carries the warmth of homemade care. Your kitchen, your rules – deliciousness always wins.


