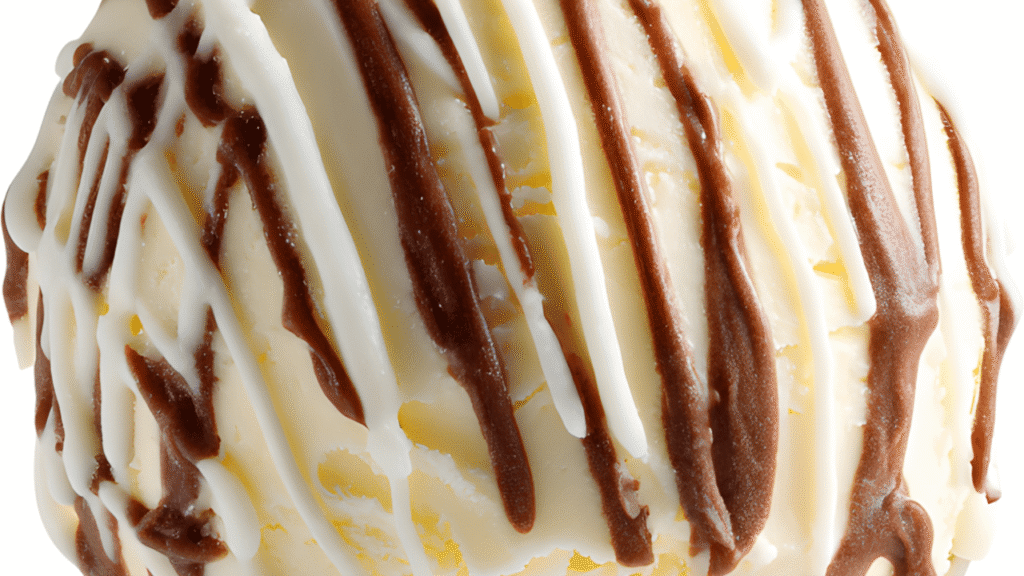
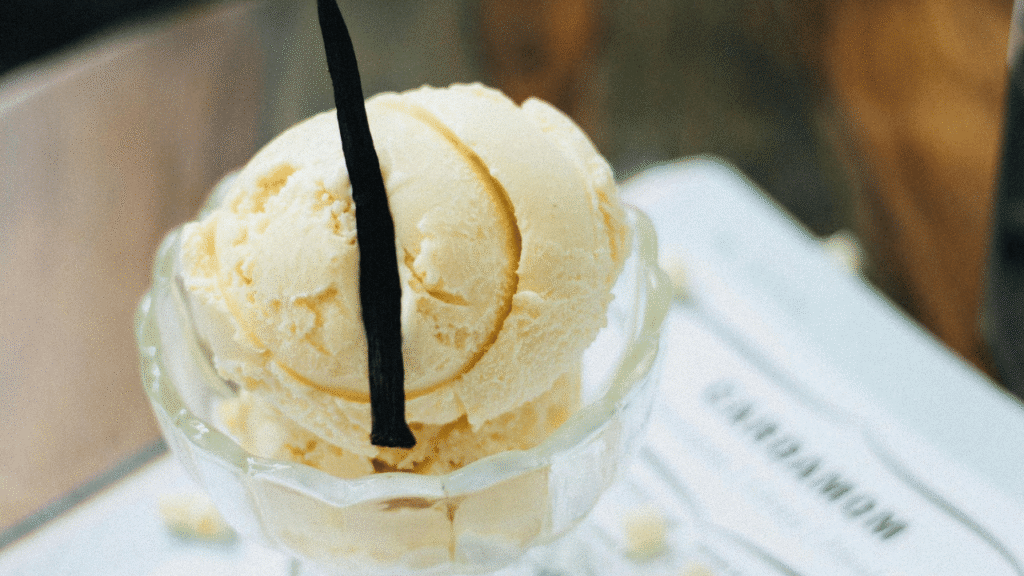
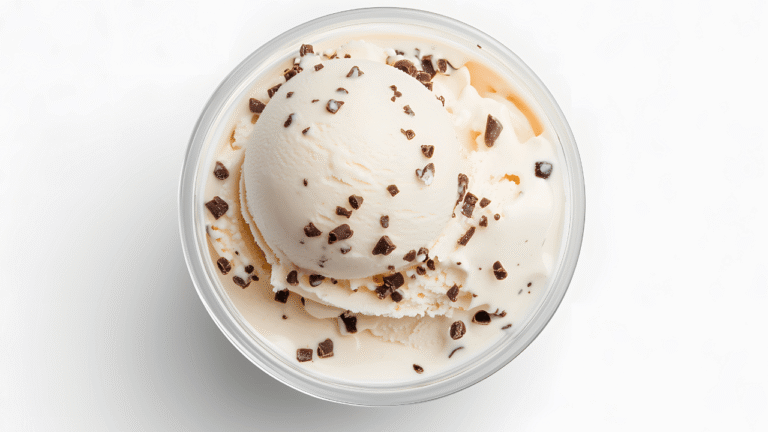
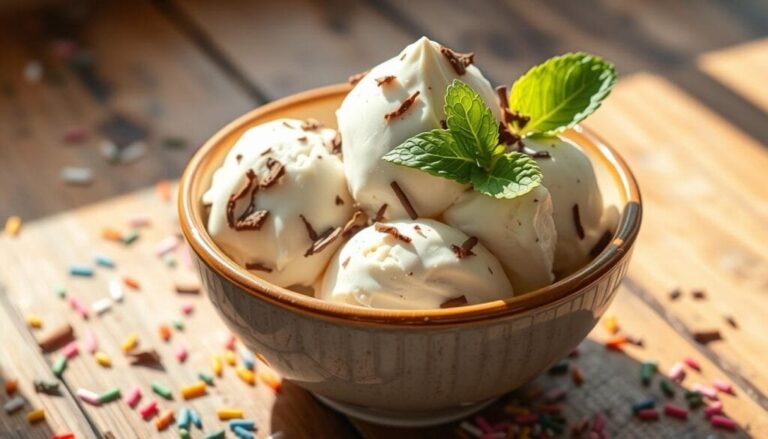
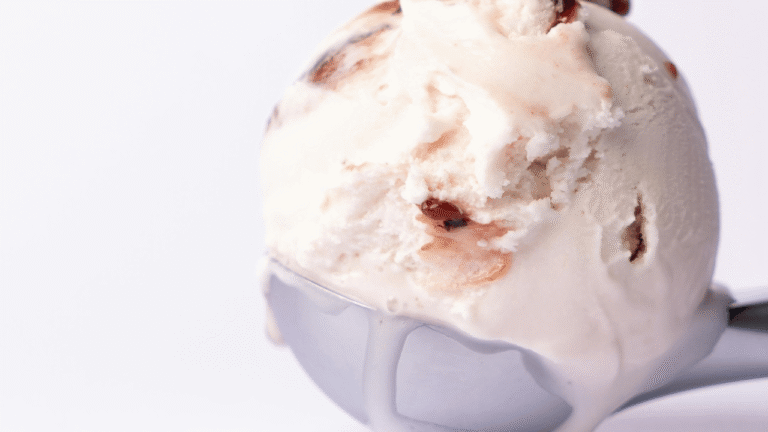
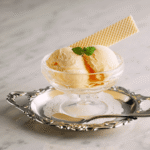
Make an ultra-creamy, custard-style French Vanilla Ice Cream Recipe at home using just six core ingredients: whole milk, heavy cream, sugar, salt, egg yolks, and vanilla. This custard-style cream recipe combines rich dairy and egg structure into a silky mixture that routinely outperforms many store-bought options.
French Vanilla Ice Cream Recipe — start by heating milk and cream with vanilla and salt until just steaming, then whisk yolks with sugar until pale and ribbony. Temper the eggs by slowly adding hot dairy, then cook gently until the custard reaches a safe and supportive 170–175°F (77–79°C) for body and food safety.
Strain the hot custard, cool it quickly in an ice bath, then chill fully (minimum 4 hours or overnight for best results) before churning in a frozen canister or compressor ice cream maker according to manufacturer instructions. After churning, transfer to a chilled container, press plastic directly to the mixture to prevent crystals, and ripen in the freezer at least 2 hours before serving.
Key Takeaways
- Simple formula: six ingredients plus one primary tool — a frozen canister or compressor ice cream maker.
- Cook the custard to 170–175°F (77–79°C); never boil the mixture.
- Chill the mixture thoroughly (4 hours to overnight) before churning; press plastic to the surface when freezing to avoid crystallization.
- Timing example for a 1.5‑quart batch: 10–15 minutes active heating & tempering, 4+ hours chill, 20–30 minutes churn (machine-dependent), 2 hours ripen.
- Use vanilla bean or paste during heating for depth; add extract off-heat or into the cooled mixture to preserve volatile aroma.
French Vanilla Ice Cream
8
servings20
minutes20
minutes270
kcalCreamy, rich homemade French vanilla ice cream.
Keep the screen of your device on
Ingredients
2 cups 2 heavy cream
1 cup 1 whole milk
3/4 cup 3/4 granulated sugar
2 teaspoons 2 vanilla extract
1 pinch 1 salt
5 5 egg yolks
Directions
- In a medium saucepan, combine the heavy cream, whole milk, and sugar, stirring gently over medium heat until the sugar dissolves completely.
- In a separate bowl, whisk the egg yolks and gradually add a small amount of the warmed cream mixture to temper the eggs.
- Return the tempered egg yolks to the saucepan and cook over low heat, stirring constantly until the mixture thickens and coats the back of a spoon.
- Remove the saucepan from the heat and stir in the vanilla extract and a pinch of salt for enhanced flavor.
- Pour the mixture into a bowl and cover, chilling in the refrigerator for at least 4 hours or overnight for best results.
- Transfer the chilled mixture to an ice cream maker, following the manufacturer's instructions to churn for about 20-25 minutes until thickened.
- Once churned, transfer the ice cream to an airtight container and freeze for at least 2 hours until firm before serving.
Recipe Video
Nutrition Facts
- Total number of serves: 8
- Calories: 270kcal
- Fat: 19g
- Saturated Fat: 11g
- Trans Fat: 0.5g
- Polyunsaturated Fat: 0.5g
- Monounsaturated Fat: 6g
- Cholesterol: 150mg
- Sodium: 60mg
- Potassium: 120mg
- Carbohydrates: 22g
- Fiber: 0g
- Sugar: 22g
- Protein: 4g
- Vitamin A: 700IU
- Vitamin C: 0mg
- Calcium: 130mg
- Iron: 0.5mg
- Vitamin D: 0mg
- Vitamin E: 0mg
- Vitamin K: 0mg
- Thiamin: 0.03mg
- Riboflavin: 0.2mg
- Niacin: 0.1mg
- Vitamin B6: 0.04mg
- Vitamin B12: 0.3mg
- Folate: 15mg
- Biotin: 0mg
- Pantothenic Acid: 0.5mg
- Phosphorus: 90mg
- Iodine: 0mg
- Magnesium: 10mg
- Zinc: 0.5mg
- Selenium: 4mg
- Copper: 0.03mg
- Manganese: 0mg
- Chromium: 0mg
- Molybdenum: 0mg
- Chloride: 0mg
Did you make this recipe?
Tag @https://www.instagram.com/ice_cream_haven/ on Instagram and hashtag it with #IceCreamIceCreamHavens
Like this recipe?
Follow @https://www.pinterest.com/Ice_Cream_Haven/ on Pinterest
Join our Facebook Group!
Follow https://www.facebook.com/icecreamhavens/ on Facebook
What Makes French Vanilla Different from Philadelphia-Style
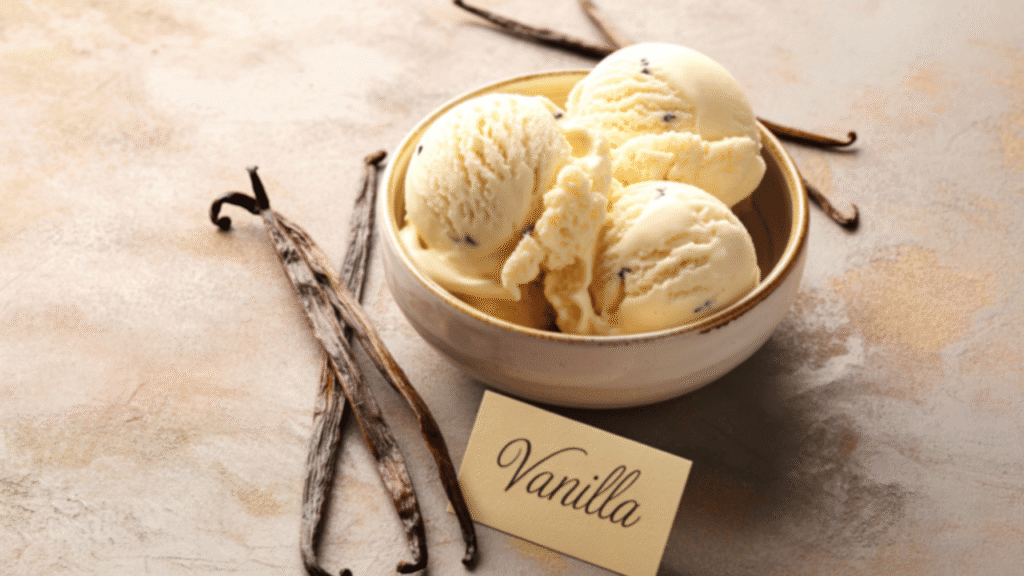
Using a cooked custard base with egg yolks yields a noticeably richer, silkier vanilla ice cream than the quick, no‑egg Philadelphia-style. The yolks act as natural emulsifiers, binding fat and water so the mixture becomes smoother, creamier, and takes on a pale golden hue flecked with vanilla bean when used.
Custard base with egg yolks for rich color and texture
The custard process heats milk and cream with vanilla bean or paste, then slowly incorporates that warm dairy into whisked yolks (tempering) so the eggs don’t scramble. The result is a cohesive mixture that thickens enough to coat the back of a spoon and holds up better in the freezer without relying on commercial stabilizers.
Why the extra steps (tempering and cooking) are worth it
Philadelphia‑style skips yolks and is quicker to freeze, but it often feels leaner and can become firmer in the freezer because it lacks the yolks’ fat‑carrying, emulsifying properties. Homemade batches also lack many commercial additives, so cooking the custard helps limit ice crystals and improves scoopability.
Quick comparison
– Custard (egg yolks): richer mouthfeel, golden color, better stability, ideal for scoops, sundaes, and baked‑dessert pairings.
– Philadelphia (no eggs): faster to make, lighter flavor and texture, good for quick treats or when avoiding eggs.
Practical process tips
Temper yolks gradually to avoid scrambling and ensure a silkier final mixture.
Gently heat the dairy and custard to about 170–175°F (77–79°C); do not boil.
Consistent churning in your ice cream maker adds controlled air while cooling the mixture, creating fine microcrystals and a smooth mouthfeel.
Extra minutes on the stove develop body and lift vanilla aroma (bean or paste during heating; extract can be added off heat). Choose the style by use: custard for ultra‑creamy scoops and sundaes; Philadelphia for speed and a lighter end result.
French Vanilla Ice Cream Recipe Ingredients You’ll Need for Silky, Classic Flavor
Measure carefully for consistent results: this formula yields about 1.5 quarts (approximately 1.4 L), a balance of richness and scoopability that works well for 6–8 servings.
Core quantities and what they do
1½ cups (360 ml) whole milk — provides the water phase and light dairy flavor.
1½ cups (360 ml) heavy cream — supplies the fat that gives body and a smooth, scoopable texture.
⅔–¾ cup (135–150 g) granulated sugar — split the total between the yolks and the warm dairy for sweetness and freezing‑point control.
4 large egg yolks — lecithin and proteins in the yolks emulsify the mixture and create a silky mouthfeel and pale golden color.
⅛–¼ teaspoon fine salt — enhances the vanilla aroma and balances sweetness.
Vanilla options and timing
Use one scraped vanilla bean (seeds + pod) or 1 teaspoon vanilla extract (5 ml). A scraped bean or vanilla paste gives visual flecks and deeper aroma when heated; if you prefer extract, stir it into the cooled base or off the heat to preserve volatile notes.
Technique tips
Divide the sugar so you can whisk part with the yolks until pale and ribboning — this stabilizes the yolks and reduces the chance of scrambling during tempering. Add the remaining sugar to the warm milk/cream so it dissolves completely.
Notes and substitutions
– Weighing ingredients improves repeatability: use 135–150 g sugar, 360 ml milk, 360 ml cream as above.
– Avoid reducing fat too much: lower‑fat or plant milks tend to produce icier texture. If you must cut fat, consider adding 1–2 tbsp nonfat dry milk powder to help body.
– Leave room for mix‑ins: this 1.5‑quart base can accept about 1 cup (240 ml) of add‑ins (chopped cookies, chips, swirls) without overfilling most 1.5‑quart canisters.
Allergen & storage notes
– Contains eggs and dairy; use pasteurized eggs if serving vulnerable guests.
– Store vanilla beans in a cool, dark place (not the fridge) and use highest‑grade beans you can for best flavor.
Tools and Prep: Set Yourself Up for Success
A calm, organized station saves time and improves texture. Plan ahead so chilling, straining, and any resting times fit your cook schedule and your room temperature.
Choose the right churn and freeze time
For reliable homemade ice cream, use a trusted bowl-style freezer (1.5‑quart Cuisinart or a KitchenAid freezer bowl) or a compressor machine if you churn frequently. Make sure the removable canister is fully frozen per the manufacturer (often 12–24 hours for bowl units); a fully frozen bowl gives faster pull‑down and better overrun control.
French Vanilla Ice Cream recipe Essential tools and stopping the cook
Set an ice bath with a nested bowl and have a fine‑mesh strainer ready to catch vanilla pods or any micro‑curdles. Use an instant‑read thermometer and aim for the custard to reach the safe, recommended range (170–175°F / 77–79°C) while stirring — avoid letting the spoon sit on the pan bottom to prevent hot spots.
Quick tools checklist
– Instant‑read thermometer
– Fine‑mesh sieve
– Sturdy spatula and nested bowls
– Frozen canister or compressor ice cream maker
– Ice bath for rapid chilling
Storage, timing, and cleanup
Pre‑chill an airtight, shallow container and a spatula to reduce melt‑back during transfer. Plan roughly 10–15 minutes active heating/tempering, a minimum 4 hours chill (or overnight) for the mixture to be completely cold, then 20–30 minutes churn (machine dependent), and at least 2 hours ripen in the freezer.
Press plastic directly onto the surface of the mixture in the container, then secure the lid to stop crystals and flavor loss. Compressor machines skip the frozen canister step but still benefit from a well‑chilled base and cold storage.
Safety & pro tip
Handle hot dairy carefully and use pasteurized eggs if serving pregnant or immunocompromised guests. Label tubs with date and mix‑ins so you can track freshness.
French Vanilla Ice Cream Recipe
Prep summary: Yields ~1.5 quarts (about 6–8 servings). Active time 15–20 minutes, chill 4 hours–overnight, churn 20–30 minutes (machine dependent), ripen 2+ hours.
Follow these numbered steps for a reliable custard-style ice cream:
1. Heat the dairy and infuse vanilla:
Combine 1½ cups (360 ml) whole milk and 1½ cups (360 ml) heavy cream with the seeded vanilla pod (or paste) and a pinch of salt in a medium saucepan. Warm over medium heat until just steaming (gentle simmer bubbles at the edges), about 5–10 minutes — do not bring to a boil. Gentle steam helps extract the bean’s aroma.
2. Whisk the yolks and sugar:
In a clean bowl, whisk 4 large egg yolks with ⅔–¾ cup (135–150 g) granulated sugar until pale and thick enough to fall in ribbons. This airy ribbon stage helps the yolks resist curdling during tempering.
3. Temper and cook the custard:
Slowly stream about a cup of the hot milk/cream into the yolks while whisking constantly to temper. Gradually add the remainder, then return the combined mixture to the saucepan. Cook over medium‑low heat, stirring constantly with a heatproof spatula, until the custard thickens enough to coat the back of a spoon and reaches 170–175°F (77–79°C). This should take about 5–10 minutes; do not boil.
4. Strain and chill:
Immediately strain the hot custard through a fine‑mesh sieve into a clean bowl set in an ice bath to remove any tiny curds and vanilla fragments. Stir occasionally to speed cooling. For food safety and best texture, chill the mixture until completely cold — at least 4 hours or preferably overnight.
5. Add extract (optional):
If you prefer vanilla extract, stir 1 teaspoon (5 ml) into the cooled custard or off the heat after straining to preserve volatile flavor compounds.
6. Churn:
Pour the fully chilled base into your frozen canister or compressor ice cream maker and churn according to the manufacturer’s instructions. Expect roughly 20–30 minutes for a 1.5‑quart batch in most machines; visual cues (thickened, soft‑serve texture, mixture pulling from canister sides) are more reliable than strict minutes.
7. Freeze to ripen:
Transfer the churned ice cream into a pre‑chilled, airtight container. Press plastic wrap directly to the surface to prevent crystals, secure the lid, and freeze at least 2 hours to ripen and firm the texture.
Food‑safety note:
Because this recipe uses raw eggs that are cooked in the custard, ensure you reach the recommended temperature (170–175°F / 77–79°C). If serving pregnant or immunocompromised guests, consider pasteurized eggs or an alternative Philadelphia‑style base.
Scaling & metric tips:
For precision, weigh ingredients: milk and cream ~360 ml each, sugar 135–150 g, 4 large yolks. Convert temperatures to °C (170–175°F = 77–79°C) in any recipe card or print view.
“A properly tempered and chilled custard makes scooping effortless and flavor more pronounced.”
French Vanilla Ice Cream Recipe Pro Technique: Churning, Texture, and Ripening
Proper churn action locks in a delicate network of microcrystals while whipping in measured air (overrun) for a creamy mouthfeel. As the paddle folds tiny bubbles into the cooling mixture, the result is a stable structure that resists large ice crystals and gives that smooth, scoopable texture.
French Vanilla Ice Cream recipe How churning controls texture
Churning simultaneously cools the mixture and incorporates controlled air. That combination produces fine ice crystals and a velvety texture rather than an icy one — exactly what separates good homemade ice from coarse, freezer‑burned results.
Go by look, not just time
Machine times vary: bowl‑style units often reach soft‑serve texture in 20–30 minutes, while compressor machines can be faster or more consistent. Many manufacturers list 15–20 minutes, but extending to 25–30 minutes for a 1.5‑quart batch can improve texture. Watch for visual cues — rounded domes forming above the paddle and the mixture pulling cleanly from the canister sides — rather than relying on minutes alone.
Machine examples & typical ranges
– Frozen‑bowl (spin‑style): 20–30 minutes (after a fully frozen canister).
– Compressor machine: 15–25 minutes (machine and model dependent).
– Small home churners: times vary more widely; use texture cues and log results.
Over‑churning and quick fixes
Over‑churning can cause a grainy or greasy finish as fat breaks free; if this happens, fold in a small amount of cold cream by hand and re-freeze briefly to restore texture, or use the churned mix as a frozen base for an ice‑cream cake where texture matters less.
Ripening and storage tips
Immediately move the churned custard into a pre‑chilled, shallow container to speed freezing. Press plastic directly onto the surface, then secure the lid and freeze at least 2 hours to ripen — longer (4–12 hours) often improves firmness and flavor melding. Transfer quickly to avoid melt and layering (which can create large crystals).
Log your batches
Keep a simple log for repeatability: record machine type, batch size, ambient room temp, churn minutes, and notes on texture. Over time this sheet helps dial in ideal times for your specific cream maker and conditions.
“Ripening lets flavors meld and the texture firm to scoopable perfection.”
French Vanilla Ice Cream Recipe Flavor Twists and Mix‑Ins to Try
Small, chilled additions folded at the right moment turn a classic base into memorable scoops. Plan textures and sweetness before churn time so the dasher keeps turning freely and the mixture stays balanced.
French Vanilla Ice Cream recipe Classic mix‑ins and chocolate or nut swirls
Fold about 1½ cups (≈150–170 g) chopped sandwich cookies into the mixture during the last 3–5 minutes of churning for a cookies & cream finish. For mint chip, stir 1 teaspoon peppermint extract into the cooled base (after straining) and add 1 cup mini chips in the final minutes of churn.
Spreads and coffee variants
For even chocolate‑hazelnut ribbons, temper 1 cup (240 ml) Nutella into a small portion of the warm custard so it thins, then swirl it into the chilled base before or during the last minute of churning. For peanut butter, gently warm 1 cup smooth peanut butter with a splash of cream so it blends smoothly into the custard rather than clumping.
For mocha, whisk 3 tablespoons unsweetened cocoa and 2 tablespoons instant espresso into the dry sugar and salt so they dissolve evenly when heated with the milk.
Fruit swirls and timing
Bright fruit ribbons work best when reduced or strained. Puree and press raspberries through a sieve, chill the purée, then fold in gently after churning to keep vivid streaks. For cherries, macerate chopped fruit with a little sugar, briefly cook to concentrate and reduce liquid, chill, then swirl post‑churn for clean texture.
Mix‑in sizing & timing
Pre‑chill solid add‑ins for 15–30 minutes and cut larger pieces to about ½‑inch so they distribute evenly. Keep total add‑ins to roughly 1 cup for a 1.5‑quart batch to avoid overloading the canister or clogging the dasher.
Allergy & balance notes
Call out common allergens (nuts, gluten) when adding spreads or cookies. If adding very sweet mix‑ins (caramel, marshmallows), consider reducing base sugar slightly (10–15%) so the finished flavor isn’t cloying.
Pro tip for using French Vanilla Ice Cream recipe
If you’re working with a vanilla bean, make sure to scrape and use the seeds in the warm milk — those flecks add aroma and visual payoff when paired with mix‑ins. For delicate extracts (almond, citrus), add after cooling to preserve the bright aroma.
“Make sure to scrape every speck of vanilla from the bowl—those flecks pack a lot of visual and flavor payoff.”
Serving, Storage, and Make‑Ahead Tips
Proper tempering and storage keep texture and flavor at their best. Let well‑frozen tubs rest briefly so scoops come out clean and round without weeping.
Quick thawing tip for neat scoops
After the ice cream has been in the freezer more than a couple of days, transfer the container to the refrigerator for 20–30 minutes or let sit at room temperature for 5–10 minutes before scooping. This softens the center just enough to yield clean, rounded scoops without melting the edges.
Ideal serving temperature
The ideal serving temperature for texture and aroma is roughly 6–10°F (−14 to −12°C). At this range the ice cream is soft enough to scoop easily yet cold enough to hold shape and release the vanilla aroma.
Storage to prevent crystallization and flavor loss
Store ice cream in an airtight container with plastic pressed directly onto the surface, then secure the lid to minimize headspace and slow ice crystal growth and flavor dulling. Place tubs in the coldest part of the freezer (the back, away from the door) and avoid frequent temperature swings.
Divide and chill
Divide large batches into two smaller shallow containers to speed re‑freezing after serving. Shallow, metal or plastic tubs chill faster and reduce layering or melt lines.
Serving tools and presentation
Use a sturdy scoop dipped in hot water and wiped dry between scoops for clean presentation. For very firm ice cream, let the tub rest 5–10 minutes at room temperature or warm the scoop briefly for best results.
How long will homemade ice cream stay at peak quality?
– Peak quality: 2–4 weeks in a well‑sealed container kept consistently frozen.
– Acceptable quality: up to 2–3 months; beyond that flavor and texture decline though it is still safe to eat if kept frozen.
French Vanilla Ice Cream recipe Troubleshooting and Expert Tips
Work steadily when tempering: add hot milk a little at a time while whisking so the yolks warm evenly without scrambling. Tempering is your main guard against curdled eggs.
Preventing and fixing a split or overcooked custard
If the custard shows streaks, graininess, or an eggy scent, remove it from heat immediately. Strain through a fine sieve into a clean bowl, then plunge that bowl into an ice bath and stir to cool rapidly. If texture is slightly thinner after recovery, proceed to chill and churn — the finished ice cream will still be tasty.
Dairy choices and why full‑fat matters
Use whole milk and heavy cream for superior emulsification and a slower melt. Low‑fat or plant alternatives tend to freeze harder and produce larger ice crystals; if you must reduce fat, add 1–2 tablespoons nonfat dry milk powder to help body.
Process reminders
– Cook the custard to the recommended 170–175°F (77–79°C); do not let it boil.
– Stir constantly with a heatproof spatula to avoid hot spots.
– Weigh sugar for repeatable results and always strain the custard for the smoothest base.
“Practice a small test batch to learn how your stove and freezer behave before serving guests.”
Conclusion
French Vanilla Ice Cream recipe, Finish with the custard method: temper yolks, cook the custard to 170–175°F (77–79°C), strain, chill fully, then churn and ripen for a reliably silky French vanilla result.
Trust visual cues during churning and give the batch time to set. Store in an airtight tub with plastic pressed to the surface so your scoop stays smooth and free of crystals for weeks.
Use whole milk and heavy cream and a high‑quality vanilla bean or extract for standout flavor. Keep a frozen canister or a compressor unit and a pre‑chilled container ready to answer spontaneous cravings.
Simple, repeatable technique beats complexity: master the basics and dozens of variations—from cookie swirls to fruit ribbons—become second nature.
FAQ
What makes this custard-based vanilla different from a no-egg style?
The custard uses egg yolks, which add emulsifiers and extra fat that create a richer color, silkier mouthfeel, and smoother texture than a milk‑and‑cream‑only base. Cooking the yolks with the dairy also concentrates flavor and improves freeze stability.
Why do I need to temper the yolks instead of adding hot milk all at once?
Tempering gradually raises yolk temperature so they don’t scramble. Pour a small stream of hot dairy into beaten yolks while whisking, then return the mixture to the pan and cook gently to 170–175°F to ensure a silky, lump‑free custard.
Which vanilla options work best: bean, paste, or extract?
Whole vanilla bean adds flecks and the deepest aromatic complexity; paste delivers rich bean character without scraping; extract is convenient and still tasty. Add beans or paste during heating for maximum infusion; add extract into the cooled base or off the heat to preserve volatile notes.
How long should the custard chill before churning?
Chill until completely cold: a minimum of 4 hours is recommended, though overnight yields the best texture and flavor melding. A thoroughly chilled base churns faster and traps less excess air, producing a denser, smoother ice cream.
Do I need an ice cream maker, and which type is best?
An ice cream maker gives the best texture. Compressor machines are convenient and ready anytime; bowl‑style units require pre‑freezing the canister (commonly 12–24 hours). Choose based on frequency, space, and convenience.
How do I tell when churning is finished?
Look for a thick, soft‑serve consistency and the batter holding its shape when the dasher lifts. Visual and tactile cues (rounded domes above the paddle, mixture pulling from the canister sides) are more reliable than strict minutes for scoopable results.
What’s the best way to avoid large ice crystals during freezing?
Rapid chilling, proper fat and sugar balance, and thorough churning help. Press plastic wrap directly on the surface before sealing the container to prevent freezer burn and crystallization during ripening.
How long will homemade frozen dessert keep in the freezer?
Stored airtight in a consistently cold freezer, homemade ice cream is at peak quality for about 2–4 weeks. It remains acceptable up to 2–3 months, though texture and aroma gradually decline. Use high‑quality containers and minimize air exposure to extend freshness.
Can I substitute lower-fat milk for part of the cream?
You can, but full‑fat dairy yields the best creaminess and mouthfeel. Reducing cream increases iciness and reduces richness. If you cut fat, consider adding 1–2 tablespoons nonfat dry milk powder or a small stabilizer to help body.
What should I do if the custard curdles or splits while cooking?
Remove from heat immediately and whisk vigorously while adding a little cold cream or milk to cool and smooth the mixture. Strain through a fine‑mesh sieve to remove any cooked bits, then chill thoroughly before churning. The texture may be slightly thinner but the result will still be tasty.
When should I add mix‑ins like cookies, chocolate, or fruit swirls?
Add solid mix‑ins in the last few minutes of churning so they distribute evenly without turning soggy. For fruit swirls, fold gently after churning and before final freezing to keep distinct ribbons of flavor.
Any tips for scooping straight from the freezer?
Let the container sit at room temperature 5–10 minutes to soften slightly, or dip a sturdy scoop in hot water and dry before scooping. This gives clean, round servings without over‑softening the whole batch.

