How Long for Homemade Ice Cream to Freeze? Enjoying a scoop of homemade ice cream is a treat, perfect for summer. You can make it with an ice cream maker or freeze it manually. But, how long does it take for homemade ice cream to freeze?
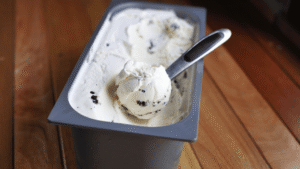
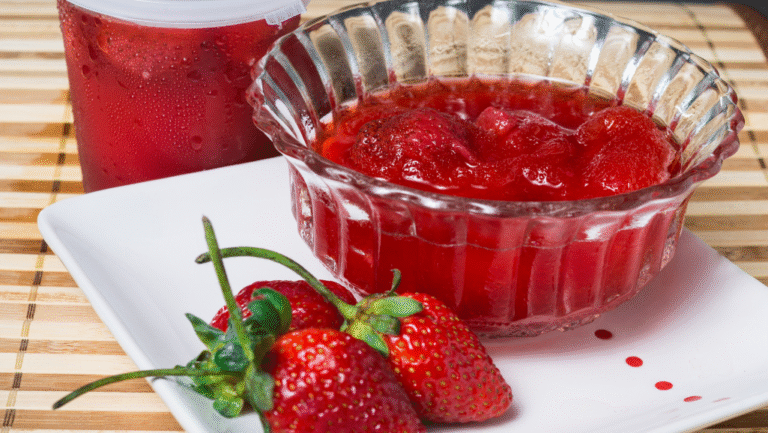
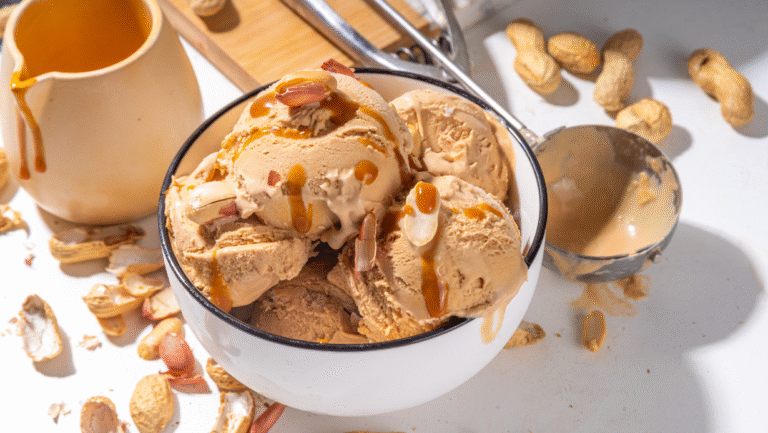
The time it takes to freeze homemade ice cream depends on the recipe and method. An ice cream maker can churn out flavors like peanut butter or double chocolate in 30 minutes to an hour. A smaller churner might take the same time for flavors like strawberry or cookies and cream. You’ll need about 15 pounds of ice and rock salt to freeze it.
Without an ice cream maker, freezing takes longer. A recipe for 6 people, with ingredients like milk and sugar, takes 3-4 hours to freeze. It’s important to whisk the mixture every 30 minutes to avoid ice crystals and keep it smooth.
After the first 90 minutes, check your ice cream more often. Whisk it every 45 minutes, then every 30 minutes, until it’s soft-serve. Once it’s ready, move it to a freezer-safe container. After a day, it will be firm, but thawing it for 10-15 minutes will make it scoopable again.
Key Takeaways
- Freezing time for homemade ice cream varies based on the recipe, ingredients, and freezing method used.
- Ice cream makers can churn out a batch in 30 minutes to an hour, while manual methods may take 3-4 hours to reach a soft-serve consistency.
- When making ice cream without a machine, check and whisk the mixture every 30 minutes to prevent ice crystals and ensure a smooth texture.
- After the initial freezing period, check on the ice cream more frequently until it reaches a slushy, soft-serve state.
- Homemade ice cream will freeze to a firm consistency after a day in the freezer but can be made scoopable again by allowing it to thaw for 10-15 minutes at room temperature.
Homemade Ice Cream
4
servings30
minutes40
minutes300
kcal1
hour10
minutesEasy ice cream with everyday ingredients.
Keep the screen of your device on
Ingredients
4 cups 4 heavy cream
4 cups 4 whole milk
2 cups 2 granulated sugar
2 tablespoons 2 vanilla extract
1 pinch 1 salt
Directions
- In a large mixing bowl, combine 4 cups of heavy cream, 4 cups of whole milk, and 2 cups of granulated sugar. Stir until the sugar is completely dissolved.
- Add 2 tablespoons of vanilla extract and a pinch of salt to the mixture, stirring gently to ensure even distribution throughout the liquid base.
- Cover the mixture with plastic wrap and chill it in the refrigerator for at least 2 hours, allowing flavors to meld and the base to cool thoroughly.
- Set up your ice cream maker according to the manufacturer's instructions, ensuring that the bowl is properly frozen if required.
- Pour the chilled mixture into the ice cream maker, leaving room for expansion, and churn for about 20-25 minutes or until the texture resembles soft serve.
- Transfer the churned ice cream into an airtight container, smoothing the surface and covering it tightly before placing it in the freezer.
- Freeze for a minimum of 2 additional hours to allow the ice cream to fully set before serving for optimal texture and flavor.
Recipe Video
Nutrition Facts
- Total number of serves: 16
- Calories: 210kcal
- Cholesterol: 50mg
- Sodium: 35mg
- Potassium: 100mg
- Sugar: 18g
- Protein: 3g
- Calcium: 120mg
- Iron: 0.1mg
- Thiamin: 0.03mg
- Riboflavin: 0.1mg
- Niacin: 0.1mg
- Folate: 4mg
- Biotin: 0mg
- Phosphorus: 100mg
- Iodine: 0mg
- Magnesium: 10mg
- Zinc: 0.4mg
- Selenium: 2mg
- Copper: 0.01mg
- Manganese: 0mg
- Chromium: 0mg
- Molybdenum: 0mg
- Chloride: 80mg
Did you make this recipe?
Tag @https://www.instagram.com/ice_cream_haven/ on Instagram and hashtag it with #IceCreamIceCreamHavens
Like this recipe?
Follow @https://www.pinterest.com/Ice_Cream_Haven/ on Pinterest
Join our Facebook Group!
Follow https://www.facebook.com/icecreamhavens/ on Facebook
Understanding the Freezing Process of Ice Cream
The ice cream freezing process is a mix of science and art. To get the perfect creamy texture, we need to know how ice crystallization and freezing time work. Let’s explore the science behind making this favorite frozen treat.
The Science Behind Ice Cream Freezing
Ice crystals are key to ice cream’s texture. We aim for ice crystals between 10 and 45 μm for a smooth feel. Crystals over 50 μm make ice cream feel icy and coarse.
Whipping air into the ice cream mix changes its volume and feel. The “over-run” is how much air is trapped. A good mix has about 15% sugar, 10% non-fat milk, and 10-20% milk-fat.
Factors Influencing Freezing Time
Several things affect how long ice cream takes to freeze:
- Sugar content: Sweeteners lower the freezing point, changing sweetness, texture, and stability.
- Fat content: Ingredients like fat and solids add richness, texture, and body.
- Freezer temperature: Freezing between -5°F and -10°F (-20°C and -23°C) is best. Lower temperatures mean faster, smaller crystals.
Ideal Temperature for Freezing
To get the best ice cream texture, the right freezing temperature is key. Commercial makers freeze in about 8 minutes, while homemade can take up to 40 minutes. Homemade ice cream might have larger crystals and a less smooth texture.
The ice cream maker’s bowl should be between -9°F and -20°F (-23°C and -29°C) before churning. Cooling the bowl and keeping the mix cold before churning helps. Storing ice cream below -32°C keeps it fresh longer.
How Long for Homemade Ice Cream to Freeze Recommended Freezing Times

Creating the perfect homemade ice cream requires knowing the right freezing time. Whether you’re making a classic custard-based ice cream or trying sugar-free or dairy-free options, freezing time is key. It helps achieve that creamy texture we all love.
Standard Freezing Duration
Most homemade ice cream recipes need 3-4 hours in the freezer. This time lets ice crystals form and stabilize, making the ice cream smooth and scoopable. Remember, ice crystals should be about 10 to 20 µm for the best texture.
Variations Based on Ingredients
While 3-4 hours works for most, some ingredients can change this. Custard-based ice creams with eggs and cream take longer to freeze because of their fat content. Sugar-free and dairy-free ice creams freeze faster, as they have less sugar and fat.
Using Ice Cream Makers vs. Manual Methods
Ice cream makers make freezing quicker than manual methods. A 4-quart model can churn your mix into creamy ice cream in 30 minutes to an hour. But, if you like doing things by hand, manual ice cream making is rewarding, even if it takes longer.
“The art of crafting homemade ice cream lies in understanding the delicate balance between ingredients, technique, and freezing time.”
Mastering the right freezing times for your ice cream recipes will help you make creamy, scoopable treats. These will be just as good as any store-bought ice cream.
How Long for Homemade Ice Cream to Freeze Tips to Speed Up Ice Cream Freezing

Making homemade ice cream is a fun treat, but waiting for it to freeze can be slow. Luckily, there are ways to speed up the freezing time. You can enjoy your creamy dessert faster by using these tips.
Pre-chilling Ingredients
One great way to freeze ice cream faster is to pre-chill your ice cream base and ingredients. Refrigerate the mixture for at least an hour before freezing. This lowers the temperature, speeding up the freezing process and improving the texture.
Utilizing Ice Bath Techniques
Using an ice bath is another way to cool down the ice cream mixture fast. After cooking, put the base in a bowl and place it in ice water. Stir it until it’s chilled. This method quickly cools the base, making it ready for faster freezing.
Smaller Batches Freeze Faster
Size is important when freezing ice cream. Smaller batches freeze faster than larger ones. Divide your mixture into smaller parts for quicker freezing. Fill your ice cream maker only 2/3 full for better freezing. Making small batch ice cream is a quick way to freeze it faster.
“The key to speeding up the freezing process is a combination of pre-chilling, utilizing ice baths, and making smaller batches. By implementing these techniques, you can enjoy your homemade ice cream sooner without compromising on quality or texture.”
How Long for Homemade Ice Cream to Freeze Common Freezing Mistakes to Avoid

Making homemade ice cream can be tricky. Knowing common mistakes helps make sure your ice cream is smooth and creamy. Here are some tips to avoid these issues.
Overfilling Your Freezer
One big mistake is overfilling your freezer. It’s important to leave enough freezer space for cold air to move. This helps your ice cream freeze evenly and quickly. Always fill your ice cream machine only two-thirds full to prevent problems.
Not Allowing Enough Freezing Time
Another common mistake is not freezing long enough. This can make your ice cream soft and slushy. After churning, let the ice cream firm up in the freezer for a few hours. This patience is key for a smooth texture.
“Overmixing ice cream can lead to an icy texture; optimal texture is achieved in the freezer, not the machine. Freeze the mix until just done and let it firm up in the freezer for a couple of hours.”
Using Incomplete Recipes
Using incomplete ice cream recipes can also cause texture problems. Make sure your recipe has the right mix of dairy, sugar, and other ingredients. Heavy cream with 36% to 40% milk fat is best for creaminess. Adding egg yolks, 1% to 8% of the mix, helps with texture too.
By avoiding these mistakes and following expert tips, you can make delicious homemade ice cream. It will be as good as any store-bought variety.
Maintaining Ice Cream Texture
Making perfect homemade ice cream is all about the right mix of ingredients and techniques. The secret to a smooth texture is adding just the right amount of air, called overrun. By churning the ice cream regularly while it freezes, you mix in air bubbles. This makes the ice cream light and creamy.
Importance of Air Incorporation
Overrun is key to your ice cream’s texture. As you churn, air gets mixed in, creating tiny bubbles. This makes the ice cream smooth and creamy. The overrun level can change the ice cream’s lightness or richness.
Preventing Ice Crystals
Stopping ice crystals from forming is a big challenge. Crystals can grow if the mixture has too much water or freezes too slowly. Using high-fat dairy, sugars, and a bit of alcohol helps. Also, churning often during freezing breaks up crystals, keeping the ice cream smooth.
Storing Ice Cream Properly for Best Quality
Storing ice cream right is key to keeping it fresh. Use airtight containers and keep it below 0°F (-18°C). Let it soften at room temperature before enjoying. This way, your homemade ice cream will be as good as store-bought.

