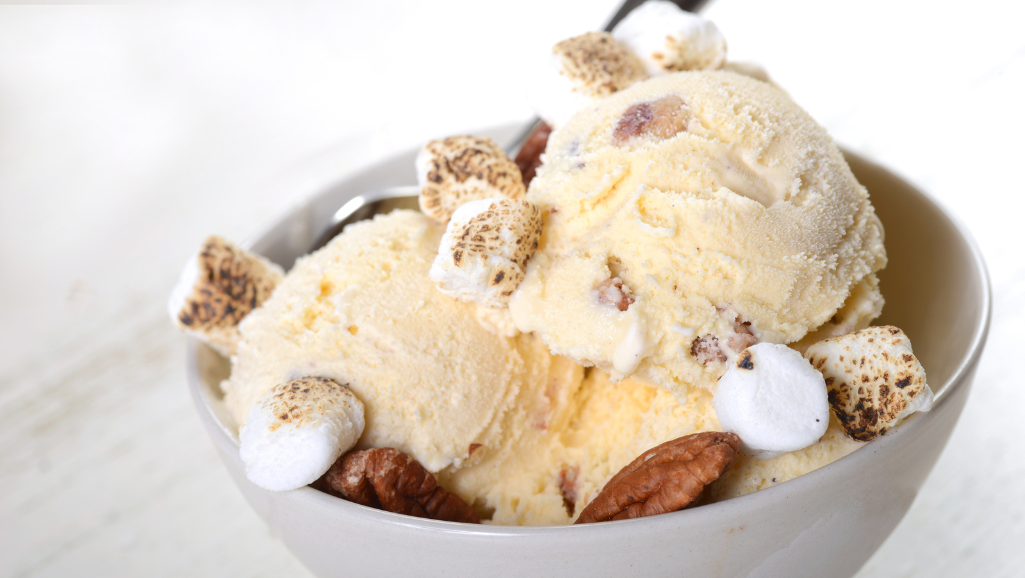
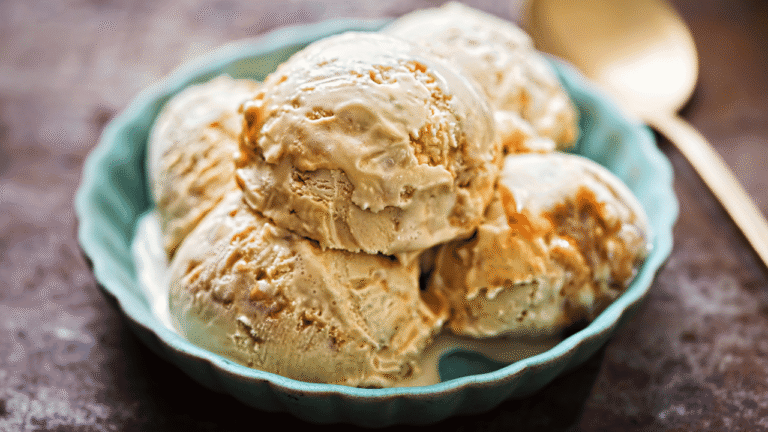
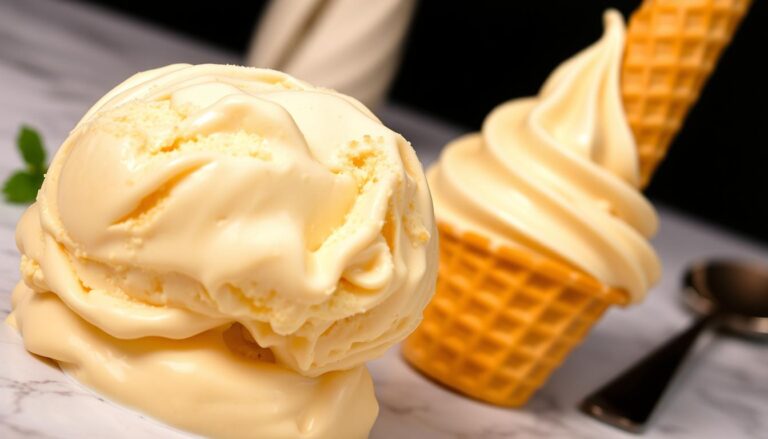
Imagine a dessert that tastes like summer nights around a crackling fire. This creamy creation blends toasted sweetness with velvety smoothness, turning simple ingredients into something extraordinary. Each bite carries the smoky charm of caramelized treats, evoking memories of sticky fingers and laughter under starry skies.
Perfect for gatherings or quiet moments, this frozen delight balances rich vanilla custard with playful textures. Tiny charred pieces add bursts of flavor, creating a contrast that keeps taste buds curious. It’s a recipe designed to spark joy, whether served at backyard barbecues or enjoyed straight from the container during movie nights.
What makes this treat special? It’s more than just a dessert—it’s an experience. The process invites creativity, letting you adjust flavors to match your mood. Homemade batches let you skip artificial additives, ensuring every spoonful feels wholesome and indulgent.
Key Takeaways
- Combines nostalgic campfire flavors with luxurious homemade texture
- Features caramelized marshmallow swirls and crispy charred bits
- Ideal for summer events, family nights, or personal cravings
- Customizable recipe allows for creative ingredient variations
- Superior freshness compared to commercial alternatives
Marshmallow Ice Cream
4
servings30
minutes40
minutes300
kcal1
hour10
minutesCreamy ice cream with marshmallows made from everyday ingredients.
Keep the screen of your device on
Ingredients
2 cups 2 heavy cream
1 cup 1 whole milk
0.75 cup 0.75 granulated sugar
1 tsp 1 vanilla extract
2 cups 2 mini marshmallows
Directions
- In a medium saucepan over low heat, combine heavy cream, milk, and sugar, stirring until sugar is completely dissolved.
- Remove the mixture from heat and add the vanilla extract, stirring well to combine all flavors uniformly.
- Let the mixture cool to room temperature, then refrigerate for at least 4 hours or overnight for best results.
- Pour the chilled mixture into the ice cream maker and churn according to the manufacturer’s instructions, typically around 20-25 minutes.
- Five minutes before the churning is complete, add the mini marshmallows to distribute them evenly throughout the ice cream.
- Transfer the ice cream to an airtight container; freeze for at least 2 hours to achieve a firm consistency before serving.
- To serve, scoop the ice cream into bowls or cones and enjoy immediately for the best texture and taste.
Nutrition Facts
- Total number of serves: 6
- Calories: 250kcal
- Cholesterol: 50mg
- Sodium: 45mg
- Potassium: 150mg
- Sugar: 27g
- Protein: 3g
- Calcium: 100mg
- Iron: 0.2mg
- Thiamin: 0.02mg
- Riboflavin: 0.2mg
- Niacin: 0.1mg
- Folate: 4mg
- Biotin: 0mg
- Phosphorus: 120mg
- Iodine: 13mg
- Magnesium: 10mg
- Zinc: 0.4mg
- Selenium: 1.5mg
- Copper: 0.04mg
- Manganese: 0.01mg
- Chromium: 0mg
- Molybdenum: 2mg
- Chloride: 0mg
Did you make this recipe?
Tag @https://www.instagram.com/ice_cream_haven/ on Instagram and hashtag it with #IceCreamIceCreamHavens
Like this recipe?
Follow @https://www.pinterest.com/Ice_Cream_Haven/ on Pinterest
Join our Facebook Group!
Follow https://www.facebook.com/icecreamhavens/ on Facebook
Why Homemade Marshmallow Ice Cream Steals the Show
Picture pulling a golden-swirled dessert from your freezer that stays perfectly soft, even after weeks. This isn’t store-bought novelty—it’s the magic of crafting frozen custard in your kitchen. Traditional methods create a luxurious texture commercial brands can’t match, while melted marshmallows work like edible fairy dust to keep it scoop-ready.
Nostalgic Campfire Flavors
That first spoonful? It’s a bonfire in a bowl. Charred marshmallow ribbons melt into velvety custard, creating smoky-sweet layers. Adults taste artisanal craftsmanship, while kids discover joy in familiar toasted notes. Every bite feels like storytelling—a delicious bridge between generations.
A Treat for All Ages
Weekend projects become family legends when you churn this crowd-pleaser together. The recipe’s simplicity lets beginners shine, yet offers room for creative twists. Unlike rock-hard supermarket pints, your homemade batch stays creamy straight from the freezer—no thawing required. It’s dessert democracy: equally thrilling for birthday parties or midnight cravings.
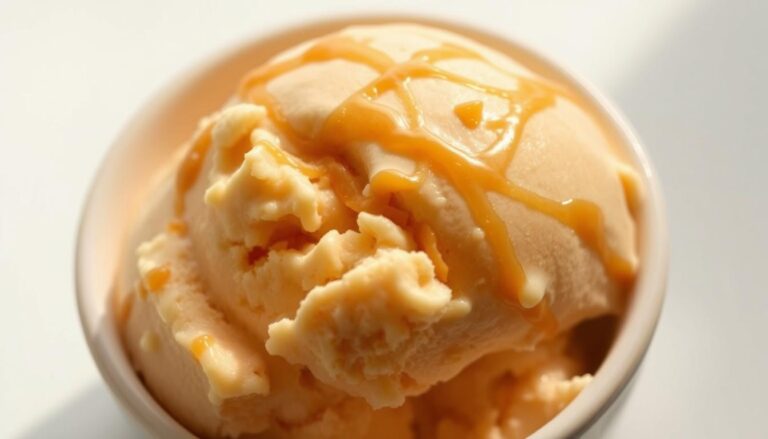
What truly sets it apart? You control the sweetness. Swap in dark chocolate chunks or swirl caramel for personal flair. In 15 active minutes, you’ll craft memories that outlast the treat itself—proof that kitchen adventures yield life’s sweetest rewards.
Essential Ingredients for a Creamy Custard Base

The foundation of any memorable frozen dessert lies in its core components. Selecting quality elements transforms ordinary recipes into extraordinary experiences. Let’s explore the building blocks that create that signature velvety texture and balanced sweetness.
High-Fat Dairy Selection for Richness
Whole milk and heavy cream work like culinary architects here. Their fat content (at least 36% in cream) coats taste buds while preventing gritty ice crystals. This dynamic duo creates a lush foundation that supports other flavors without overpowering them.
Room-temperature egg yolks act as natural thickeners. They blend seamlessly with warm dairy, creating a stable base that churns into silk. Real vanilla bean paste adds depth, its tiny seeds carrying aromatic warmth that complements toasted sweetness.
Marshmallow Magic: The Sweet Component
Mini marshmallows serve dual purposes in this recipe. Half melt into the warm custard base, infusing every spoonful with caramelized notes. The remaining half gets folded in later, creating pockets of gooey delight that surprise with each bite.
Balance is key—too much sugar makes textures icy, while too little leaves flavors flat. Granulated sugar measured precisely ensures the dessert freezes properly while letting the charred marshmallow essence shine through. It’s science disguised as dessert alchemy.
Step-by-Step Marshmallow Ice Cream Recipe

Transform your kitchen into a dessert laboratory with this foolproof method. While the process requires attention to detail, each step builds toward that first transcendent spoonful. Let’s turn simple components into frozen artistry.
Preparing the Custard Base
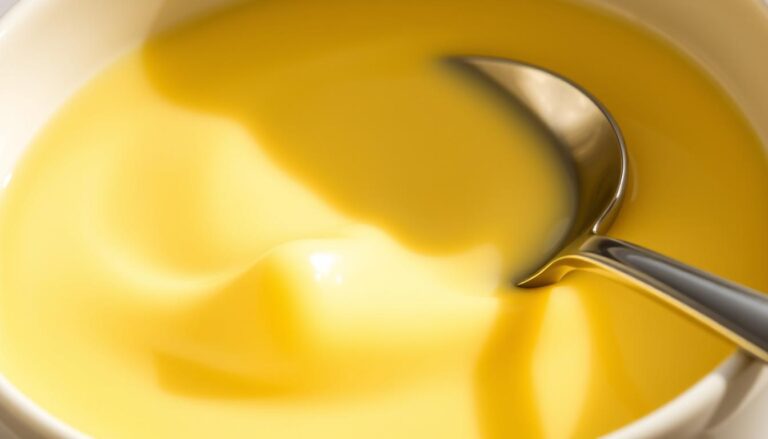
Start by heating whole milk and heavy cream until tiny bubbles form at the edges. Whisk room-temperature egg yolks with sugar until they ribbon—this aeration creates silkiness. Slowly pour the warm dairy into the egg mixture, whisking constantly to prevent curdling.
Return the blend to medium heat. Stir with a wooden spoon until it thickens enough to coat the back. “The perfect custard clings like satin,” says pastry chef Emma Carter. Strain through a fine-mesh sieve into a clean bowl to ensure flawless texture.
Toasting Marshmallows for Enhanced Flavor
Arrange mini marshmallows on a parchment-lined tray. Broil until golden-brown edges appear—about 90 seconds. Stir half into the hot custard until fully melted. This infuses smoky depth while maintaining creamy consistency.
Cover the mixture with plastic pressed directly on the surface. Chill for at least 3 hours—this temperature drop prevents icy crystals. Churn in your machine until it resembles soft-serve, then fold in remaining toasted pieces. Freeze 4 hours before serving.
Tools and Equipment You’ll Need

Great desserts begin with the right tools—your kitchen allies in crafting frozen perfection. Whether you’re a first-timer or seasoned churner, having reliable gear turns ambitious recipes into achievable triumphs.
Must-Have Kitchen Utensils and Ice Cream Makers
A heavy-based saucepan is your custard’s best friend. Its even heat distribution prevents scorching, protecting delicate egg mixtures. Pair it with a sturdy whisk—your arm’s workout partner for creating silky bases.
Your ice cream maker does the heavy lifting. “This appliance isn’t luxury—it’s necessity,” says dessert blogger Tina Marlow. Choose between electric models for hands-free churning or manual versions for nostalgic charm. No machine? A stand mixer and freezer-safe container work wonders for no-churn batches.
Precision tools elevate results. Digital scales ensure exact ratios, while candy thermometers guard against curdled disasters. For toasted toppings, foil-lined baking sheets catch drips without sticky cleanup battles.
Storage matters. Airtight containers with tight lids fight freezer burn, keeping textures creamy for weeks. Glass or BPA-free plastic versions stack neatly, ready for your next flavor experiment.
Tips for Churning and Achieving a Smooth Texture

Velvety perfection in frozen desserts comes down to two paths: precision with machines or clever kitchen hacks. Both routes demand patience and a grasp of dessert science—where temperature control and timing become your secret weapons.
Traditional Churning vs. Freezer-Friendly Techniques
For churned versions, success starts with a thoroughly chilled custard base. Colder mixtures freeze faster in the machine, trapping air bubbles that create cloud-like softness. Most models need 25-30 minutes to reach the ideal soft-serve stage—listen for the motor’s pitch changing as it thickens.
No machine? Simmer condensed milk with toasted sweets until dissolved, then cool completely. Fold this syrup into whipped heavy cream and freeze. Stir every 30 minutes during the first two hours—this breaks up crystals better than a snowplow clears roads.
Pro tip: Fat content acts as your anti-freeze. Higher cream ratios stay scoopable straight from the freezer. Whether you churn or stir, remember—texture triumphs when science meets schedule.
Flavor Variations and Creative Twists

Your freezer becomes a flavor playground when you reimagine the classic base. With a few smart additions, each batch tells a new story—from campfire-inspired nostalgia to sophisticated adult indulgences.
Mix-In Ideas for Unique Flavors
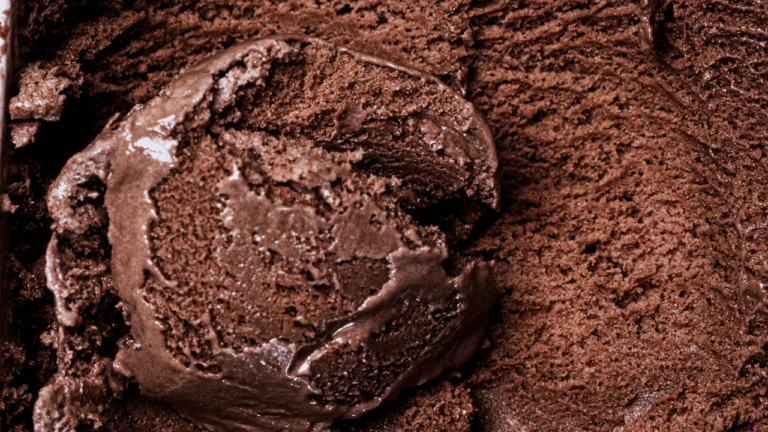
Stir unsweetened cocoa powder into warm custard for deep chocolate richness. Layer it with melted peanut butter swirls to recreate childhood lunchbox memories. Crushed graham crackers folded into the churned base? That’s s’mores magic without the campfire smoke.
For texture enthusiasts, toasted nuts add crunch to rocky road renditions. Drizzle hot fudge between layers or sprinkle mini chocolate chips during freezing. “The best recipes balance familiarity with surprise,” notes dessert blogger Jamie Lin. Her pro tip? Freeze mix-ins before adding to prevent sinking.
Vanilla lovers can amplify warmth with caramelized sugar swirls. Those craving intensity might blend espresso powder into the custard. Every tweak invites discovery—whether you’re crafting holiday specials or summer refreshers.
Remember: ingredients behave differently when frozen. Powders dissolve best in warm bases, while chunky add-ins stay crisp when chilled first. Test small batches to find your signature ratio. Your next masterpiece awaits—one spoonful at a time.
Common Challenges and How to Troubleshoot
Even seasoned dessert makers face hurdles when crafting frozen treats. Understanding these common pitfalls—and how to sidestep them—turns frustration into culinary triumph.
Silky Custard Every Time
Temperature control is your secret weapon against curdling. Keep heat low and never let your base boil. Slowly mix warm dairy into eggs while whisking vigorously—this gradual blending prevents scrambled textures.
If your mixture looks grainy, strain it immediately through a fine sieve. Press plastic wrap directly onto the surface before chilling to avoid rubbery skins. Too many marshmallows? Stick to 100g max to prevent gelatin overload that ruins freezing.
Crystal-Free Perfection
Freezer burn’s nemesis? Airtight containers and consistent cold. Churn your base until it reaches soft-serve consistency, then freeze for at least 4 hours. Stirring halfway through prevents large ice chunks from forming.
For no-churn versions, whip heavy cream to trap air bubbles. Fold in your cooled mixture gently, creating tiny pockets that resist crystallization. Remember: patience rewards you with spoon-ready texture straight from the freezer.
These troubleshooting tips transform kitchen mishaps into mastery moments. With precise timing and smart techniques, you’ll craft desserts that dazzle—one velvety scoop at a time.


