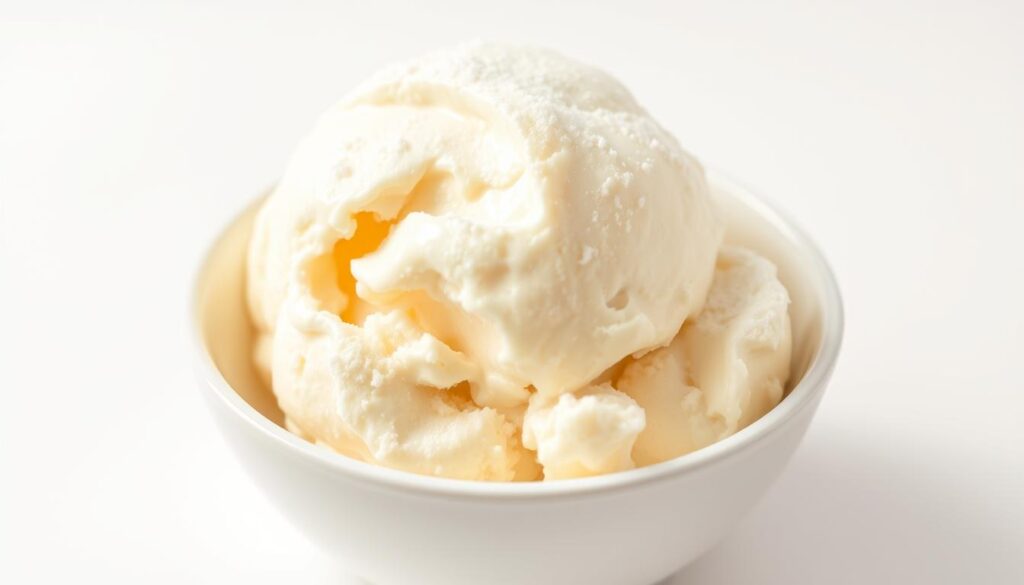
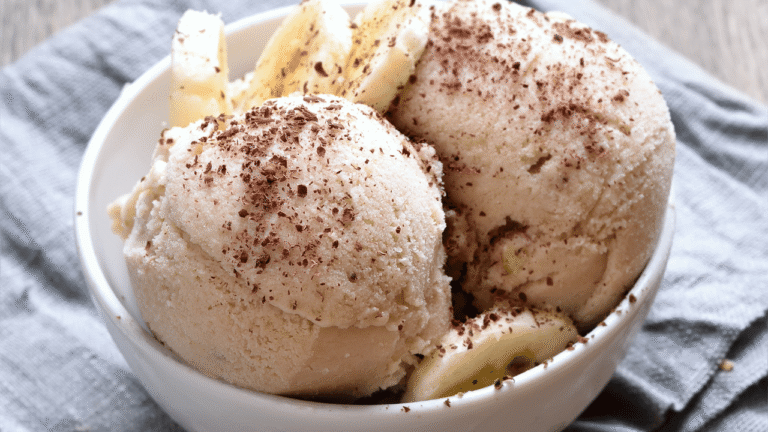
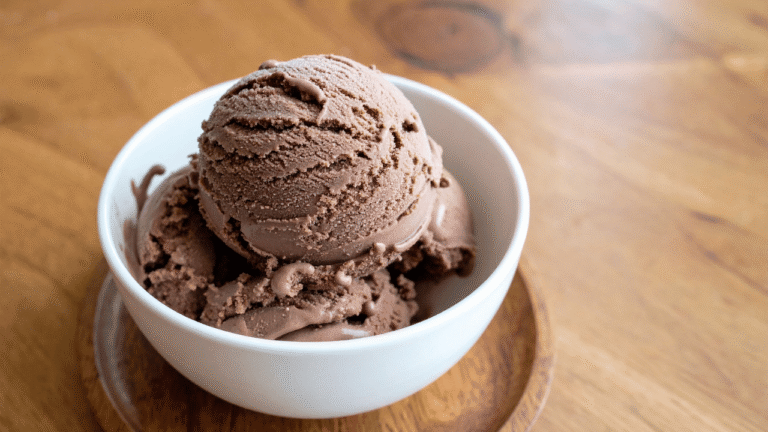
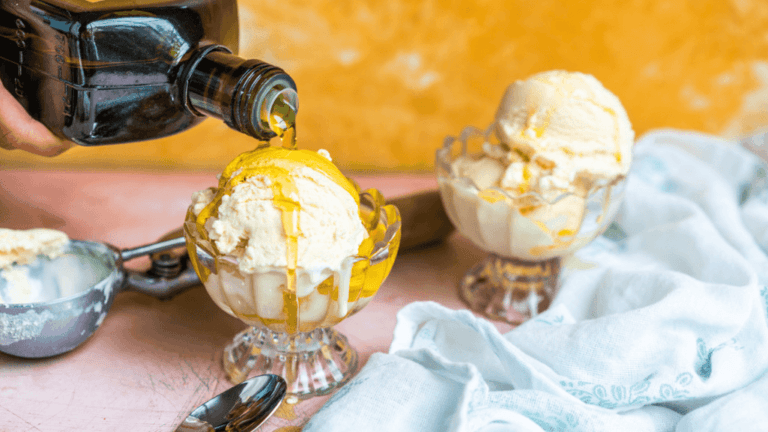
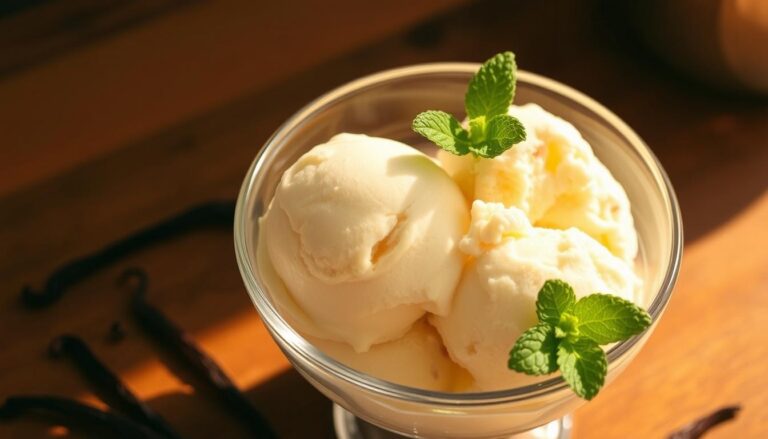
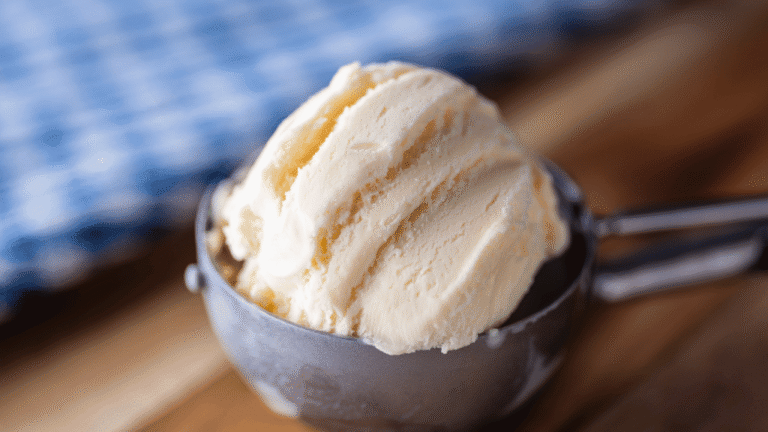
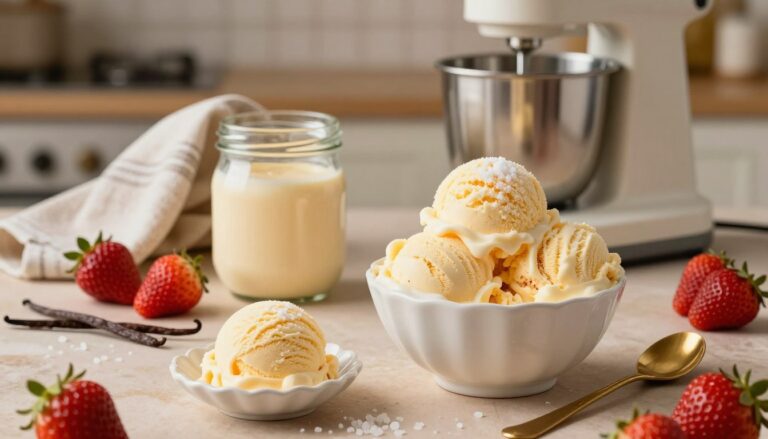
Sweet cream ice cream celebrates dairy in its purest form. This introduction shows how simple ingredients—milk, cream, sugar, and a pinch of salt—create a firmer base than custard and a clean, refreshing profile when vanilla steps aside.
Choose your path: a quick frozen-bowl churn, a fast compressor machine, or a silky French custard with yolks for richer texture. Each method changes scoopability and mouthfeel, from Cold Stone–style softness to Jeni’s overnight cure for clarity and stability.
We’ll map a flexible recipe framework that fits your tools and the time you have. Expect clear guidance on ingredients, optional corn syrup for scoopability, and simple timing cues so your final bowl holds shape and flavor.
Key Takeaways
- Pure dairy flavor shines when vanilla is minimized.
- Simple bases set firmer; custards feel silkier.
- Machine choice affects prep time and texture.
- Small ingredient tweaks change scoopability and stability.
- Follow curing and storage tips to protect texture.
Sweet Cream Ice Cream
4
servings30
minutes40
minutes300
kcal1
hour10
minutesHomemade creamy ice cream with a sweet base.
Keep the screen of your device on
Ingredients
2 cups 2 heavy cream
1 cup 1 whole milk
1 cup 1 granulated sugar
1 tablespoon 1 vanilla extract
1/4 teaspoon 1/4 salt
Directions
- In a large mixing bowl, combine the heavy cream, whole milk, granulated sugar, vanilla extract, and salt using a whisk until the sugar is fully dissolved.
- Cover the mixing bowl with plastic wrap and refrigerate the mixture for at least 2 hours, or until it is thoroughly chilled.
- Pour the chilled mixture into the ice cream maker, ensuring it is set up according to the manufacturer's instructions.
- Churn the mixture in the ice cream maker for approximately 20-25 minutes, or until it reaches a soft-serve consistency.
- Transfer the ice cream to an airtight container, smoothing the top with a spatula. Cover with wax paper before sealing to prevent ice crystals.
- Freeze the ice cream for at least 2 hours, or until it is firm enough to scoop. Allow it to soften slightly before serving.
Recipe Video
Nutrition Facts
- Serving Size: 1g
- Total number of serves: 4
- Calories: 250kcal
- Fat: 16g
- Saturated Fat: 10g
- Trans Fat: 0g
- Polyunsaturated Fat: 0.5g
- Monounsaturated Fat: 4g
- Cholesterol: 60mg
- Sodium: 56mg
- Potassium: 130mg
- Carbohydrates: 27g
- Fiber: 0g
- Sugar: 26g
- Protein: 3g
- Vitamin A: 500IU
- Vitamin C: 0mg
- Calcium: 120mg
- Iron: 0mg
- Vitamin D: 1mg
- Vitamin E: 0.5mg
- Vitamin K: 1mg
- Thiamin: 0mg
- Riboflavin: 0.2mg
- Niacin: 0mg
- Vitamin B6: 0mg
- Vitamin B12: 0mg
- Folate: 0mg
- Biotin: 0mg
- Pantothenic Acid: 0mg
- Phosphorus: 110mg
- Iodine: 0mg
- Magnesium: 10mg
- Zinc: 0.3mg
- Selenium: 2mg
- Copper: 0mg
- Manganese: 0mg
- Chromium: 0mg
- Molybdenum: 0mg
- Chloride: 0mg
Did you make this recipe?
Tag @https://www.instagram.com/ice_cream_haven/ on Instagram and hashtag it with #IceCreamIceCreamHavens
Like this recipe?
Follow @https://www.pinterest.com/Ice_Cream_Haven/ on Pinterest
Join our Facebook Group!
Follow https://www.facebook.com/icecreamhavens/ on Facebook
Why Sweet Cream Ice Cream Is Not Vanilla—and Why You’ll Love Making It Now
This flavor strips away perfume to celebrate milk and butterfat in their purest form. Sweet cream ice avoids vanilla so dairy notes take center stage. The result is a pure, fior di latte–style scoop that feels both modern and nostalgic.
Historically, shops like Cold Stone popularized the name, while traditional recipes stayed minimal: milk, cream, sugar, and a pinch of salt. Chains often add stabilizers or corn syrup to keep a soft, less icy texture.
At home, you control the balance. Use a plain base for a firmer set, or add egg yolks for a French custard that smooths richness. Adjust sugar: about 1/2 cup for delicate sweetness, 3/4 cup for that classic parlor richness in a 3-cup dairy base.
- Make sure you know each ingredient’s role: milk adds lightness; cream adds body.
- With a few ingredients and minutes of active work, you’ll craft an elevated scoop.
- This recipe shines alone or as a simple partner for warm pies.
Ingredients and Equipment You’ll Need for Creamy Results
The blend of butterfat, stabilizers, and a chosen churn method determines whether your batch scoops like a pro. Gather ingredients and tools before heating so the process stays smooth and focused.
Core dairy and fat balance
Start with a 2:1 ratio of heavy cream to milk. For example, use 2 cups heavy cream and 1 cup milk for a classic base. Higher butterfat gives richness; more milk keeps the final texture churnable and less dense.
Sweeteners and stabilizers
Choose sugar for sweetness. Add corn syrup and a bit of cornstarch or tapioca for softer scoopability. For an eggless, silky option, blend in cream cheese and tapioca like Jeni’s method.
Choosing an ice cream maker and smart tools
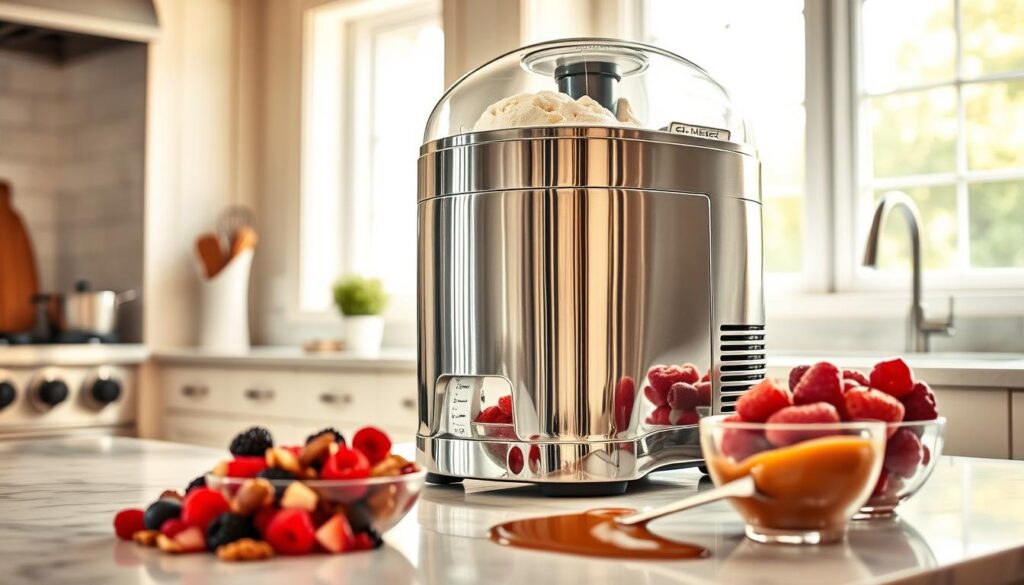
Pick the machine that fits your routine. Compressor models chill as they churn. Frozen-bowl units need a pre-frozen insert. Old-fashioned ice-and-salt setups work with a very cold base.
- Essential tools: saucepan, thermometer (115°F and 170°F cues), fine-mesh strainer, deep bowl for an ice bath, airtight container with parchment.
- Measure by weight when possible; if using cups, keep total dairy at three cups for predictable churning.
- During heating, stir the mixture and remove heat at target temps to protect flavor and texture.
How to Make Sweet Cream Ice Cream at Home, Step by Step
Start confident: this short routine moves the ingredients from saucepan to freezer with clear timing and simple cues. Follow each step to make a smooth, dairy-forward batch that freezes with fine texture.
- Build the base in a saucepan.
Combine milk, cream, sugar, and a pinch of salt so the mixture is smooth before you apply heat. - Heat gently and watch the pan.
Over medium-low heat stir the ingredients in the saucepan until sugar dissolves and the mix reaches a low simmer for about 30 seconds, then remove heat. - If making custard:
Warm dairy and sugar to ~115°F, temper in yolks, then cook while stirring constantly until thick at about 170°F. Strain for a silky finish. - Chill fast.
Set the pan in an ice bath, then refrigerate the cream base until cold. This step cuts large ice crystals and improves texture. - Churn and finish.
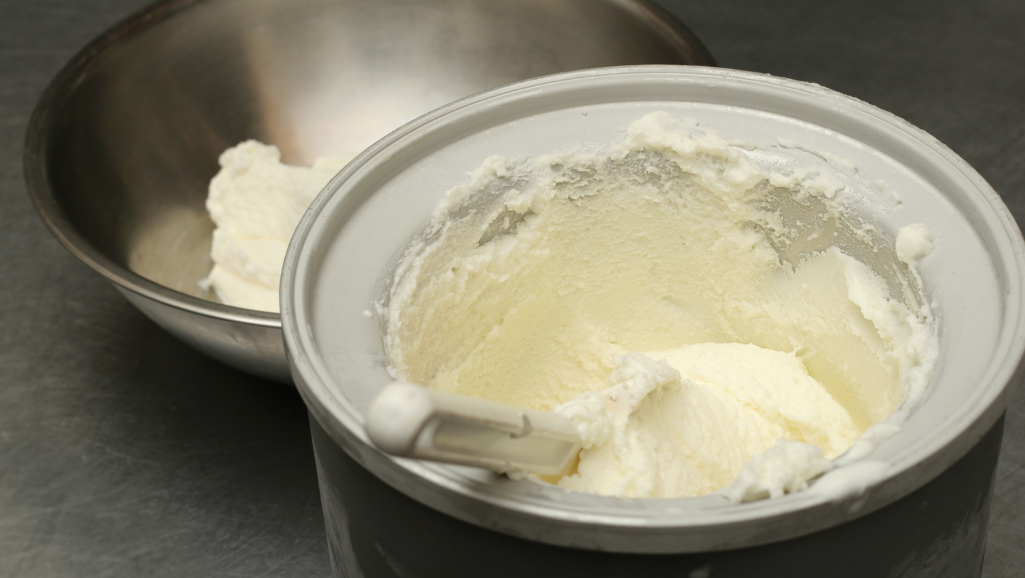
When your maker is ready, pour ice cream base into the bowl and churn until it holds soft peaks. Most batches take under 30 minutes, though minutes vary by machine. - Transfer and cure.
Transfer to an airtight container, press parchment on the surface, then freeze 1–2 hours to firm. Custard bases may need longer hours for best scoopability.
Pro tip: make sure your frozen-bowl is well chilled before you pour. A steady routine—heat, chill, churn, cure—gives the clean flavor and silky texture you want from homemade ice cream.
Choose Your Sweet Cream Base: Classic, Copycat, Custard, or Jeni’s Style
Your choice of base determines scoopability, mouthfeel, and how the recipe cures. Below are four clear paths you can follow depending on the texture and flavor you want.
Classic
Minimal ingredients, pure dairy flavor, firmer set. Use 2 cups cream, 1 cup milk, 1/2–3/4 cup sugar, and a pinch of salt. This cream base highlights natural milk notes and holds shape well.
Copycat (Cold Stone-style)
For softer scoops straight from the freezer, add 1/4 cup corn syrup and 2 Tbsp cornstarch to 2 cups cream, 1 cup milk, and 1/2 cup sugar. The stabilizers keep texture tender without eggs.
French Custard
Want ultra-smooth body? Temper 3 yolks into 2 cups heavy cream and 1 cup milk with 2/3 cup sugar. Cook gently until thick. The resulting custard gives a rich, velvety mouthfeel.
Jeni’s-inspired Method
This formula uses milk (600 g), cream (336 g), 150 g sugar, golden syrup, tapioca (or cornstarch), and cream cheese for clarity and stability. It cures beautifully overnight and resists large ice crystals.
- Tip: Keep roughly three cups of dairy across recipes so churning stays predictable.
- Note: A light touch of vanilla is optional; many prefer to let milk and cream speak first.
Pro Techniques for Silky Texture, Bold Flavor, and Perfect Mix-Ins
A few professional habits — precise temps, fast chilling, and smart add-ins — lift texture and flavor quickly.
Control sweetness and softness
Dial sugar with purpose. A modest cut keeps the profile delicate. A small increase plus a touch of corn syrup reduces iciness and improves scoopability for a softer finished ice cream.
Master the chill
Chill fast in an ice bath, then refrigerate until very cold. Many makers benefit from overnight curing; this rounds flavors and tightens structure over hours.
When to add delicate flavors
Add vanilla, ground coffee, or mint after the base is cold to preserve brightness. For fruit purées, cook and strain to remove excess water and avoid icy shards.
Timing mix-ins
Add nuts, melted chocolate, or caramel ripples in the last minutes of churning so they distribute evenly without clumping or sinking.
Troubleshooting
- A grainy mixture usually means chill or sugar issues — adjust next batch.
- If custard is overcooked, remove heat and strain immediately to recover texture; custard targets 170°F and requires stirring constantly while cooking.
- For frozen-bowl models, pre-chill bowl and base deeply; compressor cream maker users may skip pre-chill but still get better results with a cold base.
- Press parchment to the surface before lidding to protect the finished ice from crystals during freezer hours.
Conclusion
Your last steps—transfer, press, seal, and cure—preserve the clean dairy notes you worked for.
After churning to soft-serve, pour ice cream into a chilled container. Press parchment to the surface, then seal the airtight container and freeze until firm; custard and Jeni’s-style bases often need longer hours to reach their best body.
For frozen-bowl users, pre-chill the bowl and base to cut minutes of churning and improve texture. Store finished ice cream with minimal surface contact; that ritual keeps flavor bright for weeks.
Trust your chosen cream maker and the routine of precise heat, rapid chill, confident churn, and calm cure. Keep a short scorecard of minutes, temps, and hours so every batch becomes repeatable and joyful.


