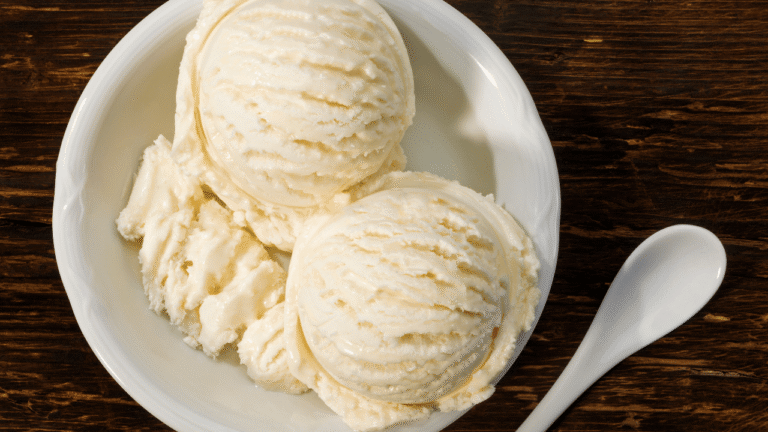
Craving something sweet without dairy? Imagine crafting velvety frozen delights right in your kitchen. This plant-based method transforms simple pantry staples into luxurious desserts that rival traditional favorites. No fancy tools or hard-to-find items required—just pure culinary creativity.
The secret lies in combining everyday ingredients that work like magic. A neutral-flavored plant milk forms the perfect blank canvas, while clever additions create that silky mouthfeel you love. Refined coconut oil teams up with rich vegan condensed milk to lock in smoothness without icy surprises.
Best part? You choose your adventure. Use classic vanilla for timeless appeal or experiment with bold mix-ins. The technique adapts beautifully—churn it traditionally for that authentic texture or try the revolutionary no-machine method. Either way, you’ll get scoopable perfection straight from your freezer.
Key Takeaways
- Create restaurant-quality desserts using basic kitchen staples
- Plant-based milk offers neutral flavor and natural creaminess
- Skip expensive equipment with innovative preparation methods
- Customize flavors from classic to adventurous combinations
- Maintain perfect texture without freezer burn or hardness
- Enjoy satisfying treats that align with various dietary needs
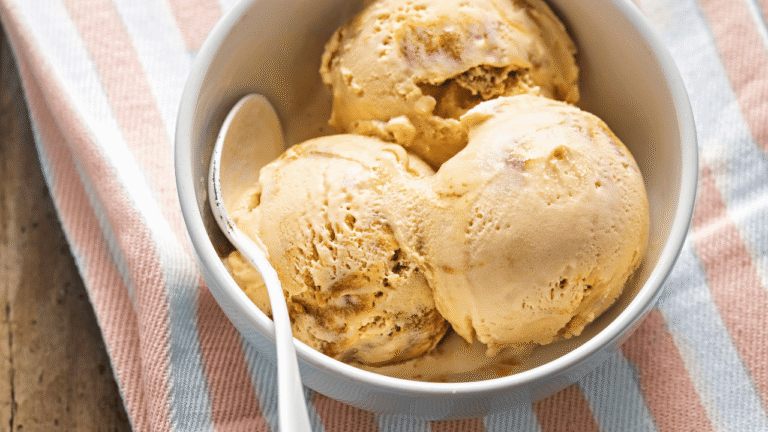
Cotton Candy Ice Cream Recipe
4
servings30
minutes40
minutes300
kcal1
hour10
minutesCreamy homemade soy ice cream with simple ingredients.
Keep the screen of your device on
Ingredients
2 cups 2 soy milk
3/4 cup 3/4 granulated sugar
2 teaspoons 2 vanilla extract
2 tablespoons 2 cornstarch
1/8 teaspoon 1/8 salt
Directions
- In a medium saucepan, combine soy milk, granulated sugar, cornstarch, and salt. Whisk the mixture thoroughly until smooth and free of lumps.
- Place the saucepan over medium heat and stir constantly until the mixture begins to thicken and coats the back of a spoon.
- Remove the saucepan from heat and add vanilla extract. Stir gently to combine the flavor evenly throughout the mixture.
- Transfer the ice cream base to a large bowl and allow it to cool to room temperature, about 30 minutes.
- Cover the bowl with plastic wrap, ensuring the wrap touches the surface to prevent a skin from forming. Chill in the refrigerator for at least 2 hours.
- Once chilled, pour the mixture into an ice cream maker and churn according to the manufacturer's instructions, typically 20-25 minutes.
- For a firmer consistency, transfer the churned ice cream to a lidded container. Freeze for an additional 2 hours before serving.
Recipe Video
Nutrition Facts
- Total number of serves: 6
- Calories: 200kcal
- Cholesterol: 0mg
- Sodium: 80mg
- Potassium: 300mg
- Sugar: 25g
- Protein: 5g
- Calcium: 15mg
- Iron: 1mg
- Thiamin: 0mg
- Riboflavin: 0mg
- Niacin: 0mg
- Folate: 0mg
- Biotin: 0mg
- Phosphorus: 100mg
- Iodine: 0mg
- Magnesium: 10mg
- Zinc: 1mg
- Selenium: 0mg
- Copper: 0mg
- Manganese: 0mg
- Chromium: 0mg
- Molybdenum: 0mg
- Chloride: 0mg
Did you make this recipe?
Tag @https://www.instagram.com/ice_cream_haven/ on Instagram and hashtag it with #IceCreamIceCreamHavens
Like this recipe?
Follow @https://www.pinterest.com/Ice_Cream_Haven/ on Pinterest
Join our Facebook Group!
Follow https://www.facebook.com/icecreamhavens/ on Facebook
Introduction & Benefits of a Dairy-Free Delight
Imagine a dessert that loves your body and the planet back. Plant-based frozen treats now deliver creamy textures without compromising values or flavor. Over 36% of Americans actively seek dairy alternatives, whether for health needs or environmental concerns.
Nutrition meets indulgence in these modern creations. A typical serving contains up to 40% less saturated fat than traditional options while packing plant-powered protein. Vanilla-infused versions showcase how simple ingredients create sophisticated flavors that please even discerning palates.
The environmental impact might surprise you. Producing plant-based milk generates 75% fewer greenhouse gases than dairy farming. This choice supports sustainable food systems while satisfying sweet cravings.
Three key advantages make these desserts revolutionary:
- Digestive-friendly formulas for sensitive stomachs
- Nutrient-dense profiles with essential vitamins
- Endless customization using oat, almond, or cashew bases
Modern techniques have erased the chalky textures of early vegan versions. Chefs now achieve luxurious creaminess through innovative ingredient combinations. From chocolate swirls to fruit bursts, these frozen marvels prove ethics and enjoyment can coexist.
Detailed Soy Ice Cream Recipe: Ingredients & Equipment
Ready to transform your kitchen into a dessert workshop? Gathering the right elements makes all the difference between good and extraordinary results. Let’s explore what transforms simple pantry items into spoonable luxury.
Essential Components & Plant-Based Swaps
Your foundation starts with neutral-flavored plant milk—oat and almond work beautifully. Combine with natural thickeners like tapioca starch for that silky glide everyone craves. Sweeten with maple syrup or date paste for nuanced depth.
Don’t forget textural heroes. Refined coconut oil prevents crystallization, while vegan condensed milk adds richness. These power players ensure your creation stays scoopable straight from the freezer.
Your Equipment Arsenal
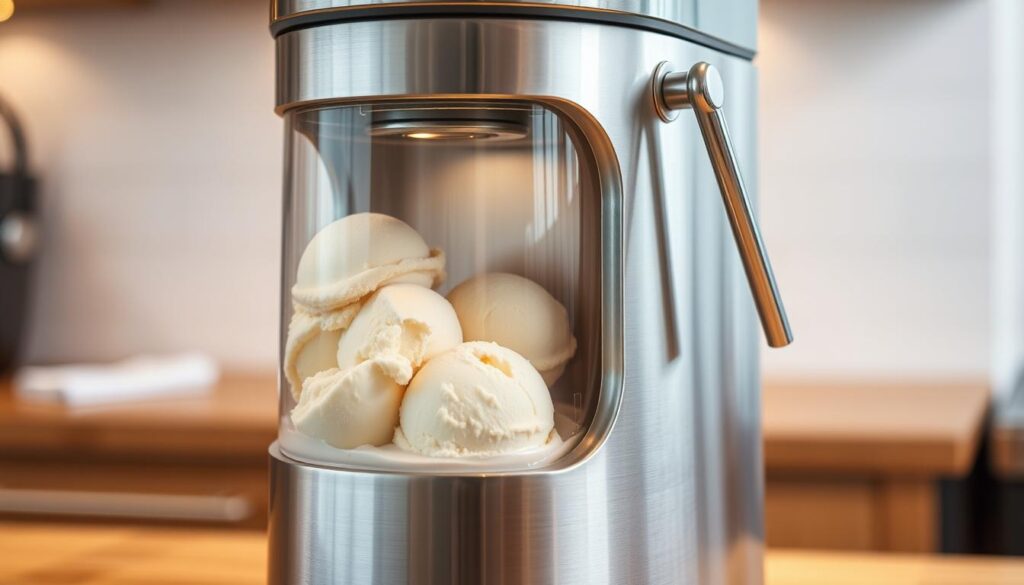
A quality ice cream maker like Cuisinart’s models becomes your secret weapon. Their double-insulated bowls freeze faster and maintain temperature better than budget options. Remember—freeze the bowl 24 hours before churning for optimal results.
Pair your cream maker with a high-speed blender for ultra-smooth bases. Use a stand mixer’s whisk attachment to incorporate air into mixtures. Store finished batches in airtight containers to preserve that fresh-from-the-machine texture.
No specialized equipment? No problem. A loaf pan and fork can mimic churning through strategic stirring every 30 minutes during freezing. While manual methods take longer, they still deliver satisfying outcomes.
Step-by-Step Preparation Process
Unlock the secrets to crafting velvety plant-based desserts through precise techniques. This phase transforms chilled mixtures into cloud-like textures that defy freezer expectations. Every motion matters—from temperature control to strategic mixing.
Warming, Blending, and Refrigeration
Begin by gently heating your base mixture until smooth. Transfer to a blender for 90 seconds of pureeing—this breaks down starches for silkiness. Pour into a chilled bowl and refrigerate for 2 hours. Cold temperatures stabilize the structure, ensuring optimal whipping later.
Whipping and Folding for the Perfect Consistency
Beat the cooled base at medium-high speed until stiff peaks form—about 5 minutes. “The whisk should leave lasting ridges when lifted,” notes pastry chef Emma Clarke. Add vanilla and powdered sugar gradually to maintain airiness.
Fold in vegan condensed milk using wide, upward strokes. Imagine turning pages in a book—gentle yet deliberate. This technique preserves delicate air pockets while blending ingredients. Mix-ins like crushed nuts should be added last to prevent color bleeding.
- Watch for glossy surfaces and doubled volume as whipping milestones
- Use room-temperature spatulas to prevent temperature shock during folding
- Test texture by scooping—mixture should hold shape briefly before settling
Timing proves critical. Over-whipped bases become grainy, while under-processed ones freeze unevenly. Trust your senses—when the mixture resembles softly whipped cream, it’s ready for its final chill.
The Role of an Ice Cream Maker in Achieving Creamy Perfection
Your frozen dessert journey reaches new heights when mastering this essential kitchen tool. The right technique transforms liquid bases into velvety masterpieces through precise temperature control and mechanical magic.
Optimizing Your Ice Cream Maker Use
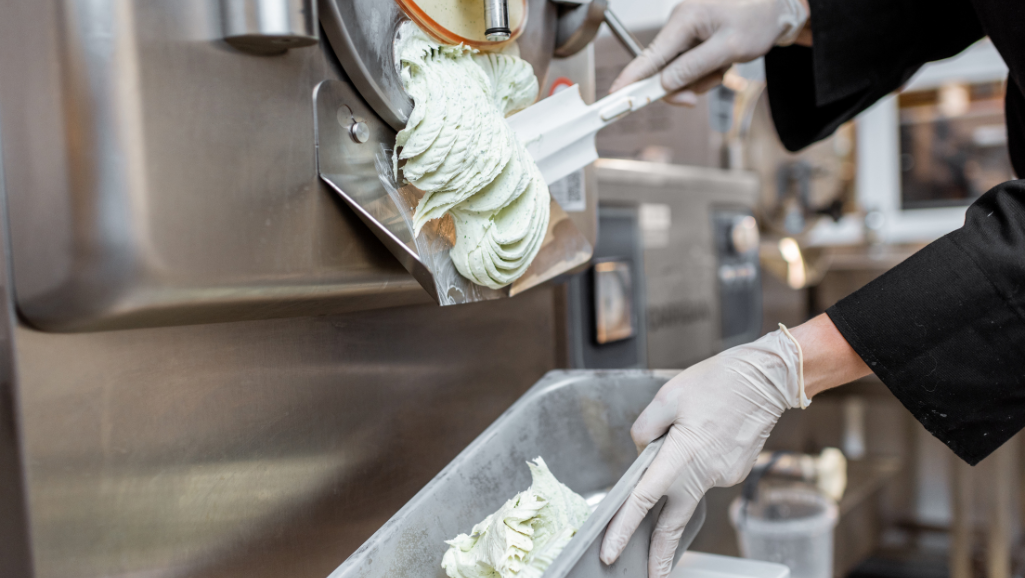
Constant churning acts as your texture guardian. During the critical 30-40 minute cycle, paddles aerate the mixture while preventing ice crystals from forming. This dual action creates that signature smoothness found in premium desserts.
Watch the clock—stopping too early leaves mixtures grainy, while over-churning causes butter-like separation. Professional bakers swear by the “ribbon test”: When the base thickens enough to coat your spatula without dripping, it’s freezer-ready.
Post-churning care matters just as much. Transfer your creation to an airtight container and let it firm up for 2-4 hours. This final freeze stabilizes the structure while preserving the airy lightness achieved during mixing.
Three signs of success:
- Gentle resistance when scooping
- No visible ice particles
- Consistent color throughout
Remember—your machine works best with thoroughly chilled bases. Always refrigerate mixtures overnight before churning for optimal results. With practice, you’ll develop an instinct for perfect timing and texture every time.
Creative Mix-Ins and Flavor Variations
Elevate your plant-based desserts from simple to showstopping with artful combinations that delight the senses. Your vanilla base becomes a playground for innovation—think beyond sprinkles and dive into sophisticated swirls, crunchy textures, and seasonal surprises.
Inspiring Vegan Mix-In Ideas
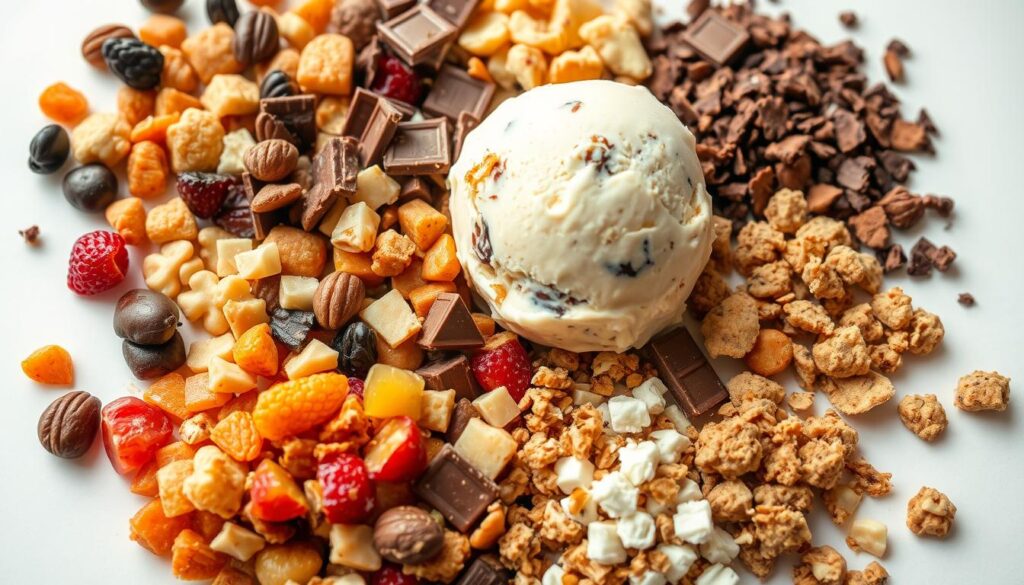
Crushed pistachios add earthy richness, while toasted coconut flakes deliver tropical crunch. For chocolate lovers, fold in melted dark chocolate during the final churn to create delicate stracciatella shards. Swirl in nut butter ribbons or layer fruity coulis between scoops for bursts of brightness.
Three crowd-pleasing combinations:
- Lemon curd + thyme-infused caramel sauce
- Chopped mint leaves + cacao nibs
- Roasted peach chunks + basil sugar
Customizing with Unique Flavor Additions
Master the science of balanced flavors by pairing extracts with complementary textures. A dash of almond extract enhances berry swirls, while orange zest brightens chocolate chunks. “Always add liquid flavorings during the blending phase for even distribution,” advises pastry chef Marco Visconti.
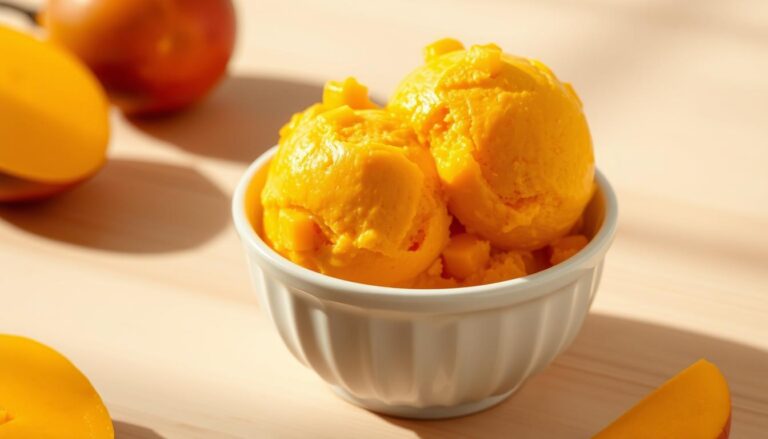
Seasonal adaptations keep creations exciting. Pumpkin puree and chai spices shine in autumn, while peppermint extract and crushed candy canes transform your vanilla base into winter magic. For summer, swirl in mango puree or muddled basil.
Remember—bold flavors need subtle backdrops. Let your vanilla foundation anchor adventurous combinations without overpowering delicate ingredients. Test small batches first to perfect your signature blends.
Alternative Methods: No-Churn and Manual Techniques
Who says you need special gadgets to craft dreamy desserts? These ingenious approaches let anyone create professional-quality treats through simple kitchen rituals. Your freezer becomes the ultimate tool for achieving velvety textures without machinery.
Texture Guardians: Freezer Tricks That Work
Consistent stirring transforms basic mixtures into smooth marvels. Set timers every 35 minutes during freezing for vigorous folding. This breaks up ice clusters while incorporating air—nature’s leavening agent. For faster results, try the plastic bag method: Seal your base in a zippered pouch and massage it between folds.
Blender enthusiasts can pulse mixtures hourly. The blades shatter crystals better than spoons, mimicking churner action. Always return batches to chilled containers immediately—warm surfaces sabotage your progress.
Three keys to manual mastery:
- Use shallow pans for quicker temperature control
- Add mix-ins when base resembles soft-serve consistency
- Store finished batches with parchment pressed directly on surfaces
These methods prove that homemade ice perfection lies in technique, not tools. Your patience gets rewarded with spoonable luxury that rivals machine-churned versions. Now go claim your place as the freezer whisperer!


