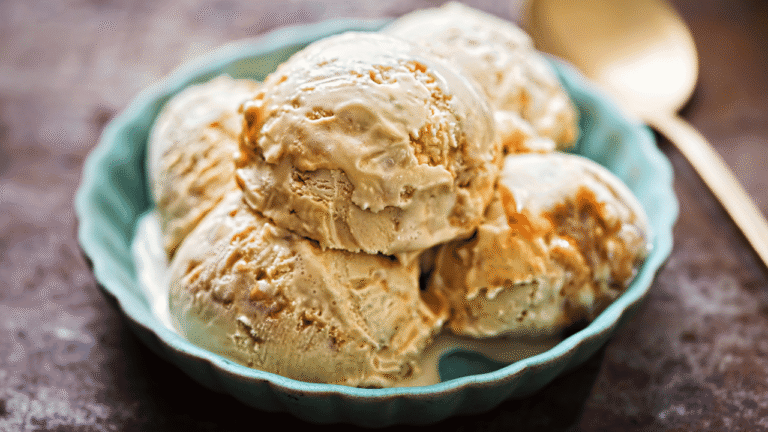
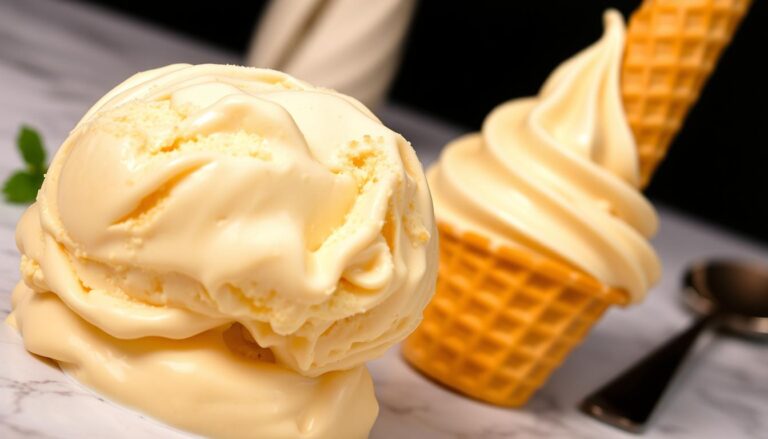
Imagine a dessert that blends old-school charm with bold new flavors. The magic begins with malted milk powder, a secret weapon that adds depth to every bite. This ingredient transforms ordinary frozen treats into velvety creations with a subtle toasted sweetness. Think of classic soda fountain vibes, but with your own creative twist.
What makes these desserts stand out? It’s the marriage of smooth textures and nostalgic notes. Malted barley gives a nutty richness you won’t find in typical store-bought options. Each spoonful feels like a cozy hug, yet surprises with its modern flair. Perfect for hot days or celebratory moments, it’s a treat that always hits the spot.
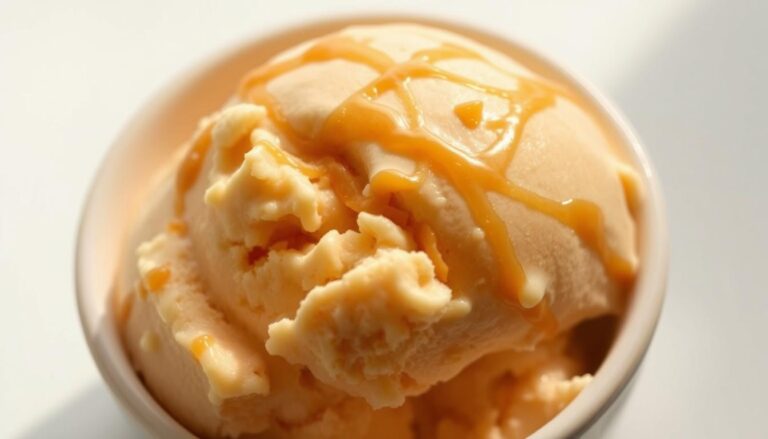
Best part? You don’t need fancy tools to craft these delights at home. With just a few pantry staples and a dash of imagination, you’ll whip up batches that wow guests. Experiment with mix-ins like caramel swirls or chocolate chunks. The possibilities are as endless as your creativity.
Key Takeaways
- Combine retro flavors with modern twists for unique frozen desserts
- Malted milk powder creates a creamy, nutty base unlike commercial brands
- Simple recipes let anyone master homemade creations
- Basic ingredients like fresh dairy products yield extraordinary results
- Customize textures and add-ins to match personal preferences
Malt Ice Cream
4
servings30
minutes40
minutes300
kcal1
hour10
minutesCreamy malt ice cream using everyday ingredients for a delightful homemade treat.
Keep the screen of your device on
Ingredients
1 cup 1 heavy cream
1 cup 1 whole milk
0.75 cup 0.75 sugar
0.25 cup 0.25 malted milk powder
2 tablespoons 2 vanilla extract
3 large 3 egg yolks
0.25 teaspoon 0.25 salt
Directions
- In a medium saucepan, combine the heavy cream, whole milk, sugar, and malted milk powder over medium heat. Stir until the mixture is smooth and just begins to simmer.
- Remove from heat and let the cream mixture cool slightly. In a separate bowl, whisk together the egg yolks, vanilla extract, and salt until well combined.
- Slowly pour a little of the warm cream mixture into the egg yolks, whisking constantly to temper the yolks and prevent curdling.
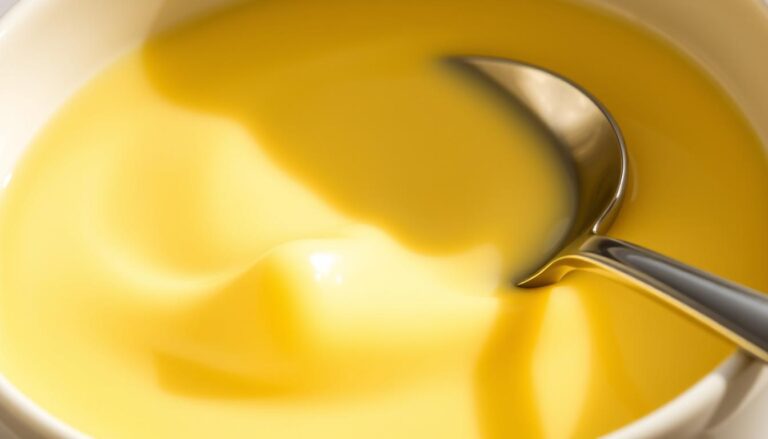
- Gradually add the yolk mixture back into the saucepan with the remaining cream. Cook over medium-low heat while stirring constantly until it thickens slightly, coating the back of a spoon.
- Pour the custard through a fine-mesh strainer into a clean bowl to remove any cooked egg bits. Cover the surface with plastic wrap to prevent a skin from forming.
- Chill the mixture in the refrigerator for at least 4 hours, or until thoroughly cold for enhanced flavor and texture.
- Once chilled, pour the custard into an ice cream maker and churn according to the manufacturer's instructions. This usually takes about 20-25 minutes.
- Transfer the ice cream to an airtight container and freeze for at least 2 hours to firm up. Serve and enjoy your malt ice cream.
Nutrition Facts
- Total number of serves: 6
- Calories: 180kcal
- Cholesterol: 125mg
- Sodium: 80mg
- Potassium: 150mg
- Sugar: 14g
- Protein: 3g
- Calcium: 100mg
- Iron: 0mg
- Thiamin: 0mg
- Riboflavin: 0mg
- Niacin: 0mg
- Folate: 0mg
- Biotin: 0mg
- Phosphorus: 0mg
- Iodine: 0mg
- Magnesium: 0mg
- Zinc: 0mg
- Selenium: 0mg
- Copper: 0mg
- Manganese: 0mg
- Chromium: 0mg
- Molybdenum: 0mg
- Chloride: 0mg
Did you make this recipe?
Tag @https://www.instagram.com/ice_cream_haven/ on Instagram and hashtag it with #IceCreamIceCreamHavens
Like this recipe?
Follow @https://www.pinterest.com/Ice_Cream_Haven/ on Pinterest
Join our Facebook Group!
Follow https://www.facebook.com/icecreamhavens/ on Facebook
Discovering the Allure of Malt Ice Cream
Picture this: A dusty 19th-century laboratory where scientists first whipped up malted milk powder as a digestive aid for babies. Fast-forward to today, and that same ingredient sparks joy in dessert lovers nationwide. Its transformation from health tonic to flavor powerhouse proves some innovations only get better with age.
A Journey Through History and Flavor
William Horlick’s 1870s creation wasn’t meant for sweet treats. Originally sold in pharmacies, this blend of sprouted barley, wheat, and evaporated milk became a soda fountain sensation by the 1920s. Non-diastatic versions—free from active enzymes—emerged as the gold standard for frozen desserts, locking in rich flavors without altering textures.
Bon Appétit captures its essence perfectly:
“A fine light-yellow powder with mellow nuttiness and natural sweetness”
bonappetit.com
. That savory edge from baking soda? It’s the secret handshake between your taste buds and nostalgia.
What Makes It Irresistible?
Three elements create magic:
- Cereal-like warmth from toasted grains
- Silky sweetness balancing earthy notes
- A whisper of salt that keeps you scooping
Unlike ordinary options, this mix delivers complexity in every bite. It’s breakfast cereal meets dessert sophistication—a combo that feels both familiar and excitingly new. Whether folded into milkshakes or churned into frozen bliss, that golden powder remains the ultimate flavor time machine.
Key Ingredients and Essential Equipment
Every great creation begins with the right tools and components. For a dessert that dances between nostalgic comfort and modern elegance, precision in ingredient selection separates good from extraordinary. Let’s explore what transforms simple mixtures into spoonable magic.
Malted Milk Powder: The Star Ingredient
Carnation brand reigns supreme here—its non-diastatic version ensures rich flavor without altering your dessert’s texture. Found near condensed milk in most grocery store aisles, this golden powder adds toasted depth. Bon Appétit notes its “mellow nuttiness” perfectly balances sweetness, making it indispensable for achieving that signature complexity.
Pro tip: Use 3 ounces per batch. Too little, and the flavor fades; too much, and bitterness creeps in. It’s the Goldilocks principle of dessert alchemy.
Dairy, Cream, and Additional Flavor Boosters
Equal parts whole milk and heavy cream create a velvety foundation. Farm-fresh egg yolks lend silkiness, while granulated sugar caramelizes subtly during freezing. Split a vanilla bean or use pure extract—its floral notes elevate the malt’s earthiness.
Essential tools? A sturdy ice cream maker ensures smooth churning. Pair it with a fine-mesh strainer for lump-free custard. As pastry chef Stella Parks advises:
“Quality equipment respects your effort—it’s the silent partner in every masterpiece.”
With these elements, you’re not just making dessert. You’re crafting edible nostalgia—one scoop at a time.
Step-by-Step Recipe for Homemade Malt Ice Cream
Transform simple ingredients into a decadent dessert with this foolproof guide. Precision and patience turn everyday components into silky-smooth perfection. Let’s walk through each stage to ensure your creation shines.
Preparing the Custard and Infusing Flavors
Start by combining whole milk, heavy cream, and malted milk powder in a saucepan. Split a vanilla bean lengthwise, scraping its seeds into the mixture. Heat over medium until steam rises—about 5 minutes—stirring to dissolve the powder completely.
Whisk egg yolks and sugar in a separate bowl until pale. Slowly pour the hot milk blend into the eggs while stirring. This tempers the yolks, preventing curdling. Return everything to the pan.
Cook on low heat for 8-10 minutes, stirring constantly. The custard thickens when it coats a spoon. Strain it into a clean container to remove any lumps, then cool at room temperature for 15 minutes.
Chilling, Churning, and Final Freeze
Refrigerate the mixture for 4-5 hours—or overnight—to deepen flavors. Cold custard churns faster, creating smaller ice crystals for creamier results. Pour it into your ice cream maker, following its manual for timing.
Once churned, transfer to a freezer-safe dish. Press plastic wrap directly onto the surface to block ice formation. Freeze for 2-3 hours before serving. Pro tip: Let it sit at room temperature for 5 minutes for easier scooping.
Pastry chef Zoë François sums it up:
“Great desserts balance science and soul—measure carefully, but savor the process.”
Creative Flavor Variations and Pairing Ideas
Unlock endless possibilities by reimagining classic desserts with unexpected twists. A dash of creativity transforms familiar recipes into showstopping creations that delight taste buds and spark conversation. Let’s dive into inventive ways to elevate your frozen treats.
Exploring Unique Mix-Ins and Toppings
Crunchy textures meet creamy perfection with clever additions. Fold chocolate-covered almonds into your base for a satisfying snap, or scatter malted milk balls for nostalgic charm. Crushed shortbread cookies add buttery richness, while toffee bits create caramelized depth.
For fruit lovers, swirl raspberry compote through vanilla-infused batches. The tartness cuts through sweetness beautifully. Food blogger Erin McDowell suggests:
“Texture contrast turns simple desserts into multisensory experiences.”
Innovative Twists on Classic Recipes
Revolutionize traditional methods with modern shortcuts. Whip up no-churn vanilla versions using sweetened condensed milk—ideal for busy creators. Blend cocoa powder and dark chocolate into custard bases for a lighter chocolate malt profile that won’t overpower delicate palates.
Seasonal adaptations keep things exciting. Autumn batches shine with spiced pear chunks, while summer iterations burst with berry ripples. For holiday magic, fold peppermint shards into chocolate bases and top with crushed candy canes.
Remember: Great flavors balance tradition and innovation. Whether crafting elegant dinner party finales or casual family treats, these ideas guarantee spoon-licking satisfaction.
Expert Tips, Tricks, and Troubleshooting
Elevate your dessert game with insider knowledge that turns kitchen experiments into crowd-pleasing successes. These practical strategies help navigate challenges while streamlining your creative process.
Common Pitfalls and How to Avoid Them
Gritty textures often stem from rushed prep. Let your cream mixture rest in the fridge for 2+ hours, stirring occasionally. This gives the powder time to dissolve fully. For custard-based recipes, keep heat medium-low and stir constantly—this prevents scrambled eggs while building thickness.
Food scientist Harold McGee notes:
“Temperature control separates frustrating failures from smooth victories.”
Time-Saving Techniques and Serving Suggestions
Chill both your base and ice cream maker bowl overnight. Cold components freeze faster, cutting churn time by 25%. Prep mixtures up to 3 days ahead—store them in airtight containers until ready to use.
Serve straight from the machine for soft-serve texture. For firmer scoops, freeze 2-3 hours. Keep powder in your pantry for spontaneous creations—it stays fresh for months when sealed properly.
Conclusion
You’ve now unlocked the art of crafting frozen delights that balance nostalgia with innovation. Those golden scoops bursting with toasted sweetness? They’re not just desserts—they’re edible stories waiting to be shared.
Homemade creations let you control every detail, from velvety textures to bold flavor twists. Whether using classic custard methods or modern shortcuts, you’ve mastered turning simple ingredients like malted milk powder and fresh dairy into gourmet-quality treats. That’s the magic of kitchen alchemy.
Don’t stop here. Swap vanilla for dark chocolate shavings in your next batch. Fold in caramelized nuts or seasonal fruit compotes. Each variation becomes a new chapter in your culinary journey—one where store-bought versions can’t compete.
Remember: Great desserts spark joy beyond the first bite. Share your frozen masterpieces at gatherings or package them as heartfelt gifts. Every spoonful celebrates tradition, creativity, and the pure satisfaction of making something extraordinary from scratch.


