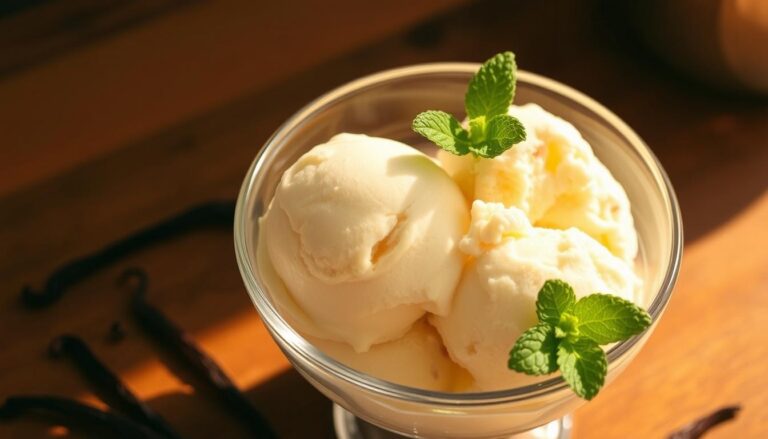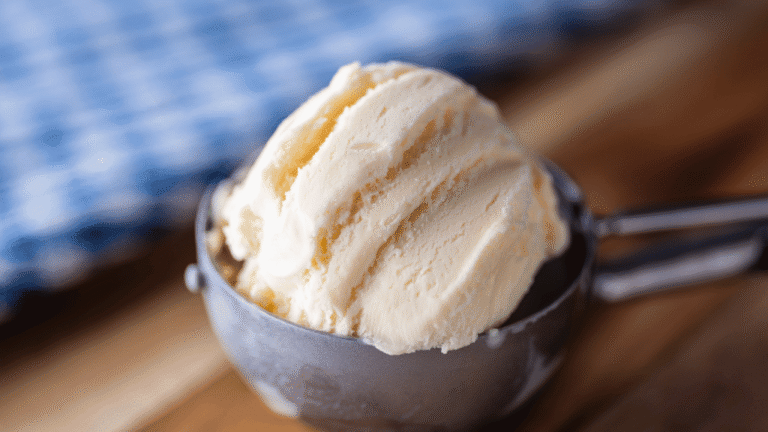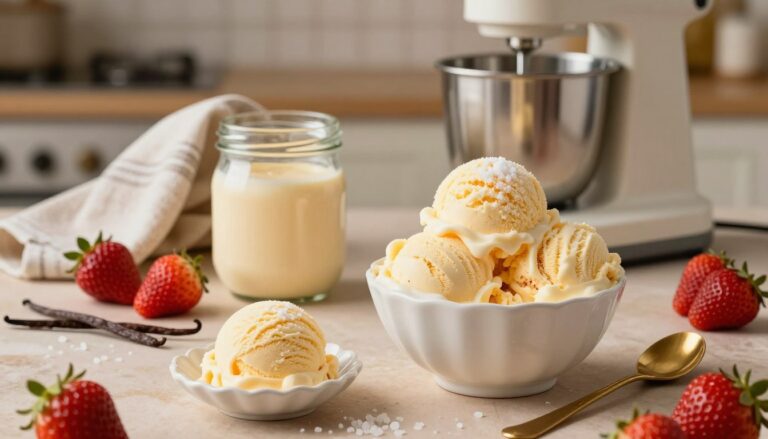


Apple Ice Cream Recipe
4
servings30
minutes40
minutes300
kcal1
hour10
minutesA simple apple ice cream with a creamy texture.
Keep the screen of your device on
Ingredients
2 cups 2 heavy cream
1 cup 1 whole milk
3/4 cup 3/4 granulated sugar
1 teaspoon 1 vanilla extract
1.5 cups 1.5 apple sauce
1 teaspoon 1 ground cinnamon
Directions
- In a medium mixing bowl, combine the heavy cream, whole milk, and granulated sugar, whisking until the sugar is fully dissolved.
- Stir in the vanilla extract, apple sauce, and ground cinnamon until evenly mixed with the cream and milk mixture.
- Cover the bowl with plastic wrap and refrigerate for at least 2 hours or until thoroughly chilled.
- Set up the ice cream maker according to the manufacturer's instructions and pour the chilled mixture into it.
- Churn the mixture in the ice cream maker for about 20 to 25 minutes or until it reaches a soft-serve consistency.
- Transfer the churned ice cream to a lidded container and freeze for at least 2 hours or until firm.
- For best results, allow the ice cream to sit at room temperature for a few minutes before serving to soften slightly.
Recipe Video
Nutrition Facts
- Serving Size: 0g
- Total number of serves: 0
- Calories: 0kcal
- Fat: 0g
- Saturated Fat: 0g
- Trans Fat: 0g
- Polyunsaturated Fat: 0g
- Monounsaturated Fat: 0g
- Cholesterol: 0mg
- Sodium: 0mg
- Potassium: 0mg
- Carbohydrates: 0g
- Fiber: 0g
- Sugar: 0g
- Protein: 0g
- Vitamin A: 0IU
- Vitamin C: 0mg
- Calcium: 0mg
- Iron: 0mg
- Vitamin D: 0mg
- Vitamin E: 0mg
- Vitamin K: 0mg
- Thiamin: 0mg
- Riboflavin: 0mg
- Niacin: 0mg
- Vitamin B6: 0mg
- Vitamin B12: 0mg
- Folate: 0mg
- Biotin: 0mg
- Pantothenic Acid: 0mg
- Phosphorus: 0mg
- Iodine: 0mg
- Magnesium: 0mg
- Zinc: 0mg
- Selenium: 0mg
- Copper: 0mg
- Manganese: 0mg
- Chromium: 0mg
- Molybdenum: 0mg
- Chloride: 0mg
Did you make this recipe?
Tag @https://www.instagram.com/ice_cream_haven/ on Instagram and hashtag it with #IceCreamIceCreamHavens
Like this recipe?
Follow @https://www.pinterest.com/Ice_Cream_Haven/ on Pinterest
Join our Facebook Group!
Follow https://www.facebook.com/icecreamhavens/ on Facebook
Getting Started with Homemade Apple Ice Cream
Bring fall flavors to your freezer by turning peak-season apples into a creamy, churned treat. This apple ice cream reimagines classic holiday notes—think apple pie filling and warm spices—into a chilled dessert that’s equally at home on a Thanksgiving table or a cozy weeknight.
Inspiration Behind the Recipe
The idea grew from wanting a twist on apple pie: caramelize apples in butter and brown sugar to concentrate sweetness and add depth, then fold them into a rich custard for a luxe cream recipe. Caramelization builds flavor in ways that baked apples don’t, producing an apple ice with pronounced caramel notes and a velvety base.
Whenever possible, choose fresh, locally sourced apples — late-season Fuji, Cortland, or Honeycrisp work especially well because they offer a balance of sweetness and acidity that holds up during caramelization. Select firm apples (not overly ripe) so the chunks soften but keep some texture rather than turning to complete purée.
Seasonal Appeal and Benefits
Fall is the ideal season to experiment with apples and warming spices. Pairing caramelized apples with ground cinnamon (and optional nutmeg) evokes nostalgic apple pie flavors while keeping the dessert refreshingly cold. Making this ice cream at home also lets you control ingredients — use high-quality cream and milk for richness and skip preservatives for a purer dessert.
Why this works:
– Seasonal flavor: peak-harvest apples deliver better sweetness and aroma.
– Flavor control: caramel and cinnamon create depth without overwhelming the apple.
– Versatility: serve alone, pair with apple pie, or drizzle with caramel sauce for extra indulgence.
For tips on choosing apples near you, look up local apple-picking farms or farmers’ markets — supporting local growers improves freshness and sustainability while giving you the best ingredients for your mixture.
Apple Ice Cream Recipe Ingredients and Essential Equipment
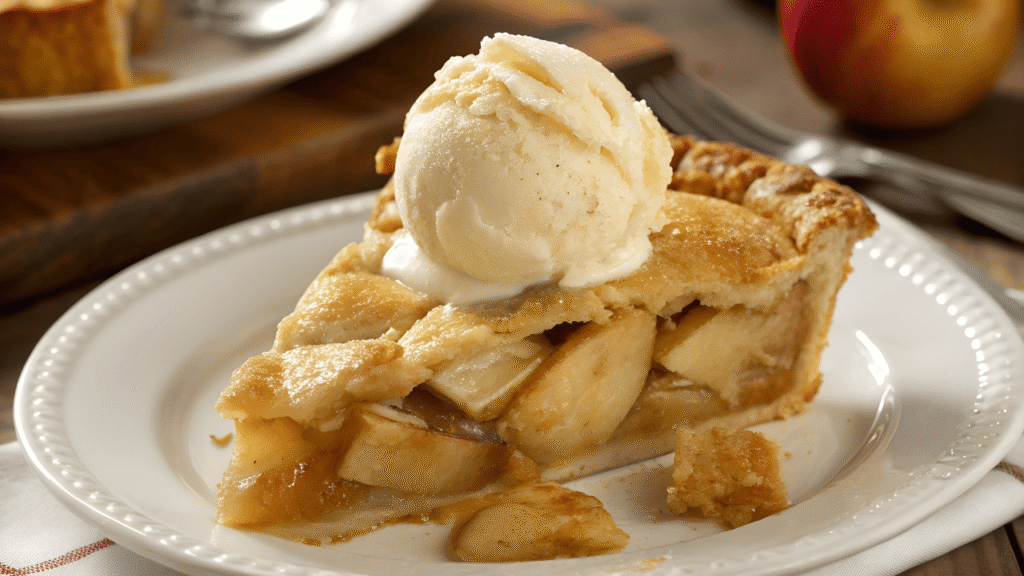
Creating a great homemade apple ice cream starts with the right ingredients and tools. Quality components and the correct equipment make the difference between a grainy frozen treat and a silky, scoopable dessert.
Key Ingredients: Apples, Cream, and Caramel
Choose fresh apples that balance sweetness and acidity — late-season Fuji, Cortland, or Honeycrisp are excellent choices because they hold up during caramelization. For the creamy base, use high-quality heavy cream and whole milk (a roughly 1:1 ratio gives a rich texture); add brown sugar or granulated sugar for caramelization, a splash of vanilla, and a pinch of salt to brighten flavors.
Suggested ingredient framework (add exact measurements to the recipe card):
– Apples (firm, 3–4 medium)
– Butter (for caramelizing)
– Sugar or brown sugar (for caramel)
– Heavy cream and whole milk (base)
– Egg yolks (for custard) or an alternative thickener
– Vanilla and a pinch of salt
Must-Have Tools and Ice Cream Maker Tips
Essential tools: a heavy skillet or saucepan for caramelizing apples, a blender or immersion blender to smooth the fruit base, a fine-mesh strainer for the custard, and — if you have one — an ice cream maker to churn the mixture into creamy ice cream.
Pre-freeze tip: pre-freeze the machine’s bowl per manufacturer instructions before churning (many models recommend 12–24 hours). Make sure the bowl is fully frozen so the mixture churns evenly and small ice crystals form.
Custard safety: if your cream recipe uses egg yolks, cook the custard to a safe temperature (target ~170–175°F / 77–80°C) to pasteurize the eggs — this prevents curdling and ensures food safety.
Substitutions and notes:
– Dairy-free: substitute coconut milk or almond milk; increase stabilizers (cornstarch or use a no-churn whipped cream base) to maintain creaminess.
– Evaporated milk: can be used to enrich the base if desired.
– Make sure to chill the custard thoroughly (at least 4 hours or overnight) before churning for the best texture.
Quick checklist:
– Fresh apples (firm, tart-sweet)
– Quality cream and milk
– Butter, sugar (for caramel)
– Heavy pan, blender, strainer, ice cream maker (or plan for no-churn method)
– Pre-freeze bowl per manufacturer instructions and chill the base before churning
Step-by-Step Instructions for the apple ice cream recipe
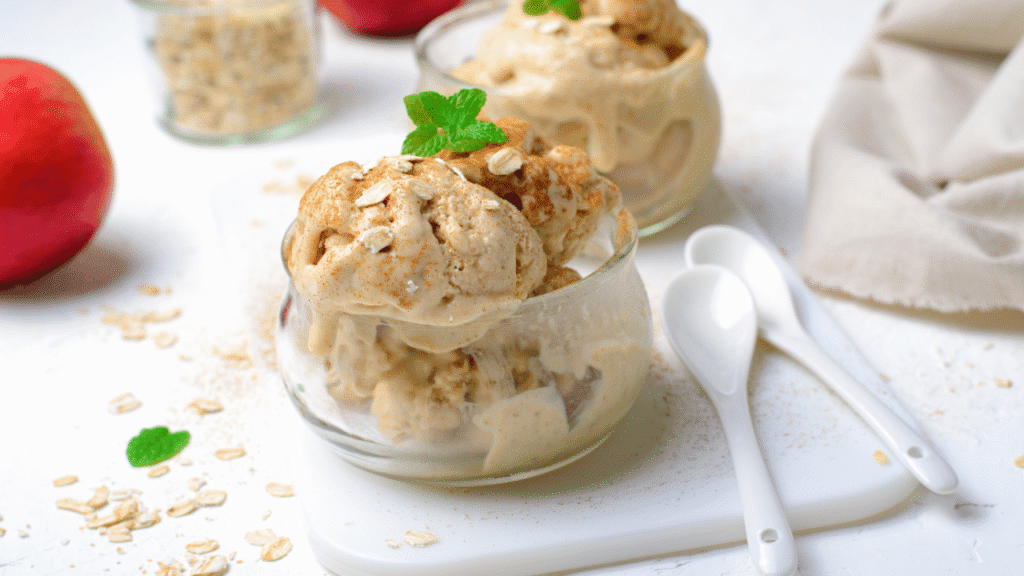
Transforming fresh apples into a creamy apple ice cream is straightforward if you follow these clear steps. Below you’ll find timed stages for caramelizing the fruit, making a safe, silky custard, chilling the base, and churning to a perfect soft‑serve before final freezing.
Preparing the Apple Base and Caramelization
1. Prep the apples: Peel (optional), core, and cut 3–4 medium apples into 1/2‑inch chunks so they hold some texture in the finished ice. Choose firm varieties like Fuji, Cortland, or Honeycrisp.
2. Caramelize: In a heavy pan over medium heat, melt 2 tablespoons butter. Add 1/3–1/2 cup brown sugar (or granulated sugar) and stir until it dissolves and turns golden. Add the apple chunks and cook, stirring occasionally, about 12–15 minutes until apples are tender and glossy and caramel deepens in color.
3. Smooth the base: Remove from heat and let cool slightly. For a velvety mixture, blend the caramelized apples with 1/2 cup evaporated milk or a portion of the cream/milk base until smooth, leaving small chunks if you prefer texture. Set aside to cool while you make the custard.
Creating the Custard and Chilling Process
4. Whisk the yolks: In a bowl, whisk 4 large egg yolks with 1/2 to 3/4 cup sugar until pale and slightly thickened.
5. Combine and temper: Warm 2 cups heavy cream and 2 cups whole milk in a saucepan over medium heat until steaming (do not boil). Slowly whisk a small amount of the warm cream into the yolks to temper, then pour the tempered yolk mixture back into the saucepan with the remaining cream.
6. Cook to safe temperature: Cook over medium‑low heat, stirring constantly, until the custard thickens and reaches about 170–175°F (77–80°C) or coats the back of a spoon. This temperature pasteurizes the eggs and prevents curdling.
7. Finish the base: Remove from heat, whisk in 1 teaspoon vanilla and a pinch of salt. Stir in the blended apple mixture. Strain the mixture through a fine‑mesh sieve into a clean bowl to remove any lumps for the smoothest cream.
8. Chill thoroughly: Cover and chill the custard in the refrigerator for at least 4 hours or overnight. Chilling improves flavor and ensures the mixture is cold enough to churn into fine ice crystals.
Churning and Freezing
9. Pre-freeze & prep: Pre‑freeze your ice cream maker bowl per manufacturer instructions (many recommend 12–24 hours). Make sure the bowl is fully frozen before churning.
10. Churn: Pour the well‑chilled mixture into your ice cream maker and churn according to your machine’s directions for about 20–30 minutes, or until it reaches a soft‑serve consistency. During the last few minutes, fold in any reserved apple chunks or swirls of caramel sauce if desired.
11. Pack and freeze: Transfer the churned ice cream to an airtight freezer‑safe container, press plastic wrap directly on the surface to minimize ice crystals, and freeze for at least 4 hours to firm up.
Timing & Notes
– Caramelization: ~12–15 minutes.
– Custard chilling: minimum 4 hours, preferably overnight.
– Churning: ~20–30 minutes (machine dependent).
– Final freeze: ~4 hours.
Troubleshooting & Tips
– If the custard curdles: strain and whisk vigorously, or blend briefly to smooth; ensure you cook gently next time and temper eggs properly.
– If the ice cream is icy: try adding a tablespoon of light corn syrup or 2 tablespoons brown sugar to the base next time to reduce large ice crystals.
– No‑machine method: pour the chilled mixture into a shallow container, freeze, and stir vigorously every 30 minutes for 3–4 hours until creamy.
Print recipe | Save to recipe box | Leave a comment with your favorite apple variety and any swaps you tried.
Apple Ice Cream Recipe Creative Variations and Flavor Enhancements
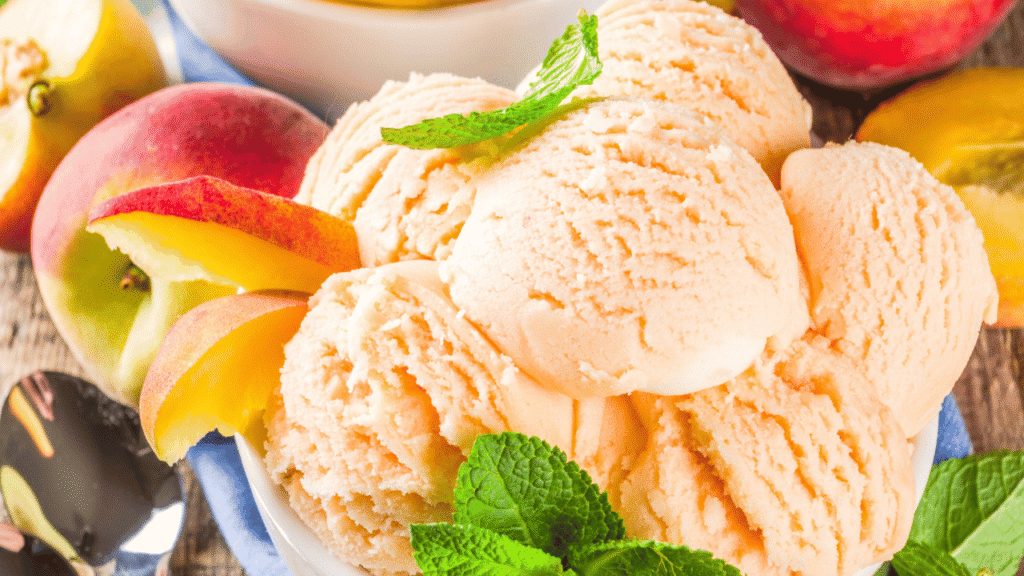
This apple ice cream recipe is a flexible base—use it to experiment with spices, textures, and swirls to create your perfect frozen dessert. Below are measured suggestions and timing tips so your additions boost flavor without compromising texture.
Incorporating Spices: Cinnamon, Nutmeg, and Thyme
– Ground cinnamon: Start with 1/2 to 1 teaspoon ground cinnamon added to the custard base for a warm, familiar note that echoes apple pie. If you love cinnamon, 1 teaspoon brings a bolder profile.
– Nutmeg & cardamom: Add 1/8 teaspoon freshly grated nutmeg or a pinch of cardamom for layered warmth—use sparingly so the apple remains the star.
– Thyme: For an unexpected herbaceous lift, add one small sprig of fresh thyme while warming the cream, then remove before tempering the eggs. Thyme is subtle—don’t exceed one sprig or the herb will dominate.
Crunchy Add‑ins: Biscuits and Nuts
– Tea biscuits: Crush 1/2 cup of tea biscuits (digestives or shortbread) and fold them in during the last 2–3 minutes of churning so they keep some crunch.
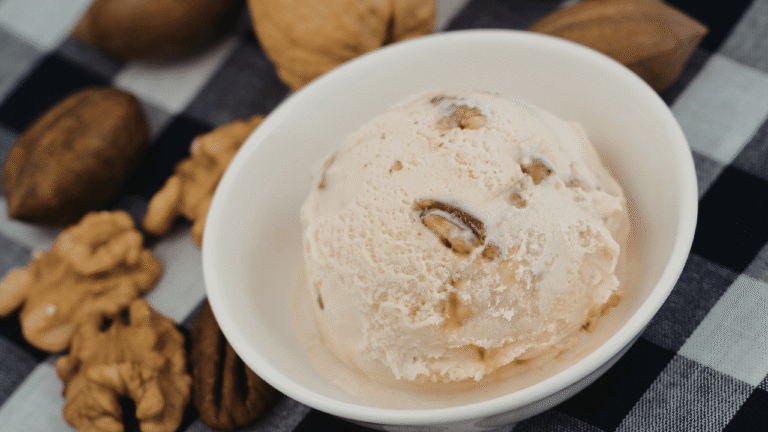
– Nuts: Toast and chop 1/2 cup pecans or walnuts and add them in the final minute of churning or gently fold them into the churned ice cream before packing. For nut‑free or gluten‑free options, substitute toasted oats or gluten‑free cookie crumbs.
Caramel Swirls and Toppings
– Salted caramel sauce: Warm a jar of homemade or store‑bought caramel sauce slightly so it’s pourable. During the last minute of churning, drizzle in 1/3 to 1/2 cup caramel to create ribbons; alternatively, layer caramel between tubs when packing to make a swirl.
– Brown sugar boost: For deeper caramel flavor in the base, replace some granulated sugar with 2 tablespoons brown sugar when making the custard or caramelizing the apples.
Mixing Guidelines & Timing
– Add-ins timing: Fold crunchy mix-ins in the last minutes of churning (2–3 minutes) or fold in by hand after churning to prevent them from sinking.
– Swirl technique: For clean swirls of caramel sauce, gently layer chilled churned ice cream and caramel in the container and use a spatula to create loose ribbons—avoid overmixing.
Allergy & Substitution Notes
– Nut allergies: Omit nuts and use toasted seeds (pumpkin or sunflower) or gluten‑free biscuits for crunch.
– Dairy‑free: Use full‑fat coconut cream and a stabilized no‑churn method to keep a creamy texture.
Try these variations to customize your apple ice cream—cinnamon and a salted caramel sauce are classic pairings, while thyme or a crunchy biscuit swirl can make the dessert uniquely yours.
Apple Ice Cream Recipe Expert Tips for Perfect Texture and Serving
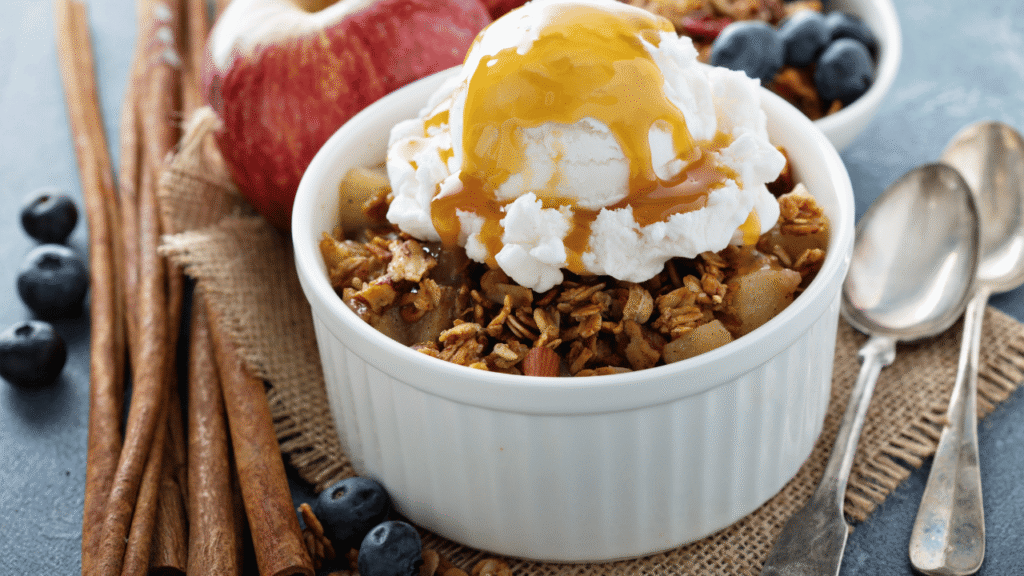
Small details make the difference between a grainy frozen treat and a silky scoop. These expert tips cover churning technique, freezer handling, troubleshooting, and presentation so your apple ice cream turns out reliably creamy every time.
Churning Techniques and Freezer Considerations
– Churn time: Aim for about 20–30 minutes of churning in your ice cream maker to incorporate air and reduce ice crystals; exact time depends on your machine and bowl temperature.
– Pre-freeze the bowl: Pre-freeze the machine’s bowl per manufacturer instructions (many models recommend 12–24 hours). Make sure the bowl is completely frozen before you start so the mixture freezes evenly during churning.
– Freezer storage temp: For long‑term storage keep your freezer at 0°F (−18°C). For serving, remove the container 10–15 minutes before scooping so the ice cream softens to a scoopable texture.
– Pack for minimal crystals: Transfer churned ice cream to an airtight, shallow freezer‑safe container, press plastic wrap or parchment directly on the surface to reduce air exposure, then seal the lid.
Troubleshooting Texture
– Too icy? Add a small stabilizer on your next batch (1 tablespoon light corn syrup or 2 tablespoons brown sugar) or a splash of alcohol (1–2 tablespoons) to lower freezing point and reduce large crystals.
– Custard curdled or grainy: Ensure you temper eggs slowly and cook to ~170–175°F (77–80°C). If curdling occurs, strain and blend the mixture to smooth it before chilling.
– Machine variance: If your maker struggles to freeze the mixture, check that the bowl was frozen per the manufacturer instructions and that the mixture was thoroughly chilled before pouring in.
Serving Suggestions and Presentation
– Pairings: Serve scoops with a drizzle of salted caramel sauce, alongside a slice of apple pie, or topped with toasted pecans for contrast.
– Plating: Warm your scoop tool in hot water for cleaner scoops; place a small caramel drizzle in the bowl before adding ice cream for pretty swirls.
– No‑machine option: To make this without an ice cream maker, pour the chilled mixture into a shallow container and freeze, stirring vigorously every 30 minutes for 3–4 hours to break up ice crystals and create creamier texture.
Follow these tips and make sure to consult your ice cream maker’s manual if times vary—small adjustments to churn time, freeze time, and add‑ins will help you dial in perfect results.
Share a photo of your batch in the comments or tag us on social with your favorite apple variety and topping ideas!
Conclusion
Making this Apple Ice Cream Recipe is a rewarding way to celebrate fall flavors — caramelizing apples and folding them into a smooth custard yields a rich, creamy apple ice that’s a delightful alternative to traditional pie. Using fresh apples and quality cream ensures the best texture and bright, seasonal taste.
This versatile recipe works for holidays or any day you want a special dessert: add cinnamon or a salted caramel sauce for classic pairings, or include crunchy mix‑ins for contrast. Share your variations and photos — we love hearing which apple varieties and toppings readers prefer.
Download or print the recipe card for easy reference, and check the ideal milk ice cream guide linked earlier for more technique tips.
FAQ
What makes this dessert a seasonal favorite?
Peak‑harvest apples combined with warm spices like cinnamon and the depth of caramel create nostalgic, fall‑forward flavors in a cool, creamy format.
Can I make this without a specialized machine?
Yes — while an ice cream maker makes the creamiest result, you can use a no‑machine method by freezing the mixture in a shallow container and stirring vigorously every 30 minutes until creamy.
How do I get the best texture?
Chill the custard thoroughly (at least 4 hours), pre‑freeze your bowl per manufacturer instructions, and churn 20–30 minutes. Remove from the freezer 10–15 minutes before serving for perfect scoops.
Can I use dairy‑free alternatives?
Yes — use full‑fat coconut milk or a rich almond milk blend and a stabilized no‑churn base to maintain creaminess.
How long does this take?
Plan for about 1 hour active prep plus roughly 4–6 hours of chilling and freezing time — longer chill times (overnight) improve flavor and texture.
We encourage you to comment with your tweaks and photos — and don’t forget to pair a scoop with a warm slice of apple pie or an extra drizzle of caramel for an indulgent finish.