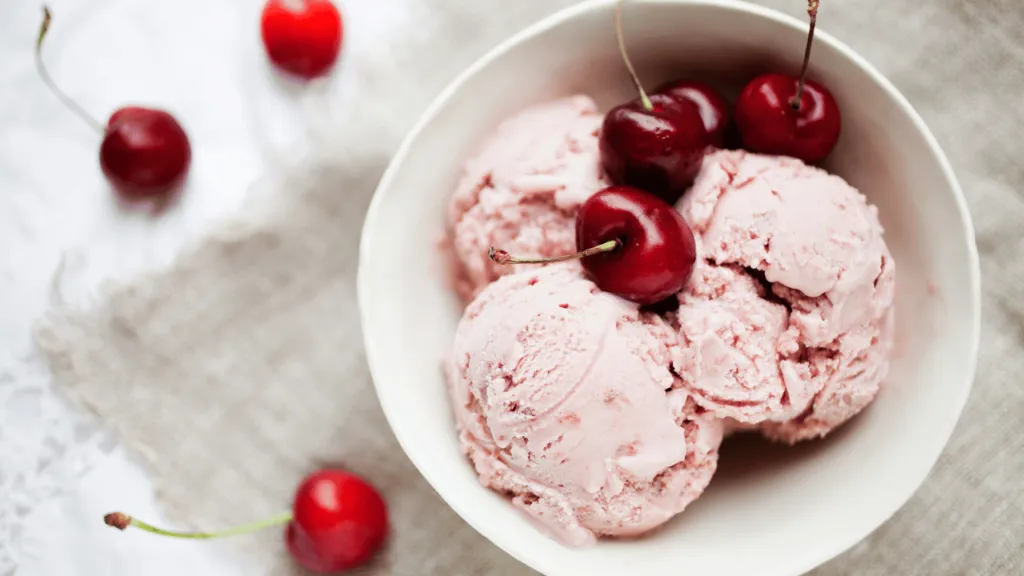
There’s something magical about creating a homemade version of a beloved classic. Imagine capturing the rich, creamy texture and the perfect blend of flavors that make Cherry Garcia Ice Cream Recipe so iconic. With a few simple steps, you can bring this legendary treat to your kitchen.
Whether you’re a fan of the traditional churned method or prefer the ease of a no-churn technique, this guide has you covered. Using fresh or frozen cherries, high-quality chocolate, and a smooth custard base, you’ll achieve a dessert that’s both authentic and uniquely yours. It’s time to unleash your creativity and enjoy the process!
From whisking the perfect mixture to mastering the freezing process, we’ll walk you through every detail. With expert tips and a focus on quality ingredients, you’ll feel confident every step of the way. Ready to make your summer even sweeter? Let’s get started!
Key Takeaways
- Learn how to make a homemade version of Cherry Garcia Ice Cream Recipe using two methods: churned and no-churn.
- Discover the importance of using fresh or frozen cherries for the best texture and flavor.
- Understand the role of high-quality chocolate and a smooth custard base in achieving the perfect consistency.
- Gain expert tips on whisking, freezing, and adding mix-ins for a professional finish.
- Feel inspired to experiment and personalize your creation to make it uniquely yours.
Cherry Garcia Ice Cream
4
servings30
minutes40
minutes300
kcal1
hour10
minutesA delightful homemade version of the classic ice cream.
Keep the screen of your device on
Ingredients
1.5 cups 1.5 whole milk
1.5 cups 1.5 heavy cream
1 cup 1 granulated sugar
2 teaspoons 2 vanilla extract
1/8 teaspoon 1/8 salt
1 cup 1 fresh cherries, pitted and chopped
1/2 cup 1/2 chocolate chunks
Directions
- In a medium saucepan over medium heat, combine milk and sugar, stirring until sugar is completely dissolved.
- Remove saucepan from heat and let mixture cool for 5 minutes before stirring in heavy cream, vanilla extract, and salt.
- Pour mixture into an airtight container and refrigerate for at least 2 hours until completely chilled.
- Once chilled, pour the mixture into an ice cream maker and churn according to manufacturer's instructions, around 20 to 25 minutes.
- During the last 5 minutes of churning, add the chopped cherries and chocolate chunks to the ice cream maker.
- Transfer the churned ice cream to a lidded container and freeze for at least 2 hours to firm up the texture before serving.
- To serve, scoop into bowls or cones and enjoy your homemade Cherry Garcia ice cream.
Recipe Video
Nutrition Facts
- Serving Size: 1g
- Total number of serves: 8
- Calories: 250kcal
- Fat: 17g
- Saturated Fat: 10g
- Trans Fat: 0g
- Polyunsaturated Fat: 0.5g
- Monounsaturated Fat: 5g
- Cholesterol: 55mg
- Sodium: 45mg
- Potassium: 180mg
- Carbohydrates: 22g
- Fiber: 1g
- Sugar: 20g
- Protein: 3g
- Vitamin A: 10IU
- Vitamin C: 2mg
- Calcium: 10mg
- Iron: 4mg
- Vitamin D: 1mg
- Vitamin E: 2mg
- Vitamin K: 0mg
- Thiamin: 0mg
- Riboflavin: 4mg
- Niacin: 0mg
- Vitamin B6: 2mg
- Vitamin B12: 6mg
- Folate: 2mg
- Biotin: 0mg
- Pantothenic Acid: 2mg
- Phosphorus: 10mg
- Iodine: 2mg
- Magnesium: 2mg
- Zinc: 2mg
- Selenium: 0mg
- Copper: 2mg
- Manganese: 2mg
- Chromium: 0mg
- Molybdenum: 0mg
- Chloride: 0mg
Did you make this recipe?
Tag @https://www.instagram.com/ice_cream_haven/ on Instagram and hashtag it with #IceCreamIceCreamHavens
Like this recipe?
Follow @https://www.pinterest.com/Ice_Cream_Haven/ on Pinterest
Join our Facebook Group!
Follow https://www.facebook.com/icecreamhavens/ on Facebook
Gather Your Ingredients and Equipment
Crafting a homemade dessert starts with gathering the right ingredients and tools. Quality components and proper preparation are the keys to success. Let’s dive into what you’ll need to create a rich and creamy treat that’s sure to impress.
Essential Ingredients for a Creamy Base
To achieve that smooth, velvety texture, you’ll need a few key ingredients. Start with whole milk and fresh heavy cream for the base. Sugar adds sweetness, while egg yolks create a custard-like consistency. A touch of vanilla extract enhances the flavor, making it irresistible.
For the signature twist, you’ll need dark sweet cherries and high-quality chocolate. These elements bring depth and richness to your creation. Remember, the better the ingredients, the better the final product!
Must-Have Tools and Equipment
Having the right tools makes the process seamless. An ice cream maker is essential for churning, but if you don’t have one, a hand mixer and a loaf pan can work as alternatives. Pre-chill your bowls and utensils to ensure the mixture stays cold during preparation.
Other helpful items include a sieve for straining, a saucepan for heating, and measuring cups for precision. For more detailed instructions on using an ice cream maker, check out this helpful guide.
With these ingredients and tools, you’re ready to create a dessert that’s both delicious and uniquely yours. Preparation is the first step toward a memorable treat!
Mastering the cherry Garcia ice cream recipe Process

Perfecting a classic dessert at home is both rewarding and fun. With the right techniques, you can achieve a smooth, creamy texture and rich flavor that rivals any store-bought version. Let’s dive into the essential steps to create this iconic treat.
Building a Perfect Custard Base or No-Churn Alternative
Start by heating whole milk to 195°F in a saucepan. In a separate bowl, whisk egg yolks and sugar until creamy. Gradually pour the warm milk into the egg mixture, stirring constantly to avoid scrambling the eggs. Return the mixture to the saucepan and cook until it thickens into a custard.
For a no-churn option, combine sweetened condensed milk with whipped heavy cream. This method is quick and doesn’t require an ice cream maker. Both techniques yield a luxurious base for your dessert.
Cooking and Macerating Cherries for Rich Flavor
To enhance the cherries, macerate them with a pinch of sugar and a splash of lemon juice. Let them sit for 15 minutes to release their natural juices. For a deeper flavor, cook the cherries briefly in a pan until they soften. This step ensures every bite is bursting with sweetness.
Churning Techniques and Temperature Tips
If using an ice cream maker, pre-chill the bowl for at least 24 hours. Pour the custard base into the machine and churn for 20-25 minutes until it reaches a soft-serve consistency. For no-churn methods, fold in the whipped cream mixture and freeze in a loaf pan.
Monitor the temperature closely with an instant-read thermometer. Proper churning and freezing ensure a smooth, creamy texture. For more tips on achieving the perfect consistency, check out this ideal milk ice cream recipe.
Mastering these techniques guarantees a dessert that’s both indulgent and uniquely yours. Enjoy the process and savor the results!
Cherry Garcia Ice Cream Recipe Enhancing Flavor and Customizing Your Creation

Taking your dessert to the next level is all about creativity and personal touches. By experimenting with mix-ins and serving ideas, you can transform a classic treat into something uniquely yours. Let’s explore how to elevate the flavor and presentation of your creation.
Incorporating Chocolate and Other Mix-Ins
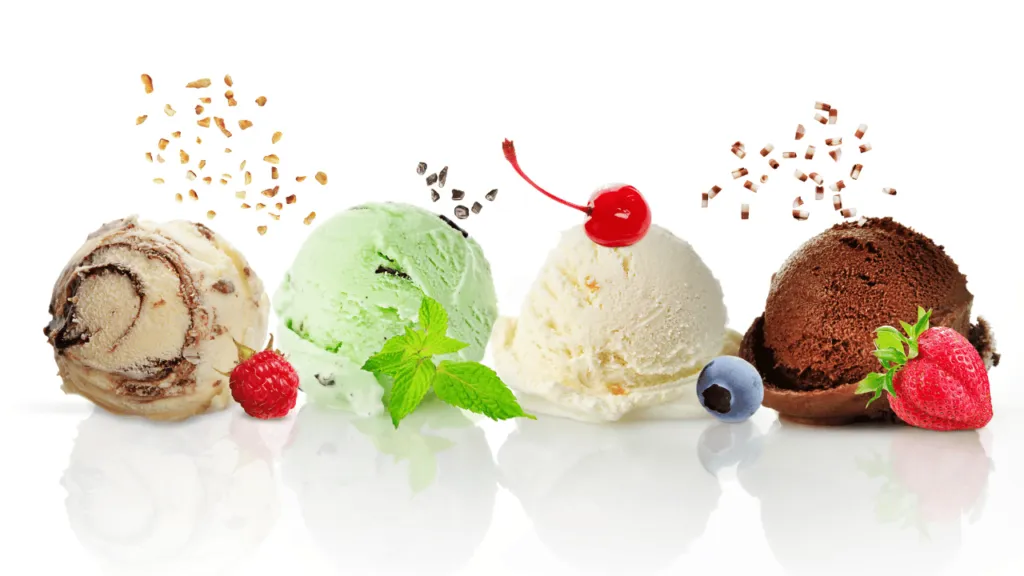
Adding mix-ins is a simple way to enhance the texture and flavor of your dessert. Fold in dark chocolate shavings or chunks for a rich, indulgent twist. Extra fresh or cooked cherries can amplify the fruity notes, while a swirl of caramel or maple syrup adds a touch of sweetness.
Even subtle adjustments can make a big difference. A pinch more salt or an extra drop of vanilla extract can balance and elevate the overall flavor. Remember, the key is to let your taste buds guide you!
Creative Serving Suggestions for a Gourmet Finish
Presentation is just as important as taste. Serve your creation in a stylish bowl or pair it with a warm dessert sauce for a gourmet touch. For a fun twist, use it as a base for milkshakes or layer it in a waffle cone.
Here are a few ideas to inspire you:
- Top with whipped cream and a sprinkle of chocolate shavings.
- Drizzle with a decadent chocolate sauce or fruit compote.
- Pair with warm brownies or cookies for a delightful contrast.
For more inspiration on creating luxurious desserts, check out this decadent chocolate ice cream recipe.
Customization is the key to making this recipe truly your own. Whether you’re adding mix-ins or experimenting with presentation, each variation highlights the complexity of flavors. Enjoy the process and savor the results!
Conclusion
Creating your own homemade Cherry Garcia Ice Cream Recipe is a delightful journey. From gathering fresh ingredients to mastering the process, every step brings you closer to a treat that’s uniquely yours. Whether you choose the traditional churned method or the simplicity of a no-churn technique, the result is a creamy, indulgent masterpiece.
Using high-quality components like dark chocolate and macerated cherries ensures a rich, authentic flavor. Don’t hesitate to experiment with mix-ins or creative serving ideas to make it your own. The possibilities are endless!
Share your creations with friends and family, or post your success online to inspire others. Making this dessert at home is not only achievable but also a rewarding experience. For more tips on no-churn methods, check out this easy no-churn guide.
So, grab your bowl, gather your ingredients, and enjoy the process. Your homemade dessert adventure awaits!


