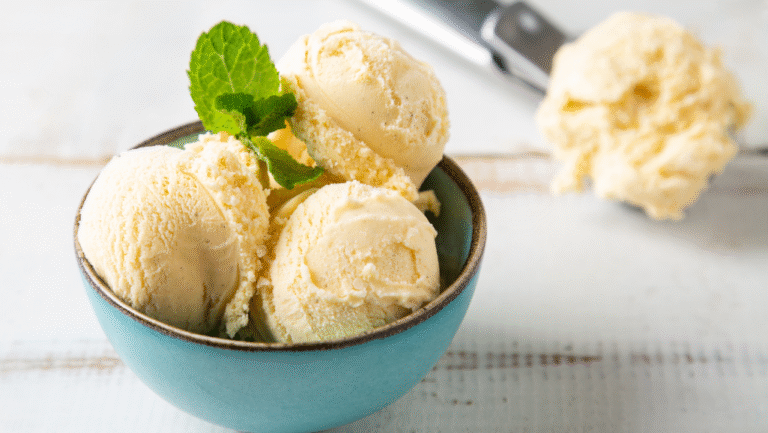
There’s something magical about creating a dessert that brings people together. This classic recipe has been cherished for generations, offering a taste of nostalgia with every spoonful Whether you’re hosting a summer gathering or simply craving a sweet treat, this dessert is sure to delight.
At its heart, this dessert is all about simplicity and quality. The rich custard base forms the foundation, blending smooth textures with a hint of sweetness. Traditional methods or no-churn techniques both work wonders, making it accessible for everyone.
Think back to your favorite family traditions. This recipe is more than just a dessert—it’s a way to create lasting memories. Ready to dive in? Let’s explore every step to craft this timeless treat.
Key Takeaways
- This recipe has been passed down through generations, making it a family favorite.
- The rich custard base ensures a creamy and smooth texture.
- Both traditional and no-churn methods yield exceptional results.
- Perfect for summer gatherings or creating cherished family traditions.
- Simple ingredients and easy preparation make it accessible for all skill levels.
Old Fashioned Ice Cream Maker
4
servings30
minutes4
hours200
kcal4
hours30
minutesCreamy, homemade ice cream using basic kitchen ingredients.
Keep the screen of your device on
Ingredients
1 cup 1 whole milk
0.75 cup 0.75 granulated sugar
2 cup 2 heavy cream
1 tablespoon 1 pure vanilla extract
0.125 teaspoon 0.125 salt
Directions
- In a medium mixing bowl, whisk together the whole milk and granulated sugar until the sugar is completely dissolved.
- Stir in the heavy cream and pure vanilla extract into the milk mixture until well combined.
- Cover the bowl and refrigerate the mixture for at least 1 hour or until the mixture is thoroughly chilled.
- Set up your ice cream maker according to the manufacturer's instructions and pour the chilled mixture into the ice cream maker.
- Churn the mixture in the ice cream maker for about 20-25 minutes, or until it reaches the desired soft-serve consistency.
- Transfer the ice cream into an airtight container and place in the freezer to firm up for at least 4 hours before serving.
- Scoop the ice cream into bowls or cones to serve. Enjoy your homemade ice cream with or without toppings.
Nutrition Facts
- Total number of serves: 4
- Calories: 200kcal
- Cholesterol: 50mg
- Sodium: 45mg
- Potassium: 100mg
- Sugar: 20g
- Protein: 2g
- Calcium: 8mg
- Iron: 0mg
- Thiamin: 0mg
- Riboflavin: 0mg
- Niacin: 0mg
- Folate: 0mg
- Biotin: 0mg
- Phosphorus: 0mg
- Iodine: 0mg
- Magnesium: 0mg
- Zinc: 0mg
- Selenium: 0mg
- Copper: 0mg
- Manganese: 0mg
- Chromium: 0mg
- Molybdenum: 0mg
- Chloride: 0mg
Did you make this recipe?
Tag @https://www.instagram.com/ice_cream_haven/ on Instagram and hashtag it with #IceCreamIceCreamHavens
Like this recipe?
Follow @https://www.pinterest.com/Ice_Cream_Haven/ on Pinterest
Join our Facebook Group!
Follow https://www.facebook.com/icecreamhavens/ on Facebook
Essential Ingredients for a Creamy Base
The foundation of any great dessert lies in its ingredients. For this classic treat, the base is built on a blend of dairy, sweetness, and flavor. Each component plays a vital role in creating the smooth, rich texture that makes this dessert unforgettable.
Key Dairy Components: Milk, Heavy Cream, & Eggs
At the heart of this recipe are three dairy essentials: milk, heavy cream, and eggs. Whole milk provides a light, smooth consistency, while heavy cream adds richness. Fresh eggs, especially the yolks, create a custard-like base that’s velvety and indulgent.
For the best results, use 1 quart of heavy whipping cream and 12 cups of whole milk. Four large egg yolks are whisked into the mix, ensuring a creamy texture that’s hard to resist.
Classic Additions: Sugar and Vanilla
Sweetness and flavor come from granulated sugar and vanilla. Sugar balances the richness of the dairy, while vanilla adds a warm, aromatic note. For this recipe, 1 ½ cups of granulated sugar and 1 tablespoon of vanilla extract are the perfect amounts.
Using high-quality vanilla, like ideal milk, enhances the overall flavor. These simple ingredients work together to create a dessert that’s both comforting and delightful.
Every ingredient is a building block, combining tradition with culinary expertise. Fresh, quality components ensure a timeless dessert experience that’s worth savoring.
Step-by-Step Old Fashioned Ice Cream Recipe
Crafting a dessert from scratch is a rewarding experience that connects us to tradition. This guide walks you through every step to create a creamy, indulgent treat that’s perfect for any occasion.
Creating the Custard Base
Start by whisking egg yolks and sugar until the mixture turns pale and thick. This step ensures a smooth texture. In a separate pot, heat milk gently, avoiding boiling. Gradually pour the warm milk into the egg mixture, stirring constantly. This process, called tempering, prevents the eggs from curdling.
Return the mixture to the stove and cook on low heat. Use a thermometer to monitor the temperature, aiming for 165º F. This ensures the custard thickens without scrambling. Once done, strain the custard to remove any lumps and let it cool. Refrigerate for at least 4 hours to enhance its creaminess.
“Patience is key when making custard. Take your time, and the results will be worth it.”
Churning & Finishing Techniques
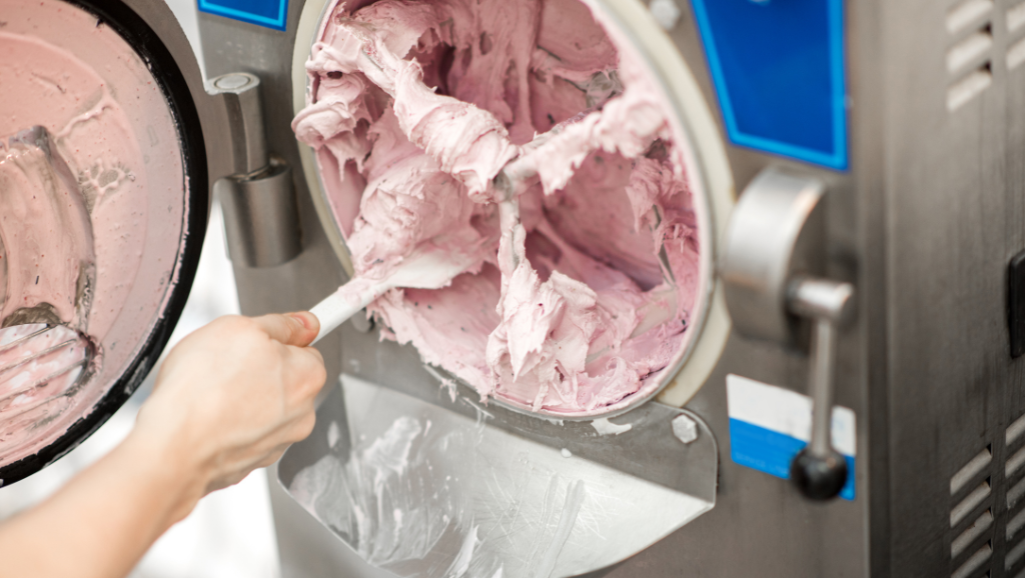
Pour the chilled custard into your ice cream maker and churn according to the manufacturer’s instructions. This process incorporates air, giving the dessert its light, creamy texture. Churning typically takes 30 to 45 minutes, depending on your machine.
Once churned, transfer the mixture to a freezer-safe container. For the best texture, let it freeze for at least 2 hours before serving. Experiment with timing and techniques to perfect your version of this cherished treat.
- Whisk egg yolks and sugar until thick and pale.
- Heat milk gently and temper the egg mixture.
- Cook the custard to 165º F, then strain and refrigerate.
- Churn in an ice cream maker for a smooth, airy texture.
- Freeze for 2 hours before serving.
Using an Ice Cream Maker & Alternative Methods
Making a creamy dessert at home doesn’t have to be complicated or time-consuming. Whether you have a traditional machine or prefer a no-churn method, there’s a way to create a smooth and indulgent treat that suits your schedule. Let’s explore both options to help you achieve the perfect texture and flavor.
Traditional Ice Cream Maker Tips
Using a traditional machine is a hands-on way to craft a rich dessert. Start by pre-chilling the canister for at least 12 hours. This ensures the mixture freezes evenly. Combine your base ingredients—sugar, egg yolks, and vanilla extract—with milk and heavy cream. Chill the mixture thoroughly before pouring it into the machine.
Follow the manufacturer’s instructions for churning. Most machines take 30 to 45 minutes to achieve the right consistency. Adding a pinch of salt enhances the flavor, balancing the sweetness. For a creamier texture, consider using evaporated milk as an alternative ingredient.
No-Churn Variations for Busy Days
Short on time? No-churn methods are perfect for busy weekdays. Simply whip heavy cream until stiff peaks form. Fold in sweetened condensed milk, vanilla extract, and any additional flavors. Pour the mixture into a freezer-safe container and let it set for at least 4 hours.
This method skips the churning process but still delivers a smooth and creamy result. Experiment with mix-ins like chocolate chips or fruit for added texture. Remember, precise measurements of sugar and vanilla extract are key to maintaining the dessert’s flavor integrity.
- Pre-chill the canister for traditional machines to ensure even freezing.
- Follow manufacturer instructions for churning times and techniques.
- Use a pinch of salt to balance sweetness and enhance flavor.
- Whip heavy cream and fold in condensed milk for no-churn methods.
- Experiment with mix-ins to customize your dessert.
Secrets to Achieving Homemade Ice Cream Perfection
Mastering the art of homemade desserts requires precision and patience. One of the most critical steps is chilling the custard base. Proper chilling ensures a smooth, creamy texture that’s hard to resist. It also allows the flavors to meld beautifully, creating a rich and indulgent experience.
Temperature control is equally important. During preparation, aim to cook the custard to 165º F. This ensures it thickens without curdling. After cooking, refrigerate the mixture for at least 4 hours. This step enhances the creaminess and sets the stage for a flawless final product.
Why Chilling and Temperature Matter
Chilling the custard base isn’t just a step—it’s a game-changer. It stabilizes the mixture, preventing ice crystals from forming. This results in a velvety texture that rivals professional desserts. Similarly, maintaining the right temperature during churning ensures even freezing and a light, airy consistency.
“Attention to detail transforms a good dessert into an extraordinary one.”
For those using an ice cream maker, pre-chill the canister for at least 12 hours. This maximizes the machine’s freezing power. Follow the manufacturer’s instructions for churning times, typically 30 to 45 minutes. These small steps make a big difference in the final product.
Perfecting Your Technique
Practice makes perfect. Experiment with chilling times and temperatures to find what works best for you. Remember, precision is key. Use a thermometer to monitor the custard’s temperature and a timer to track chilling and freezing periods.
Celebrate the joy of homemade dessert making. With patience and attention to detail, you can create a treat that’s not only delicious but also a reflection of your care and effort. Every spoonful will be a testament to your dedication.
Old Fashioned Ice Cream Recipe Variations & Flavor Ideas
Exploring new flavors can transform a classic treat into something extraordinary. The traditional base is incredibly versatile, allowing you to experiment with both timeless and inventive combinations. Whether you prefer sticking to the classics or venturing into bold new territory, there’s a world of possibilities to discover.
Classic Vanilla Versus Creative Twists
The classic vanilla base is a blank canvas, perfect for showcasing its rich, creamy texture. However, adding creative twists can elevate it to new heights. For instance, infusing the base with espresso powder creates a mocha flavor, while cocoa powder turns it into a chocolate lover’s dream.
Experimenting with ingredients like fresh strawberries or toasted pecans can also add depth and variety. These small changes keep the dessert exciting while maintaining its indulgent appeal.
Mix-Ins and Serving Inspirations
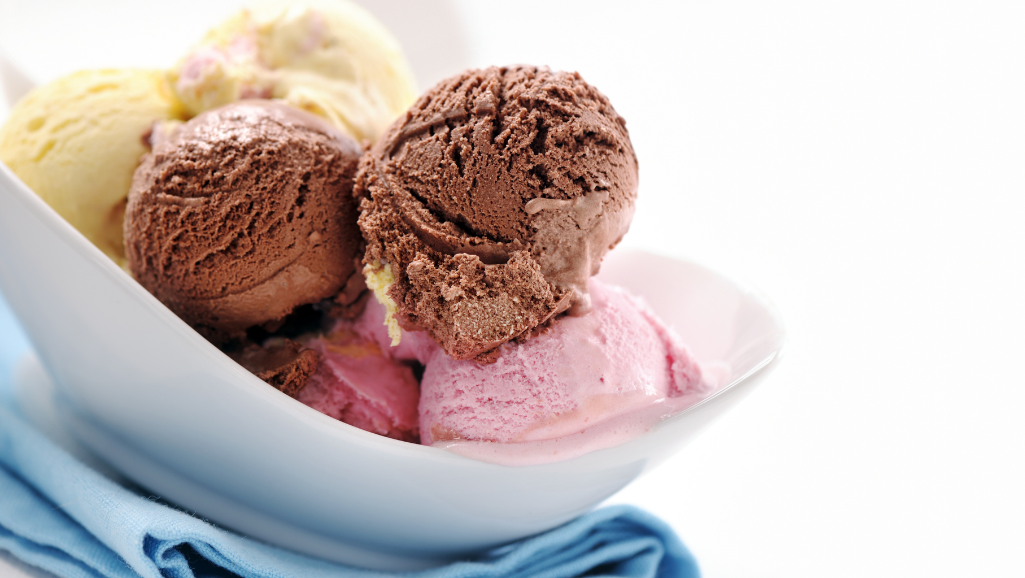
Mix-ins are a fantastic way to personalize your dessert. Try adding chocolate chips, fruit pieces, or nuts for extra texture and flavor. For a decadent treat, serve it over warm brownies or in a sundae with caramel sauce and whipped cream.
When it comes to serving, think beyond the traditional scoop. Layer it in parfaits, sandwich it between cookies, or pair it with fresh fruit for a balanced dessert. These ideas not only enhance the experience but also make it visually appealing.
Nutritionally, you can balance fat and protein by choosing mix-ins like nuts or yogurt. Adding fresh fruit also boosts the vitamin content, making it a slightly healthier indulgence. The key is to enjoy the process and create something that reflects your taste.
“Creativity is the secret ingredient that turns a simple dessert into a masterpiece.”
Ready to get started? Use the classic vanilla base as your starting point and let your imagination run wild. The possibilities are endless, and the results are always delicious.
Nutritional Information and Serving Suggestions
Understanding the nutritional value of your dessert can make indulgence even sweeter. This section breaks down the calorie content, macronutrients, and portion sizes to help you enjoy your treat mindfully. With a few simple adjustments, you can savor every bite without compromising on taste or health.
Calorie Breakdown and Macronutrient Details
A typical serving of this dessert contains approximately 250 calories, with a balance of fats, proteins, and carbohydrates. The rich custard base contributes to the creamy texture, while the vanilla extract adds a subtle sweetness. Each serving includes about 15g of fat, 20g of carbs, and 5g of protein.
For those watching their intake, consider using 1% milk instead of whole milk. This reduces the fat content while maintaining a smooth consistency. Adding fresh fruit or nuts can also boost the vitamin and protein content, making it a more balanced treat.
Portion Sizes and Presentation Tips
Portion control is key to enjoying desserts guilt-free. A standard serving is about ½ cup, which is roughly the size of a tennis ball. Use a tablespoon to measure out toppings or mix-ins for added precision.
Presentation can elevate your dessert experience. Serve it in elegant bowls or cones, garnished with fresh berries or a drizzle of caramel sauce. For a fun twist, layer it in parfaits with granola and yogurt for added texture and flavor.
“Mindful eating doesn’t mean sacrificing flavor—it’s about savoring every bite with intention.”
By understanding the nutritional details and experimenting with portion sizes, you can enjoy this timeless treat in a way that fits your lifestyle. Whether it’s a small scoop or a creative presentation, every moment becomes a celebration of taste and balance.
Conclusion
Creating a timeless dessert at home is a journey filled with joy and tradition. This homemade ice cream recipe, passed down through generations, combines simplicity with indulgence. From selecting top-quality ingredients like heavy cream and vanilla to perfecting the custard base, every step is a celebration of culinary heritage.
Whether you use a traditional machine or a no-churn method, the process is straightforward and rewarding. Experiment with flavors and techniques to make it your own. For inspiration, explore classic vanilla variations or try a customizable rocky road twist.
Share this delightful treat with loved ones, creating memories that last. With a little creativity and care, you can make ice cream that’s not only delicious but also a reflection of your passion for homemade goodness.


