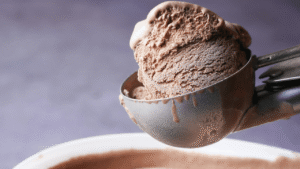
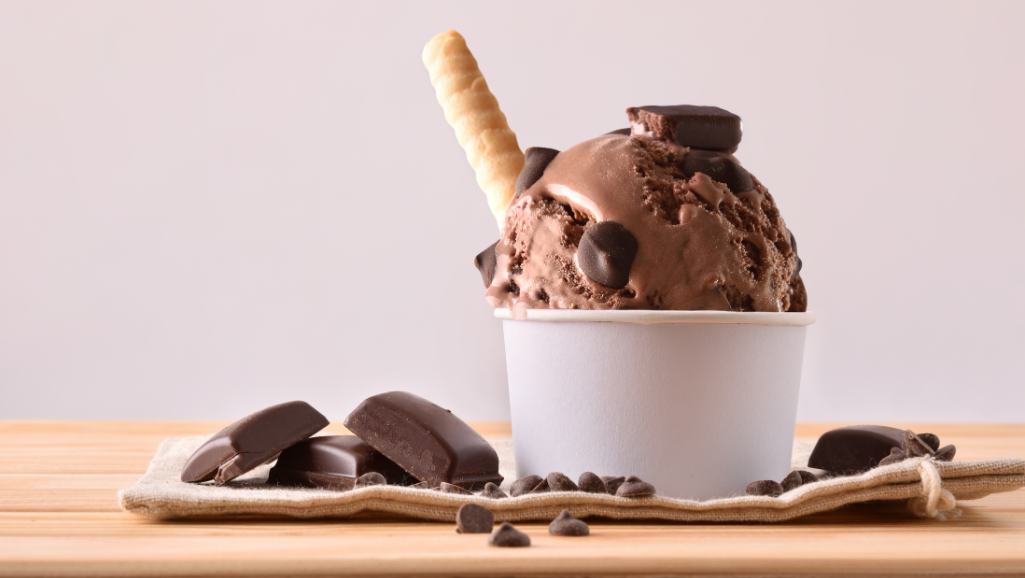
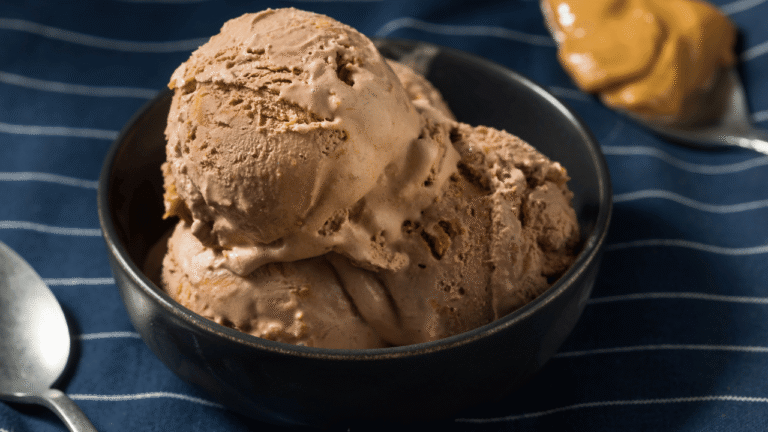
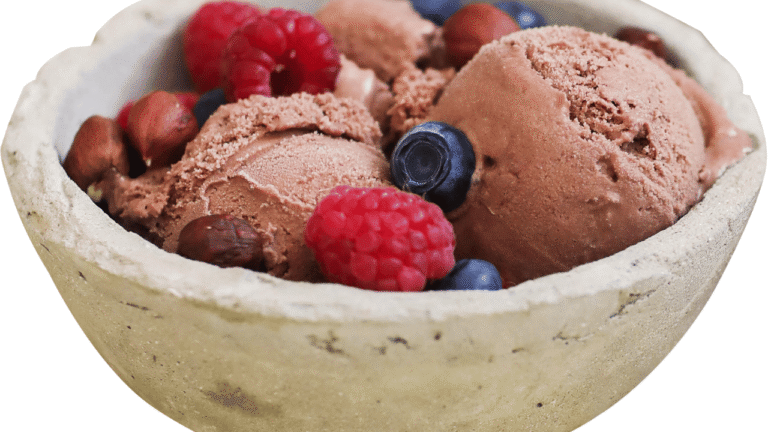
Make rich, Cuisinart Chocolate Ice Cream Recipe at home with a simple cold-mix method that yields a gelato-like texture. This approach uses sifted cocoa powders, granulated and light brown sugar, a pinch of kosher salt, whole milk, heavy cream, and pure vanilla. Follow manufacturer-aligned instructions and a well-frozen freezer bowl for the best results.
Churn 15–30 minutes until the base thickens. Stop if the mix pushes toward the top. Transfer to an airtight container and freeze at least two hours to reach a scoopable texture. Typical yield is about 1.5 quarts, with servings near 3/4 cup each.
This method skips cooked custards and tempering eggs. That keeps prep fast and predictable. You can swap cocoa types, try lactose-friendly milks, or add mix-ins and sundae toppings for fun variations.
Key Takeaways
- Egg-free base gives rich, creamy results without cooking.
- Use a frozen freezer bowl for faster thickening and consistent texture.
- Churn 15–30 minutes, then freeze 2+ hours for scoopable firmness.
- Yield ~1.5 quarts; plan servings at about 3/4 cup.
- Simple pantry ingredients and clear steps help first-time success.
- Easy swaps and mix-ins let you customize flavor and diet needs.
Cuisinart Chocolate Ice Cream
4
servings30
minutes40
minutes300
kcal1
hour10
minutesCreamy chocolate ice cream using everyday ingredients.
Keep the screen of your device on
Ingredients
1 cup 1 unsweetened cocoa powder
2/3 cup 2/3 granulated sugar
1/2 cup 1/2 packed dark brown sugar
1/4 teaspoon 1/4 salt
1 cup 1 whole milk
2 cups 2 heavy cream
1 tablespoon 1 vanilla extract
Directions
- In a medium bowl, whisk together the cocoa, sugars, and salt to remove lumps.
- Add the whole milk to the cocoa mixture and whisk until the dry ingredients are dissolved.
- Stir in the heavy cream and vanilla extract. Mix until fully combined.
- Cover the mixture with plastic wrap, then refrigerate for at least 2 hours or overnight.
- Once chilled, pour the mixture into the ice cream maker’s bowl and follow the manufacturer's instructions for proper churning.
- Churn the mixture for approximately 15 to 20 minutes, or until it reaches a creamy consistency.
- Transfer the ice cream to an airtight container and freeze for at least 2 hours before serving for a firmer texture.
Nutrition Facts
- Total number of serves: 8
- Calories: 250kcal
- Fat: 15g
- Saturated Fat: 9g
- Trans Fat: 0g
- Polyunsaturated Fat: 0g
- Monounsaturated Fat: 1g
- Cholesterol: 55mg
- Sodium: 100mg
- Potassium: 0mg
- Carbohydrates: 31g
- Fiber: 3g
- Sugar: 28g
- Protein: 3g
- Vitamin A: 8IU
- Vitamin C: 0mg
- Calcium: 8mg
- Iron: 6mg
- Vitamin D: 0mg
- Vitamin E: 0mg
- Vitamin K: 0mg
- Thiamin: 0mg
- Riboflavin: 0mg
- Niacin: 0mg
- Vitamin B6: 0mg
- Vitamin B12: 2mg
- Folate: 0mg
- Biotin: 0mg
- Pantothenic Acid: 0mg
- Phosphorus: 10mg
- Iodine: 0mg
- Magnesium: 0mg
- Zinc: 0mg
- Selenium: 0mg
- Copper: 0mg
- Manganese: 0mg
- Chromium: 0mg
- Molybdenum: 0mg
- Chloride: 0mg
Did you make this recipe?
Tag @https://www.instagram.com/ice_cream_haven/ on Instagram and hashtag it with #IceCreamIceCreamHavens
Like this recipe?
Follow @https://www.pinterest.com/Ice_Cream_Haven/ on Pinterest
Join our Facebook Group!
Follow https://www.facebook.com/icecreamhavens/ on Facebook
Why This Chocolate Ice Cream Recipe Works Right Now
A cold-mix approach delivers deep cocoa flavor without stove-top steps or tempering. The base skips egg yolks but stays creamy because whole milk and heavy cream add the needed fat and solids.
Keeping ingredients and the freezer bowl very cold speeds churning and limits ice crystals. That gives a smoother texture in about 20–30 minutes of churn time.
Rich flavor, no eggs, and minimal fuss
Using Dutch-process cocoa adds bold chocolate notes without melted chocolate. You avoid tempering and stovetop steps, which cuts prep time and reduces curdling risk for beginners.
Perfect for American summers: creamy texture with simple ingredients
- Quick to mix and chill — great for weeknights and gatherings.
- Scales easily for parties and keeps equipment needs low.
- Clear visual cues during churning help you stop at the top texture for serving.
- This approach has stayed popular in home kitchens for its consistency and great flavor.
Ingredients & Equipment You’ll Need
Assemble cooled dairy, sifted cocoa, and a frozen freezer bowl to ensure smooth texture. This lets you move quickly when the base is ready to churn.
Core ingredients (measure before you start)
- 3/4 cup sifted cocoa powder — use half dark cocoa powder and the rest Dutch/natural to avoid bitterness.
- 1/2 cup granulated sugar and 1/3 cup light brown sugar for flavor and scoopability.
- A pinch of kosher salt, 1 cup whole milk, 2 cups heavy cream, and 1/2–2 tsp pure vanilla extract.
Equipment and setup
- A fully frozen Cuisinart freezer bowl and a chilled mixing bowl for best results.
- Sturdy whisk, rubber spatula, and an airtight container or 9×5 loaf pan for storage.
- Use a 1.5–2 quart cream maker to avoid overfilling; pre-chill the container to reduce melt during transfer.
Prep & Chill: Build the Chocolate Base
Start cold and fast: keep everything chilled so the base stays smooth while you work.
Step 1: place a chilled mixing bowl on the counter. Sift the cocoa powder and whisk it with granulated sugar, light brown sugar, and a pinch of kosher salt until the dry mix is even and lump-free.
Slowly stream in very cold whole milk while whisking. Whisk until the sugars fully dissolve and the mixture feels silky when you rub a drop between two fingers.
- Keep the bowl and ingredients cold to reduce ice crystal size later.
- If clumps appear, let the mix rest briefly, then whisk again to hydrate the powder.
- Work in a few minutes so the base stays cold before you add heavy cream and vanilla.
Cover and chill if needed. Hold the freezer bowl in the freezer until you are ready to churn for the creamiest ice cream finish.
Cuisinart Chocolate Ice Cream Recipe: Follow Manufacturer Instructions
Start the machine and pour the cold base right away. Power the maker on before you pour. This prevents freeze-on at the bowl walls and keeps churning smooth.
Keep everything super cold; churn about 20–30 minutes
Ensure the freezer bowl has been frozen the full recommended time. A well-frozen bowl and a very cold base cut down on large ice crystals.
Churn for roughly 20–30 minutes. Many batches finish nearer to 15–20 minutes, so watch closely from the 15-minute mark.
Visual cue: when it reaches the top or starts to push up, stop
Use volume as your guide. When the mixture rises and nears the top or begins pushing up, turn the machine off.
- Keep a rubber spatula and a pre-chilled container ready for transfer.
- Avoid over-churning; too much time can make the texture dense or greasy.
- Work quickly in warm rooms to preserve tiny ice crystals and a smooth body.
- If the base does not thicken, check that the freezer bowl was fully frozen and the base was cold.
“A cold bowl and steady churning make all the difference in texture.”
Follow the manufacturer’s instructions for your ice cream maker or cream maker model, and check progress often. This simple attention to time and temperature gives the best cocoa and chocolate flavor lift in the finished batch.
Freeze to Set: From Soft Serve to Scoopable
Move the batch promptly to finish firming.
Transfer the freshly churned soft serve into a pre-chilled container right away to preserve creaminess. Use an airtight pan or a 9×5 loaf pan to reduce air contact and slow crystal growth.
Freeze and rest for best texture
Cover the surface with plastic wrap touching the mix, then seal with a lid or foil. Place the pan in the coldest part of the freezer and let it freeze at least 2 hours to firm up; overnight gives a firmer scoop.
Serving tips
- Warm your scoop in hot water, dry it, then glide through the surface for clean portions.
- If the batch is too hard, let it sit 5–10 minutes at room temp before scooping.
- Label the box with date and flavor; most homemade ice cream stays best for 2–3 weeks.
“A quick transfer and tight seal make the difference between fluffy and icy.”
These steps help any cream maker batch move from soft serve to a stable, scoopable treat with minimal ice formation.
Cuisinart Chocolate Ice Cream Recipe: Step-by-Step
Follow these clear steps to move from mixed base to a scoopable frozen treat in under a day. The list below walks you through each step so the process stays fast and predictable.
Whisk dry ingredients in a chilled bowl
In a chilled bowl, sift cocoa powder, granulated sugar, and light brown sugar with a pinch of kosher salt. Whisk until the mix is lump-free and even.
Add cold milk until sugars dissolve
Slowly add very cold whole milk while whisking. Keep going until the sugars are fully dissolved and the base feels silky.
Stir in heavy cream and pure vanilla
Gently fold in heavy cream and pure vanilla. Mix just enough to combine; do not whip in extra air.
Chill the mixture; churn per manufacturer directions
Cover and refrigerate the base for at least two hours so it is very cold before churning.
- Set up the maker with a fully frozen freezer bowl and start it before pouring in the base.
- Churn until thick and creamy, typically 15–30 minutes, watching for the mixture to rise.
- Stop when the mix reaches the top or begins to push up in the bowl.
Freeze to desired firmness and enjoy
Transfer the churned batch into an airtight container, smooth the surface, and seal well. Freeze for at least two hours to reach a scoopable texture.
“A quick transfer and tight seal make the difference between fluffy and icy.”
- Use a chilled cup for portioning and warm your scoop briefly for clean servings.
- Label with the date; most homemade batches keep best for 2–3 weeks.
Pro Tips for Ultra-Creamy, Homemade Ice Cream
Mastering temperature control is the fastest way to improve each batch’s mouthfeel. Small steps before and during churn keep texture smooth and reduce large ice crystals.
Use whole milk and pure heavy cream for best texture
Choose whole milk and pure heavy cream to build body and mouthfeel without eggs. The extra fat and solids help the mix freeze into a dense, scoopable result.
Stir in heavy cream vanilla at the end so the flavor stays bright and the texture stays stable.
Fully freeze the freezer bowl; keep the base very cold
Freeze the maker’s bowl for the full period the manufacturer recommends—ideally 24 hours. A fully frozen bowl speeds set-up and creates tiny ice crystals.
Avoid over- or under-churning for optimal body
Start checking at about 15–20 minutes. Stop when the mix looks like soft serve and begins to pull away from the bowl walls.
- Under-churning stays loose and can form harder ice after freezing.
- Over-churning squeezes out butterfat and makes the texture greasy.
- Pre-chill utensils and the storage container to keep structure during transfer.
- If making back-to-back batches, rotate a second frozen bowl to avoid warm-down.
- For deeper flavor, blend a bit of Dutch-process cocoa and add 1 tsp instant espresso to lift chocolate notes without extra sugar.
“A cold bowl and quick transfer make the biggest difference in final texture.”
These tips apply across most home maker models and help your homemade ice cream finish smoother. Consider simple substitutions only after you master time and temperature. For more cream recipes and variations, keep this checklist handy.
Cuisinart Chocolate Ice Cream Recipe Substitutions, Variations, and Flavor Boosts
If you want to change flavor or accommodate diets, small swaps make a big difference. These tweaks keep the method simple while letting you tailor texture and taste.
Lactose-friendly swap
Substitutions: Use lactose-free whole milk for a kinder option. Keep regular heavy cream to preserve body and richness.
Flavor deepeners
Add 1 teaspoon instant coffee or espresso powder to the dry mix before whisking in milk. This lifts cocoa notes without adding extra sugar or fat.
Mix-ins and texture ideas
Fold mix-ins in after churning so they stay dispersed. Mini chocolate chips, toasted nuts, toasted coconut, or M&M’s work well.
- Adjust sweetness by choosing light or dark brown sugar; fresh brown sugar blends more evenly.
- Blend Dutch-process with a little dark cocoa powder for color and depth; avoid using dark cocoa alone.
- Layer hot fudge or caramel into the container for ribboned swirls before freezing.
- Keep pieces small so they don’t sink and so scooping stays easy after the set time.
“A cold bowl and quick transfer make the biggest difference in final texture.”
Serving, Toppings, Storage, and Yield
Simple serving and storage choices keep texture and flavor at their best. Finish your batch with smart steps so each scoop stays smooth and flavorful.
Sundae ideas
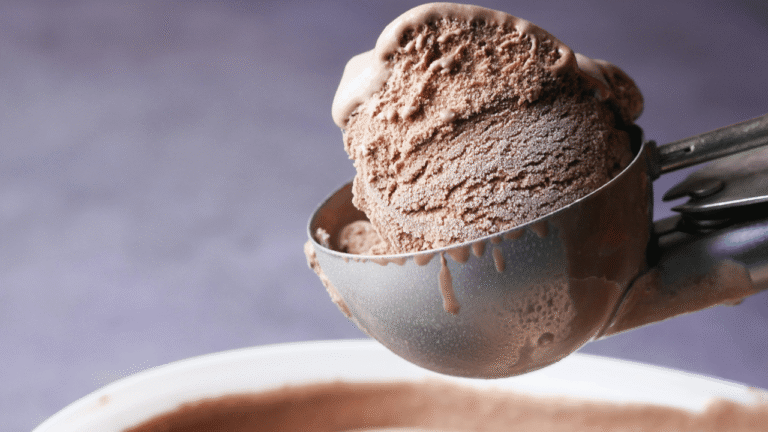
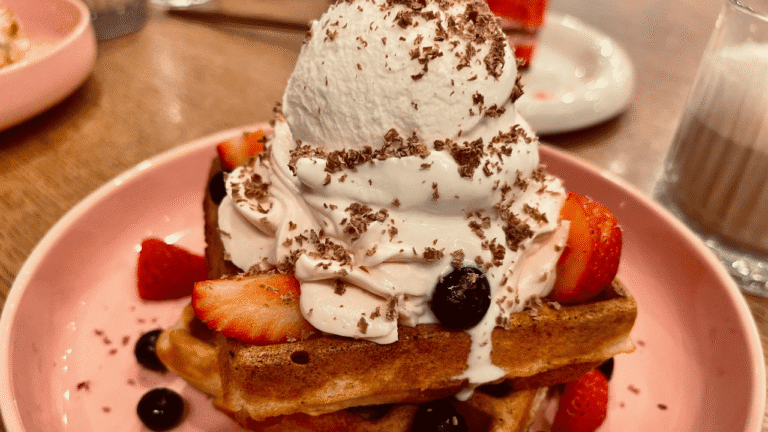
Top your favorite bowl with hot fudge, salted caramel, or a quick strawberry sauce. Add sprinkles, roasted nuts, or crushed cookies for crunch.
Yield and portions
Plan for about 1.5 quarts, which fits a standard airtight container or a 9×5 loaf pan. Typical servings are roughly 3/4 cup, so count on about six cups total.
Storage and timing
- Store in the coldest area of the freezer and avoid the door to reduce temperature swings.
- Seal the container tightly and freeze at least 2 hours; for best texture, freeze least overnight when possible.
- Let the container sit a few minutes at room temp before scooping. Use a warmed, dry scoop and rinse between portions.
- If frost forms, gently scrape a thin top layer to refresh texture. Label the lid with date and add-ins.
Serving tip: For parties, pre-scoop into a chilled tray and return to the freezer for quick plating.
Cuisinart Chocolate Ice Cream Recipe Nutrition at a Glance
Here’s a quick nutrition snapshot so you can plan portions and toppings with confidence. Use these numbers as approximations; exact totals depend on ingredient brands and portion size.
Typical range: expect about 267–331 calories per serving depending on whether you measure cups or larger portions.
- A standard 3/4‑cup serving often contains ~19g fat, 24g carbs, and 4g protein.
- An 8‑serving batch averages near 323 calories per portion; per‑cup values can reach ~331 calories with ~21g fat and 39g carbs.
- Micronutrients: sodium commonly ~30–38mg and calcium around 91–120mg per serving.
- Potassium typically falls between ~209mg and 336mg, influenced by dairy and cocoa content.
- Fiber can be 2–5g if you boost cocoa or use higher‑fiber mix‑ins.
Notes: Portion control and toppings strongly change totals. Swapping lactose‑free milk or cutting sugar will tweak macros without changing the basic method. For exact results, calculate with your chosen brands and serving sizes.
Conclusion
Finish with confidence. A cold, well-assembled base plus careful timing gives reliably smooth, scoopable results. Whisk dry cocoa and sugars, dissolve with very cold milk, then stir in cream and vanilla before churning in a fully frozen maker.
Temperature and timing matter most. Stop the churn when the mix rises toward the top and feels like soft serve to avoid over-processing. Transfer quickly and freeze at least 2 hours for clean scoops and steady portions.
Favor Dutch-process with a modest touch of dark cocoa powder for depth without dryness. Use this base as a template to test sweetness, mix-ins, and seasonal toppings while keeping storage and yield in mind.
These simple instructions and basic equipment make this an easy weeknight dessert that produces consistent, crowd-pleasing homemade ice cream. For extra tips and a related guide, see this chocolate ice cream recipe.

