Making homemade ice cream is a timeless tradition. It combines family heritage with modern technology. With this step-by-step ice cream maker guide, you can make your own ice cream. You’ll learn how to use both old-fashioned and new ice cream makers.
This guide shows you how to pick the right machine and churn your ice cream. It’s a mix of cold science and sweet art. You’ll make a cultural favorite—homemade ice cream.
It’s key to know how your machine works. You’ll pour your ice cream base into a metal canister. Then, you’ll mix it with rock salt and ice to cool it fast. This makes your ice cream smooth and creamy.
Whether you have a family heirloom or a new machine, making ice cream is fun. It’s a joy to make this creamy treat by hand or with an electric churn.
Key Takeaways
- Ice cream making can be an enjoyable family activity with the right guidance.
- Both electric and manual ice cream makers offer unique benefits depending on the user’s needs.
- Rock salt plays a crucial role in the freezing process, leading to smoother ice cream.
- Churning is essential for youthful and cream-filled texture.
- Understanding your ice cream maker can enhance the overall ice cream-making experience.
- The ingredients for your ice cream base greatly influence the outcome.
- Homemade ice cream is a delightful alternative to store-bought varieties, bringing authenticity to your dessert experience.
Classic Vanilla Ice Cream
8
servings20
minutes45
minutes250
kcalA creamy, homemade vanilla ice cream that's perfect for any occasion.
Keep the screen of your device on
Ingredients
2 cups 2 heavy cream
1 cup 1 whole milk
0.75 cup 0.75 granulated sugar
1 tablespoon 1 vanilla extract
0.25 teaspoon 0.25 salt
Directions
- In a medium saucepan, combine the heavy cream, whole milk, sugar, and salt. Stir over medium heat until the mixture begins to steam but do not let it boil.
- Remove the mixture from heat and stir in the vanilla extract. Allow the mixture to cool completely at room temperature, then refrigerate for at least 2 hours or until well chilled.
- Pour the chilled mixture into your ice cream maker and churn according to the manufacturer’s instructions, usually about 20 to 25 minutes until it reaches a soft-serve consistency.
- Transfer the ice cream to an airtight container and freeze for at least 2 hours or until firm for scooping. Serve with your favorite toppings.
Recipe Video
Nutrition Facts
- Total number of serves: 8
- Calories: 250kcal
- Cholesterol: 65mg
- Sodium: 75mg
- Potassium: 105mg
- Sugar: 18g
- Protein: 4g
- Calcium: 130mg
- Iron: 0mg
Did you make this recipe?
Tag @https://www.instagram.com/ice_cream_haven/ on Instagram and hashtag it with #IceCreamIceCreamHavens
Like this recipe?
Follow @https://www.pinterest.com/Ice_Cream_Haven/ on Pinterest
Join our Facebook Group!
Follow https://www.facebook.com/icecreamhavens/ on Facebook
Understanding Your Ice Cream Maker
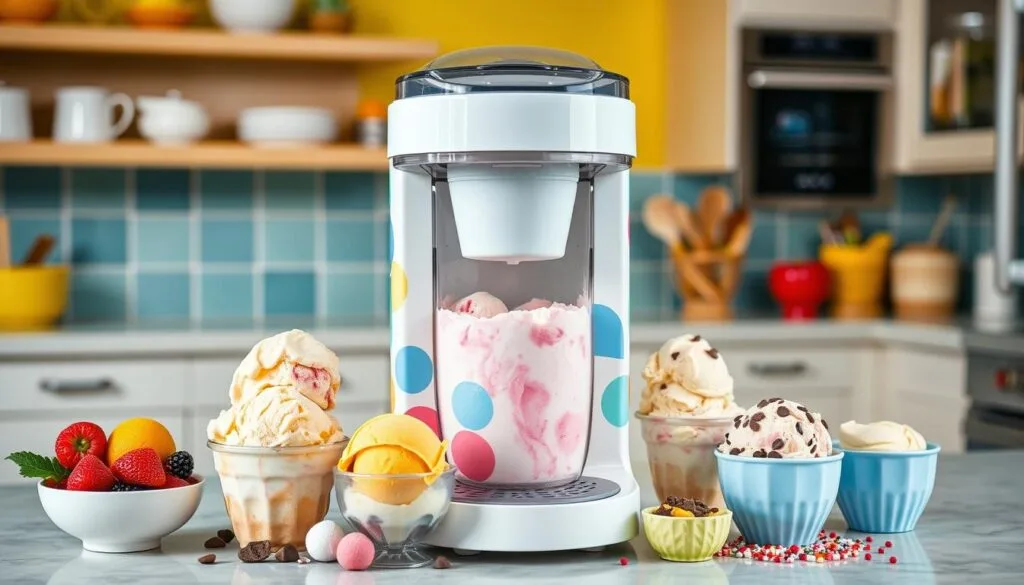
Making homemade ice cream is exciting and rewarding. Knowing how to use an ice cream maker is key to making delicious desserts at home. This guide will cover the basics of an ice cream maker, compare models, and explain the importance of rock salt and ice.
The Basics of Ice Cream Maker Components
To make perfect ice cream, it’s important to know the ice cream maker’s parts. It has a metal canister in a bucket with ice and rock salt. This setup is crucial for churning and freezing the mix. The mixing paddle makes the mix smooth.
Electric vs. Hand Crank Models: Pros and Cons
Choosing between electric and hand crank ice cream makers depends on what you prefer. Electric models are easy to use and consistent, perfect for regular treats. Hand crank models offer a hands-on experience, making the process fun and educational.
| Feature | Electric Model | Hand Crank Model |
|---|---|---|
| Operation | Automatic | Manual effort required |
| Noise Level | Higher | Lower |
| Noise Level | Higher | Lower |
| Batch Size Consistency | More consistent | Varies with speed of cranking |
| Experience | Convenient | Interactive |
The Role of Rock Salt and Ice in Ice Cream Making
Rock salt is crucial in homemade ice cream directions. It lowers ice’s freezing point, helping freeze the mix without crystals. About 15 pounds of ice and rock salt are needed for four quarts of ice cream, ensuring a smooth texture.
In conclusion, whether you choose an electric or hand crank model, the process is similar. Your choice depends on your lifestyle, ice cream needs, and how involved you want to be. Either way, making fresh ice cream is a delightful reward.
Directions for Ice Cream Maker
Starting your ice cream journey is exciting. Knowing how to use your ice cream maker is key. A step by step guide for ice cream maker can make a big difference. It helps both beginners and experts get better at making ice cream.
First, make sure your ice cream maker bowl is frozen for 24 hours before use. This is important for the right consistency, as shown in the ice cream machine user guide.
Get your ice cream base ready ahead of time. Most recipes need heavy cream, sugar, and eggs mixed and chilled in the fridge. This makes the ice cream smooth when frozen. Your machine can churn about a quart of this base.
Before churning, chill your mixture for at least an hour if needed. Then, pour it into the ice cream maker. Churn for 20-30 minutes. Add mix-ins like fruits or nuts in the last few minutes to keep their texture.
After churning, your ice cream will be soft and creamy. For a firmer texture, freeze it for 2-4 hours more. This step is crucial for the scoopable firmness of traditional ice cream.
| Component | Preparation | Chilling Time | Churning Time |
|---|---|---|---|
| Ice Cream Base (Custard type) | Mix ingredients, cook, and chill | Several hours to overnight | 20-30 minutes |
| Fruit Sorbets | Puree fruits and chill | 1 hour | 25 minutes |
| Frozen Yogurt | Combine Greek yogurt with fruits and chill | 1 hour | 20 minutes |
Following these steps carefully will make your ice cream making better. It ensures every batch is as tasty as you want. Remember, timing and temperatures are key, as your ice cream machine user guide shows.
Preparing Your Ice Cream Mixture
Starting your homemade ice cream adventure is all about the base. Whether you want a simple treat or a fancy dessert, learning the perfect ice cream recipe instructions is key.
Ingredients You’ll Need for Making Ice Cream
To start your homemade ice cream directions, you’ll need a few things. You’ll need 1½ cups of heavy cream, 1½ cups of whole milk, ⅔ cup of cane sugar, 2 teaspoons of vanilla extract, and a pinch of sea salt. These ingredients are the base for many flavors, from vanilla to unique ones.
Crafting the Perfect Ice Cream Base: Tips and Tricks
Making the ice cream base is more than mixing. It’s about the right technique and timing. Here’s a step-by-step ice cream guide for a creamy texture:
- Put all the ingredients in a big bowl.
- Whisk until the sugar dissolves and it’s smooth.
- Chill it in the fridge for 2 hours or overnight.
- Make sure your ice cream maker’s bowl is frozen, ideally for 12-24 hours.
- Put the chilled mix in the ice cream maker and churn as directed, usually 20-30 minutes.
After churning, the ice cream will be soft-serve. For a firmer texture, freeze it in an airtight container for 2 hours. Then, add toppings or mix-ins like fruits, nuts, or chocolate chips to make it even better.
Try different mix-ins and toppings to make your desserts special. Use homemade ice cream directions to impress everyone with delicious, high-quality ice cream.
This journey to making perfect homemade ice cream is more than following recipes. It’s about adding your own special touches. Enjoy every step, from prep to the last scoop. Keep trying new perfect ice cream recipe instructions to create unique desserts.
Operating Your Ice Cream Machine
Learning how to use an ice cream maker is easier than you think. It starts when your ice cream mix is ready and cool. Here are the step-by-step instructions for ice cream maker use to make perfect ice cream every time.
- Make sure the ice cream maker bowl is frozen solid, ideally for at least 24 hours before using.
- Pour your chilled mix into the machine. Remember, most machines have a max fill line for how much you can churn at once.
- Put the paddle in place and close the lid.
- Turn it on. It usually takes 30 to 45 minutes to churn to the right consistency.
- If your recipe has mix-ins like fruits, nuts, or chocolate chips, add them in the last 5 minutes of churning.
- After churning, move the ice cream to an airtight container. Cover it with plastic wrap to stop ice crystals from forming.
- Then, put the frozen dessert in the freezer to firm up before serving.
While using your machine, check the operating manual for ice cream maker for care and troubleshooting tips. Watching the consistency during freezing helps you stop at the perfect time for the best ice cream.
Here are some extra tips based on common ice cream maker features and maintenance:
| Feature | Why It Matters | Tips |
|---|---|---|
| Capacity | Most home ice cream makers churn about a quart, important for planning how much to make. | Choose the right size—small (1 quart), medium (1-2 quarts), or large (2-4+ quarts) based on how much you want to make at once. |
| Type | Both electric and hand crank models are popular. | Go for an electric model for ease or a hand crank one for a traditional ice-making feel. |
| Material | Materials like stainless steel, wood, and aluminum affect durability and looks. | Pick a material that fits your kitchen style and needs. |
By following these tips, you can make smooth and creamy ice cream at home with your ice cream maker. Remember, every model is different, so always check the operating manual for ice cream maker for specific instructions.
Troubleshooting Common Ice Cream Maker Issues
Homemade ice cream needs smooth operation and delicious results. Knowing how to troubleshoot ice cream maker issues and maintenance for ice cream maker is key. Issues like ice cream not freezing or not having the right texture can happen for several reasons.
One common mistake is not freezing the bowl long enough. It should be frozen for at least 24 hours. Also, the ice cream mixture should be around 4º C (39º F) before churning. This ensures the right consistency during freezing.
What to Do When Your Ice Cream Won’t Freeze
If your ice cream won’t freeze, check the temperature and pre-freezing conditions first. Recipes and churn times can vary, often taking longer than expected. Stick to reliable sources like David Lebovitz or Stella Parks to avoid issues.
Maintenance and Care for Your Ice Cream Maker
Regular ice cream maker troubleshooting includes maintenance. Clean the machine right after use and dry it before storing. Make sure all parts, especially moving ones, are correctly assembled and lubricated. This prevents failures and wear.
| Issue | Cause | Solution |
|---|---|---|
| Machine freeze-ups | Improper cleaning | Regular cleaning and drying |
| Runny soft serve | High external temperatures | Avoid making ice cream in a heatwave |
| Ice cream not fluffy | Overfilling or low overrun | Fill to optimal level, check machine settings |
| Leakages into drip tray | Lubrication or assembly issues | Regular maintenance and correct assembly |
For more tips on troubleshooting homemade ice cream, check this expert resource. Following these tips can make your homemade ice cream experience more enjoyable.
Delectable Recipes to Try with Your Ice Cream Maker
Start a fun cooking adventure with your ice cream maker. Try out different ice cream maker recipes to find your favorite. You can make creamy custard ice cream or simple no-egg ice cream. Italian gelato lovers will enjoy making it too.
- Toasted Marshmallow
- Oreo
- Lemon Curd
- Butterscotch Chocolate Cake
- Blueberry Cheesecake Gelato
- Buttermilk Praline
- Passion Fruit White Chocolate Mint Gelato
Start by chilling your ice cream base well. This step is key for the right texture. Chill it for at least eight hours. For French-style custard and gelato, strain the mixture for a smoother finish.
Ice cream makers are versatile. Try adding flavors to milkshakes or ice cream cakes. Adding crushed cookies or nuts makes it even more fun.
Homemade ice cream maker recipes churn in about 30 minutes. They use simple ingredients for quick, tasty results. Here’s a basic recipe you can modify to suit your taste:
| Ingredients | Quantity |
|---|---|
| Heavy Cream | 2 cups |
| Whole Milk | 1 1/2 cups |
| Granulated Sugar | 3/4 cup |
| Vanilla Extract | 1 tbsp |
Add your favorite mix-ins like chocolate chips or fruit. Make sure your ice cream maker bowl is frozen. It should take about 12 hours to freeze.
Having an ice cream maker is exciting. You can make everything from classic flavors to new ones. Enjoy making and eating your own ice cream. It’s a joy!
Conclusion
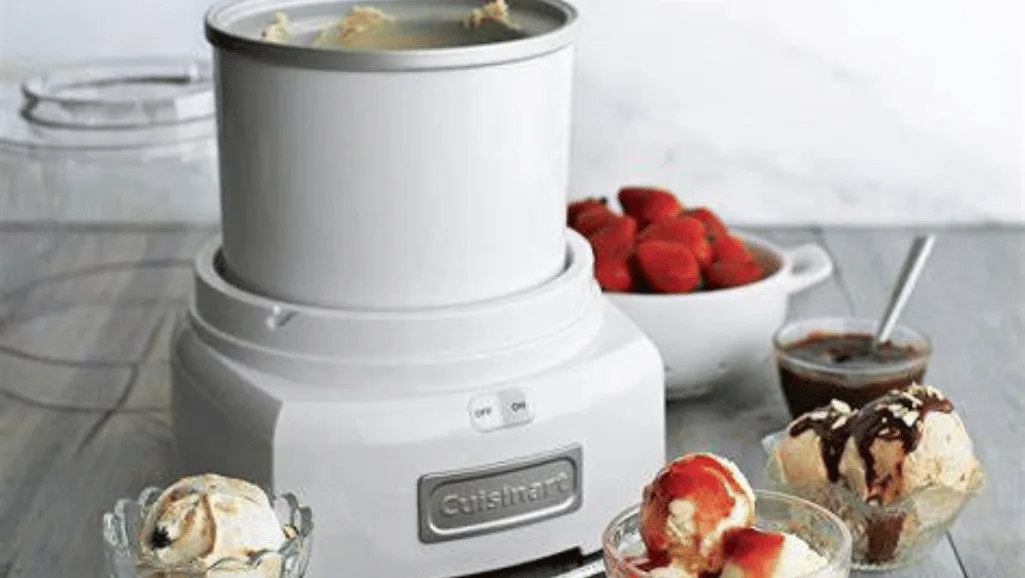
Starting your ice cream journey is a mix of old traditions and new ways. We’ve shown how important a good ice cream maker, like the Cuisinart, is. Also, making your ice cream base and chilling it well is key.
With a Cuisinart ice cream machine costing $76.49, making ice cream at home is affordable. A batch costs just $3.97. This means you can enjoy creamy treats without spending a lot. Making 5 cups at home is cheaper than buying 2 pints of Ben & Jerry’s.
Learning how to use your ice cream maker well is crucial. This includes avoiding dishwasher dangers and getting extra freezer containers. It makes making ice cream easier, even if it takes some planning.
Looking at the cost of making ice cream shows big savings. You can also make flavors you like. Adding xylitol for sugar control or trying new sorbet flavors is exciting.
Using an ice cream maker lets you go beyond just following recipes. You can make big batches, up to 5 to 6 quarts. This is perfect for any event. As summer comes, let your ice cream maker’s sound fill your home with joy and memories.

