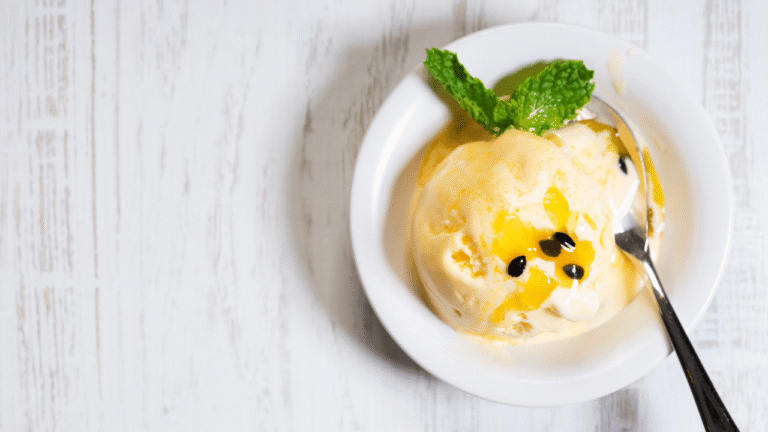
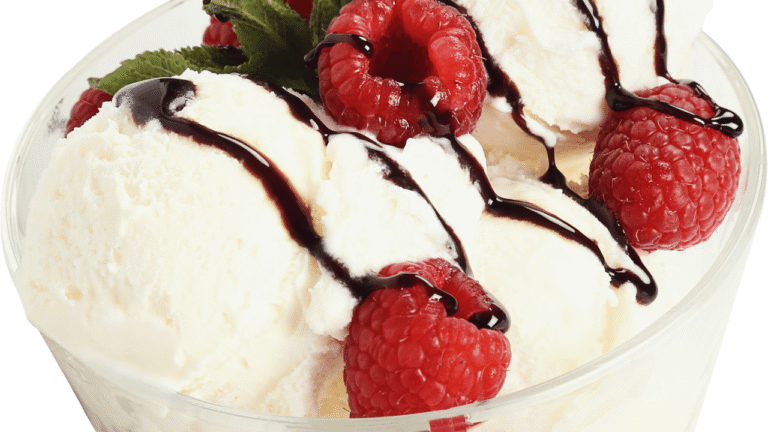
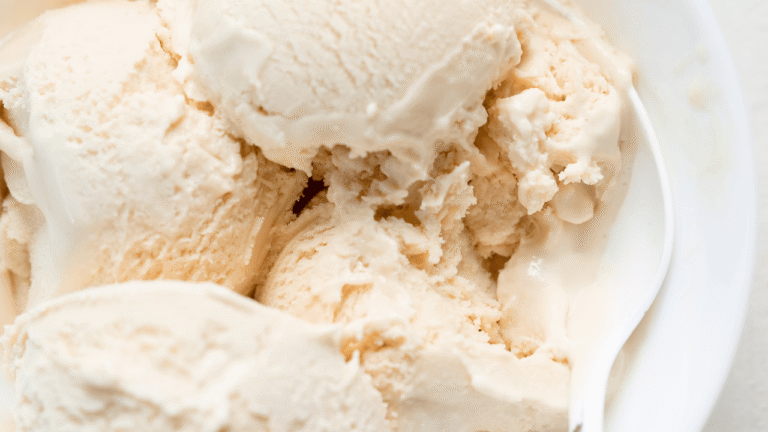
Make a rich, silky frozen treat with five simple pantry staples: Homemade Ice Cream Churn Recipe, heavy cream, whole milk, cane sugar, vanilla extract, and a pinch of salt. This easy base relies on full-fat dairy for real creaminess and vanilla for warm, classic flavor.
Plan your time: freeze the maker bowl at least 12 hours and chill the base 2 hours or overnight. When you churn, most machines like a KitchenAid attachment or Cuisinart take about 20–30 minutes to reach a soft-serve texture.
Expect soft-serve right away, then transfer to an airtight container and freeze 2–4 hours to firm up for scoopable texture. The method is flexible, so add chocolate, fruit, or nuts once the base is ready.
This approach beats store tubs for pure flavor and control. With minimal gear—a maker, bowl, whisk, and a freezer-safe container—you can enjoy fresh scoops year-round, especially in summer alongside pies and grilled fruit.
Key Takeaways
- Five core ingredients deliver a creamy, vanilla-forward base.
- Freeze the bowl 12 hours and chill the base at least 2 hours before churning.
- Churn 20–30 minutes for soft-serve; freeze 2–4 hours more to firm up.
- Use full-fat dairy and a pinch of salt for richer texture and brighter flavor.
- Simple equipment and easy customization make this perfect for summer treats.
Homemade Ice Cream Churn Recipe
4
servings30
minutes40
minutes300
kcal1
hour10
minutesCreamy homemade vanilla ice cream with simple ingredients.
Keep the screen of your device on
Ingredients
2 cup 2 heavy cream
1 cup 1 whole milk
0.75 cup 0.75 granulated sugar
1 tablespoon 1 vanilla extract
1 pinch 1 salt
Directions
- In a medium mixing bowl, combine heavy cream, whole milk, and sugar. Stir until the sugar is fully dissolved.
- Add vanilla extract and a pinch of salt to the mixture. Stir well to ensure even distribution of flavor.
- Cover the bowl with plastic wrap and chill in the refrigerator for at least 2 hours to cool the mixture thoroughly.
- Pour the chilled mixture into an ice cream maker and churn according to the manufacturer’s instructions, usually about 20–25 minutes.
- Transfer the churned ice cream to an airtight container. Freeze for an additional 2 hours before serving for a firmer texture.
Recipe Video
Nutrition Facts
- Total number of serves: 8
- Calories: 210kcal
- Cholesterol: 70mg
- Sodium: 40mg
- Potassium: 80mg
- Sugar: 16g
- Protein: 2g
- Calcium: 7mg
- Iron: 0mg
- Thiamin: 0mg
- Riboflavin: 0mg
- Niacin: 0mg
- Folate: 0mg
- Biotin: 0mg
- Phosphorus: 0mg
- Iodine: 0mg
- Magnesium: 0mg
- Zinc: 0mg
- Selenium: 0mg
- Copper: 0mg
- Manganese: 0mg
- Chromium: 0mg
- Molybdenum: 0mg
- Chloride: 0mg
Did you make this recipe?
Tag @https://www.instagram.com/ice_cream_haven/ on Instagram and hashtag it with #IceCreamIceCreamHavens
Like this recipe?
Follow @https://www.pinterest.com/Ice_Cream_Haven/ on Pinterest
Join our Facebook Group!
Follow https://www.facebook.com/icecreamhavens/ on Facebook
Why This Homemade Ice Cream Churn Recipe Works Right Now
Nothing beats a fast, reliable method when the weather calls for a cool treat.
Seasonal timing: Peak summer brings fresh fruit and warm days, so a churned dessert pairs perfectly with berries and grilled peaches. The short hands-off time fits backyard parties and weeknight cravings.
Two simple techniques: Use a quick no-heat approach—whisk sugar until dissolved—or warm the milk and cream gently for about five minutes to fully dissolve sugar, then chill for 2 hours to overnight. Both paths yield a rich base without the fuss of a custard with eggs.
Science of texture: Fat from cream and whole milk gives body, dissolved sugar controls the freezing point, and controlled water from milk prevents large ice crystals. The result is a super-smooth churned product that hits a soft-serve stage in roughly 20–30 minutes and firms in the freezer without turning icy.
- Timing cues: freeze the bowl 12 hours before, chill the base at least 2 hours, then churn 20–30 minutes.
- Accessible gear: most home cooks already own an ice cream maker or attachment to a stand mixer.
- Versatile outcome: this base accepts mix-ins and swirls with no complex adjustments.
Practical payoff: Short ingredient lists, affordable staples, and minimal hands-on time deliver consistent, creamy texture and vivid vanilla flavor that rival premium pints.
Ingredients for a Creamy Ice Cream Base
Start by gathering the exact dairy and flavoring staples that make a silky base.
Core components and measurements
Use about 1½ cups heavy cream and 1½ cups whole milk as the fat backbone. Combine with 2/3 cup cane sugar, 2 teaspoons vanilla extract, and 1/8 teaspoon sea salt for a reliable cup-to-cup ratio.
- Heavy cream: adds richness and body for a smooth mouthfeel.
- Whole milk: balances fat and controls free water to reduce large ice crystals.
- Sugar: sweetens and keeps the mixture scoopable by lowering the freezing point.
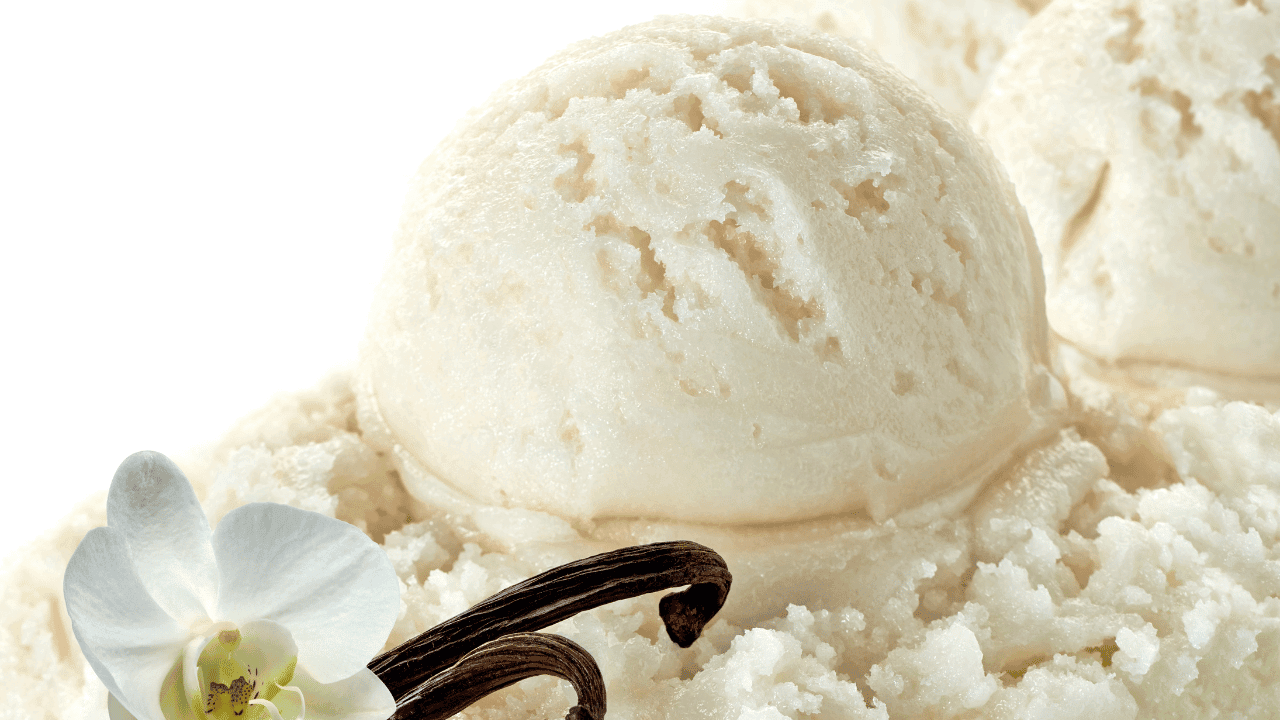
- Vanilla: delivers aroma and flavor—use extract or paste for specks.
Optional enrichers and handling tips
For extra body, whisk in 2 ounces room-temperature cream cheese until smooth. Vanilla bean paste can replace extract for a deeper profile and visible specks.
Avoid liquid sweeteners in a no-cook method; they change texture. Keep the combined mixture cold to shorten churn time and yield smaller ice crystals.
What You Need: Ice Cream Maker, Bowls, and Containers
Start by prepping the machine and coldware so the base stays properly chilled. A clean setup and a frozen bowl keep texture tight and reduce early melting.
Hand-crank vs. electric attachments
Hand-crank makers offer a nostalgic, manual approach and a fun group activity.
Electric cream maker attachments and stand-alone machines deliver consistent results with less elbow grease. Brands like KitchenAid and Cuisinart reliably churn a quart in about 20–30 minutes.
Chilling gear: freezer bowl, beaters, and airtight container
Freeze the freezer bowl at least 12 hours before use. Chill paddles and the storage container too to keep the cold chain from bowl to freezer.
- Capacity and format: Most home models handle roughly 1 quart—ideal for small batches and quick turnarounds.
- Assembly basics: Ensure the bowl is fully frozen, fit paddles correctly, and pre-chill your base before pouring into the maker.
- Container tips: Use a shallow, wide, freezer-safe container. Press plastic wrap directly on the surface before sealing to reduce ice crystals.
- Space planning: Clear a level freezer shelf so the container hardens evenly.
- Care and safety: Start with dry, clean components and follow manufacturer fill lines to avoid overflows.
Homemade Ice Cream Churn Recipe
Get the timing and temperatures right and the rest falls into place. A few careful steps—cold equipment, a well-chilled base, and correct churn time—deliver the smooth texture you want.
Freeze the bowl: the 12-hour head start for success
Freeze the bowl for at least 12 hours. A very cold bowl slows ice crystal growth and helps the mixture thicken faster during churning.
Warm-and-chill method: dissolve sugar for ultra-smooth texture
Combine cream, milk, sugar, vanilla, and a pinch of salt in a saucepan. Warm over medium-low for about 5 minutes, stirring until the sugar dissolves.
Cool the base and chill 2 hours or overnight before using the machine; this shortening of churn minutes yields a finer texture and fewer ice crystals.
No-cook method: whisked base with optional cream cheese
Whisk sugar into cold dairy for 3–4 minutes until the mixture is completely smooth and grain-free.
For extra body, beat in 2 ounces of softened cream cheese. Chill 3 hours to overnight to ensure the mixture churns quickly.
Churn, soft-serve stage, then harden in the freezer
Assemble the maker and pour in the cold base. Churn 20–30 minutes until it reaches a soft serve texture.
Enjoy right away as soft serve or transfer to a chilled container, press plastic wrap on the surface, and freeze 2–4 hours for firm scoops.
Quick steps:
- Freeze bowl 12 hours.
- Choose warm-or no-cook method and fully chill the base.
- Churn 20–30 minutes; freeze 2–4 hours to finish.
Flavor Variations, Mix-Ins, and Swirls
Add sturdy chunks late in the process and layer sauces by hand for the best pockets of flavor.
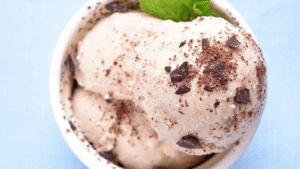
When to add mix-ins: For even distribution, drop firm bits like chocolate chips, toasted nuts, or brownie chunks into the machine during the last minute of churning.
Reserve delicate items—fresh or freeze-dried fruit, cookie crumbs, or soft pieces—for folding by hand while you transfer the ice cream to its container. This preserves texture and prevents pulverizing.
Classic and creative options
- Classics: chocolate chips, chopped brownies, toasted nuts, or crushed cookies.
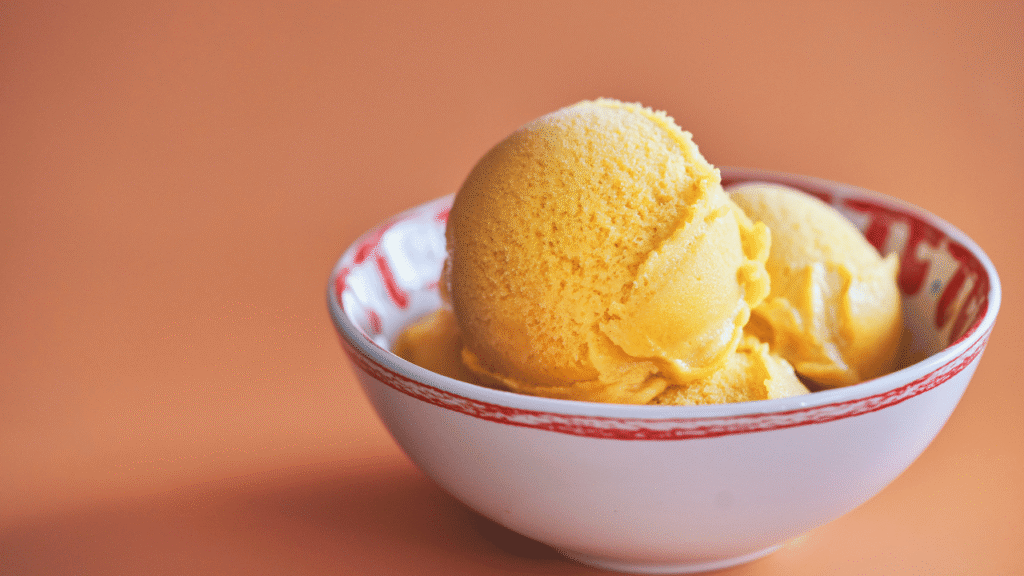
- Creative: coffee-infused base (dissolve instant coffee and cool), bright lemon zest with juice, or fruit purees folded in for bold flavor.
- Extracts: try almond, mint, rum, or additional vanilla extract for an easy twist.
Swirl strategy
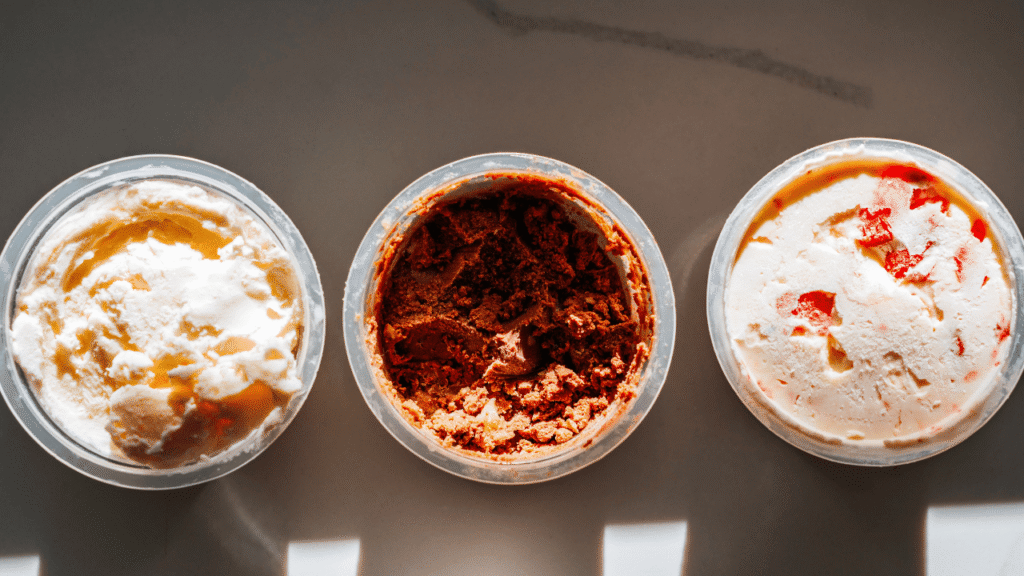
To create ribbons, alternate layers of churned ice cream with cooled caramel, hot fudge, or jam as you spoon into the container. Chill sauces first to protect texture and keep those striking pockets intact.
Tip: Limit mix-ins to about 2–2½ cups per quart to keep the maker running smoothly and maintain scoopable structure. For more on gear and tradition, see a detailed old-fashioned churn guide at old-fashioned churn.
Homemade Ice Cream Churn Recipe Pro Tips to Nail Texture and Prevent Iciness
Cold control is the single biggest factor that separates a silky batch from one that becomes grainy. Keep the base, mix-ins, bowl, and beaters thoroughly chilled to minimize crystal growth and preserve smooth texture.
Chill everything
Freeze the bowl at least 12 hours and cool the base 2–24 hours before starting. Chill mix-ins so they don’t introduce warm pockets that encourage ice formation.
Fat matters
Optimize fat by combining heavy cream with whole milk for a balanced fat-to-water ratio. This mix delivers body and mouthfeel while reducing sharp ice crystals.
Timing cues
Plan on a 20–30 minute churn; stop when the mixture mounds like soft serve. Then transfer to the freezer for 2–4 hours to fully set.
- Keep everything cold: pre-chill base, mix-ins, and frozen components to improve texture.
- Portion mix-ins wisely: too many large bits create air pockets and encourage ice.
- Room-temp softening: let a frozen pint sit a few minutes so the scoop glides cleanly.
- Consider cream cheese (optional): in an egg-free base, a small amount adds silkiness and structure without changing flavor much.
For a fast, reliable no-cook approach that still yields smooth results, try this simple three-ingredient method and learn more at 3-ingredient no-condensed-milk base.
Serving Ideas and Smart Storage
Pairing chilled scoops with warm desserts creates a delightful contrast in temperature and texture. Serve a scoop beside cherry pie, apple pie, peach crisp, or rhubarb crisp for a classic combo. A warm brownie topped with sauce and a few scoops makes an instant crowd-pleaser.
Try grilled peaches, strawberry shortcake, or blueberry cobbler to highlight fresh fruit. For a simple treat, a cone or small bowl keeps vanilla ice cream front and center.
Storage basics: Transfer freshly churned ice cream to a quart-size airtight container. Press plastic wrap or foil directly on the surface to limit ice crystal formation, then seal the container.
Freeze at least 2 hours to firm for clean scoops. For best quality, keep containers well-sealed and rotate through within 1–4 weeks; many sources note peak quality in the first week.
Quick tips before you serve
- If too hard, let the container sit at room time a few minutes so the scoop glides through smoothly.
- Portion into shallow containers for faster softening and easier scooping.
- Label and date each container to track freshness.
- Set out hot fudge, caramel, nuts, fresh berries, and whipped cream for an easy sundae bar.
Conclusion
Homemade Ice Cream Churn Recipe
Close the process with easy habits that preserve texture and highlight fresh flavor.
Recap: A five-ingredient base, a full chill, and a 20–30 minute churn deliver consistently creamy results at home. Use the warm-and-chill or no-cook path to fit your schedule and desired texture.
Customize by folding in swirls, sauces, or mix-ins for signature batches. Pair scoops with summer fruit pies or warm brownies to elevate simple desserts.
Store in a sealed container with plastic pressed to the surface to keep peak flavor and reduce crystals. Respect timing cues and keep components cold for best results.
Plan ahead—freeze the bowl tonight so you can make your next homemade ice cream batch tomorrow.

