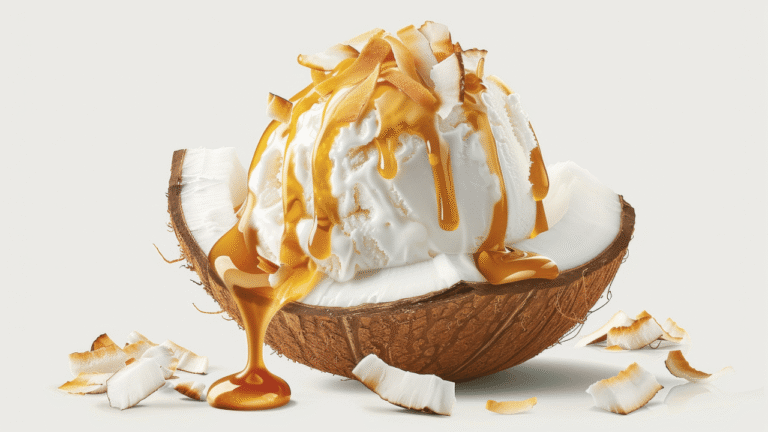
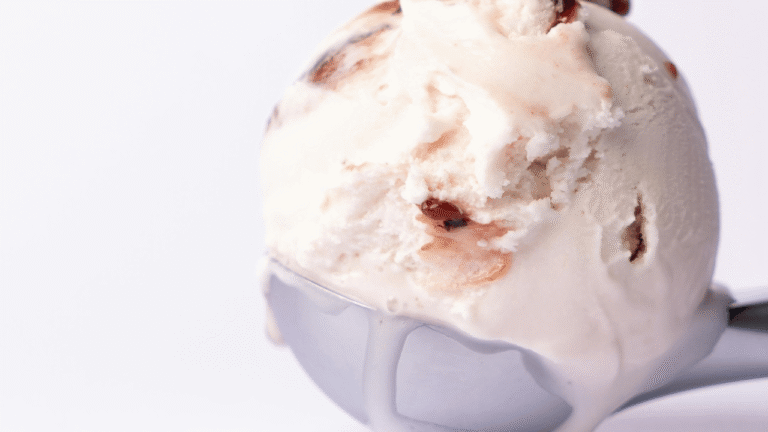
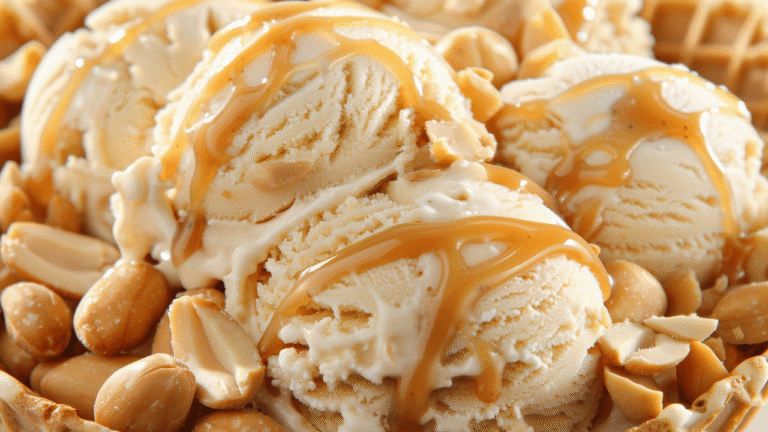
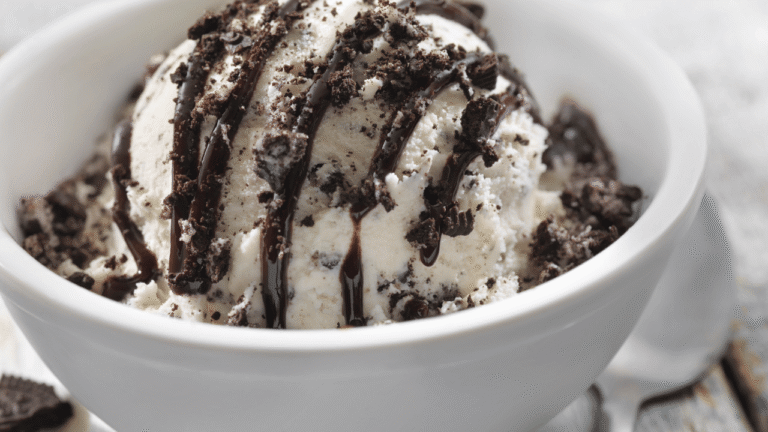
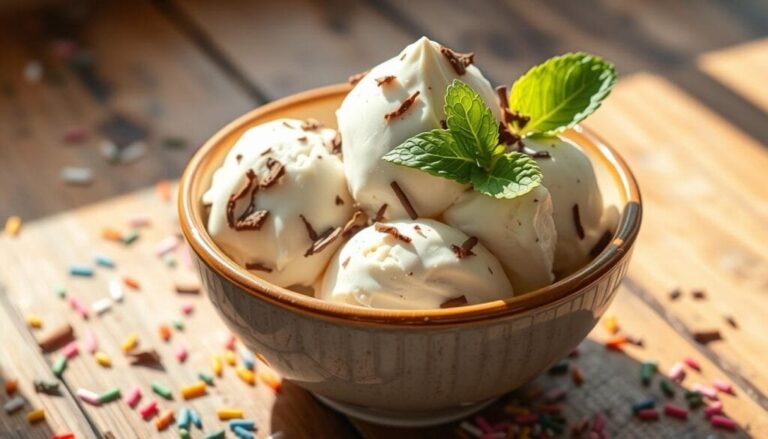
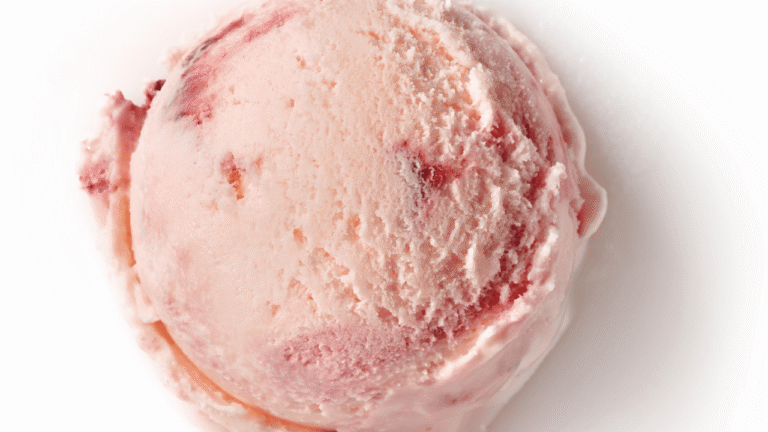
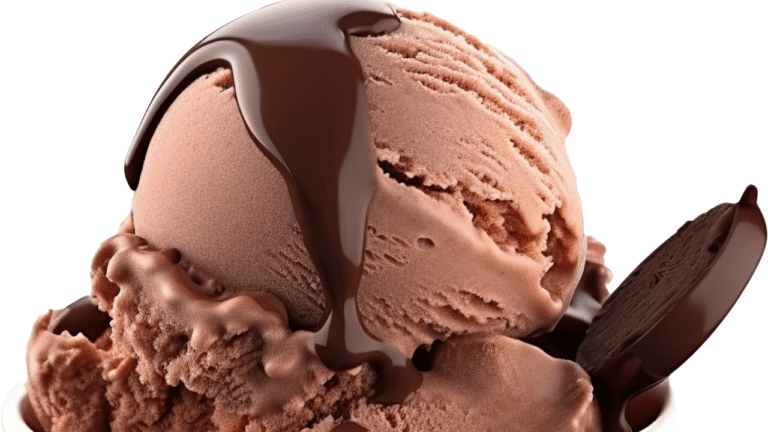
Make a pint at home and test new flavors without waste. This post shows how to churn or set a single pint so you can enjoy fresh dessert more often.
Small Batch Ice Cream Recipes, use an ice-cold canister for machine churning or try a pan-freeze method with whisking every 30–45 minutes. Either approach can yield a creamy texture if you balance fat and sugar in the base.
We cover timing, tools, and storage to prevent ice crystals. Pre-freeze a canister 18–24 hours for best churn results. No-churn options need periodic stirring for 2–3 hours to reach scoopable consistency.
Expect tips on flavors from vanilla and chocolate to fruit swirls, cookie add-ins, nuts, and caramel. Storage in pint-sized, airtight containers keeps texture and flavor for days.
Key Takeaways
- Make one pint to reduce waste and try more flavors.
- Churned pints need a frozen canister; no-churn needs regular whisking.
- Balance fat and sugar for a smooth, scoopable base.
- Pre-freeze equipment and use airtight pint containers for storage.
- Recipes include vanilla, chocolate, fruit, and mix-in ideas for summer treats.
Small Batch Ice Cream Recipes
4
servings30
minutes40
minutes300
kcal1
hour10
minutesA classic, creamy vanilla ice cream made with everyday ingredients.
Keep the screen of your device on
Ingredients
1 cup 1 heavy cream
1/2 cup 1/2 whole milk
2/3 cup 2/3 granulated sugar
1 teaspoon 1 vanilla extract
1/8 teaspoon 1/8 salt
Directions
- In a medium mixing bowl, whisk together heavy cream, whole milk, granulated sugar, vanilla extract, and salt until the sugar is completely dissolved.
- Cover the bowl with plastic wrap and refrigerate the mixture for at least 1 hour, or until thoroughly chilled.
- Set up your ice cream maker according to the manufacturer's instructions, and pour the chilled mixture into the ice cream maker.
- Churn the mixture for approximately 20 to 25 minutes or until it reaches a soft-serve consistency.
- Transfer the churned ice cream to an airtight container and freeze for at least 4 hours or until firm.
- Serve the ice cream using an ice cream scoop. Allow the ice cream to sit at room temperature for a few minutes if too firm.
Nutrition Facts
- Total number of serves: 4
- Calories: 290kcal
- Cholesterol: 70mg
- Sodium: 45mg
- Potassium: 90mg
- Sugar: 23g
- Protein: 2g
- Calcium: 8mg
- Iron: 1mg
- Thiamin: 0mg
- Riboflavin: 5mg
- Niacin: 0mg
- Folate: 0mg
- Biotin: 0mg
- Phosphorus: 6mg
- Iodine: 0mg
- Magnesium: 2mg
- Zinc: 3mg
- Selenium: 0mg
- Copper: 0mg
- Manganese: 0mg
- Chromium: 0mg
- Molybdenum: 0mg
- Chloride: 0mg
Did you make this recipe?
Tag @https://www.instagram.com/ice_cream_haven/ on Instagram and hashtag it with #IceCreamIceCreamHavens
Like this recipe?
Follow @https://www.pinterest.com/Ice_Cream_Haven/ on Pinterest
Join our Facebook Group!
Follow https://www.facebook.com/icecreamhavens/ on Facebook
Why Small-Batch Homemade Ice Cream Is Worth Making Today
Making a single pint at home turns experimentation into a quick, low-risk habit. It saves time and lets you try new flavor ideas without wasting pricey ingredients.
Fast results: A pint can churn in about 10–15 minutes when the canister is fully pre-frozen for 18–24 hours. No-machine methods take roughly 2–3 hours with periodic whisking, fitting easily into a busy day.
Using less cream and milk reduces waste and cost, so premium vanilla or high-quality cocoa feel affordable. A single cup now and one later beats a quart that sits and forms ice crystals.
“Small pints help you lock in the right fat and sugar for a smoother base,”
This approach is a practical way to trial dairy-free or reduced-sugar options before making larger batches. It also makes seasonal fruit tests and gifting easier.
- Experiment more often with fewer ingredients and less risk.
- Reach the right temperature faster, shaving hours off the process.
- Refine your base and fat balance to get the texture you prefer.
For a deeper how-to on making homemade ice cream at home, see homemade ice cream.
Tools, Gear, and Prep: What You Need to Make Ice Cream at Home
Good tools and a little prep are the quickest routes to consistent, scoopable results at home. A few smart choices speed the process and cut waste.
Freezing the canister: plan 12–24 hours ahead for your ice cream maker
Pre-freeze a canister 18–24 hours for best results. Most freezer-canister machines need a fully frozen core; a partially chilled canister makes a slushy mixture that won’t set well.
The mason jar advantage: 16 oz pint jars that won’t crack in the freezer
Use 16 oz mason jars or freezer-safe pint containers for storage and no-machine methods. Leave about 1 inch of headspace so contents can expand without cracking the lid.
Hand mixer vs. whisk: when to use which for your base
A hand mixer whips faster and traps air for a lighter texture. A whisk works but takes more time and elbow grease.
Keep a cold mixing bowl, chilled beaters, and a silicone spatula for scraping. If your machine has adjustable paddles, follow the maker’s guidance to avoid overbeating the mixture.
- Wide, shallow pans speed no-machine freezing.
- Prep mix-ins and label containers with flavor and date.
- Consider a second canister if you plan back-to-back batches.
Small Batch Ice Cream Recipes Churning with a Machine: Faster, Creamier Results
Machine churning gives the smoothest texture when you prep correctly. Start with a fully frozen canister and a chilled base to speed the process and reduce ice crystals.
Key timing and prep
Freeze the canister 18–24 hours before you churn so the maker extracts heat efficiently from the mixture. Always chill your base 2–24 hours ahead; colder base equals finer crystals and faster set time.
Typical churn times
Pint-sized batches usually finish in about 10–15 minutes. Quarts often need closer to 20–30 minutes, depending on the machine and the starting temperature of the base.
Finishing and storage
Fresh-churned ice cream is soft-serve. For scoopable texture, transfer the mixture to a chilled container and harden in the freezer for 2–4 hours.
- Watch the mixture for volume and soft-serve consistency to avoid over-churning.
- Use vanilla bean paste for vibrant vanilla ice cream with speckles.
- Scrape the canister quickly and keep the paddle dry between batches to prevent icing.
“A cold canister and cold base are the two simple steps that make machine churning reliable.”
No-Churn and Mason Jar Methods: Creamy Small Batch Ice Cream Recipes Without a Machine
Simple techniques—whisking, chilling, and folding—deliver rich texture even without a churner. Start with a balanced whipped base so the mixture gains body before it hits cold temperatures.
Pan-freeze and whisk
Pour the chilled base into a deep pan and freeze. Whisk once after 45 minutes, then every 30 minutes for about 2–3 hours to break forming ice crystals.
Whipped base formula
Combine heavy cream and sweetened condensed milk; optional whipped cream cheese adds richness. Whip in a bowl with a hand mixer to medium peaks for structure without turning oily.
Flavor, mix-ins, and dairy-free swaps
Build flavors stronger than you think—freezing mutes tastes. Melt chopped chocolate with 1/2 tsp coconut oil and drizzle for delicate flakes.
Fold cookies or brownie chunks in at the end to keep the texture. For a non-dairy option, swap coconut cream and coconut condensed milk and omit cream cheese.
- Keep the bowl and ingredients cold to speed whipping.
- Taste and adjust sugar and salt before freezing.
- Freeze at least 4 hours or overnight; allow headspace in jars.
Try the small pint method for more no-machine variations and step-by-step guidance.
Small Batch Ice Cream Recipes
Start with a dependable vanilla bean base and use it as your template for endless flavor experiments. A strong base keeps texture steady when you add purees, spices, or mix-ins.
Vanilla bean base
Use scraped vanilla and a touch more salt to make flavors pop after freezing. This base accepts extracts, fruit purees, and boozy syrups without breaking structure.
Chocolate variations
For richer chocolate, bloom cocoa into a paste with hot water before adding. Nutella or Mexican chocolate with cinnamon gives a layered, complex taste.
Fruit-forward pints
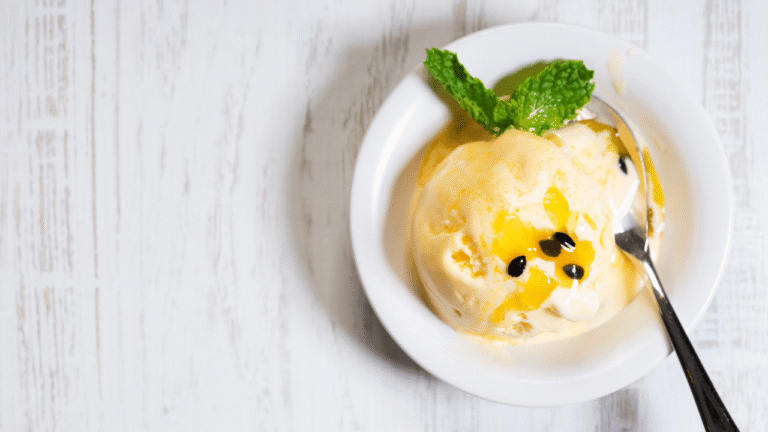
Fold in macerated strawberries, peaches, or apple cider reduction at peak ripeness. Fresh fruit keeps bright flavor in a single pint format.
Cookie, cake, and nut add-ins
Add cookie dough, Birthday Oreo pieces, or brownie chunks when the mix is nearly set (about 90%) for even distribution.
- Use sturdy cookies to avoid sogginess.
- Swirl nut butters—peanut, cashew, or hazelnut—for softer scoopability.
- Layer crunchy elements and sauces so they stay suspended, not sink.
Caramel and s’mores
Drizzle hot fudge or caramel sauce as you pack the pint. Toasted marshmallow ribbons and waffle-cone bits create dramatic, dessert-style layers.
For a tested vanilla bean method to start your flavors, try this best vanilla bean recipe and adapt from there.
Ingredients, Ratios, and the Science of Creaminess
Understanding how ingredients interact helps you craft a silky, scoopable pint every time.
Fat, milk, sugar, and the freeze point
Heavy cream and whole milk build richness and structure. Sugars and fats lower the freezing point, which softens texture and limits large ice crystals. Sweetened condensed milk adds body and can stand in for a cooked custard in no-machine methods.
Custard or egg-free bases
Use yolks when you want a classic custard for extra silkiness. If a recipe calls for an odd number of yolks, round down; freeze leftover whites in ice cube trays for later use. No-egg bases rely on condensed milk and whipped cream for stability.
Flavorings and sweeteners
- Brown sugar adds moisture and toffee notes; reduce quantities for honey or maple, which are sweeter.
- A splash of alcohol softens texture—use sparingly to keep the pint from failing to set.
- Vanilla bean paste gives aroma and speckles; a pinch of salt brightens flavors.
“Keep the base cold at every step to shrink ice crystals and improve mouthfeel.”
For a tested sweet milk approach, try the sweet cream method as a starting template.
Timing, Storage, and Serving: From Freezer to Bowl
A few simple steps after churning ensure your pint keeps its smooth texture and flavor.
Choose the right container. Use pint-sized, freezer-safe containers with tight lids. Press plastic wrap directly onto the surface before sealing to block air and prevent ice crystals.
Pick storage that works
Keep tubs in the coldest part of the freezer, not the door, to avoid temperature swings. Rotate stock and label each container with flavor and date so you use older pints first.
Stop ice crystals in their tracks
Always chill the base for 2–24 hours before churning; a colder base sets faster and limits ice growth. After churning, give the pint at least 2–4 hours in the freezer to firm up before long-term storage.
Scoopability and serving tips
If a pint is very firm, let it sit at room temperature for a few minutes before scooping. Warm a scoop in hot water and wipe it dry for clean rounds without tearing the surface.
- Store in airtight containers and press wrap on the surface to prevent frost.
- Label with date; most homemade pints keep well up to a month.
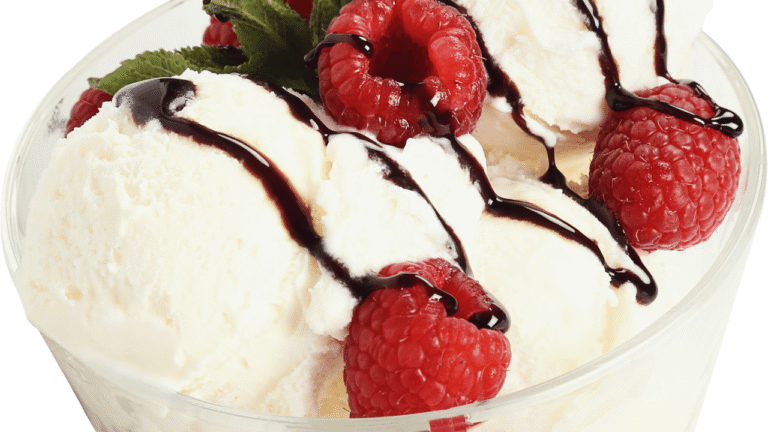
- Layer sauces like hot fudge or salted caramel in thin ribbons as you pack for neat swirls and pockets of flavor.
- Serve with compotes, toasted nuts, or cookie pieces to add texture and contrast.
Seasonal Pairings and Ways to Serve Your Homemade Ice Cream
A well-chosen pairing can turn a simple pint into a standout summer dessert. Use contrasts of warm and cold, soft and crunchy, to sharpen flavor and texture.
Summer-ready sundaes and plated desserts
Build sundaes with warm fruit crisps, peach cobbler, or blueberry cobbler. Add a drizzle of hot fudge or salted caramel for temperature contrast and shine.
Serve scoops next to classic pies like cherry or apple. Grilled peaches or strawberry shortcake pair well with vanilla or cinnamon-spiced bases.
- Set up a sundae bar with warmed sauces, toasted nuts, and fresh berries for guests to customize.
- Layer parfaits in clear glasses with crushed cookies, fruit, and sauce for easy make-ahead service.
- For cookouts, pre-scoop into chilled bowls and return to the freezer to speed service on hot days.
Tip: Freeze pint containers at least 2 hours so scoops hold shape. Plan one classic and one adventurous flavor so everyone finds a favorite.
Conclusion
A short checklist — prep, chill, churn, and rest — turns good ideas into scoopable success.
Small Batch Ice Cream Recipes, freeze your canister 18–24 hours and chill the base 2–24 hours. Churn a pint for about 10–15 minutes, or use the no-machine method and whisk every 30–45 minutes for 2–3 hours. After packing, firm the pint in the freezer 2–4 hours before serving.
Keep ratios steady: balance sugar and fat, consider a custard for silk or condensed milk for an egg-free option. Use a hand mixer for faster aeration and 16 oz jars with headspace for safe storage.
Store airtight up to a month, press wrap on the surface to block crystals, and let pints sit a few minutes at room temp before scooping. For maker-focused tips, see Aroma ice cream maker tips.

