Freeze Ice Cream right is key to keeping its taste and texture perfect. Whether you buy it or make it at home, knowing how to store it is important. This guide will show you how to freeze ice cream to keep it delicious every time.
We’ll cover everything from the right container to the best freezing temperature. These tips work for any ice cream, homemade or store-bought. They’ll help your ice cream stay smooth and full of flavor. So, let’s get started and learn how to freeze ice cream like a pro!
Keeping ice cream at the right temperature is vital. Experts say it should be below 0°F (-18°C). But, freezers can have temperature changes, which can affect the ice cream’s texture. To avoid this, consider using a dedicated ice cream freezer or a commercial ice cream freezer for a steady temperature.
Homemade ice cream is best eaten within a week or two for the best taste and texture. Use containers that freeze quickly to prevent ice crystals. Plastic containers are better than glass or ceramic because they conduct heat well. Always use containers with tight lids to keep out odors and prevent freezer burn.
Key Takeaways
- Store ice cream at a temperature below 0°F (-18°C) for optimal quality.
- Consume homemade ice cream within 1-2 weeks for the best flavor and texture.
- Use containers with a high surface-area-to-volume ratio for faster freezing.
- Opt for plastic containers over glass or ceramic for better heat conductivity.
- Always use airtight containers with tight-fitting lids to prevent odor contamination and freezer burn.
Freeze Ice Cream
6
servings20
minutes4
hours10
minutes250
26
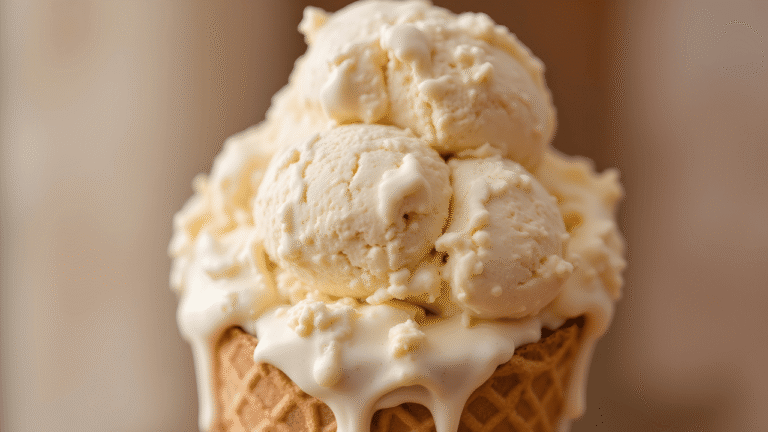
minutesSimple creamy vanilla ice cream with everyday ingredients.
Keep the screen of your device on
Ingredients
1 cup 1 whole milk
2 cups 2 heavy cream
0.75 cup 0.75 granulated sugar
1 tablespoon 1 pure vanilla extract
1 pinch 1 salt
Directions
- In a medium bowl, whisk together whole milk and granulated sugar until the sugar is fully dissolved to ensure a smooth texture.
- Stir in the heavy cream, pure vanilla extract, and a pinch of salt until all ingredients are well combined for a flavorful mix.
- Cover the mixture and chill in the refrigerator for at least 2 hours, or overnight, to ensure it is cold enough before churning.
- Prepare your ice cream maker according to the manufacturer's instructions and assemble all required components for optimal results.
- Pour the well-chilled mixture into the ice cream maker's bowl and churn according to the manufacturer's instructions, typically about 20-25 minutes.
- After churning, transfer the soft ice cream to an airtight container and freeze for an additional 3-4 hours for a firmer consistency.
- When ready to serve, allow the ice cream to sit at room temperature for a few minutes to make scooping easier.
Recipe Video
Nutrition Facts
- Serving Size: 1g
- Total number of serves: 6
- Calories: 250kcal
- Fat: 19g
- Saturated Fat: 12g
- Trans Fat: 0g
- Polyunsaturated Fat: 0.5g
- Monounsaturated Fat: 5g
- Cholesterol: 70mg
- Sodium: 80mg
- Potassium: 115mg
- Carbohydrates: 19g
- Fiber: 0g
- Sugar: 17g
- Protein: 3g
- Vitamin A: 750IU
- Vitamin C: 1mg
- Calcium: 110mg
- Iron: 0.1mg
- Vitamin D: 0.2mg
- Vitamin E: 0.6mg
- Vitamin K: 1.5mg
- Thiamin: 0.0mg
- Riboflavin: 0.2mg
- Niacin: 0.1mg
- Vitamin B6: 0.0mg
- Vitamin B12: 0.3mg
- Folate: 5mg
- Biotin: 1mg
- Pantothenic Acid: 0.5mg
- Phosphorus: 95mg
- Iodine: 20mg
- Magnesium: 10mg
- Zinc: 0.3mg
- Selenium: 2mg
- Copper: 0.02mg
- Manganese: 0.01mg
- Chromium: 0mg
- Molybdenum: 0mg
- Chloride: 105mg
Did you make this recipe?
Tag @https://www.instagram.com/ice_cream_haven/ on Instagram and hashtag it with #IceCreamIceCreamHavens
Like this recipe?
Follow @https://www.pinterest.com/Ice_Cream_Haven/ on Pinterest
Join our Facebook Group!
Follow https://www.facebook.com/icecreamhavens/ on Facebook
Understanding the Freezing Process
Freezing ice cream right is key to keeping it smooth and tasty. The way it freezes affects its texture and feel in your mouth. Let’s explore why freezing matters and the science behind it.
Why Proper Freezing Matters
Ice cream’s quality can change if it gets too warm or cold. This can make ice crystals grow too big, ruining the texture. Keeping it cold and stable is important.
Freezing it right helps in many ways:
- It keeps ice cream smooth and creamy.
- It stops ice crystals from getting too big.
- It keeps the flavors and ingredients fresh.
The Science Behind Ice Cream Freezing
Ice cream is made of water, sugar, fat, air, and solids. The exact mix depends on the recipe. But, it usually has a lot of water and a bit of fat.
When it freezes, several things happen:
- Ice crystals start to form, making it smooth.
- Air gets mixed in, making it light and fluffy.
- Fat globules spread out, making it creamy.
To get the right texture, ice cream goes through two freezings:
- Dynamic freezing: It’s frozen fast while being stirred, adding air and making small crystals.
- Static freezing: It’s then frozen slowly without stirring, getting it ready to eat.
Knowing how ice cream freezes helps keep it perfect. Proper freezing is key for homemade and store-bought ice cream. It makes sure every bite is as good as the first.
Best Practices for Freeze Ice Cream
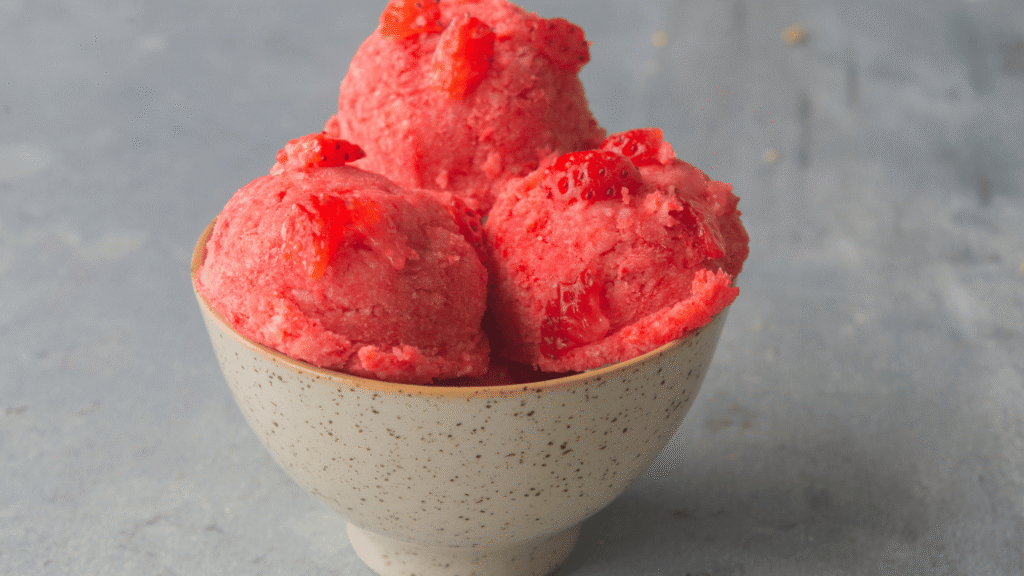
To keep your ice cream smooth and creamy, follow some key steps. Choose the right ice cream storage container. Label and date your batches. And, take steps to stop ice crystals from forming.
Choosing the Right Container
Look for a freezer-safe, airtight container. This stops freezer burn and keeps your ice cream fresh. Flat, rectangular containers freeze quickly and make scooping easy. Shallower containers help your ice cream defrost evenly.
For homemade ice cream, use paper containers. They come in pint and quart sizes at kitchen stores. These sizes match what home ice cream makers usually make.
Labeling and Dating Your Ice Cream
Always label and date your containers. This keeps track of your ice cream’s freshness. Use a permanent marker or freezer-safe labels for flavor and date.
Avoiding Ice Crystals
Freezer burn prevention is key for smooth ice cream. Here’s how to avoid ice crystals:
- Put wax or parchment paper on the ice cream’s surface before sealing. This stops ice crystals.
- Store ice cream at the bottom or back of the freezer. This area has a steady temperature.
- Keep your freezer at -25°C (-13°F) for slow ice crystal growth and longer shelf life.
The majority of ice crystals in smooth and creamy ice cream should be small, around 10 to 20 µm in size.
Follow these steps for the best frozen treat. Enjoy your ice cream with a silky texture and full flavor.
Freeze Ice Cream Optimal Freezing Temperature
Getting the perfect ice cream texture depends on the freezer temperature. The ideal temperature for ice cream is 0°F (-18°C) or colder. This keeps it smooth and creamy. Home freezers should be set between -5°F and 0°F for the best results.
Consistent freezing temperatures are key. They prevent large ice crystals that can spoil the taste and texture of your favorite frozen treats.
Recommended Freezing Temperatures
It’s important to store ice cream, gelato, or sorbet at the right temperature. The recommended freezer temperature for food safety is at or below 0°F (-18°C). Keeping your freezer about 75-80% full helps keep it cold efficiently.
For long-term storage, ice cream should be kept at 0°F (-18°C). But, the best scooping temperature is slightly higher, between 6° to 10°F (-14° to -12°C).
How Temperature Affects Texture
The texture of ice cream is influenced by ice crystal size. A smooth texture comes from small ice crystals. Ice cream frozen slowly will have larger crystals, making it less smooth.
To get the right consistency, cool the ice cream base to below 43°F (6°C) before churning.
Premium ice cream brands have 16–20% milk fat. Standard brands have 12–14%. Gelato, with less overrun, is denser and creamier. By keeping the freezer at the right temperature and following best practices, you can enjoy your favorite frozen treats perfectly.
Storing Different Types of Ice Cream
Proper storage is key to keeping ice cream fresh. Homemade, store-bought, dairy-free, and vegan ice creams need different storage methods. Let’s look at the best ways to store each type.
Homemade Ice Cream Storage
Homemade ice cream is a treat that needs careful storage. Store it in a flat, airtight container and eat it within 1-2 weeks. Cover the ice cream with parchment paper before sealing to prevent freezer burn.
Store-Bought Ice Cream Tips
Store-bought ice cream needs proper storage to stay good. Keep it away from the freezer door to avoid temperature changes. Store it in the main freezer area, where it’s between -5°F and 0°F. Always keep the lid tight to stop ice crystals from forming.
“Ice cream is best stored between -5°F and 0°F at home, with an ideal serving temperature range between 6°F and 10°F.”
Vegan and Dairy-Free Freezing
Vegan and dairy-free ice creams have special storage needs. Always check the manufacturer’s instructions. Store them in the main freezer and eat them within the recommended time. Avoid softening and refreezing them to prevent lumps.
By following these tips, your ice cream will stay delicious. Proper storage keeps the creamy texture and rich flavors of your favorite ice creams. This is true for homemade, store-bought, dairy-free, or vegan ice creams.
Thawing Freeze Ice Cream Correctly

Enjoying your favorite frozen treat starts with thawing ice cream right. It’s tempting to just dive in, but a few extra steps can make a big difference. This ensures you get the perfect texture and flavor.
Safe Thawing Methods
The best way to soften ice cream is to put it in the fridge for about 30 minutes before serving. This slow thaw prevents big ice crystals that can mess up the texture. You can also use a scoop dipped in warm water for easier serving without losing quality.
Don’t thaw ice cream at room temperature or in the microwave. These methods can make it melt unevenly and become grainy. Also, refreezing melted ice cream can grow bacteria, making it unsafe to eat.
Timing for Perfect Texture
The perfect serving temperature for ice cream is between 6°F and 10°F. At this temperature, it’s soft enough to scoop but keeps its creamy texture. Just take it out of the freezer and let it sit in the fridge for a few minutes before serving.
Different ice creams thaw at different rates. Ice creams with more fat or mix-ins like chocolate chips or nuts take longer. Those with less fat or fewer add-ins thaw faster.
“The key to perfect ice cream texture is patience. Allowing your ice cream to thaw gradually in the refrigerator ensures a smooth, creamy consistency that’s worth the wait.”
By following these simple guidelines for thawing ice cream, you’ll enjoy your favorite frozen dessert at its best every time.
Signs of Freeze Ice Cream Storage Issues
Keeping your ice cream fresh is key. But sometimes, storage problems can ruin its taste and texture. Here are some common signs to watch for:
Identifying Freezer Burn
Freezer burn happens when ice cream gets dry and grainy. This is due to air exposure, causing moisture to freeze again. While it’s safe to eat, it won’t taste as good.
To avoid freezer burn, seal your container tightly. Press plastic wrap directly on the ice cream’s surface. Research shows covering ice cream with plastic wrap or wax paper helps. Also, keep it in the coldest part of the freezer for better quality.
Recognizing Texture Changes
Ice cream texture changes like large ice crystals or grittiness show temperature issues. Smaller ice crystals make ice cream smooth. But, during freezing, crystals grow, affecting texture.
Storing ice cream in a consistent temperature is key. Aim for -10°C (14°F) for up to 1 week. Lower temperatures can extend shelf life to months.
Significant ice crystals or a thick layer of ice on ice cream may affect taste and texture, indicating a loss of freshness.
For easy homemade ice cream, try no-churn recipes. They need just a few ingredients and can be flavored as you like.
Knowing the signs of storage issues helps keep your ice cream fresh. By preventing these problems, your frozen treats will stay delicious.
Extending the Shelf Life of Ice Cream
Keeping your ice cream fresh is key. By following a few easy steps, you can make your ice cream last longer. This way, every scoop will taste as good as the first one.
For more info, check out this article on ice cream shelf.
Tips for Long-Term Storage
Store your ice cream in the main freezer area. This keeps it cold and creamy. Make sure your freezer is at 0°F (-18°C) or colder.
Use a gallon-sized freezer bag to keep ice crystals away. This also helps prevent freezer burn. Always seal the lid tightly to keep out other smells.
Protecting Against Flavor Loss
Ice cream can lose flavor and get icy if stored too long. Eat store-bought ice cream within two months. Homemade ice cream should be eaten in two to three weeks.
Don’t store ice cream near strong-smelling foods. This can change its taste. Use airtight containers and keep the freezer cold to keep your ice cream fresh.
Follow these tips to keep your ice cream tasty for longer. The secret is a cold, consistent freezer and keeping it away from air and smells.


