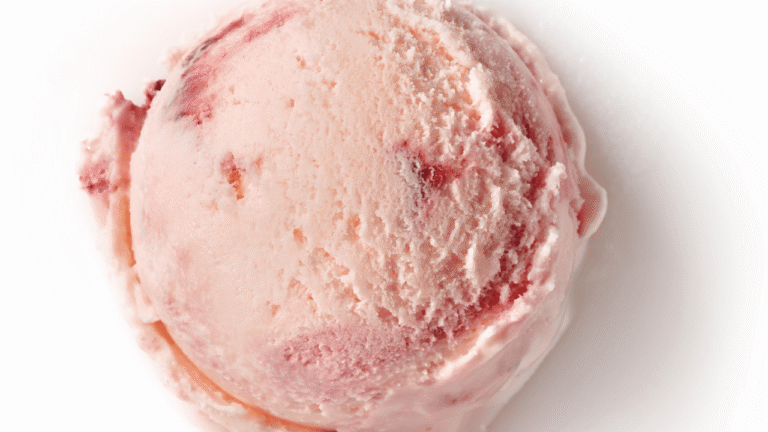
There’s something magical about recreating nostalgic flavors in your own kitchen. Imagine capturing the excitement of childhood birthdays and transforming it into a creamy, dreamy dessert that rivals your favorite ice cream shop. With just a few simple ingredients, you can craft a restaurant-quality frozen delight that brings people together.
This beloved flavor isn’t just for special occasions anymore. By mastering this recipe, you’ll skip long lines and costly treats while creating unforgettable moments. The process itself becomes part of the fun – a creative escape that turns basic pantry items into something extraordinary.
Families across America are rediscovering the art of dessert-making as a way to bond and celebrate. Whether you’re hosting a gathering or enjoying a quiet night in, this creamy creation delivers pure joy in every spoonful. It’s more than just a sweet treat – it’s an edible memory waiting to be shared.
Key Takeaways
- Cake Batter Ice Cream
- Recreate nostalgic flavors at home with simple ingredients
- Achieve creamy textures matching popular ice cream chains
- Save money while avoiding crowded dessert shops
- Turn basic kitchen staples into celebration-worthy treats
- Create lasting memories through shared dessert experiences
- Master a versatile recipe for various occasions
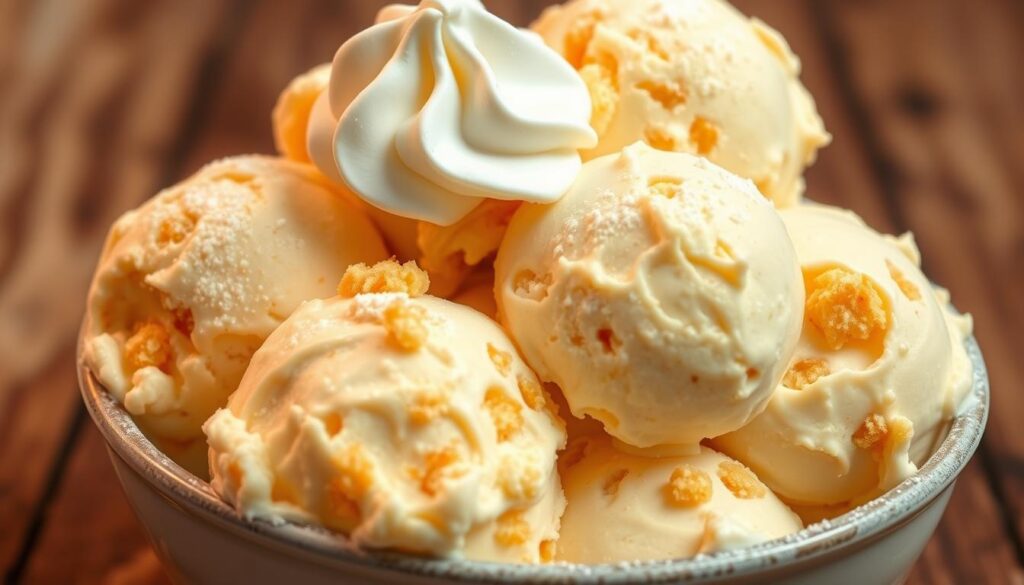
Cake Batter Ice Cream
4
servings30
minutes40
minutes300
kcal1
hour10
minutesRich, creamy ice cream bursting with classic cake batter flavor.
Keep the screen of your device on
Ingredients
1 cup 1 heavy whipping cream
1 cup 1 whole milk
0.75 cup 0.75 granulated sugar
0.5 cup 0.5 yellow cake mix
1 teaspoon 1 vanilla extract
0.25 teaspoon 0.25 salt
Directions
- In a medium mixing bowl, combine heavy whipping cream and whole milk with a whisk until well blended.
- Gradually add granulated sugar, yellow cake mix, vanilla extract, and salt to the cream mixture, stirring continuously until smooth.
- Cover the bowl with plastic wrap and chill in the refrigerator for at least one hour to allow the flavors to meld.
- Set up your ice cream maker according to the manufacturer’s instructions and pour the chilled mixture into the machine.
- Churn the mixture in the ice cream maker for approximately 20-25 minutes until it reaches a soft-serve consistency.
- Transfer the churned ice cream into an airtight container and smooth out the surface with a spatula.
- Place a piece of parchment paper directly on the surface of the ice cream to prevent ice crystals, then seal with a lid.
- Freeze the ice cream for at least two hours or until it is firm enough to scoop.
- For best results, serve the ice cream in chilled bowls or cones to maintain its creamy texture.
Nutrition Facts
- Total number of serves: 6
- Calories: 290kcal
- Cholesterol: 60mg
- Sodium: 90mg
- Potassium: 135mg
- Sugar: 29g
- Protein: 3g
- Calcium: 103mg
- Iron: 0mg
- Thiamin: 0mg
- Riboflavin: 0mg
- Niacin: 0mg
- Folate: 0mg
- Biotin: 0mg
- Phosphorus: 85mg
- Iodine: 0mg
- Magnesium: 0mg
- Zinc: 0mg
- Selenium: 0mg
- Copper: 0mg
- Manganese: 0mg
- Chromium: 0mg
- Molybdenum: 0mg
- Chloride: 0mg
Did you make this recipe?
Tag @https://www.instagram.com/ice_cream_haven/ on Instagram and hashtag it with #IceCreamIceCreamHavens
Like this recipe?
Follow @https://www.pinterest.com/Ice_Cream_Haven/ on Pinterest
Join our Facebook Group!
Follow https://www.facebook.com/icecreamhavens/ on Facebook
Introduction: The Allure of Homemade Cake Batter Ice Cream
What if you could freeze those precious kitchen moments into a spoonable delight? This beloved homemade ice cream captures the essence of carefree days, blending rich butter and vanilla notes that mirror the unbaked joy of classic cake batter. Unlike store-bought versions, your creation carries the warmth of hands-on tradition while meeting modern safety standards.
Parents today face a delicious dilemma: how to share those secret batter-sampling memories with kids without the risks. The solution lies in churning that iconic batter ice cream flavor into a silky-smooth dessert that’s meant to be savored. Each bite tastes like a time machine, whisking taste buds back to birthday preparations and flour-dusted countertops.
Celebrate a Childhood Favorite Reimagined
Modern twists taste like updated happiness, allowing families to bond over reimagined traditions. Grandparents chuckle as they recognize familiar flavors, while youngsters marvel at the magic of transformation from raw ingredient to frosty masterpiece. This dessert doesn’t just satisfy sweet tooths – it weaves stories through generations.
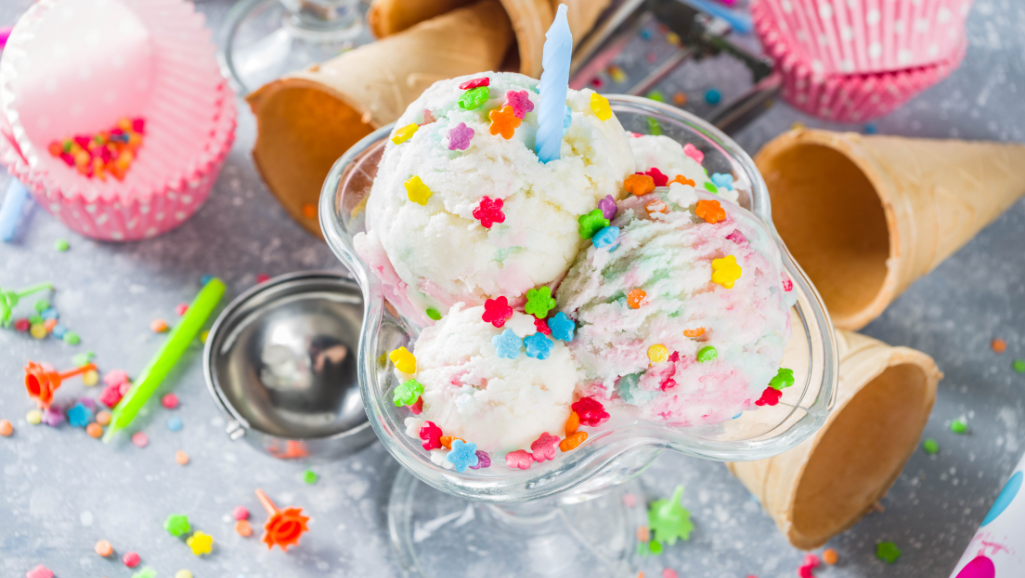
The true beauty emerges in customization. Every spoonful tastes like pure childhood nostalgia, yet feels excitingly new. Swirl in rainbow sprinkles for birthday energy or fold in cookie crumbs for texture contrast. Your freezer becomes a memory vault, preserving laughter and connection in every creamy scoop.
The Essentials: Ingredients, Tools, and Preparation
Crafting unforgettable desserts starts with gathering the right components. Every element plays a vital role in achieving that velvety texture and nostalgic flavor profile. Let’s explore what transforms ordinary items into frozen magic.
Key Ingredients for Creamy Perfection
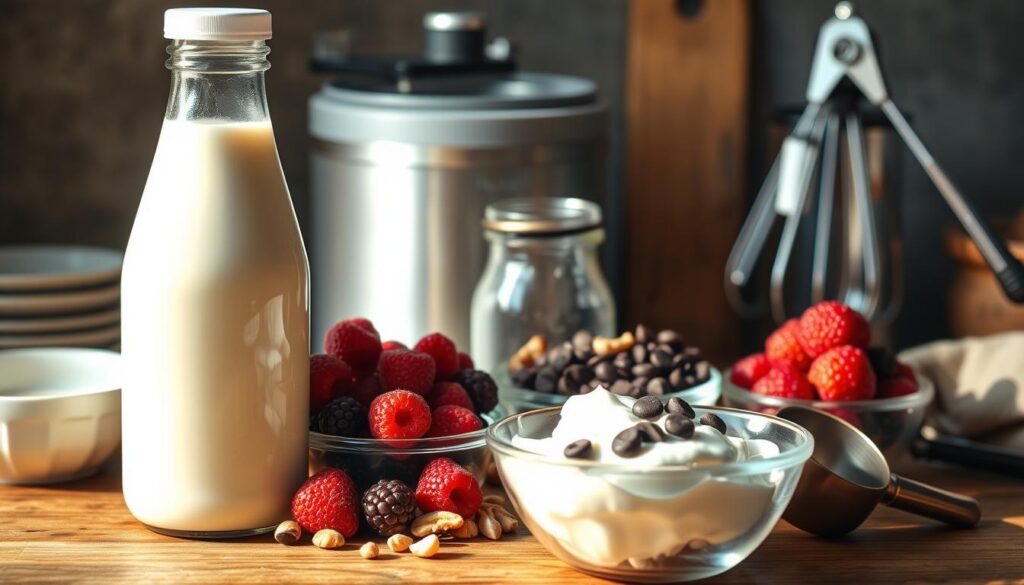
The foundation lies in six simple items. Pillsbury’s Classic Yellow Moist Supreme cake mix delivers that signature bakery-style taste without baking. Combine it with heavy cream for richness and whole milk for balanced consistency.
Granulated sugar enhances sweetness while vanilla extract adds depth. A pinch of salt amplifies all flavors. Together, these ingredients create a harmony that rivals professional dessert shops.
Must-Have Tools and Equipment
Your ice cream maker becomes the star player here. Freeze its bowl overnight – this non-negotiable step ensures proper churning. Stainless steel mixing bowls and a sturdy whisk blend everything smoothly.
Don’t forget airtight containers. They preserve freshness and prevent icy crystals from forming. With these tools, your kitchen transforms into a dessert laboratory ready for experimentation.
- Premium cake mix brands matter – they mimic classic flavors
- Fat content in heavy cream determines silkiness
- Pre-chilled equipment accelerates the freezing process
Arm yourself with these essentials, and watch basic components evolve into something extraordinary. The right preparation turns effort into artistry, one scoop at a time.
Mastering the Homestyle Cake Batter Ice Cream Recipe
Transform your kitchen into a dessert workshop where precision meets creativity. The journey from raw ingredients to velvety perfection hinges on technique – each step building toward that iconic flavor and texture.
Mixing and Chilling Techniques
Begin by sifting dry ingredients to eliminate lumps. A smooth mixture forms the foundation. Combine liquids gradually, whisking until the blend resembles liquid silk. For extra richness, some creators slowly temper egg yolks into warmed milk.
Patience becomes your secret ingredient during chilling. Let the mixture rest refrigerated for 4+ hours. This waiting period allows flavors to deepen while preparing the base for optimal churning.
Churning Steps and Freezing Tips
Pour the cooled blend into your prepped machine. Listen for the motor’s pitch change – this auditory cue signals thickening progress. Most units achieve soft-serve consistency in 20-25 minutes.
Transfer immediately to an airtight container. Layer parchment paper directly on the surface before sealing. This trick prevents ice crystals during the 6-8 hours freezer phase. Your reward? Scoops that hold their shape without feeling rock-hard.
- Temperature matters: Chill bowls and tools beforehand
- Timing is key: Undermix for loose texture, overmix for butteriness
- Storage smarts: Use shallow containers for faster freezing
Enhancing Flavor: Variations and Creative Customizations
Your frozen masterpiece becomes a blank canvas waiting for personal touches. Transform classic recipes into edible art through bold combinations and seasonal flair. This is where kitchen creativity shines brightest – turning familiar flavors into something uniquely yours.
Flavor Twists and Mix-In Ideas
Swap yellow cake mix for chocolate to create rich cocoa swirls. Fold in crunchy add-ins like crushed waffle cones or caramelized pretzel bits during the final churn. For texture contrast, try blending in chewy brownie chunks or airy meringue pieces.
Liquid gold awaits with sauce infusions. Drizzle salted caramel between layers or ripple tart raspberry jam through vanilla-speckled batches. Pro tip: Warm sauces slightly before swirling to prevent hardening in cold mixtures.
Decorating and Serving Suggestions
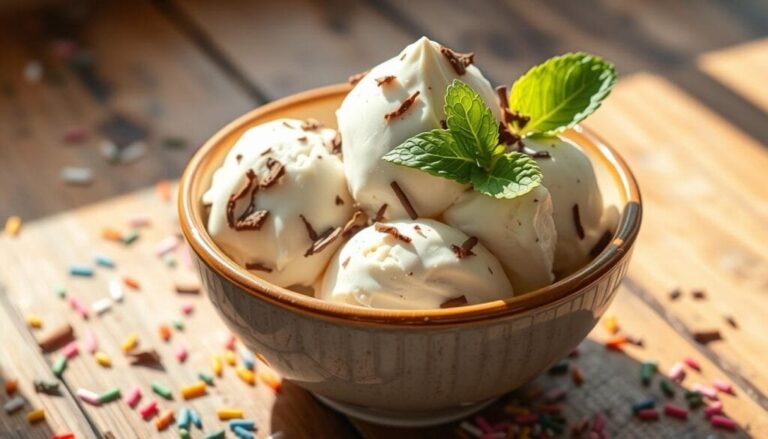
Turn ordinary bowls into celebrations with rainbow sprinkles that pop against creamy backdrops. Match hues to holidays – think heart-shaped candies for Valentine’s Day or gold dust for New Year’s Eve. Serve scoops in chilled mason jars for rustic charm or edible chocolate cups for wow-factor presentations.
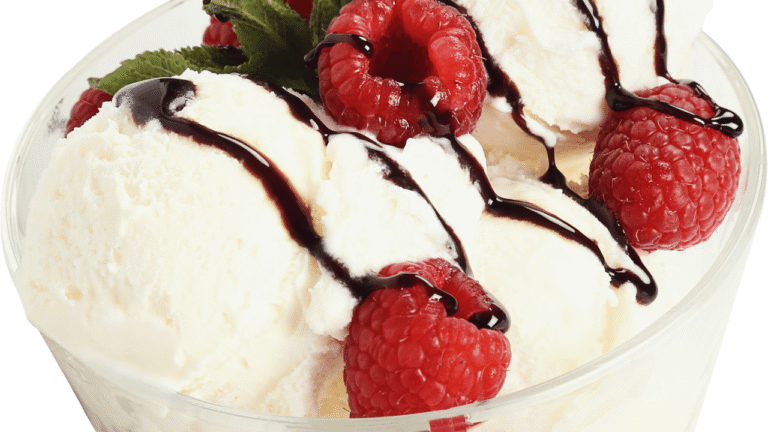
Master the scoop-and-swipe technique: Run your utensil under hot water briefly before portioning. This creates smooth, professional-looking servings every time. Top with fresh berries or mint sprigs for Instagram-ready finishes that taste as good as they look.
Conclusion
Your journey into crafting frozen delights reaches its sweetest milestone. With airtight containers and smart freezer placement, your homemade ice cream stays velvety for weeks. Tuck it behind frozen veggies for steady temps – no icy surprises when cravings strike.
This skill becomes your edible superpower. Imagine surprising guests with Cold Stone Creamery-worthy swirls adapted to their tastes. Swap in almond milk for dietary needs or reduce sugar without losing that signature richness. Every batch whispers, “I made this just for you.”
Share scoops at potlucks or package pints as heartfelt gifts. Watch neighbors’ eyes light up recognizing that golden cake batter essence they loved as kids. You’re not just serving dessert – you’re offering edible nostalgia with modern flair.
Through vanilla-scented kitchens and sprinkle-filled laughter, you’ve reclaimed the art of meaningful treats. Each churn celebrates connection, proving the best memories often come chilled on a spoon.

