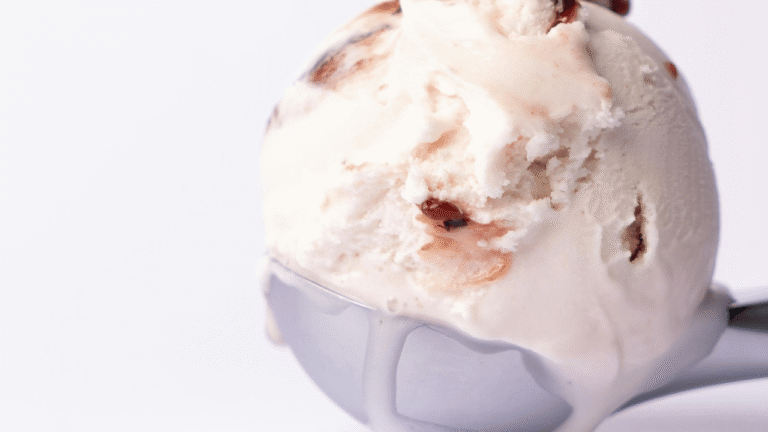
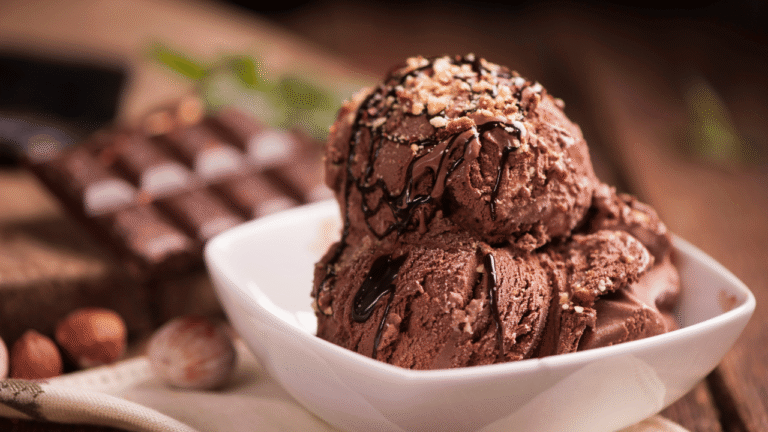
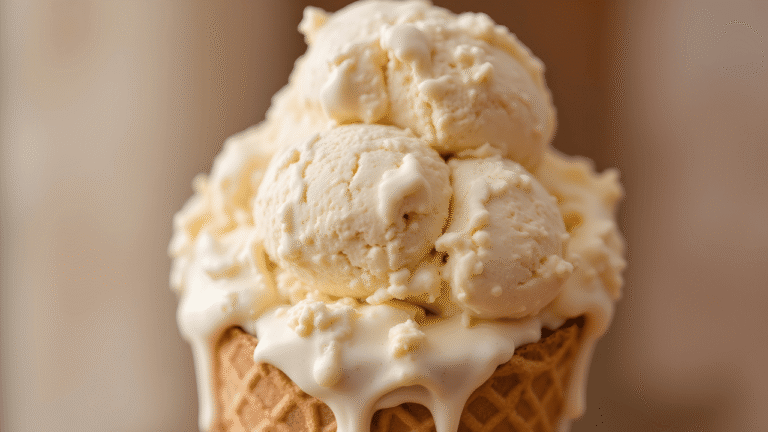
Bring campfire nostalgia to your kitchen with a scoopable dessert that feels like a backyard night under the stars. This recipe guide shows two easy routes: a lightning-fast, three-ingredient no‑churn fluff and a custard-churned version for a parlor‑style texture.
Simple ingredients — heavy cream, sweetened condensed milk, and marshmallow ice cream fluff — become a show‑stopping dessert that pairs flawlessly with chocolate, peanut butter, or crushed graham crackers. If you own an ice cream maker, the custard path adds depth by folding toasted bits into a vanilla base.
Roasting brings caramelized, charred morsels that lift the flavor, while the fluff route keeps things kid‑friendly and smooth. Best of all, the no‑churn method needs only an electric mixer and a freezer. Expect minutes of hands‑on work, then chill time before you serve.
Key Takeaways
- Two main methods: quick no‑churn and custard-churn for richer texture.
- Three core ingredients power the fast recipe; custard uses egg yolks and whole milk for depth.
- Roasting adds caramelized bits; fluff keeps the dessert smooth and simple.
- No special tools needed for no‑churn; an ice cream maker elevates the custard.
- Store properly: no‑churn lasts ~2 weeks, custard up to ~6 weeks when sealed.
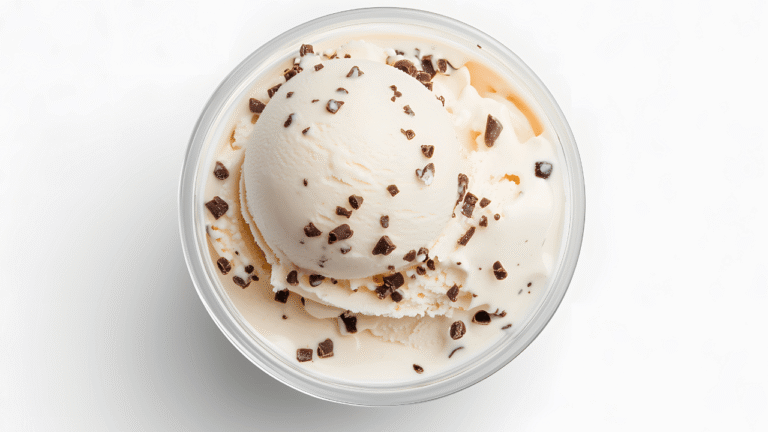
Marshmallow Ice Cream
4
servings30
minutes40
minutes300
kcal1
hour10
minutesCreamy ice cream with marshmallows made from everyday ingredients.
Keep the screen of your device on
Ingredients
2 cups 2 heavy cream
1 cup 1 whole milk
0.75 cup 0.75 granulated sugar
1 tsp 1 vanilla extract
2 cups 2 mini marshmallows
Directions
- In a medium saucepan over low heat, combine heavy cream, milk, and sugar, stirring until sugar is completely dissolved.
- Remove the mixture from heat and add the vanilla extract, stirring well to combine all flavors uniformly.
- Let the mixture cool to room temperature, then refrigerate for at least 4 hours or overnight for best results.
- Pour the chilled mixture into the ice cream maker and churn according to the manufacturer’s instructions, typically around 20-25 minutes.
- Five minutes before the churning is complete, add the mini marshmallows to distribute them evenly throughout the ice cream.
- Transfer the ice cream to an airtight container; freeze for at least 2 hours to achieve a firm consistency before serving.
- To serve, scoop the ice cream into bowls or cones and enjoy immediately for the best texture and taste.
Nutrition Facts
- Total number of serves: 6
- Calories: 250kcal
- Cholesterol: 50mg
- Sodium: 45mg
- Potassium: 150mg
- Sugar: 27g
- Protein: 3g
- Calcium: 100mg
- Iron: 0.2mg
- Thiamin: 0.02mg
- Riboflavin: 0.2mg
- Niacin: 0.1mg
- Folate: 4mg
- Biotin: 0mg
- Phosphorus: 120mg
- Iodine: 13mg
- Magnesium: 10mg
- Zinc: 0.4mg
- Selenium: 1.5mg
- Copper: 0.04mg
- Manganese: 0.01mg
- Chromium: 0mg
- Molybdenum: 2mg
- Chloride: 0mg
Did you make this recipe?
Tag @https://www.instagram.com/ice_cream_haven/ on Instagram and hashtag it with #IceCreamIceCreamHavens
Like this recipe?
Follow @https://www.pinterest.com/Ice_Cream_Haven/ on Pinterest
Join our Facebook Group!
Follow https://www.facebook.com/icecreamhavens/ on Facebook
Meet Your New Favorite Summer Dessert
Picture a sunlit porch, laughter, and a scoop that cools you down while sparking memories. This dessert blends fluffy sweetness with a tiny touch of smoke, making every bite feel both nostalgic and new.
Two easy paths get you there. The no‑churn method asks you to whip heavy cream, fold in sweetened condensed milk and either toasted marshmallow pieces or fluff, then freeze. It’s fast and forgiving for first‑timers who want to make ice cream without fuss.
The custard-churned route tempers egg yolks into warm milk and cream, then chills and churns for a silky, parlor‑style base. Use a broiler on foil to char marshmallows for a smoky note, or keep the fluff for a mellow profile.
- Minimal hands-on time; most of the work is freezer time.
- Adaptable: mix-ins and toppings make this a party favorite.
- Keep reading for step‑by‑step instructions, smart swaps, and serving tips.
Why You’ll Love This Ice Cream
This treat mixes velvety texture with a whisper of campfire toast for a scoop that feels like summer in a bowl.
Creamy, dreamy texture with toasted marshmallow flavor
Whipped heavy cream (36–40% fat) gives the no‑churn base a plush mouthfeel, while gently cooked yolks in the custard add silk and body. Proper churning yields a soft‑serve stage in about 25–30 minutes before the final set.
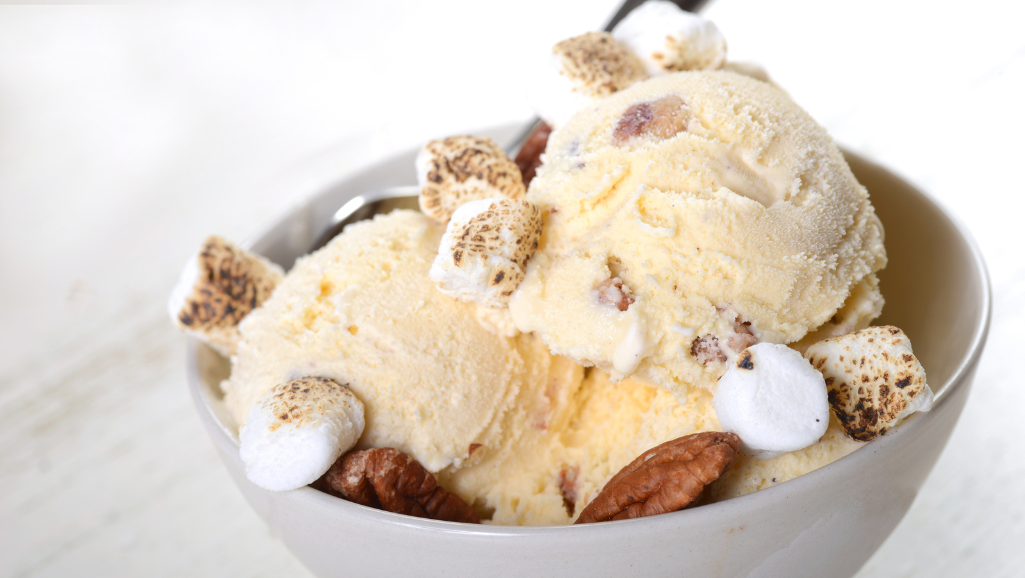
Roasting under the broiler until charred and then dissolving pieces into the warm base delivers tiny specks of caramelized goodness. That toasted note offers a hint of smoke without leaving your kitchen smoky.
Minutes of hands-on time, hours of freezer magic
Most recipes take only minutes of prep; then your freezer does the rest for hours. Condensed milk keeps no‑churn bases smooth and guards against icy textures.
Endlessly customizable: from rocky road to s’mores
- Fold in cocoa or chocolate chips for depth.
- Swirl fudge, add nuts or crushed graham crackers for contrast.
- Use real vanilla to balance sweetness and let toasted notes shine.
Ingredients for a Luscious Ice Cream Base
Your base sets the stage: rich dairy, a sweet binder, and warm vanilla steer every spoonful. Choose each ingredient with texture in mind so your final scoop stays soft and scoopable.
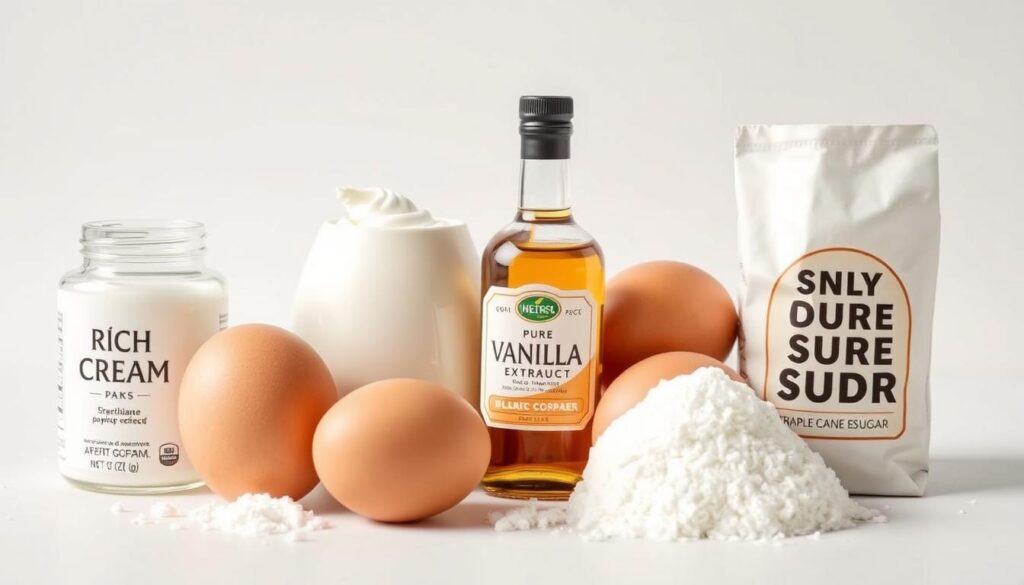
The base: heavy cream, sweetened condensed milk, vanilla
Heavy cream (36–40% milk fat) gives the body and structure your base needs. For the no‑churn route, use 2 cups heavy cream whipped to soft peaks.
Combine that with 14 oz sweetened condensed milk and 7 oz marshmallow fluff (or roasted marshmallow blend) to create a silky, stable mixture. For custard, use whole milk plus cream, 5 egg yolks, sugar, and real vanilla bean for depth.
Marshmallows vs. marshmallow fluff: choosing your flavor path
Roasted marshmallows add toasty, charred specks and complexity. Fluff delivers smooth, confection‑style sweetness and a glossy texture.
Optional mix-ins: chocolate chips, crushed graham crackers, nuts
- Fold in ½ cup chocolate chips for melty pockets.
- Add ½ cup crushed graham crackers for s’mores crunch.
- Include ½ cup nuts or swirl in about 1 cup peanut butter for a bold riff.
Marshmallow Ice Cream (No‑Churn Recipe)
This easy method turns a few cold ingredients into a soft, scoopable treat.
Whip the heavy cream to stiff peaks
Chill your bowl and whisk for best results. Pour very cold heavy cream into the chilled bowl and whip until stiff peaks form.
Fold in condensed milk and marshmallow mixture
In a separate bowl, stir 14 oz condensed milk with vanilla. For smooth sweetness, fold in 7 oz fluff. Or mix roasted marshmallows into the condensed milk with a pinch of salt for toasted depth before folding.
Fill the container, cover, and freeze
Gently add the condensed milk mix to the whipped base in thirds, folding to keep air. Scrape the mixture into a freezer‑safe container, smooth the top, and press plastic wrap directly onto the surface.
Timing guide: minutes to prep, hours to set
- Active prep: about 10 minutes.
- Set time: several hours; overnight is best for a stable, creamy result.
- Quick options: portion into cups for faster freezing; add chips, crushed graham, or a peanut butter ribbon to customize.
Custard‑Churned Option for Silky Results
For a scoop‑shop texture at home, build a gently cooked custard that becomes the backbone of this summer treat.
Make the vanilla custard base with milk, cream, egg yolks, and sugar
Gently heat whole milk and heavy cream with a split vanilla bean until steaming—do not boil. Whisk five egg yolks with sugar, then temper them with the warm dairy.
Return the mixture to low heat and cook until it coats the back of a spoon. Strain into a clean bowl and press plastic on the surface to stop a skin from forming.
Roast half the marshmallows and dissolve into the warm custard
Broil half your mini marshmallows until deeply charred. Whisk them into the hot custard so they melt and infuse toasted flavor without graininess.
Chill fully, then churn to soft‑serve consistency
Chill the custard for several hours or overnight. Churn about 25–30 minutes to soft‑serve, then proceed to the folding step.
Toast remaining marshmallows and fold into the churned base
Quickly toast the rest and fold them into the churned mixture for gooey pockets. Freeze 4–6 hours for a scoopable finish.
Safety and texture notes: low heat, no boiling, careful charring
- Keep heat low: avoid scrambling yolks.
- Balance toasted pieces: dissolve only half to prevent a gummy mixture.
- Use clean bowls and dry tools: moisture harms texture.
Pro Tips for Creamy Ice Cream Every Time
A few simple habits will keep your frozen dessert smooth and scoop-ready every time. These small steps protect texture and maximize flavor with minimal extra work.
Start cold. Chill your bowl and beaters, and use heavy cream with 36–40% milk fat so it whips quickly and holds peaks. Cold tools and dairy cut prep time and give a more stable base.
Pick the right container. Use freezer‑safe tubs with tight‑fitting lids to limit air exchange and slow freezer burn. Shallow containers freeze faster and more evenly, which shortens set time and reduces ice crystals.
- Plastic wrap is non-negotiable: Press it directly on the surface before sealing to block air and prevent icy patches.
- Store in the back: Place your frozen dessert toward the back of the freezer where temperature stays steady.
- Gentle folding: Avoid overmixing add‑ins; fold them in to keep air and lightness.
- Dry, clean tools: Water leads to ice; grease stops peaks. Keep everything spotless and dry.
- Rest briefly before scooping: A minute at room temperature makes scooping easier and improves texture.
Flavor Variations & Fun Ways to Serve
A few smart swirls and crunchy add‑ins transform the base into nostalgic riffs and grown‑up twists.
“Small tweaks turn a humble batch into a showstopper for any summer table.”
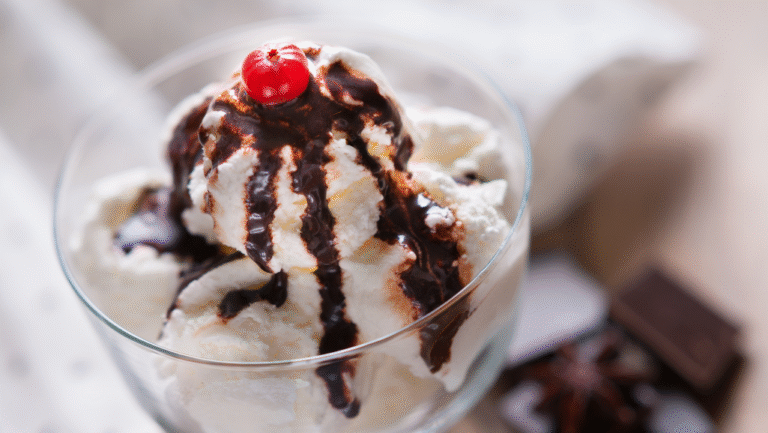
S’mores stunner: ribbon in chocolate sauce or fold in ½ cup chocolate chips plus ½ cup crushed graham crackers for classic campfire flavor and crunchy contrast.
Rocky road twist: stir in cocoa, mini marshmallows, and ½ cup nuts for extra texture and deep chocolate notes that hold up to the sweetness.
Fluffernutter vibes: swirl about 1 cup creamy peanut butter through the base for a salty‑sweet pull that keeps forks coming back.
Chocolate marshmallow base: whisk unsweetened cocoa into the batter to deepen the profile and make the pockets of toasted sweetness pop.
- Serve scoops on warm brownies, in cookie sandwiches, or layered into an ice cream cake.
- For parties, portion into a smaller container, press plastic wrap on the surface, and bring out for quick scooping.
- Set a sundae bar with crushed graham, extra chocolate chips, chopped nuts, and toasted marshmallows so guests can top their own cup or cone.
Storage, Timing, and Nutrition at a Glance
A little planning for storage and timing keeps each scoop rich and scoopable.
Freezer tips and shelf life
Store your ice cream in a freezer‑safe container with a tight lid. Press plastic wrap directly on the surface to stop crystals and guard flavor.
Use shallow, flat vessels and place them toward the back of the freezer where temperature stays steady. No‑churn batches are best within about two weeks. Custard versions can keep up to six weeks when sealed tightly with parchment and plastic on top.
Timing and serving
Plan for minutes of prep and several hours of chilling so the mixture sets properly before serving. Keep smaller portions handy if you plan nightly scoops and reseal quickly after serving.
Nutrition snapshot
“Typical homemade portions hover near 292–294 kcal with ~16–18 g fat, ~33–34 g carbs, and ~3 g protein.”
- Remove any icy layer and scrape it away before re-covering for the smoothest texture.
- Label containers with date and flavor to track storage hours and rotate batches.
- Let a scoop rest a minute at room temperature before serving for best texture.
Conclusion
strong, From a fuss‑free no‑churn batch to a parlor‑style custard, both methods promise bright, toasty flavors and creamy texture. Whether you want to make ice cream in minutes or take the custard route for silky depth, you’ll land on a winning marshmallow ice cream every time.
Trust the basics: high‑fat cream (36–40%) for structure, milk and real vanilla for balance, and tested add‑ins like chocolate, peanut butter, graham crackers, and nuts for extra interest.
Protect texture with gentle folding, plastic pressed to the surface, and steady freezer storage. No‑churn keeps best for about two weeks; churned versions last longer when sealed.
Save or print your favorite recipe, serve on cones or brownies, and share riffs with friends. Here’s to cool, nostalgic scoops that top every summer gathering.

