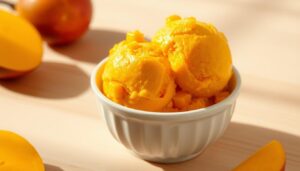
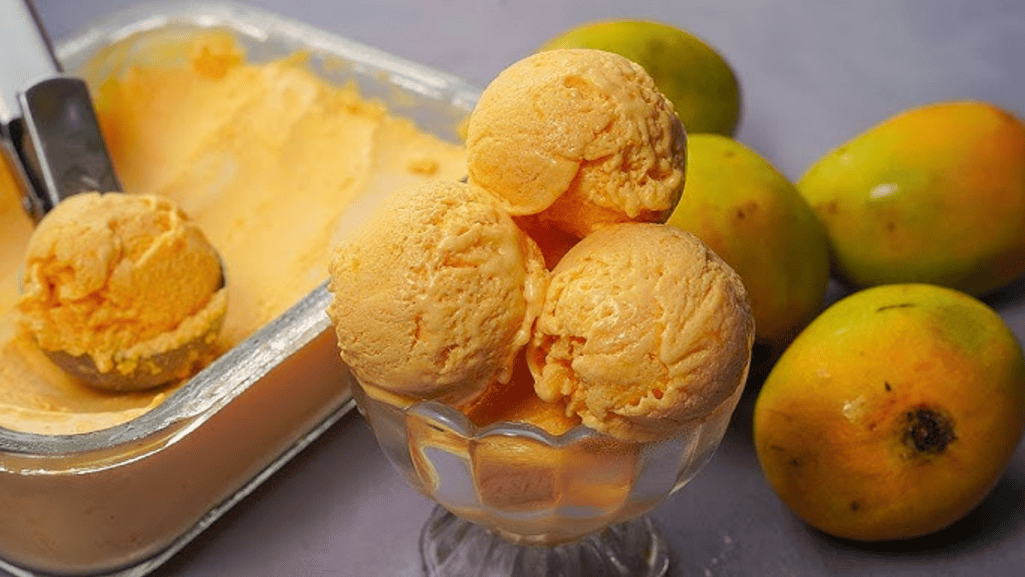
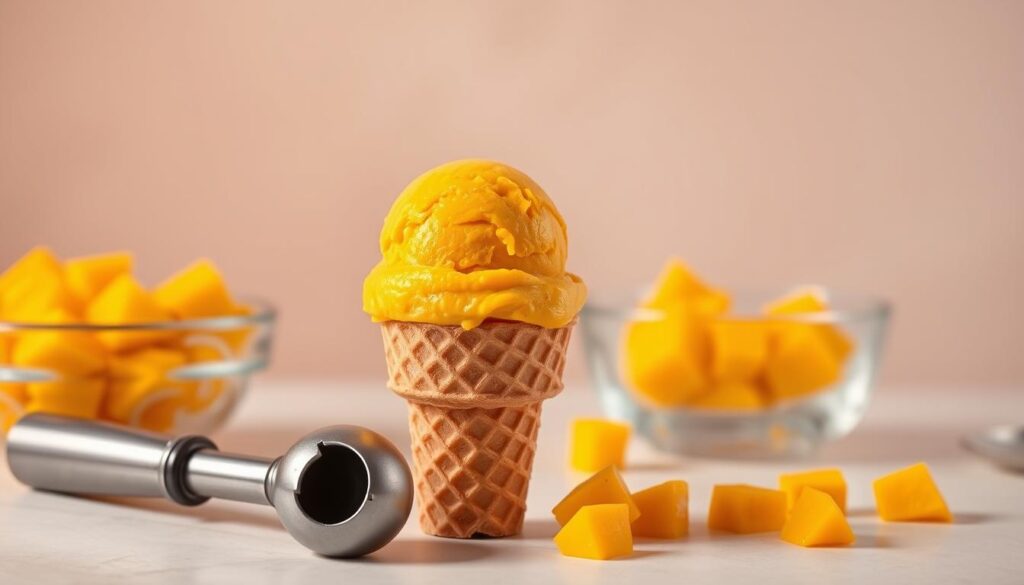
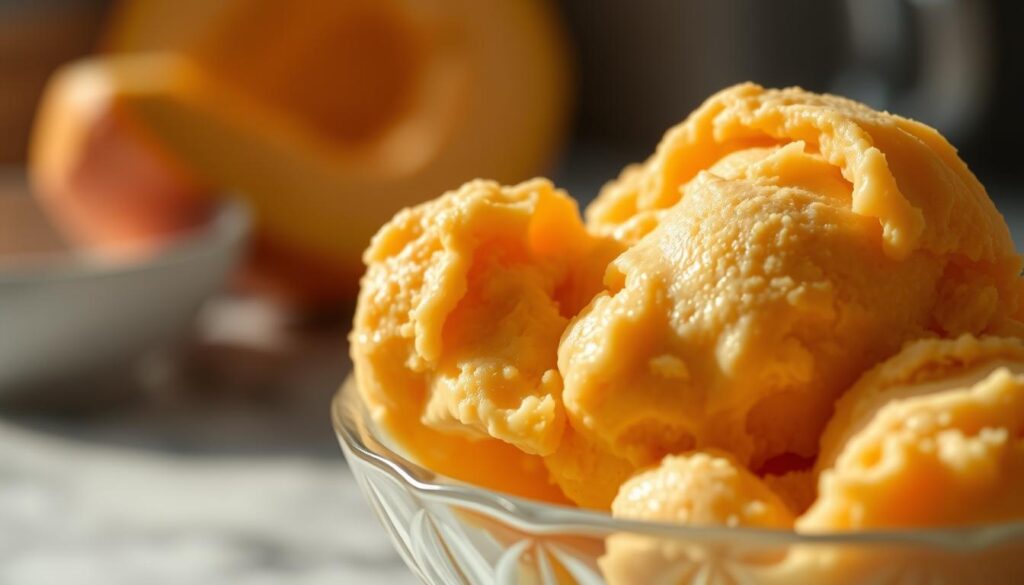
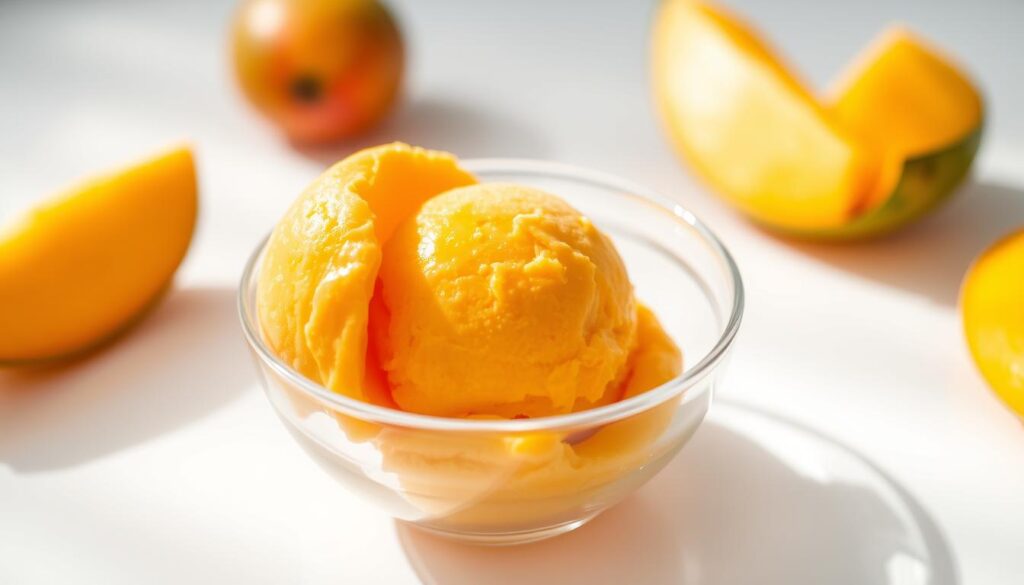
Bright, refreshing, and nostalgic, this frozen treat captures summer in every spoonful. You’ll learn simple ways to make a silky, scoopable dessert at home using a no-churn shortcut, a classic churn, or a dairy-free path that still sings with fruit.
Each method focuses on texture and bold fruit flavor. The no-churn base folds whipped cream into sweetened condensed milk and reduced puree for fewer ice crystals. The churned approach blends whole milk and heavy cream for that old‑school mouthfeel, while the vegan version uses full‑fat coconut milk for rich, plant‑based results.
Timing and small techniques make the difference: chill the base, freeze with parchment on the surface, and let hardened pints sit a few minutes before scooping. We’ll show the right tools, hands‑on prep time, and tips to get consistent results so your next batch tastes like vacation.
Key Takeaways
- Mango ice cream recipe.
- Three methods: no‑churn, churned, and vegan for flexible results.
- Reducing puree and whipping to stiff peaks improves texture.
- Plan freezer time for soft‑serve versus firm scoops.
- Simple ingredients and the right tools yield pro texture.
- Small steps—parchment, brief thaw—boost scoopability every time.
Homemade Mango Ice Cream
4
servings20
minutes1
hour200
kcalCreamy and delicious mango ice cream with minimal ingredients.
Keep the screen of your device on
Ingredients
2 cups 2 ripe mango chunks
1 cup 1 heavy cream
1/2 cup 1/2 milk
1/2 cup 1/2 granulated sugar
1 teaspoon 1 vanilla extract
1/4 teaspoon 1/4 salt
Directions
- Place mango chunks in a blender and puree until smooth. This will take around 2 minutes.
- In a medium saucepan, combine the milk, sugar, and salt. Cook over medium heat until sugar completely dissolves, which takes about 5 minutes.
- Remove the saucepan from heat and let it cool to room temperature, approximately 15 minutes.
- Once cooled, stir in the mango puree, heavy cream, and vanilla extract until fully combined.
- Cover the mixture and refrigerate for at least 2 hours or overnight for best results.
- Pour the chilled mixture into an ice cream maker and churn according to the manufacturer's instructions, usually about 20-25 minutes.
- Transfer the churned ice cream to an airtight container and freeze for at least 4 hours or until firm.
Recipe Video
Nutrition Facts
- Total number of serves: 4
- Calories: 200kcal
- Cholesterol: 40mg
- Sodium: 75mg
- Potassium: 150mg
- Sugar: 23g
- Protein: 2g
- Calcium: 50mg
- Iron: 0.2mg
- Thiamin: 0.05mg
- Riboflavin: 0.1mg
- Niacin: 0.3mg
- Folate: 10mg
- Biotin: 3mg
- Phosphorus: 40mg
- Iodine: 0mg
- Magnesium: 10mg
- Zinc: 0.3mg
- Selenium: 2mg
- Copper: 0.1mg
- Manganese: 0.05mg
- Chromium: 0mg
- Molybdenum: 0mg
- Chloride: 75mg
Did you make this recipe?
Tag @https://www.instagram.com/ice_cream_haven/ on Instagram and hashtag it with #IceCreamIceCreamHavens
Like this recipe?
Follow @https://www.pinterest.com/Ice_Cream_Haven/ on Pinterest
Join our Facebook Group!
Follow https://www.facebook.com/icecreamhavens/ on Facebook
Summer-perfect intro: creamy, fruity, and effortlessly homemade
Summer calls for a spoonful of sunshine. Imagine a creamy, fruit-forward treat that turns your kitchen into a tiny gelateria.
Quick paths suit every cook: the no-churn method folds whipped cream into condensed milk for airy texture and uses reduced puree to limit ice crystals. The churned approach needs a chilled base for 30 minutes and about 15 minutes in a 1.5-qt maker to reach soft-serve. The vegan route blends ripe fruit with full-fat coconut milk, freezes 3–6 hours, then thaws slightly before scooping.
Start with ripe fruit, a good blender for silky puree, and high-fat dairy or coconut for lush mouthfeel. A splash of vanilla balances brightness and deepens the fruit note.
“Small steps—proper chilling, reduced puree, and gentle folding—turn simple ingredients into a scoopable delight.”
- Expect 15 minutes of churn time or a few minutes of hands-on prep.
- Use full-fat milk or cream for cream-made richness.
- Reduce puree to improve flavor and cut down on iciness.
Ingredients and equipment at a glance
Gathering the right ingredients and tools makes the difference between a silky scoop and a grainy one. Below are clear, measured options for each method so you can shop and prep with confidence.
No-churn base
Essentials: 14 oz sweetened condensed milk, 2 cups cold heavy cream, and 2 cups fruit puree reduced to about 1 cup. Add a splash of vanilla if desired and whip the cream to stiff peaks before folding.
Churned base
Essentials: 2 cups heavy cream, 1 cup whole milk, 3/4 cup sugar (divided), 1 tsp vanilla, and 1.5 cups pureed fruit blended with sugar. Chill the base 30 minutes, then churn in a 1.5‑qt maker for best texture.
Vegan option
Use ripe mangoes with full‑fat coconut milk and optional maple syrup. Blend until silky and freeze; higher fat preserves a creamy mouthfeel.
Tools
- Blender or food processor for a lump‑free puree
- Hand or stand mixer for whipping
- 1.5‑qt ice cream maker (freeze insert overnight) or compressor model
- Nonreactive, airtight container and parchment to press on the surface
Mango ice cream recipe
Choose a path—no-churn ease, machine churned tradition, or a three-ingredient vegan take—and follow a few clear steps.
No-churn method
Quick and reliable: Dice fruit, blend to 2 cups puree, then reduce 8–10 minutes over medium-low until halved and syrupy. Cool fully.
Whisk reduced puree with one 14 oz can of sweetened condensed milk. In a chilled bowl, whip 2 cups heavy cream to stiff peaks. Lighten the base with one scoop of whipped cream, then fold in the rest gently.
Scrape into a nonreactive container, press parchment on the surface, and freeze at least 12 hours. Let sit 5 minutes at room temp before scooping if frozen longer than a day.
Ice cream maker method
Classic churned texture: Puree 1.5 cups fruit with 1/4 cup sugar. In a bowl, combine 2 cups heavy cream, 1 cup whole milk, remaining 1/2 cup sugar, and 1 tsp vanilla; add the puree.
Chill the mixture 30 minutes to improve freezing. Pour into your ice cream maker and churn about 15 minutes until soft‑serve. Transfer to a container and freeze 3–6+ hours to reach desired firmness.
Vegan 3-ingredient method
Plant-based and simple: Blend fruit with full-fat coconut milk and optional maple syrup in a blender or food processor until silky and fiber-free.
Pour into an airtight tub and freeze 3–6 hours. Thaw 20–60 minutes before serving for scoopable texture.
- Tip: Reduce puree to cut water and avoid large ice crystals.
- Balance: Taste and adjust sweetness before freezing—chilling dulls sugar slightly.
- Choose: No-churn for ease, churn for classic body, vegan for dairy-free delight.
Step-by-step to a silky, scoopable texture
A few precise steps turn bright fruit purée into a silky, scoopable sundae base.
Make an intense puree
Blend ripe fruit in a blender or food processor until perfectly smooth. Reduce over medium-low heat until the volume is about half—aim for ~1 cup.
Use the spoon-trail test: drag a spoon across the pan and a path should linger briefly. That thickness cuts down on ice formation and boosts flavor.
Whip and fold for loft
Chill your bowl and whip cold cream to stiff peaks. Those sturdy ridges trap air and create a light structure that freezes into tender texture.
Gently fold the condensed-mango base into the whipped cream with broad strokes to preserve volume. Take your time—less stirring = softer, creamier results.
Chill, churn, and time it right
For churned batches, chill the mixture about 30 minutes before spinning; a colder start gives finer ice crystals and faster freezing. Expect soft-serve straight from the machine and 3–5 hours in the freezer for a gentler set.
For no-churn, freeze 12–18 hours for easy scooping. After 24 hours, let it rest ~5 minutes at room temperature before serving.
“Keep ingredients cold, taste before freezing, and respect timing to turn bright fruit into scoopable bliss.”
Pro tips and troubleshooting for perfect results
Small adjustments in fruit choice and cooling turn a good batch into a great one.
Pick ripe, fragrant fruit for the deepest flavor. Varieties like Honey Gold, Kensington Pride, or Pearls bring rich color and sweetness when reduced. Slightly soft fruit concentrates during reduction and gives bold taste to every scoop.
Avoid iciness by reducing puree to remove excess water and by prioritizing fat. For no-churn, condensed milk plus whipped heavy cream creates a stable base. For churned batches, use heavy cream and whole milk rather than low-fat swaps.
Scoopability window: No-churn is best after 12–18 hours in the freezer. If frozen more than 24 hours, rest the pint about five minutes at room temperature so it softens evenly without melting into a puddle.
- Machine matters: Freeze the ice cream maker insert overnight or use a compressor machine for consistent churn times.
- Keep the mixture cold: Chill the base and use a cold bowl for whipping to encourage small ice crystals and smoother texture.
- Taste before freezing: Adjust sugar to manage freezing point and balance bright fruit notes.
“Reduce puree, keep fat high, and time your freezing—those three moves rescue most texture problems.”
Variations, add-ins, and serving ideas
Give your batch personality with smart mix-ins and playful pairings that highlight bright fruit notes.
Stir-ins and swirls work best when added at the right moment. For churned pints, fold in chocolate chips, toasted nuts, or a rum-raisin swirl during the last minute of the churn.
For no-churn bases, gently fold inclusions just before transferring to the container so you keep loft and texture. Use bite-sized pieces to avoid icy pockets.
Pairings and toppings
- Tropical matches: a second scoop of ube or coconut for island vibes, or a classic scoop of vanilla for contrast.
- Spiced finish: dust with cardamom or cinnamon to lift floral sweetness without overpowering the fruit.
- Serving ideas: crisp cones for sunny days, chilled bowls garnished with fresh fruit, toasted coconut, and mint.
“Introduce swirls like passionfruit curd at the end of churn or before freeze for pretty ribbons without collapsing structure.”
Storage, make-ahead, and the right containers
Proper storage is the final step that keeps your batch vibrant and scoopable for weeks. Choose containers and timing carefully to protect texture and flavor after prep.
Pick nonreactive, airtight tubs to preserve color and avoid metallic notes. Press a sheet of parchment directly onto the surface to block air and reduce ice crystal formation.
Practical timelines and tips
For churned batches, plan 3–5 hours in the freezer for a soft-serve set and 6+ hours for a firm, scoop-ready pint.
No-churn bases need at least 12 hours; they’re often scoopable between 12–18 hours. If frozen more than a day, let the tub stand about five minutes before serving.
- Use shallow, wide containers for faster, even freezing; this improves texture and reduces hard ice formation.
- Label each container with flavor and date; homemade ice cream is best within 30 days when kept at stable cold.
- Store toward the back of the freezer to avoid door temperature swings that cause extra ice crystals.
- Divide multiple flavors into separate containers and press parchment on each to keep textures pristine.
- Rinse your scoop in warm water between servings so each scoop looks clean and avoids gouging the surface.
“Thoughtful storage and timing ensure your mango ice cream tastes as vibrant on day 20 as it did on day two.”
Conclusion
With a few hours and basic tools, you can make bright, scoopable pints that taste like summer. The no‑churn, churned, and vegan paths each deliver vivid fruit flavor with dependable texture.
Simple habits matter: reduce puree, whip to stiff peaks, chill bases, and press parchment on the surface to cut iciness and lock in creaminess.
Store pints in airtight tubs toward the back of the freezer. They keep best for about 30 days. Let a frozen pint rest a few minutes before scooping for perfect rounds.
Ready to begin? Gather your blender or processor, your favorite milk or cream, and the rest of the ingredients. For full details and a tested guide, see mango ice cream.

