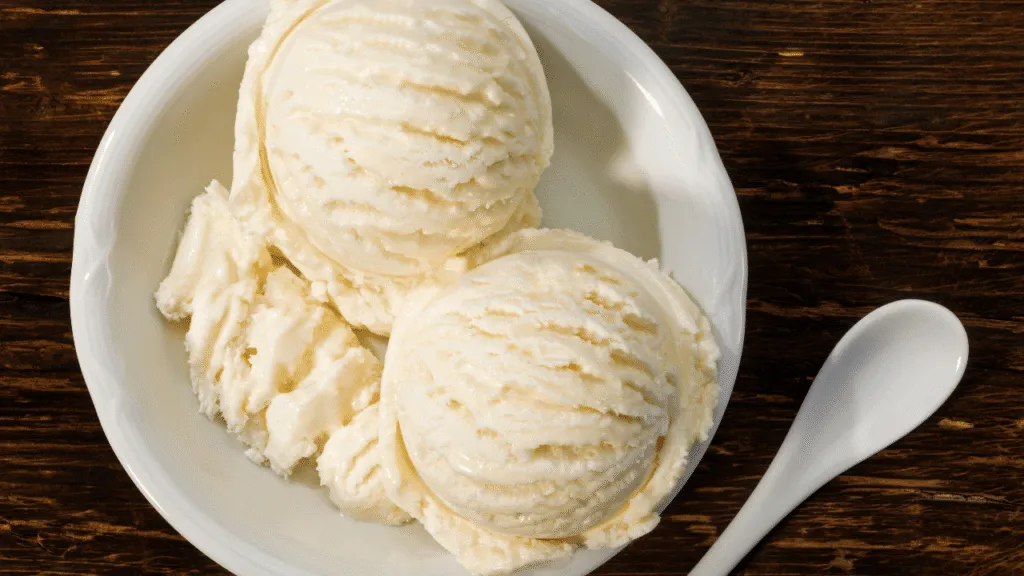
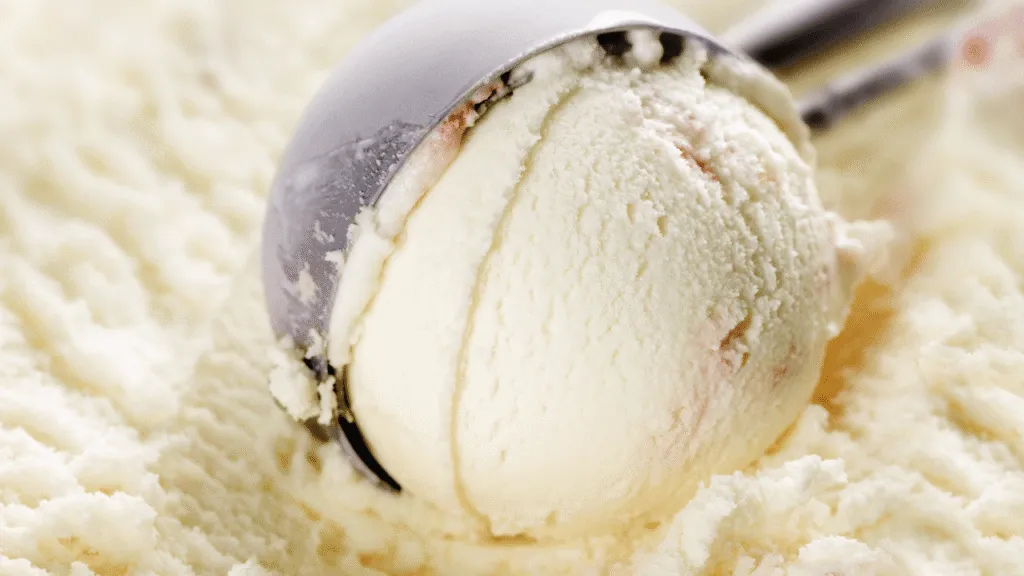
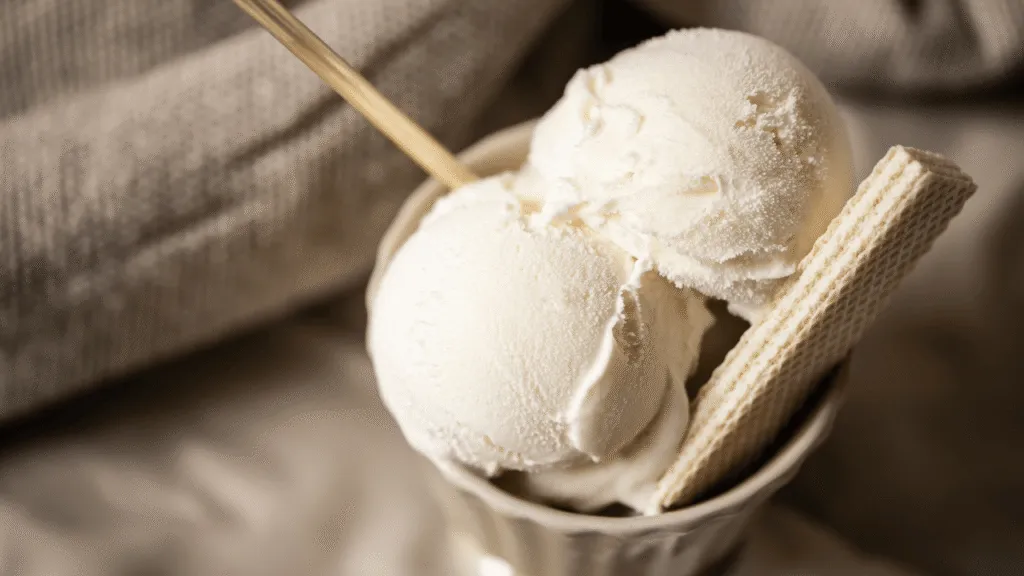
Guar Gum Ice Cream Recipe, Discover a simple, practical how-to that shows how a tiny amount of a plant-based thickener turns a basic mix into a silky, scoopable frozen dessert at home.
This guide explains what the ingredient is, why professionals use it, and how it reduces icy bits without changing flavor. You’ll learn the safe dosage range and why pre-mixing with sugar stops clumps.
Follow a clear method: blend the powder with sugar, heat to hydrate, chill and age the base, then churn for best texture. Results include a smoother mouthfeel, fewer ice crystals, and better freezer stability than batches made without a stabilizer.
Geared to home cooks and small-scale makers, the steps scale predictably and match pro practice while staying achievable in a kitchen. Measure carefully and mix well to form an even gel network that supports your frozen dessert matrix.
Read each step before you start to ensure smooth execution from first mix to finished scoop. For a full walkthrough, see this detailed guide at guar gum ice cream instructions.
Key Takeaways
- Small amounts deliver big texture gains without off-flavor.
- Pre-mix with sugar to avoid clumping and ensure even dispersion.
- Hydrate with heat, chill, age, then churn for best stability.
- Works with dairy and plant bases for versatile recipes at home.
- Accurate measurement prevents over-thickening and keeps flavor clean.
Homemade Guar Gum Ice Cream
4
servings30
minutes40
minutes300
kcal1
hour10
minutesCreamy homemade ice cream using everyday kitchen ingredients.
Keep the screen of your device on
Ingredients
2 cups 2 heavy cream
1 cup 1 whole milk
3/4 cup 3/4 granulated sugar
1/8 teaspoon 1/8 salt
1 tablespoon 1 vanilla extract
1/2 teaspoon 1/2 guar gum
Directions
- In a medium mixing bowl, combine the heavy cream, whole milk, and granulated sugar.
- Whisk the mixture until the sugar is fully dissolved and the liquid is smooth.
- Gently stir in the salt and vanilla extract, ensuring even distribution throughout the liquid.
- Sprinkle the guar gum slowly over the mixture to prevent clumping, and whisk until fully incorporated.
- Cover the bowl with plastic wrap and chill the mixture in the refrigerator for at least 2 hours.
- Set up your ice cream maker according to the manufacturer's instructions.
- Pour the chilled mixture into the ice cream maker and churn for approximately 20-25 minutes.
- Transfer the ice cream to an airtight container and freeze for a minimum of 3 hours or until firm.
- For best results, let the ice cream soften at room temperature for 5 minutes before serving.
Nutrition Facts
- Serving Size: 1g
- Total number of serves: 8
- Calories: 210kcal
- Fat: 15g
- Saturated Fat: 9g
- Trans Fat: 0.5g
- Polyunsaturated Fat: 0.5g
- Monounsaturated Fat: 4g
- Cholesterol: 55mg
- Sodium: 45mg
- Potassium: 90mg
- Carbohydrates: 19g
- Fiber: 0g
- Sugar: 17g
- Protein: 2g
- Vitamin A: 500IU
- Vitamin C: 1mg
- Calcium: 70mg
- Iron: 0.1mg
- Vitamin D: 1mg
- Vitamin E: 0.5mg
- Vitamin K: 0.5mg
- Thiamin: 0mg
- Riboflavin: 0.1mg
- Niacin: 0.1mg
- Vitamin B6: 0mg
- Vitamin B12: 0.5mg
- Folate: 4mg
- Biotin: 0mg
- Pantothenic Acid: 0.3mg
- Phosphorus: 60mg
- Iodine: 0mg
- Magnesium: 6mg
- Zinc: 0.3mg
- Selenium: 2mg
- Copper: 0mg
- Manganese: 0mg
- Chromium: 0mg
- Molybdenum: 0mg
- Chloride: 0mg
Did you make this recipe?
Tag @https://www.instagram.com/ice_cream_haven/ on Instagram and hashtag it with #IceCreamIceCreamHavens
Like this recipe?
Follow @https://www.pinterest.com/Ice_Cream_Haven/ on Pinterest
Join our Facebook Group!
Follow https://www.facebook.com/icecreamhavens/ on Facebook
Why Use Guar Gum in Ice Cream for Perfect Texture
A small stabilizer addition transforms a runny base into a velvety, scoopable dessert. This binder works by binding free water and slowing recrystallization, so gritty particles never dominate the mouthfeel.
Proper hydration and timing are critical. Typical dosing is 0.1–0.5% of the mix, with 0.2–0.3% common for ultra-premium results. Heat to about 70–80°C, chill and age at 4°C, then freeze quickly to lock in fine crystals.
“A well-dispersed stabilizer keeps texture uniform through freeze-thaw cycles and repeated openings.”
Benefits for home and commercial makers include reduced syneresis, improved suspension of mix-ins, and longer shelf life. In commercial ice operations, pre-mixing with dry sugar, homogenization, and rapid hardening ensure consistent batches across distribution.
- Limits free water mobility to slow recrystallization.
- Creates a denser, silkier body so flavors shine.
- Resists heat shock and protects scoopability over time.
Guar Gum Ice Cream Recipe
First, calculate the total mix weight to pick the right stabilizer percentage. Measure ingredients in grams when possible. This keeps texture consistent from batch to batch.
Core ingredients include milk, cream, sugar, flavoring, and a very small dose of guar gum powder to refine texture without masking taste.
Ingredients and ideal ratios
- Typical stabilizer range: 0.1–0.5% of total mix; start at 0.2–0.3% for premium texture.
- Home example: 1/4 cup sugar + ~0.2 g guar gum per 3/4 cup milk and 1/2 cup cream.
- Always combine dry ingredients first—mix the guar gum powder with sugar to prevent clumps.
Equipment checklist for smooth mixing and churning
- Digital scale (0.01 g accuracy), whisk or stick blender, saucepan, thermometer (70–80°C check).
- Fine-mesh sieve, ice bath, lidded container, and an ice cream maker.
- Use tools that disperse powder without adding too much air before aging.
Calculate batch weight, multiply by your chosen percent, and record grams and results to fine-tune future gum ice cream batches. Whisk thoroughly when incorporating the dry mix and never sprinkle powder directly into hot liquid.
Step-by-Step: Make Ice Cream at Home Using Guar Gum
Begin with careful dry‑blend work to prevent lumps and speed later hydration. This sequence keeps the process predictable and the final texture silky.
- Blend dry ingredients: mix the stabilizer evenly into sugar so it won’t clump when added to the liquid base.
- Add while whisking: pour the dry blend into your milk or plant base with steady whisking to form a uniform mixture ready for hydration.
- Hydrate and heat: warm gently to 70–80°C (158–176°F) while stirring. Proper hydration prevents a sandy texture and builds reliable consistency.
- Chill and age: cool in an ice bath, cover, and rest at ~4°C (39°F) for 4–12 hours. Aging firms body and improves flavor melding.
- Churn, freeze, and set: follow your machine’s minutes guidance until soft‑serve thickness. Pack into a chilled container, press parchment, then harden in the coldest part of the freezer.
“Accurate hydration and dispersion are the difference between gritty and velvety results.”
Tip: strain after heating to catch undispersed bits, avoid over‑aeration before aging, and log temperatures and cup measures for repeatable success.
Getting the Dosage Right for a Creamy, Stable Result
Dialing the right stabilizer amount is the most reliable way to hit your target texture every batch.
Start point: aim for 0.25% of total mix weight as a balanced baseline for ultra-smooth, premium body. Effective use spans 0.1–0.5%, with 0.2–0.3% commonly chosen for the best mouthfeel and melt resistance.
Quick scaling and measuring
- Scaling method: total batch weight (g) × chosen % = grams of stabilizer. Example: 1,000 g × 0.25% = 2.5 g.
- Cups-to-grams tip: weigh liquids and solids when possible; if you must use a cup, confirm density so you don’t over‑dose the powder.
- Adjust by fat/solids: richer bases often need less stabilizer; lean, high-water mixes benefit from higher doses.
Practical notes
Allow 4–12 hours of cold aging at ~4°C to develop body and integrate flavors. If the base feels gummy, reduce the stabilizer by 0.05–0.1% and retest. Always pre‑mix the powder with sugar to avoid clumps and hydrate it with heat for even dispersion.
“Record your final percentage and sensory notes; consistent tools and technique are as important as the dose.”
Mixing and Hydration Techniques that Really Work
Start with smart dispersion and end with proper hydration to get a clean, stable base. Good technique prevents lumps and builds the network that holds water in place during freezing.
Whisk thoroughly: dispersion tips to stop clumping
Always blend the stabilizer powder with sugar or other dry ingredients first. This separates particles so they wet evenly and avoid gelatinous pockets when added to liquid.
Introduce the dry mix in two or three small batches while you whisk thoroughly. Keep motion steady and slow to prevent local gelling.
High-shear vs. home mixing
Commercial plants use high-shear mixers and homogenizers for instant uniformity. At home, an immersion blender or a vigorous whisk works well when combined with heat.
Hydrate at 70–80°C to activate the powder fully, then chill and age at ~4°C. Minimize air before aging and strain after heating to remove micro-clumps.
“Proper dispersion, correct hydration, and patient aging let home cooks match pro texture.”
Flavor Variations and Recipe Tweaks
Start with a balanced base, then tweak fat, sugar, and mix-ins to create distinct frozen delights.
Classic variants
- Vanilla baseline: use real bean or extract, keep stabilizer low for a clean mouthfeel.
- Chocolate and coffee: add cocoa or espresso during heating; raise sugar slightly to offset bitterness.
- Fruit and caramel: swirl chilled purees or sauces late in churn to avoid dilution and large crystals.
Mix-in timing and proportions
Fold chopped chocolate, nuts, or cookie pieces near the end of churning to keep crunch. Measure add-ins by cup and grams so they scale well with batch size.
Vegan bases that work well
Plant milks such as oat, almond, and coconut respond well when you nudge stabilizer toward ~0.3% for richer mouthfeel without waxiness.
Practical tips:
- Steep vanilla bean, tea, or spice during heating and strain before chilling for clear flavor.
- When adding cocoa, slightly increase solids or sugar to keep balance and smooth texture.
- Keep recipes modular: once your base is proven, swap flavors and log changes for repeatable results.
“Gentle folding preserves overrun and helps the finished product scoop cleanly.”
Troubleshooting Texture, Thickness, and Ice Crystals
When texture drifts from silky to gummy, small fixes usually put it back on track. Start by checking dose, dispersion, and timing before changing ingredients.
If the base feels overly viscous or gummy, lower the stabilizer in small steps toward 0.2–0.3%. This restores a supple mouthfeel without losing scoopability.
- Ice crystals forming? Verify you hydrated at 70–80°C, chilled the mix quickly, aged at ~4°C for 4–12 hours, then hardened rapidly after churning.
- Uneven dispersion? Always pre-mix the powder with dry ingredients and use steady whisking or a high-speed blender for uniform mixing.
- If clumps remain, strain the base and note process changes so you can avoid them next batch.
- For repeat bloom or weak post-storage consistency, check freezer temp and consider pairing guar gum powder with locust bean or carrageenan; this combination often works well in lean, high-water formulas.
“Record times, temps, and ingredient ratios—small changes explain big shifts in texture.”
For a deeper how-to on correct blending and dosing, see how to use guar gum in.
Home vs. Commercial: Methods, Equipment, and Additives
From a countertop freezer to a continuous plant line, methods differ but the goals—fine crystals and stable body—are the same.
Home churning uses low-volume machines and manual timing. You rely on careful hydration, steady mixing, and a quick harden in your freezer to reduce ice crystals and keep good consistency.
Commercial lines add homogenization, high‑shear mixing, and continuous freezers to lock in microstructure fast. Those steps shorten minutes to target viscosity and yield uniform batches for retail.
Commercial best practices
- Pre-mix stabilizers and hydrate at ~70–80°C; then use high‑shear equipment for even dispersion.
- Homogenization improves fat distribution and mouthfeel before aging at ~4°C.
- Continuous freezing and rapid hardening minimize crystal growth and secure shelf consistency.
- Strict SOPs, sanitation, and cold-chain control protect texture through distribution.
Combining stabilizers
Manufacturers often blend guar gum powder with locust bean or carrageenan to tune melt, chew, and storage stability.
- Trial blends help balance body and overrun for your brand style.
- Small producers should focus on accurate dosing, proper mixing, and fast hardening to emulate industrial results.
- Sourcing consistent gum powder from a reputable manufacturer reduces batch variability and supports quality control.
“Good mixing, smart additive choices, and rapid freezing bridge the gap between home and commercial ice outcomes.”
Sourcing Guar Gum Powder and How to Store It
Start by choosing a supplier with a solid food‑industry reputation and transparent quality data.
Buy food‑grade powder from manufacturers who provide specs, lot testing, and traceability. Long‑standing suppliers such as Altrafine Gums offer bulk options and technical guidance useful for both home cooks and small manufacturers in the industry.
Store it correctly. Keep the powder in airtight packaging in a cool, dry place to preserve potency. Decant smaller amounts into sealed jars for daily use to limit humidity exposure.
- Label containers with purchase dates and lot numbers for rotation and quality control.
- Keep a dedicated spoon for measuring by cup or cups; weigh when precision matters.
- If you see clumping, discard that batch — moisture has compromised performance.
“Consistent sourcing and careful storage protect functionality across uses, from frozen desserts to gluten‑free bread and sauces.”
Remember: good storage practices ensure the powder works reliably in dough, bread, baking, and other used food applications.
Food Safety, Allergen Notes, and Labeling Tips
Clear ingredient statements protect customers and build trust around your frozen products. List the stabilizer plainly as “guar gum” in the ingredients so shoppers and regulators see it at a glance.
Plant-derived and gluten-free, this stabilizer suits vegan products and many allergy-sensitive diets. Still, advise sensitive consumers to review the full ingredient list since allergens usually come from the base (dairy, nuts, eggs) or add-ins.
Practical labeling and hygiene tips:
- Optionally include the percentage of guar gum powder when selling directly for transparency.
- Keep equipment clean, use calibrated thermometers and timers, and chill mixes promptly to limit risk.
- Store gum powder in airtight containers away from moisture and handle to avoid dust inhalation.
Recordkeeping matters: log lot numbers for all ingredients, maintain batch records, and note handling steps. This speeds traceability if questions arise.
“Label clearly, practice good sanitation, and audit add-ins for cross-contact to keep customers safe.”
Conclusion
Control of dose, temperature, and timing gives you repeatable, shop-quality texture at home.
Recap: A precise, small stabilizer dose, correct hydration at 70–80°C, thorough chilling and aging at ~4°C, and strong churn deliver smooth scoops with minimal ice crystals and longer shelf life.
Disciplined steps are the fastest route to making ideal results. Try classic flavors and chocolate variations while keeping ratios steady and logging notes for repeatability.
This method scales from first-timers to small producers. Pair careful sourcing and dry storage with tight times and temps to avoid iciness or gumminess.
Call to action: Pick a baseline percentage, record outcomes, and iterate—great frozen desserts come from measured practice.


