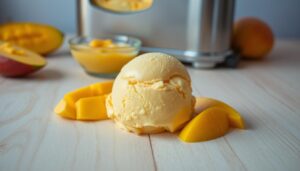
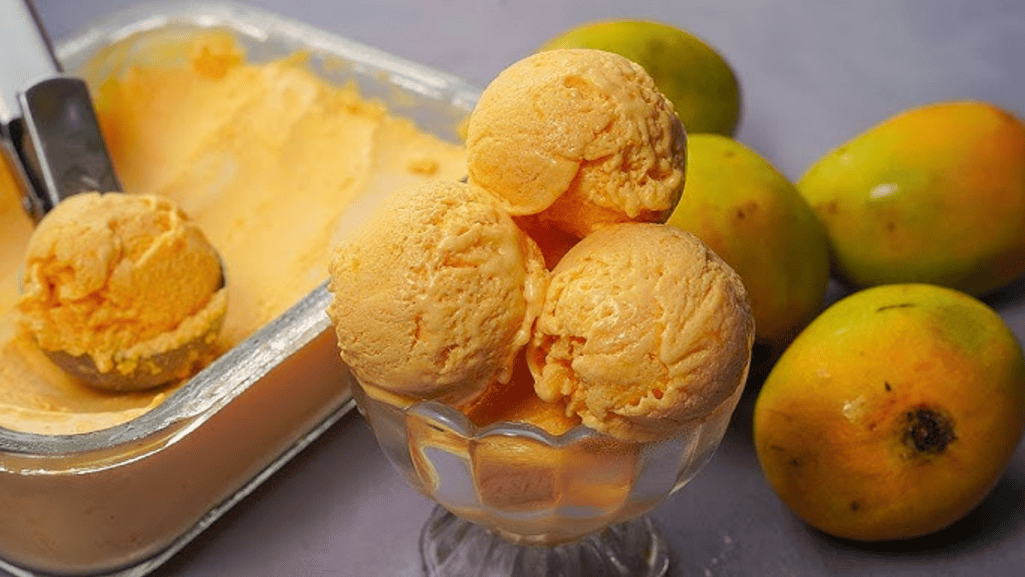
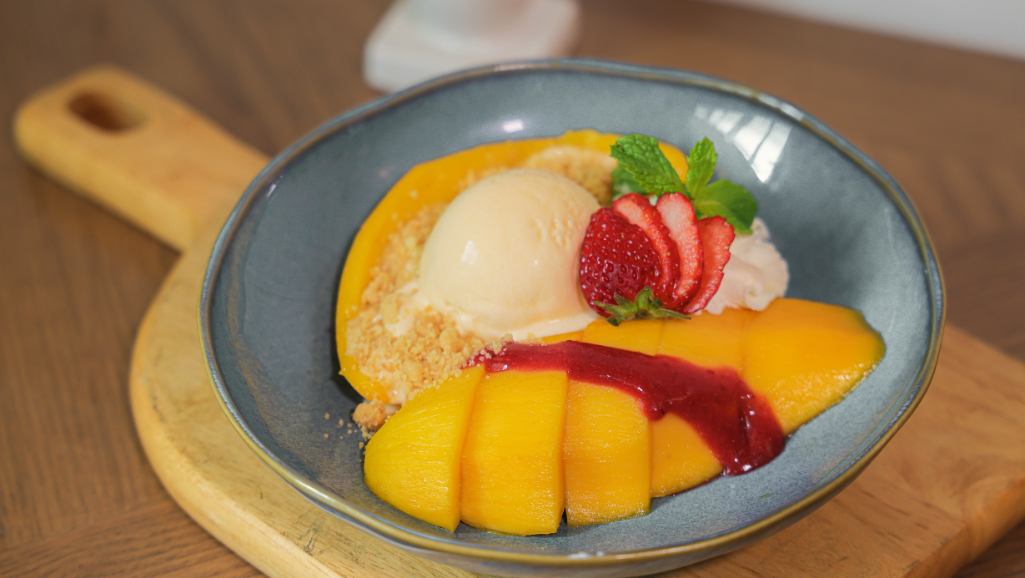
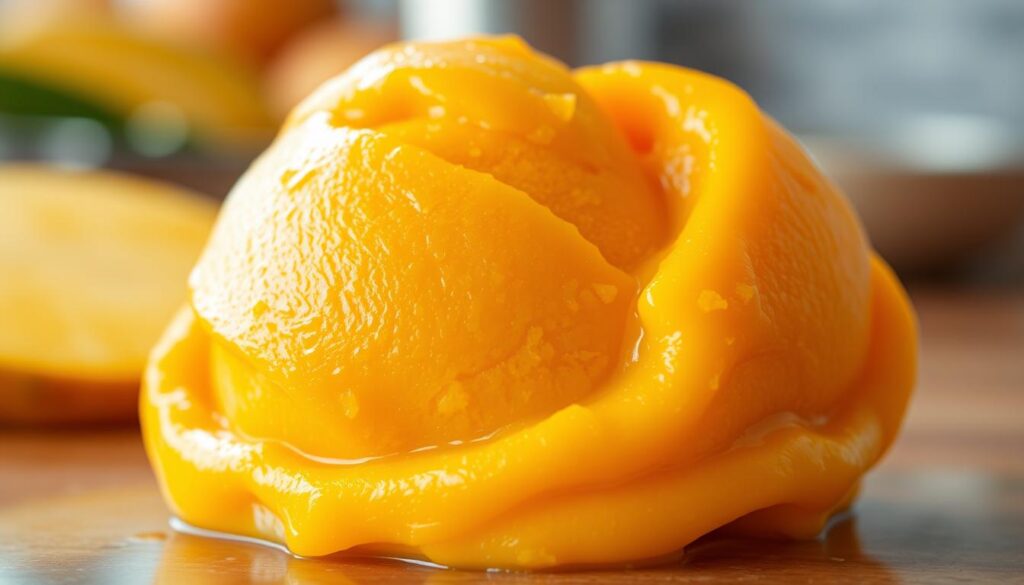
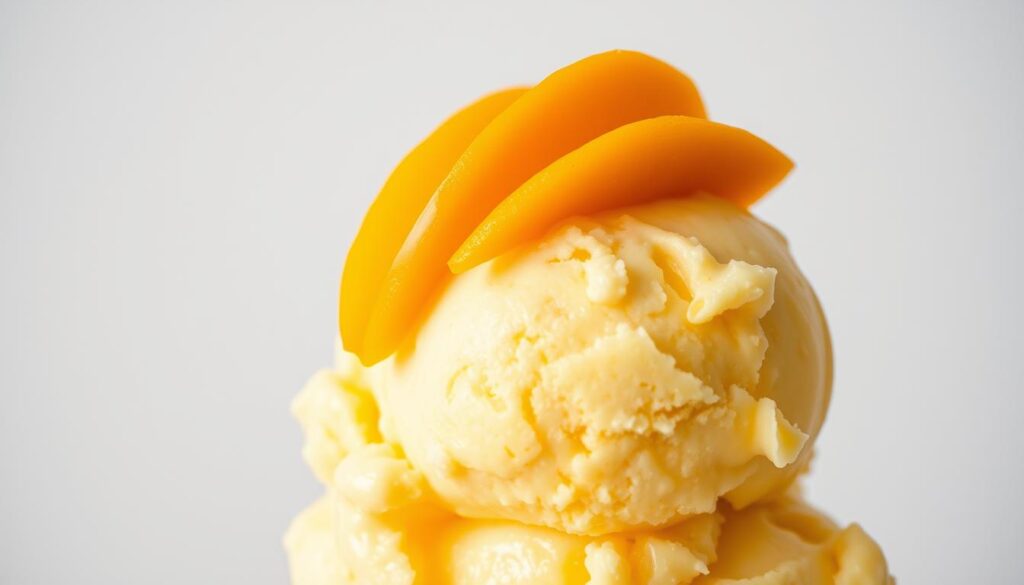
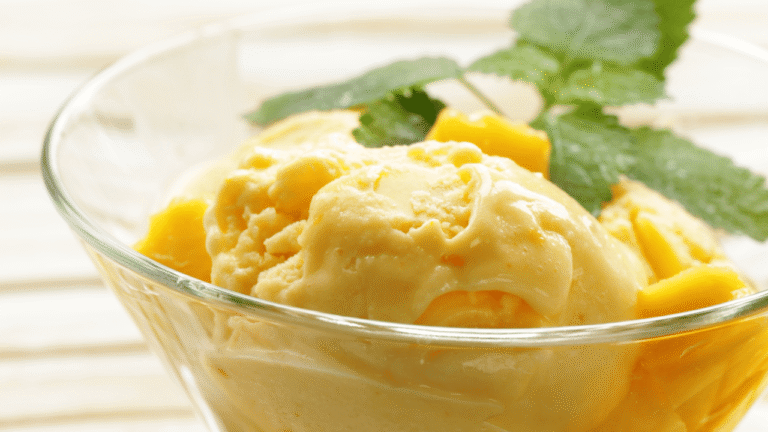
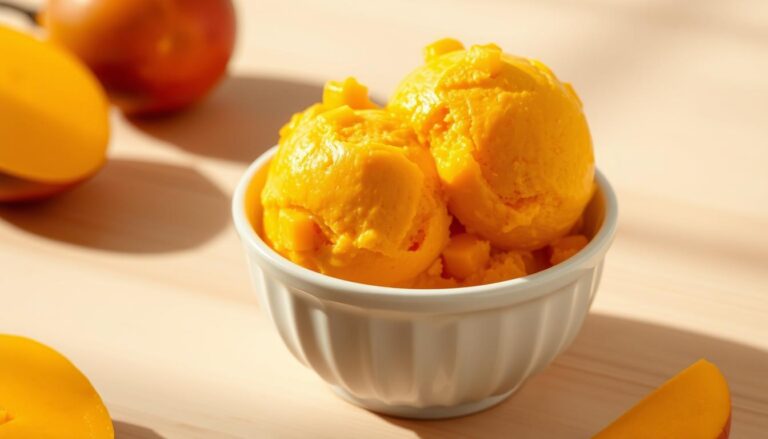
Bright, tropical, and refreshingly simple — this no-cook, no-egg approach turns ripe fruit and real dairy into a silky frozen treat that feels like a summer getaway.
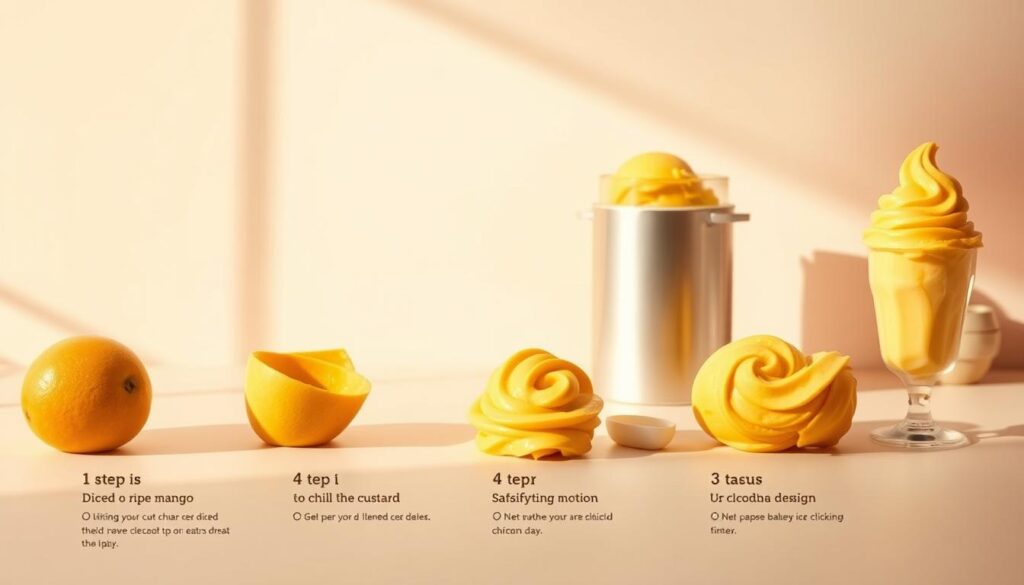
Use fresh ripe fruit or canned Alphonso pulp and your own ice cream maker, whether it’s a freezer-bowl model or a compressor machine. The method is clean: blend the fruit, whisk the dairy base, chill, churn to soft-serve, then freeze until scoopable.
This version keeps ingredients honest: real cream, milk, sugar, and a hint of vanilla. The short active steps fit a busy day, and typical churn times reach soft-serve in 15–30 minutes. Expect fragrant, fruity flavor with a silky texture and firm scoop after a few hours in the freezer.
Key Takeaways
- Mango Ice Cream Recipe for Ice Cream Maker.
- Easy no-cook method using real fruit and dairy.
- Works with freezer-bowl or compressor ice cream maker models.
- Soft-serve in 15–30 minutes; chill several hours to firm up.
- Clean flavor—no stabilizers; just fruit, cream, and vanilla.
- Includes tips for texture, storage, and tasty twists.
Homemade Mango Ice Cream
4
servings20
minutes1
hour200
kcalCreamy and delicious mango ice cream with minimal ingredients.
Keep the screen of your device on
Ingredients
2 cups 2 ripe mango chunks
1 cup 1 heavy cream
1/2 cup 1/2 milk
1/2 cup 1/2 granulated sugar
1 teaspoon 1 vanilla extract
1/4 teaspoon 1/4 salt
Directions
- Place mango chunks in a blender and puree until smooth. This will take around 2 minutes.
- In a medium saucepan, combine the milk, sugar, and salt. Cook over medium heat until sugar completely dissolves, which takes about 5 minutes.
- Remove the saucepan from heat and let it cool to room temperature, approximately 15 minutes.
- Once cooled, stir in the mango puree, heavy cream, and vanilla extract until fully combined.
- Cover the mixture and refrigerate for at least 2 hours or overnight for best results.
- Pour the chilled mixture into an ice cream maker and churn according to the manufacturer's instructions, usually about 20-25 minutes.
- Transfer the churned ice cream to an airtight container and freeze for at least 4 hours or until firm.
Recipe Video
Nutrition Facts
- Total number of serves: 4
- Calories: 200kcal
- Cholesterol: 40mg
- Sodium: 75mg
- Potassium: 150mg
- Sugar: 23g
- Protein: 2g
- Calcium: 50mg
- Iron: 0.2mg
- Thiamin: 0.05mg
- Riboflavin: 0.1mg
- Niacin: 0.3mg
- Folate: 10mg
- Biotin: 3mg
- Phosphorus: 40mg
- Iodine: 0mg
- Magnesium: 10mg
- Zinc: 0.3mg
- Selenium: 2mg
- Copper: 0.1mg
- Manganese: 0.05mg
- Chromium: 0mg
- Molybdenum: 0mg
- Chloride: 75mg
Did you make this recipe?
Tag @https://www.instagram.com/ice_cream_haven/ on Instagram and hashtag it with #IceCreamIceCreamHavens
Like this recipe?
Follow @https://www.pinterest.com/Ice_Cream_Haven/ on Pinterest
Join our Facebook Group!
Follow https://www.facebook.com/icecreamhavens/ on Facebook
Why You’ll Love This Homemade Mango Ice Cream
When the heat hits, a bright frozen scoop feels like a mini-vacation. This version leans on ripe fruit and full-fat dairy to deliver bold tropical notes without fuss.
No cooking and no eggs means fast prep and fewer steps. Blend the fruit with a simple cream base, chill, then churn in your ice cream maker for soft-serve in a single session.
The payoff is texture: rich, scoopable results that mimic a shop-style scoop once the pint firms in the freezer. Low-fat swaps tend to make the mix icier, so full-fat cream keeps that indulgent mouthfeel.
- Sun-soaked flavor that cools you instantly and pairs well with cones or fruit toppings.
- Clean ingredient list — dairy, fruit, sugar, and vanilla — so the fruit flavor stays front and center.
- Reliable texture and simple timing make this a go-to summer favorite for both kids and adults.
“Soft-serve straight from the churn, then a few hours to firm for perfect scoops.”
Ingredients, Dairy Choices, and the Best Mangoes
Your starting lineup — fruit, cream, milk, and sugar — decides the final scoop. Choose high-quality ingredients and the finished pint will sing.
Fresh mangoes vs. canned Alphonso pulp:
- Fresh mangoes bring bright, seasonal aroma when ripe.
- Alphonso pulp gives consistent, concentrated flavor year-round.
- Thawed frozen chunks puree smoothly if fresh fruit is out of season.
Dairy and sweeteners: Use heavy cream and whole milk to preserve richness and reduce ice crystals. Dissolve standard white sugar in the milk base, add a splash of vanilla, and a pinch of salt to lift the fruit notes.
Ripeness and handling: Aim for very ripe mangoes—soft and fragrant—to keep sourness low. Do not cook the puree; heat can dull the tropical flavor and add bitterness.
“Keep the ingredient list short and high-quality; it’s the fastest path to vibrant, true fruit taste.”
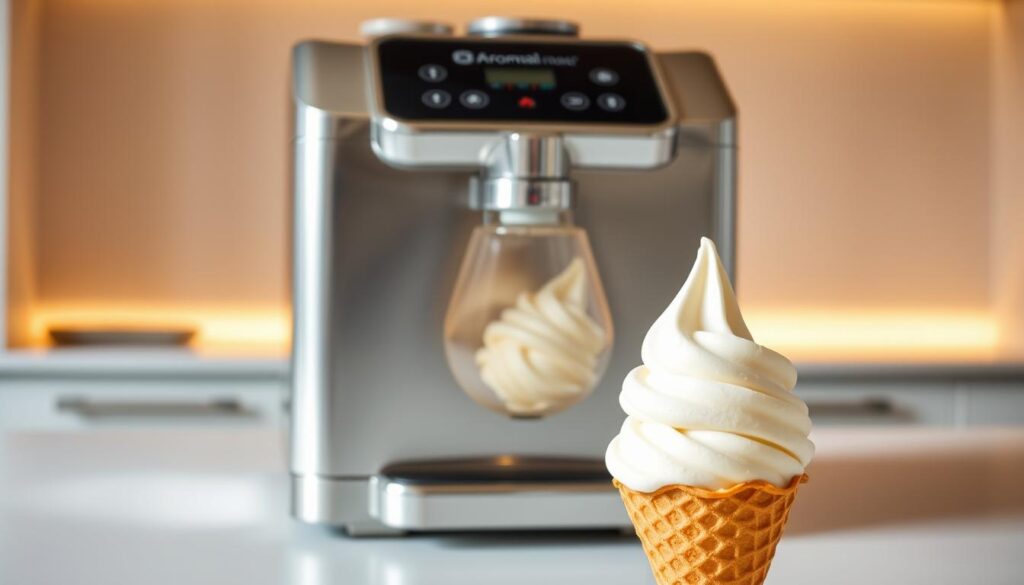
Gear Check: Ice Cream Maker, Blender, and Freezer-Safe Container
Good tools make the process predictable and joyful. A clear setup saves time and gives a smoother texture in every batch.
Freezer-bowl machines vs. compressor machines
Freezer-bowl units need planning. Freeze the insert solid for 24 hours in a bowl freezer, wrapped to avoid frost.
Compressor models, such as the Cuisinart ICE-100, chill on demand and are ideal for back-to-back batches. They can pre-chill for 5–10 minutes to speed things up.
Freeze-the-bowl reminder and capacity notes
Confirm your bowl capacity before you start. Most home units hold about 1–1.5 quarts, so keep the base volume below that to allow aeration.
Expect the churn to reach soft-serve in roughly 15–30 minutes, depending on machine efficiency and how cold the base is going in.
- Always start the maker before pouring in the base to prevent edge-freeze clumps.
- Use a reliable blender to puree fruit until silky and to remove fibrous bits.
- Have a shallow, freezer-safe container (metal pans work best) ready to set the batch quickly.
“Build a simple workflow—bowl frozen, base chilled, container pre-cooled—to streamline your ice day.”
Use a flexible spatula to transfer the churned mix without deflating it. With the right gear, the whole process feels effortless and inspiring.
Timeline at a Glance: Prep, Chill, Churn, and Freeze
A clear schedule keeps the process simple and the result silky. Start by blending the fruit and mixing the dairy base so the whole batch is ready to chill quickly.
Prep and chill: getting the base very cold
Chill the mixture at least 30 minutes; many cooks prefer 2–4 hours to maximize creaminess and speed the churn.
Churn window: soft-serve stage in 15-30 minutes
Expect about 15–30 minutes in the machine before the mix thickens into soft-serve. Watch for gentle peaks and a custard-like feel.
Freezer time: 3-6+ hours for scoopable firmness
Transfer to a pre-chilled container immediately and freeze 3 hours for a softer scoop or 6+ hours for firm, picture-ready pints.
- Plan quick active prep so most of the waiting is passive.
- If using a freezer-bowl unit, factor in the 24-hour bowl freeze.
- Remove the tub 5 minutes before serving to ease scooping and avoid a hard crust.
“Cold base, steady churn, and patient freeze are the trio that makes perfect scoops.”
For step-by-step guidance and measurements, see this mango ice cream recipe to match timing with your maker and kitchen rhythm.
mango ice cream recipe for ice cream maker: Step-by-Step Method
Start with a velvety puree and build a chilled base that churns into perfect soft-serve.
Make a smooth puree
Peel and chunk the fruit, then blend it with about 1/4 cup of the sugar until the puree is silky. Use a reliable blender to remove fibers and get a bright, even texture.
Mix the dairy base
In a mixing bowl, whisk heavy cream, whole milk, the remaining sugar, a splash of vanilla, and a pinch of salt until the sugar dissolves. Stir the puree into the dairy to make a uniform mixture.
Chill before churning
Cover and chill the bowl until very cold—30 minutes minimum, up to 4 hours. A cold base helps the maker form tiny crystals and speeds churn time.
Churn and transfer
Start your machine and slowly add the chilled base. Churn about 15–30 minutes until the texture resembles soft-serve with clear ridges.
Freeze to set, then scoop
Immediately transfer ice cream to a pre-chilled container, smooth the top, and press parchment to limit air contact. Freeze 3–6+ hours for your preferred firmness.
“Chill well, churn patiently, and you’ll get scoop-ready pints that taste like summer.”
Want a tested variation? Try the linked guide at best-ever mango ice cream for measurements and timing adjustments tuned to different makers.
Pro Tips, Variations, and Troubleshooting Texture
Small technique changes make the difference between silk and shards in your final pint.
Prioritize full‑fat dairy. Use heavy cream with whole milk so fat breaks up large crystals and carries fruit aroma. A richer base yields plush, scoopable results and reduces iciness.
Chill everything well. Cold ingredients shorten churn time and form finer crystals. Keep the mixture very cold before it hits the bowl.
- Flavor twists: add a splash of vanilla, pair with coconut for island vibes, or double‑scoop with ube for color and contrast.
- Frozen fruit option: thawed frozen fruit purees smoothly and works just like fresh when blended.
- No‑machine method: blend the base, freeze 2 hours, re‑blend to break crystals, then freeze until firm.
- Troubleshoot iciness: check fat level and how cold the base was; if crystals form later, scrape the top layer and let the container sit a few minutes before serving.
“Cold base, enough fat, and steady storage are the trio that keeps scoops silky.”
Conclusion
A few small finishing moves turn a good churn into reliably smooth, scoopable pints.
Transfer the churned mix into a pre-chilled container, press parchment to limit air, and freeze 3–6 hours for scooping. Soft-serve appears right after 15–30 minutes of churning; allow about 5 minutes at room temperature before serving to ease scooping.
Lean on a full-fat base and deep chill to avoid iciness. Use fresh fruit, thawed frozen, or Alphonso pulp so flavor stays bright year-round. Keep your workflow simple—cold base, ready machine, chilled container—and you’ll repeat great results easily.
Share generous portions with friends. Store a sealed pint up to 30 days and bookmark this method when you want a vibrant, homemade treat.

