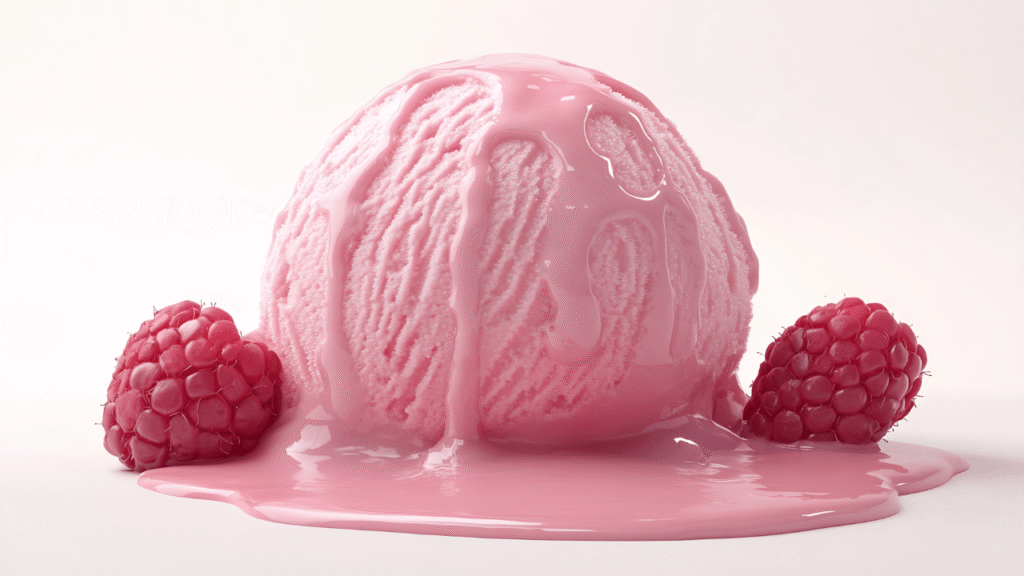
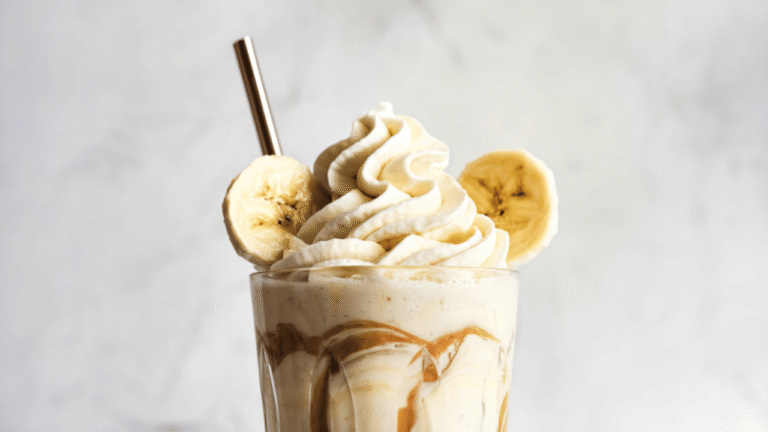
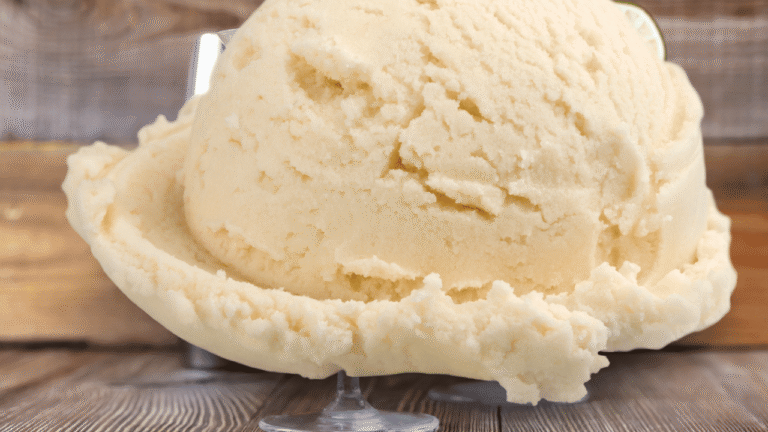
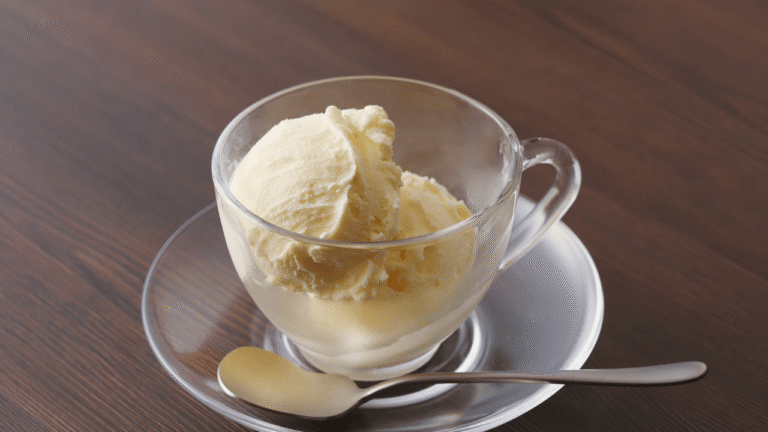
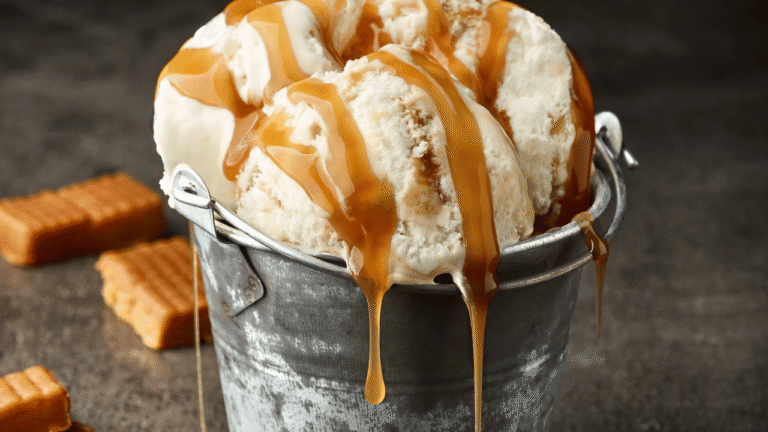
Discover a rich, animal-based frozen Carnivore Ice Cream Recipe treat that keeps carbs low while delivering the familiar pleasure of classic frozen desserts. This guide shows how a simple custard of heavy cream and egg yolks can become scoopable bliss with minimal fuss.
Make a no-churn batch in a loaf pan or pint jars, or upgrade to a Ninja Creami for instant creaminess after 20–24 hours of freezing. A traditional churner like a KitchenAid also works well when the bowl is pre-frozen.
The core technique is straightforward: whip cream for air, temper or heat yolks safely to 160°F, combine, and freeze. Strict carnivore followers can skip sweeteners, while keto-friendly options like allulose or monk fruit keep sugar impact negligible.
Expectations: freezer-only jars firm up and need brief softening before scooping, while a Creami yields ready-to-eat texture right away. Safety choices (raw vs. heated yolks, pasteurized dairy) are explained later so you can pick the best way for your kitchen.
Key Takeaways
- A rich custard of heavy cream and yolks makes a low-carb frozen treat.
- No-churn, Creami, and churner methods each offer different textures.
- Heat yolks to 160°F to reduce salmonella risk while keeping creaminess.
- Strict animal-only versions omit sweeteners; keto options use low-carb sweeteners.
- Freezer batches may need brief resting; a Creami can serve immediately.
Carnivore Ice Cream
4
servings30
minutes40
minutes300
kcal1
hour10
minutesRich and creamy ice cream with simple ingredients.
Keep the screen of your device on
Ingredients
2 cups 2 heavy cream
1 cup 1 whole milk
0.75 cup 0.75 granulated sugar
1 teaspoon 1 vanilla extract
1 pinch 1 salt
Directions
- In a medium-sized mixing bowl, whisk together the heavy cream, whole milk, granulated sugar, vanilla extract, and salt until the sugar is fully dissolved.
- Cover the mixing bowl with plastic wrap and refrigerate the mixture for at least 2 hours or until thoroughly chilled.
- Once the mixture is chilled, pour it into the ice cream maker and churn according to the manufacturer's instructions, typically around 20-25 minutes.
- Transfer the churned ice cream into an airtight container and freeze for at least 4 hours or until firm.
- Before serving, let the ice cream sit at room temperature for a few minutes to make scooping easier.
Recipe Video
Nutrition Facts
- Total number of serves: 6
- Calories: 350kcal
- Cholesterol: 82mg
- Sodium: 55mg
- Potassium: 135mg
- Sugar: 25g
- Protein: 3g
- Calcium: 110mg
- Iron: 0mg
- Thiamin: 0mg
- Riboflavin: 0mg
- Niacin: 0mg
- Folate: 0mg
- Biotin: 2mg
- Phosphorus: 99mg
- Iodine: 0mg
- Magnesium: 12mg
- Zinc: 0mg
- Selenium: 2mg
- Copper: 0mg
- Manganese: 0mg
- Chromium: 0mg
- Molybdenum: 0mg
- Chloride: 0mg
Did you make this recipe?
Tag @https://www.instagram.com/ice_cream_haven/ on Instagram and hashtag it with #IceCreamIceCreamHavens
Like this recipe?
Follow @https://www.pinterest.com/Ice_Cream_Haven/ on Pinterest
Join our Facebook Group!
Follow https://www.facebook.com/icecreamhavens/ on Facebook
What Makes This Carnivore Ice Cream Different from Keto Ice Cream
How you build a frozen dessert for strict animal-only eating versus a low-carb plan changes the ingredient list and the sweetener strategy.
Carnivore fundamentals: animal-based, near zero-carb
The animal-only approach relies on meat, fish, eggs, and limited dairy. When plant foods are removed, net carbs drop toward zero. That makes a simple base of yolks and heavy dairy the natural choice for a pure frozen custard.
Keto basics: low-carb with plant allowances
The keto approach aims to keep carbs low, not zero. It allows non-starchy vegetables, nuts, and select plant-based flavors when they fit daily carb targets. A keto version of this dessert might include vanilla, cocoa, or a small berry swirl.
Sweeteners and texture: allulose, monk fruit, stevia, and honey
Sweetener choice matters. Allulose behaves like sugar in frozen desserts, helping softness and scoopability with minimal blood-glucose impact. Monk fruit and stevia add sweetness without calories.
Honey contains real sugar and usually conflicts with strict low-carb goals, though some flexible followers include tiny raw amounts for performance reasons. Pick the approach and sweetener policy that match your goals and tolerances.
- Pure animal-only: yolks + heavy dairy, no plant sweeteners.
- Low-carb keto: allows low-carb sweetener and modest plant flavors.
- Texture tip: allulose helps keep the frozen mix scoopable.
Before You Start: Ingredients, Sweeteners, and Dairy Choices
Choose ingredients with texture and safety in mind. Fat and egg yolks form the base that keeps your frozen treat smooth. Small changes at this stage affect scoopability and freezer behavior.
Heavy cream and egg yolks: the rich base for creamy texture
Heavy cream supplies the fat needed to reduce ice crystals and give a lush mouthfeel. Start with cold dairy for better volume when you whip.
Egg yolks act as natural emulsifiers. Heat yolks to 160°F in a double boiler if you want extra safety without losing that custard-like richness.
Allulose and monk fruit: why they work better than sugar for frozen treats
Allulose lowers the freezing point, which helps the mix stay scoopable after freezing. Monk fruit and stevia add sweetness without raising blood glucose.
Tip: Use allulose for texture and monk fruit for added sweetness when you need it.
Raw vs pasteurized dairy and yolk handling
Some people prefer raw milk for digestion; others choose pasteurized for consistent safety and shelf life. Both work, but know your source.
If you avoid raw eggs, heating yolks to 160°F cuts salmonella risk while preserving a smooth base.
Optional flavorings: vanilla choices and implications
Vanilla extract adds familiar aroma but contains alcohol. Vanilla bean powder gives pure flavor without alcohol or gums.
“Vanilla bean powder is often preferred on low-carb plans for a clean, alcohol-free flavor.”
- Start with heavy cream and yolks for the best texture.
- Avoid low-fat milk swaps if you want a creamy result.
- Choose allulose for scoopability; add monk fruit sparingly for sweetness.
- Keep ingredients cold before whipping and handle yolks safely.
Essential Tools and Ice Cream Maker Alternatives
A few simple tools let you make a rich frozen treat without a specialty machine. Decide how much time and gear you want to commit, then pick a method that fits your kitchen and schedule.
No-churn basics and containers
For a no-churn approach you need a reliable hand or stand mixer, a large mixing bowl, and a freezer-safe loaf pan or individual pint container. Shallow pans freeze faster and help reduce large ice crystals.
Comparing methods
Freezer-only yields a denser, firmer texture that needs softening before serving. Mechanical churning or the Ninja Creami creates smoother texture with smaller crystals.
Ninja Creami, traditional makers, and prep
Ninja Creami workflow: freeze the base in pint containers for 20–24 hours, run the Ice Cream cycle, then use Re-spin for extra creaminess.
A KitchenAid attachment or a standard ice cream maker needs a pre-frozen bowl but delivers classic churned results many cooks love.
- Pre-chill the base and bowl when you need ice or faster churns.
- Individual pints save space and make portion control easy.
- Any way works—choose by convenience, texture, and timing.
Carnivore Ice Cream Recipe
Quick glance: yields about 6 servings. Prep ~10 minutes. Cook the yolks ~5 minutes to reach 160°F. Freeze time depends on desired firmness.
Measured ingredients
- 4 large egg yolks
- 2 cups heavy cream
- 1/4 teaspoon salt
- 1/3 cup liquid allulose (optional for keto)
- 1 teaspoon vanilla extract (optional for keto; omit for strict carnivore)
Notes on technique and timing
Chill a mixing bowl and whip the heavy cream to soft peaks so the base gains structure and air. This helps the mixture stay scoopable after freezing.
Heat yolks slowly to 160°F for safety, then temper by adding a spoonful of whipped cream to the yolks before combining fully. This prevents curdling and keeps the custard smooth.
Allulose lowers the freezing point and improves scoopability in keto versions. Skip the sweetener and any plant-derived vanilla for a strict animal-only version.
Finish and freezing
Pour the combined mixture into a loaf pan or pint containers, cover, and freeze. Freeze 3–4 hours for soft‑serve texture or overnight (8+ hours) for a firmer, sliceable set.
- Use the same base in a churner or Ninja Creami for an even silkier texture.
- Yield: ~6 servings; ~305 kcal per 1/2‑cup serving (approx.).
Step-by-Step: No-Churn Method (Freezer-Only)
This no-churn approach relies on careful yolk heating and whipped cream to keep texture silky without a machine. Follow short, safe steps to build a stable base that freezes smoothly.
Heat yolks safely to 160°F
Set up a gentle double boiler and whisk egg yolks over simmering water. Stir constantly for about 5–8 minutes until a thermometer reads 160°F.
Tip: Use a real thermometer so you balance safety and a silky custard.
Whip heavy cream and fold in the yolk mixture
Chill a mixing bowl, then whip heavy cream to soft peaks. Sweeten with allulose only for keto versions and add vanilla sparingly or omit for strict carnivore.
Temper the yolks by adding a few spoonfuls of whipped cream to the warm yolks, then fold the yolk mixture gently into the rest of the whipped cream to avoid curdling.
Freeze, time, and serving tips
Pour the combined mixture into a loaf pan or airtight container and smooth the surface to limit air pockets.
- Freeze ~3–4 hours for soft-serve texture.
- Freeze 8+ hours or overnight for a firmer set.
- Let the container sit at room temperature briefly before scooping so it softens evenly from edge to center.
Shallow layers thaw faster, so use smaller cups or a shallow loaf pan if you want quicker serving time. For more method options, see the full carnivore ice cream recipe.
Ninja Creami and Traditional Carnivore Ice Cream Recipe Maker Directions
A churn step improves texture quickly. Choose the appliance that matches your schedule and the finish you want.
Ninja Creami workflow
Pour the prepared base into two official pint containers and freeze them 20–24 hours in a flat spot in the freezer.
Run the Ice Cream program, then use a Re-spin for silkier results. If the mixture seems dry, add a teaspoon or two of cold cream between spins for extra silkiness in keto versions.
Enjoy immediately or portion into airtight containers for storage. Add-ins like chopped bacon or vanilla pieces belong after the first spin so they distribute evenly without interrupting the base.
KitchenAid and standard ice cream maker method
Ensure the freezer bowl is fully frozen (usually overnight). Chill the cold base before starting the machine.
Churn until the mixture reaches a soft‑serve consistency. Transfer to a container to firm up in the freezer, or serve right away as soft-serve.
- Pro tip: Both the Creami and a churner reduce large ice crystals more effectively than freezer-only methods.
- Keep containers and utensils cold so the base thickens efficiently during processing.
- Fold add-ins in at the end of churning or after the first Creami spin for best texture and distribution.
Texture Tips: From Rock-Hard to Scoopable
Homemade ice cream often freezes firmer than store-bought tubs because it lacks commercial stabilizers. A short tempering step makes a big difference.
When to let it sit at room temperature and for how long
As a rule, let a keto-style pint sit on the counter for about 10 minutes before scooping. This allows the center to warm enough to be scoopable while the edges stay firm.
Freezer-only versions—those frozen directly without churning—may need a few extra minutes. Portioning into small containers speeds this softening process.
Optional add-ins for softness: MCT oil or a splash of vodka
For even softer texture, fold up to 1/4 cup MCT oil into the custard base. That lowers the freezing point and keeps scoops pliant.
In keto adaptations, adding 1 tablespoon vodka to the cream also helps by reducing ice formation. Use these sparingly to preserve flavor.
“Expect a firmer set than commercial pints; plan a short counter rest and avoid low-fat milk swaps.”
- Expect firmer results without stabilizers; plan a brief rest before serving.
- Let the container sit room temperature ~10 minutes for most keto bases; freezer-only tubs might need longer.
- Portion into pints to accelerate softening and keep texture consistent.
- Use heavy cream and well-emulsified yolks; avoid low-fat milk which makes icier texture.
- Store in airtight containers in the freezer to limit moisture exchange and sugar bloom.
Carnivore Ice Cream Recipe Strict Carnivore vs Keto-Friendly Variations
Pick a pure animal-only base or a flavored low-carb version to guide which add-ins are allowed and how you balance texture and taste.
Strict animal-only approach
Keep the base to heavy cream and egg yolks only. Omit any plant sweetener or extract so the dairy’s natural lactose and fat are the sole flavor drivers.
Savory, animal-based twists
Try folded-in crumbled bacon, shards of crispy chicken skin “brittle,” or small sprinkles of blue cheese for contrast. Add these at the end of churning or after the first Creami spin to keep texture intact.
Keto-friendly additions
For low-carb versions, layer in vanilla (extract or powder), a pinch of cinnamon, or unsweetened cocoa. Make cookie crumbles from butter + milk powder, or swirl a browned-butter caramel built with milk powder and allulose. Gently marble berry puree for a modest fruit ribbon.
Honey and flexible plans
If you include raw honey sparingly, expect higher sugar and a departure from strict keto. Add it to taste and note the impact on firmness and scoopability.
- Tip: Fold add-ins last for even distribution.
- Keep chunks small so the frozen mixture stays scoopable.
- Match add-ins to your dietary goal—minimal for strict, layered for keto.
Storage, Containers, and Serving
Proper wrapping and portioning make your frozen custard last and stay scoopable. Use airtight freezer-safe containers or press plastic wrap directly onto the surface to limit air contact. This reduces ice crystals and keeps flavor fresh.
Best airtight container practices to avoid crystals
Cover the top with plastic wrap before sealing the lid for an extra barrier. If you store in a loaf pan, transfer to a sealed container after initial firming to minimize freezer burn.
Freezer timeframes: same-day soft serve vs overnight hard set
Freeze a few hours for same-day soft-serve texture. For a firmer set, leave overnight. When ready, let the pint sit room temperature for about 10 minutes to soften evenly.
Portioning, re-spins, and microwave-softening strategies
If you use a Ninja Creami, re-spin frozen pints just before serving to revive churned texture. For single portions, brief 5–8 second microwave bursts at low power soften edges—avoid overheating to prevent refreeze crystals.
- Keep the freezer cold and stable; avoid frequent door openings.
- Portion into smaller pints to speed serving and cut repeated exposure.
- Store keto components: caramel and custard up to 3 days in the fridge; cookie crumbles up to 2 weeks; assemble whipped base fresh.
Proper storage preserves sugar balance, milk notes, and any added vanilla so your next scoop of carnivore ice or classic ice cream tastes as intended.
Carnivore Ice Cream Recipe Nutrition, Macros, and Who This Recipe Is For
A single half-cup serving of this custard-style treat delivers about 305 calories, with roughly 30g fat, ~2g protein, and ~1g carbs.
This makes it a high‑fat, low‑carb option that fits many low‑carb and keto plans. People tracking macros can slot a 1/2‑cup into daily fat targets and keep carbs minimal.
Allulose and similar sweeteners work well because they add sweetness without raising blood glucose. By contrast, honey is high in sugar and usually unsuitable for strict low‑carb goals; flexible followers might use tiny amounts.
Strict animal-only eaters often omit plant-derived flavorings and sweeteners. Some individuals with gut or autoimmune concerns report better digestion on that approach, so choosing pasteurized milk products or heating egg yolks to safety can matter.
“Adjust sweetness and add-ins to match your goals and taste—this base is easy to customize.”
- Macros (1/2 cup): ~305 kcal, 30g fat, ~2g protein, ~1g carbs.
- Best for: animal-focused followers and keto dieters wanting a low‑carb dessert.
- Sweetener fit: allulose suits keto; honey raises sugar and affects texture.
- Food-sensitivity note: choose dairy and yolk prep to match tolerance and time.
Conclusion
Wrap up: start with a simple yolk-and-full‑fat base and you can make a satisfying low‑carb ice cream at home using tools you already have.
Choose the easy freezer‑only way for minimal effort, a Ninja Creami for near‑instant creaminess after a 20–24 hour freeze and a spin, or a traditional churner for classic texture.
Pick sweeteners and flavorings to match your goal—keto fans may use allulose and vanilla, while strict plans omit plant ingredients. Heat yolks to 160°F if you want an extra safety margin without losing silkiness.
Begin with the base, then experiment with savory add‑ins or keto swirls. Enjoy the process and the first scoop, confident that this method fits your kitchen and dietary choices.

