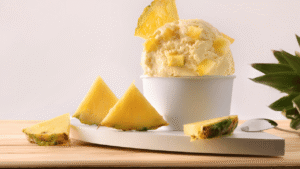
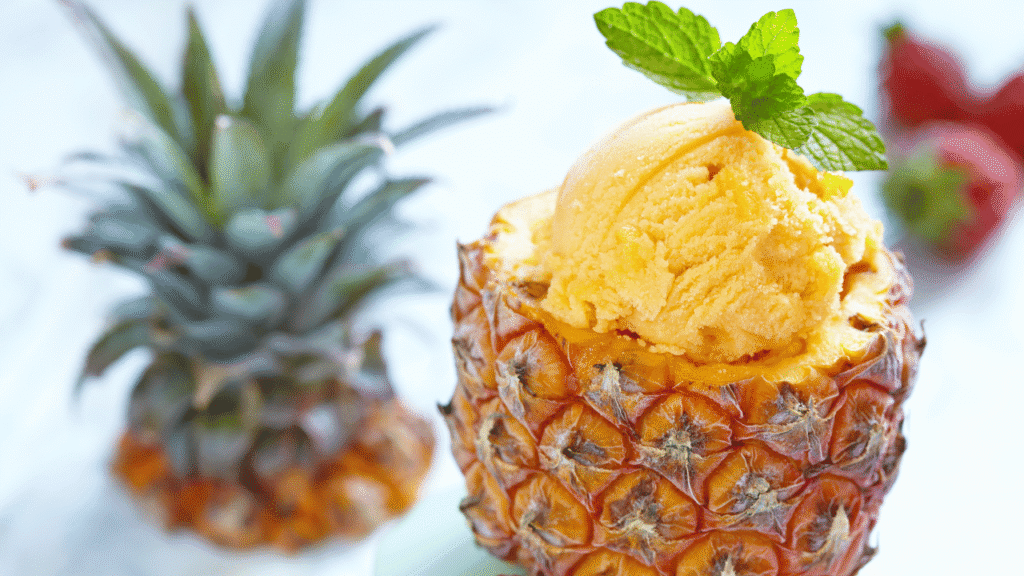
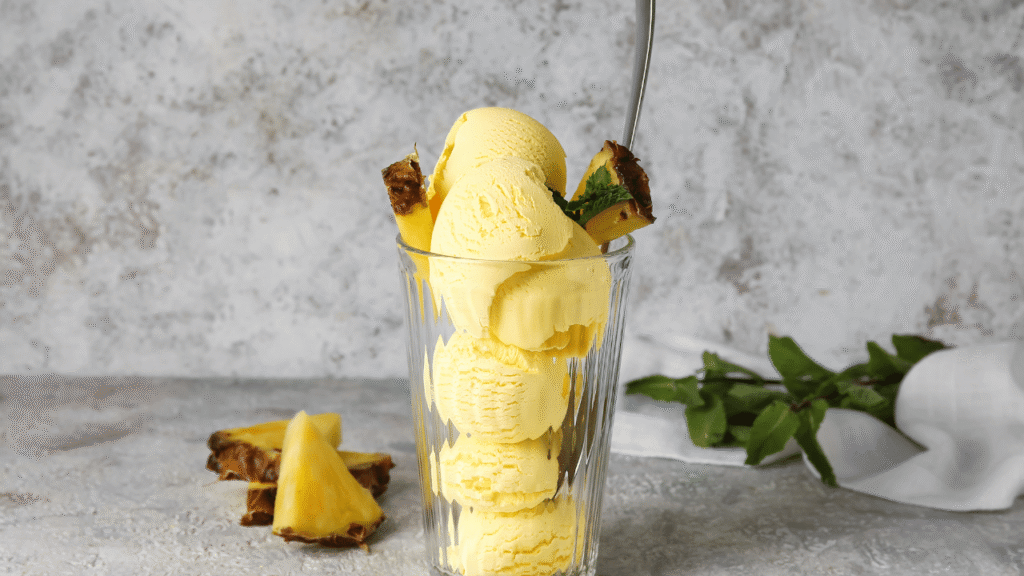
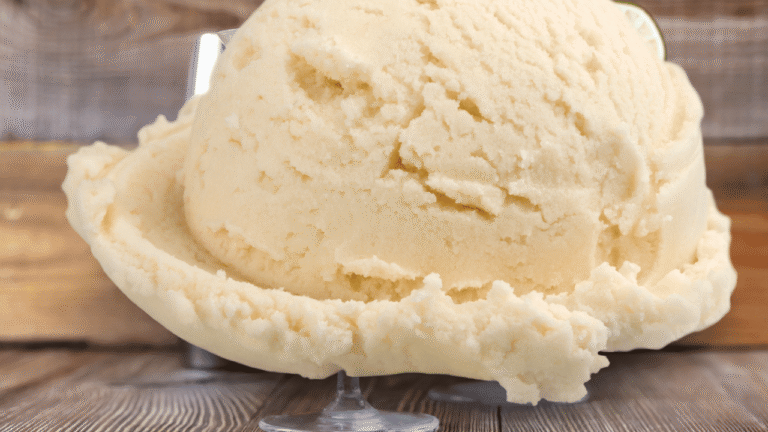
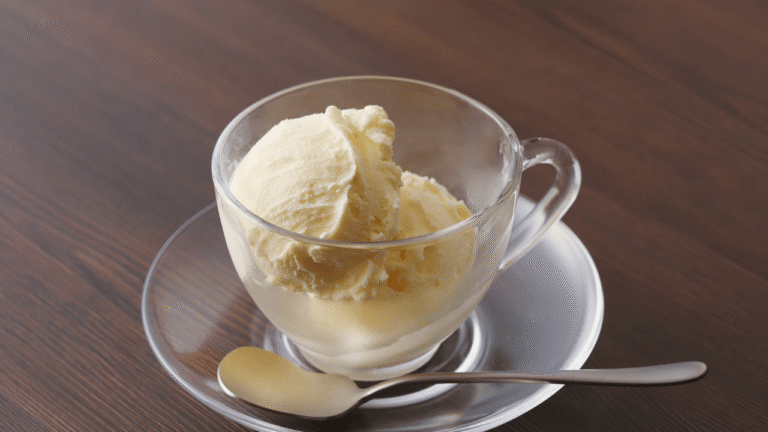
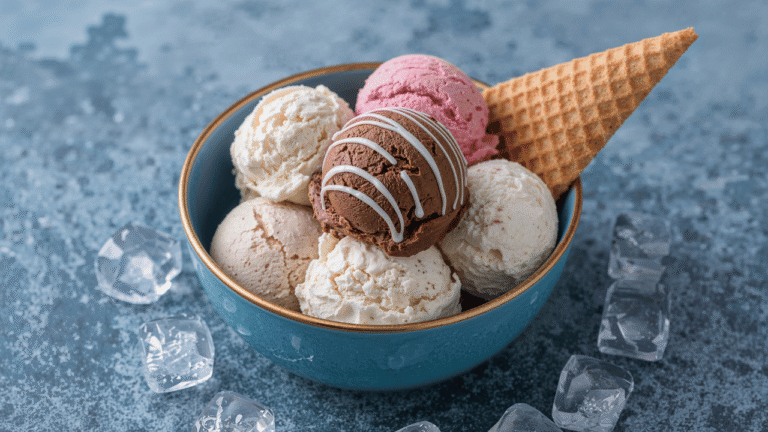
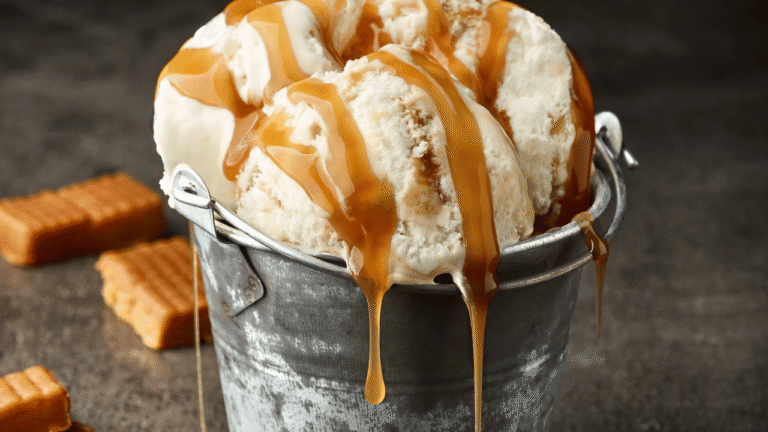
This custard-style dessert pairs bright tropical fruit with a rich, silky base to deliver a scoopable summer treat you can make at home.
Pineapple Ice Cream Recipe, Start by blending fresh fruit with sugar, egg yolks, and a pinch of salt, then heat gently to tame the enzyme that can make dairy bitter. Temper the custard to about 170°F, add dairy, strain into a glass bowl, and chill with plastic wrap on the surface for best texture.
Churn the chilled base for roughly 20–25 minutes until it reaches soft-serve, then freeze at least four hours for firm scoops. Yields about one quart and roughly 354 calories per 2/3 cup.
Either a KitchenAid attachment or a Cuisinart maker works well. This post covers both the classic egg-yolk custard method and an easier no-machine option, plus tips on add-ins, storage, and timing so you can be confident in the results.
Key Takeaways
- Heat fresh fruit briefly to prevent bitterness and preserve dairy richness.
- Use a custard base for a classic, creamy texture; chill fully before churning.
- Churn 20–25 minutes for soft-serve, then freeze at least four hours for firm scoops.
- KitchenAid and Cuisinart machines deliver reliable results for home cooks.
- Yield is about one quart; plan for roughly 354 calories per 2/3 cup serving.
Pineapple Ice Cream
4
servings30
minutes40
minutes300
kcal1
hour10
minutesA refreshing homemade pineapple ice cream using everyday ingredients.
Keep the screen of your device on
Ingredients
2 cups 2 fresh pineapple chunks
1 cup 1 granulated sugar
2 cups 2 heavy cream
1 cup 1 whole milk
1/2 teaspoon 1/2 vanilla extract
1/4 teaspoon 1/4 salt
Directions
- Combine pineapple chunks and sugar in a blender processor and blend until smooth. This should take about 2 minutes.
- In a large mixing bowl, combine the pineapple puree, heavy cream, milk, vanilla extract, and salt. Mix thoroughly until well combined.
- Chill the mixture in the refrigerator for at least 2 hours or until it is thoroughly cold before churning.
- Pour the cold mixture into an ice cream maker and churn according to the manufacturer's instructions, usually about 20-25 minutes.
- Once the ice cream reaches a soft-serve consistency, transfer it to an airtight container and freeze for at least 2-4 hours before serving.
- Let the ice cream sit at room temperature for about 5 minutes before scooping for easier serving. Enjoy your homemade pineapple ice cream.
Recipe Video
Nutrition Facts
- Total number of serves: 6
- Calories: 250kcal
- Cholesterol: 45mg
- Sodium: 80mg
- Potassium: 180mg
- Sugar: 20g
- Protein: 2g
- Calcium: 80mg
- Iron: 0mg
- Thiamin: 0mg
- Riboflavin: 0mg
- Niacin: 0mg
- Folate: 0mg
- Biotin: 0mg
- Phosphorus: 0mg
- Iodine: 0mg
- Magnesium: 0mg
- Zinc: 0mg
- Selenium: 0mg
- Copper: 0mg
- Manganese: 0mg
- Chromium: 0mg
- Molybdenum: 0mg
- Chloride: 0mg
Did you make this recipe?
Tag @https://www.instagram.com/ice_cream_haven/ on Instagram and hashtag it with #IceCreamIceCreamHavens
Like this recipe?
Follow @https://www.pinterest.com/Ice_Cream_Haven/ on Pinterest
Join our Facebook Group!
Follow https://www.facebook.com/icecreamhavens/ on Facebook
Why This Pineapple Ice Cream Belongs on Your Summer Menu
This chilled custard balances bright, tangy fruit notes with a smooth, creamy texture ideal for warm days. The result is a fruit-forward dessert that feels both refreshing and indulgent.
Heating the fruit briefly neutralizes bromelain, the enzyme that can make dairy taste bitter. That step unlocks a clean, sweet flavor when the fruit meets the dairy base.
Fresh pineapple delivers the most vibrant, nuanced flavor, while canned is convenient and works in a pinch. When you can, choose fresh for brighter results.
The craveable contrast—cold ice, lush cream, and tropical fruit—gives a pleasing mouthfeel and a lasting aroma. It pairs beautifully with grilling menus, picnic spreads, and simple butter cookies.
Ingredient-wise, this dessert stays simple. Short, accessible ingredients let the fruit shine. A squeeze of citrus juice can lift the profile even more on hot days.
- Serve in bowls, cones, or with grilled fruit.
- Methods include custard and no-churn options; both reach satisfying texture with clear steps.
- Why it works: simplicity, bright flavor, and broad crowd appeal make it a seasonal staple.
Ingredients That Deliver Creamy, Tropical Flavor
Select ripe, juicy fruit and measure your dairy carefully so the custard base turns out silky and balanced. Fresh pineapple gives the brightest aroma and punchy flavor; canned pineapple works in a pinch but tastes slightly muted.
Heat the fruit briefly to deactivate bromelain, the enzyme that can create bitterness when fruit meets dairy. That step protects the finished custard and keeps the dairy tasting clean.
Why the dairy and sweeteners matter
Use a dairy duo: heavy cream adds silk and richness, while whole milk keeps fat in check so the base doesn’t feel too heavy. Sugar does more than sweeten — it lowers the freezing point and helps scoopability.
Role of egg yolks, salt, and lemon juice
Egg yolks emulsify and thicken, creating body and a smooth mouthfeel. A pinch of salt sharpens overall flavor, and a splash of fresh lemon juice lifts the sweetness without overpowering the custard.
- Tip: Measure liquids in a cup and whisk them in a bowl before cooking to prevent mistakes.
- Pick ripe fruit: Look for bright yellow skin, a sweet aroma, and firm juice for consistent flavor and texture.
- Remember: Every ingredient has purpose — yolks for structure, cream for richness, milk for balance, and juice for brightness.
The Key Technique: Heat the Pineapple to Prevent Bitterness
A quick, gentle warming step keeps the finished custard sweet and smooth. When fruit meets dairy, bromelain can break down proteins and create bitterness. Deactivating that enzyme is essential to a clean milk mixture and better final flavor.
Deactivating bromelain for a sweeter dairy mixture
Cook diced fruit in a pan over medium heat for about 5–7 minutes. Stir often so the pan stays gentle and the pieces don’t scorch.
How long to cook and what “translucent” looks like
After roughly five to seven minutes the edges will become slightly translucent and the surface looks glossier. That visual cue matters more than the clock.
- Both fresh pineapple and canned pineapple benefit from this step; canned may need less time but still gains bright juice.
- Collect any released juice and add it back to the custard for concentrated flavor.
- Make sure the fruit cools a bit before mixing with cold milk mixture to avoid shocking the dairy.
“Mastering this gentle heat step yields consistent, non-bitter ice cream every time.”
Pineapple Ice Cream Recipe: Step-by-Step
Begin by pureeing the fruit with sugar and egg yolks to create a smooth, fiber-free base. Work in a bowl or blender until completely smooth for the silkiest mixture.
Method 1 — Streamlined: Heat the blended base briefly to a low boil until foam settles. Slowly whisk in combined heavy cream and whole milk so the milk mixture warms evenly without curdling. Strain into a clean bowl, stir in a squeeze of lemon, then press plastic wrap directly on the surface and chill to about 40°F.
Method 2 — Tempered custard: Cook diced fruit in a pan 5–7 minutes to deactivate enzymes, then add cream, milk, sugar, and salt and bring to just a simmer. Temper egg yolks by whisking in half the warm dairy, return to the pan, and cook gently until the custard coats the back of a spoon (about 170°F). Strain and cool with plastic wrap on the surface.
Finish and freeze
- Churn the cold mixture in your ice cream maker according manufacturer directions until soft-serve, usually 20–25 minutes.
- Transfer to a chilled container and freeze for at least 4 hours to firm up for clean scoops.
- Taste before freezing and add a little lemon if the balance needs brightening.
Pro tip: Pressing plastic wrap directly onto the custard prevents a skin and keeps your final texture ultra-smooth.
Equipment Notes and Pro Tips
Good tools and simple staging make every churn step smoother and more reliable. The right equipment helps you hit texture and timing targets without surprises.
Ice cream maker options
KitchenAid ice cream attachment and Cuisinart stand-alone makers both perform well, typically reaching soft-serve in about 20–25 minutes. Follow the maker guidelines according manufacturer notes for pre-freezing and don’t overfill the canister.
Essential tools and why they matter
- Fine mesh strainer: Polishes the base by removing fibers or curdled bits for a refined texture.
- Sturdy glass bowl: Chills quickly and holds temperature so the base cools evenly before churning.
- Plastic wrap: Press it onto the custard surface to prevent a skin that causes grainy texture.
- Cup and pan: Use a measuring cup for dairy ratios and a cool pan to limit heat transfer when transferring the base.
Stage ingredients and tools in advance, rest the churned mixture briefly, then transfer to pre-chilled containers before final freezing for the best scoop.
Pineapple Ice Cream Recipe Time, Yield, and Nutrition at a Glance
Timing and patience shape the final texture. Typical churn time is about 20 minutes to reach a soft-serve consistency. That number depends on base temperature and machine efficiency.
For firm, scoopable results, freeze the batch at least 4 hours. Longer rests often improve structure and let flavors meld. If the pint is very hard, let it sit 2–5 minutes at room temperature before serving.
The custard batch yields roughly one quart. Actual volume varies with overrun and chill quality, so measure in cups when you combine dairy to keep ratios consistent.
- Nutrition snapshot: ~354 calories per 2/3 cup serving as a planning reference.
- Store up to about a month in an airtight container in a consistently cold freezer to reduce ice crystal formation.
- Milk fat and cream content directly affect richness, scoopability, and overall flavor satisfaction.
“Note ambient kitchen conditions, exact churn minutes, and storage times to fine-tune future batches.”
Flavor Twists and Add-Ins to Make It Your Own
Give your churned base a personality boost with simple add-ins that highlight tropical brightness or add crunchy contrast. These small changes let you test new flavors without changing the core method.
Piña-colada vibes: Swap part of the milk with canned coconut milk, or fold in lightly toasted shredded coconut for chewy contrast and coconut-forward flavors. If you use fresh pineapple tidbits as mix-ins, heat and cool them first to avoid bitterness and excess moisture.
- Add chocolate chips or white chocolate chunks to echo chocolate-dipped fruit, or stir in macadamia nuts, pistachios, or cashews for buttery crunch.
- Brighten the profile with a splash of lime or lemon juice and a pinch of fine citrus zest to lift the fruit aromatics.
- Fold in small pieces of candied pineapple, or stir in a teaspoon of vanilla extract for warm, parlor-style depth.
- Top servings with marshmallow or chocolate sauce for easy flair at the table.
Timing tip: Add mix-ins near the end of churning so they distribute evenly and don’t sink or form icy pockets. Keep add-ins small and mostly dry to preserve smooth texture and scoopability.
No-Churn Pineapple Ice Cream Recipe Option
If you want a no-fuss frozen treat, this no-churn method gives rich, scoopable results without an ice cream maker. It is ideal when convenience matters or when a cream maker isn’t on hand.
Core approach: Beat softened cream cheese in a bowl until smooth. In a separate bowl whip heavy whipping cream to stiff peaks for volume and stability.
- Gently fold whipped cream into the cream cheese base.
- Add sweetened condensed milk, well-drained canned pineapple tidbits, a little reserved juice, and vanilla. Mix with care to keep air.
- Pour into a chilled loaf pan, press plastic wrap directly on the surface, and freeze for 6–8 hours for clean scoops.
How it differs from custard: No eggs to temper and much faster prep. The cream cheese gives a different richness than yolks but still delivers a stable texture.
“If you later use an appliance, follow instructions according manufacturer to adapt the base.”
Enjoy within 7–10 days for best texture. If using fresh fruit, cook briefly and cool before folding to avoid icy pockets.
Serving, Storage, and Make-Ahead Tips
Treat the finished batch gently: how you cool, cover, and store it shapes every future scoop.
Soft-serve vs. firm scoops: Fresh-churned ice cream reaches soft-serve in about 20 minutes of churning. For firm, scoopable servings, transfer the churned base to the freezer and hold it for at least 4 hours.
Pack and protect to avoid freezer burn
Move the finished mix into shallow, airtight containers to cool fast. Press a sheet of plastic wrap directly on the surface to reduce air contact and ice crystals.
Storage window and handling
Custard batches: keep in an airtight tub up to about one month in a stable freezer. No-churn versions taste best within 7–10 days.
Practical serving notes
- If the pan or bowl is rock-hard, set it on the counter for a few minutes before scooping.
- Label containers with the make date to track freshness and plan servings during the best texture window.
- For extra protection, cover with plastic then snap on a tight lid to block odors and slow freezer drying.
Frequent thawing and refreeze cycles will break structure and dull fruit clarity—serve what you need and reseal the rest promptly.
Make-ahead tip: Chill and freeze at least 4 hours before serving so the texture stabilizes for clean, picture-ready scoops. Add garnishes and sauces at the table to keep the surface pristine.
Conclusion
Finish confidently with a few measured steps for a silky, fruit-forward ice cream.
Gently heat the fruit in a pan for about 5–7 minutes to stop bromelain, then temper the custard to roughly 170°F. Combine milk, heavy cream, sugar, and egg yolks into a smooth mixture before chilling and churning.
Choose fresh pineapple when you can for top aromatics; canned pineapple works if heated first. Churn to soft-serve in 20–25 minutes, then freeze 4+ hours for firm scoops.
Press plastic wrap to the surface, store airtight, and measure in cups for repeatable results. The method is flexible—add your favorite flavors and enjoy this tropical treat with confidence.

