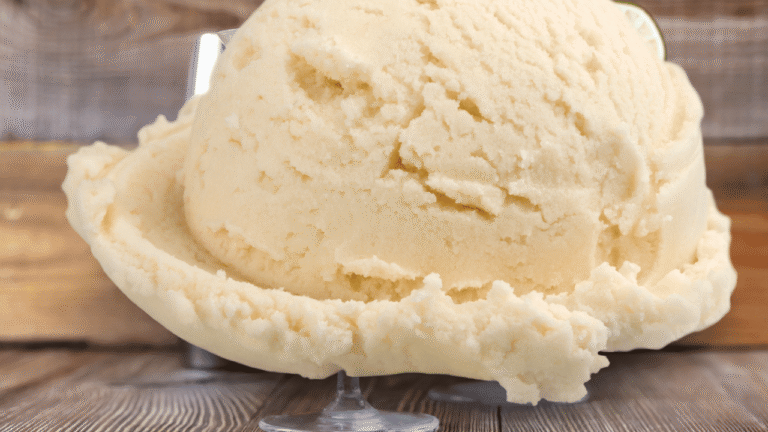
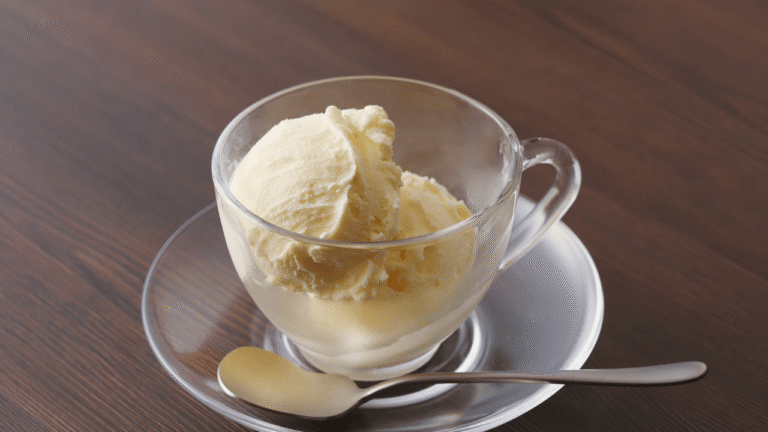
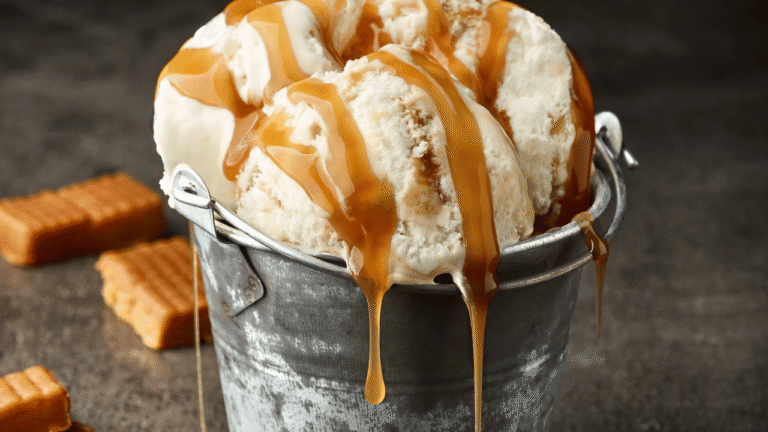
Make rich, scoopable frozen treats at home with a simple, reliable method designed for your Cuisinart machine. This introduction shows the basic formulas and smart tips to get creamy results every time.
Vanilla Bean Ice Cream Recipe Cuisinart, Start with fresh dairy and proper chill time. A standard mix uses 2 cups heavy cream, 1 cup whole milk, 3/4 cup sugar (or honey), three vanilla pods or 1 tablespoon extract, and a pinch of salt. Chill the base 1–2 hours or overnight, churn about 20–25 minutes, then freeze 2–3 hours for a scoopable texture.
Choose a no-egg version for a cleaner flavor or a custard base with egg yolks for extra silkiness. Pre-freeze the canister and press plastic wrap on the surface before long storage to prevent crystals. Add chips or cookie pieces in the last minutes of churning for even distribution without blocking the dasher.
Quick benefits: fast prep, consistent 20–25 minute churn in most models, and predictable firming for sundaes or pies.
Key Takeaways
- Prep and chill the base well for fewer ice crystals.
- Pre-freeze the canister to improve texture and overrun.
- No-egg or custard bases suit different flavor and time needs.
- Add mix-ins late in churn to spread evenly.
- Store with plastic wrap on the surface for smooth scoops.
Vanilla Bean Ice Cream Recipe Cuisinart
4
servings30
minutes40
minutes300
kcal1
hour10
minutesClassic creaminess with real vanilla essence.
Keep the screen of your device on
Ingredients
1 cup 1 whole milk
3/4 cup 3/4 granulated sugar
2 cups 2 heavy cream
1 teaspoon 1 pure vanilla extract
1 whole 1 vanilla bean
Directions
- In a medium bowl, use a hand mixer on low speed to combine the milk and sugar until the sugar is dissolved, about 2 minutes.
- Stir in the heavy cream and vanilla extract, ensuring all ingredients are well combined.
- Split the vanilla bean lengthwise with a sharp knife and scrape out the seeds. Add the seeds and the whole bean to the milk mixture.
- Cover the bowl and refrigerate for at least 2 hours or overnight for richer flavor development.
- Remove the vanilla bean and stir the mixture before pouring into the ice cream maker bowl.
- Set the ice cream maker to manufacturer’s instructions, and churn the mixture for 15-20 minutes, or until thickened.
- Transfer the ice cream to an airtight container and freeze for an additional 2 hours, for a firmer texture before serving.
Recipe Video
Nutrition Facts
- Serving Size: 125g
- Total number of serves: 6
- Calories: 290kcal
- Fat: 22g
- Saturated Fat: 14g
- Trans Fat: 0g
- Polyunsaturated Fat: 0.5g
- Monounsaturated Fat: 6g
- Cholesterol: 80mg
- Sodium: 50mg
- Potassium: 100mg
- Carbohydrates: 22g
- Fiber: 0g
- Sugar: 23g
- Protein: 3g
- Vitamin A: 1000IU
- Vitamin C: 1mg
- Calcium: 100mg
- Iron: 0.5mg
- Vitamin D: 2mg
- Vitamin E: 0.5mg
- Vitamin K: 1mg
- Thiamin: 0.05mg
- Riboflavin: 0.2mg
- Niacin: 0.3mg
- Vitamin B6: 0.05mg
- Vitamin B12: 0.5mg
- Folate: 10mg
- Biotin: 2mg
- Pantothenic Acid: 0.3mg
- Phosphorus: 85mg
- Iodine: 15mg
- Magnesium: 10mg
- Zinc: 0.5mg
- Selenium: 2mg
- Copper: 0.05mg
- Manganese: 0.02mg
- Chromium: 1mg
- Molybdenum: 2mg
- Chloride: 100mg
Did you make this recipe?
Tag @https://www.instagram.com/ice_cream_haven/ on Instagram and hashtag it with #IceCreamIceCreamHavens
Like this recipe?
Follow @https://www.pinterest.com/Ice_Cream_Haven/ on Pinterest
Join our Facebook Group!
Follow https://www.facebook.com/icecreamhavens/ on Facebook
Why This Homemade Vanilla Bean Ice Cream Belongs in Your Cuisinart Right Now
A tabletop churn turns a weekend craving into a reliably smooth frozen treat in about 20–25 minutes. The machine removes messy salt-and-ice setups and gives consistent churn times so your batches come out the same way each time.
Real whole-bean infusion adds depth and tiny specks of aroma, while extract or paste work well when beans are scarce. A quick no-egg base chills in roughly an hour and still delivers rich texture.
- Use the frozen bowl for steady 20–25 minute churns and fewer ice crystals.
- Choose a cooked custard if you want extra silkiness; heat yolks to 180°F and cool fully before churning.
- Mix-ins go in at the end to stay evenly distributed without stalling the dasher.
Control your ingredients to avoid additives, scale batches for gifts, and press plastic wrap on the surface before freezing to keep flavor and scoopability intact. With this method, classic vanilla ice cream made at home is both simple and superior.
Ingredients and Tools for Creamy, Scoopable Results
Start with quality dairy and a few simple tools to ensure a scoopable, well-textured final product.
Core ingredients: Use heavy cream for fat and whole milk for balanced body. Add a pinch of salt to lift sweetness and round out vanilla flavor.
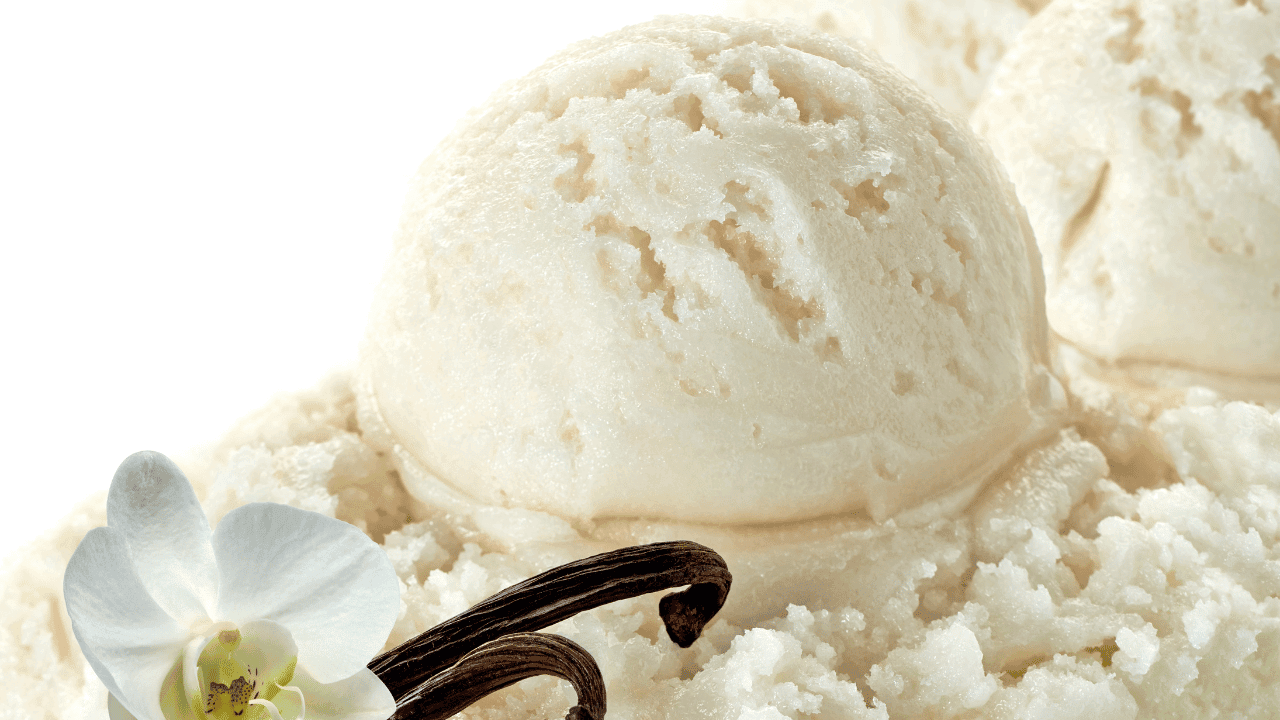
Sweetener and vanilla options: Granulated sugar dissolves quickly and helps control the freezing point; honey works as an alternative. Split and scrape a vanilla bean for specks and aroma, or use pure vanilla extract when beans aren’t available.
No-egg base (fast): 1 cup whole milk, 2 cups heavy cream, 2/3 cup sugar, 1 vanilla bean, and 1.5 tablespoons pure vanilla extract. Chill 1 hour or overnight before churning.
Custard base (richer): 1.5 cups milk, 1.5 cups cream, 2/3 cup sugar (split), 1 tsp kosher salt, and 5 egg yolks. Heat dairy with half the sugar, temper yolks, cook to 180°F, strain, then chill over an ice bath to stop cooking.
Equipment checklist
- ice cream maker with a pre-frozen canister (often 24 hours)
- mixing bowls and a fine-mesh strainer
- instant-read thermometer and an ice bath for custard
- airtight container, plastic wrap, and an optional loaf pan or bowl for freezing
Pro tips: Weigh or measure sugar and salt for consistency. Whisk stabilizers like 1 tsp ice cream stabilizer or 1/2 tsp xanthan gum per 3 cups liquid into the cream mixture if you want extra resistance to iciness. Keep tools cold to maintain a low starting temperature before churning.
Vanilla Bean Ice Cream Recipe Cuisinart
Begin with a well-mixed base: whisk 2 cups heavy cream, 1 cup whole milk, and 3/4 cup sugar until the sugar dissolves and the mixture looks smooth. Split one to three pods and scrape the seeds into the bowl, or stir in 1 tablespoon pure vanilla extract after dissolving sugar.
Prep and chill
Cover and refrigerate the cold base for 1–2 hours or overnight. A colder base churns faster and yields fewer crystals.
Churn in the machine
Start the ice cream maker with the frozen bowl, then pour in the chilled mixture. Churn about 20–25 minutes until it reaches soft‑serve texture and pulls away from the sides.
Firm and store
Transfer to a pre‑chilled airtight container. Press plastic wrap directly onto the surface to minimize crystals, then freeze 2–4 hours to firm.
- Fold in mix‑ins during the last 2–3 minutes for even distribution.
- For custard style: heat dairy with half the sugar, temper 5 egg yolks, cook to 180°F, strain, chill, then churn.
Vanilla Bean Ice Cream Recipe Cuisinart: Choosing Your Ideal Ice Cream Base
Deciding between an egg-thickened custard and a quick no-egg base will shape texture and freezer stability. The right base depends on time, serving context, and the mouthfeel you want.
Custard-style: richness from egg yolks
Custard uses egg yolks to emulsify fat and thicken the mix. A common formula is 1.5 cups milk, 1.5 cups cream, 5 egg yolks, 2/3 cup sugar (split), and 1 tsp kosher salt.
Gently heat the dairy with half the sugar to 180°F while stirring, temper yolks with warm liquid, then cook briefly. Strain into an ice bath, chill fully, and then churn.
Philadelphia-style: fast, clean flavor
This no-egg base skips yolks for a lighter body and a crisper vanilla note. Typical ratios are 1 cup milk, 2 cups cream, and 2/3–3/4 cup sugar with a scraped vanilla pod or extract.
It requires no cooking, so prep is faster and easier for weeknight batches. Expect a brighter flavor and a slightly softer scoop once fully frozen.
- Mouthfeel: custard clings luxuriously to a spoon; no-egg feels lighter and more refreshing.
- Timing: custard benefits from an overnight chill; Philadelphia-style churns quickly in your machine.
- Use: choose custard for special-occasion desserts and no-egg for quick toppings or lighter desserts.
Try a side-by-side tasting. Keep dairy and vanilla quality high to see how egg yolks shift texture and flavor in your house recipes.
Vanilla Bean Ice Cream Recipe Cuisinart Maximizing Vanilla Flavor: Beans, Extract, and Smart Substitutions
Bright aroma and visible specks add a gourmet touch to homemade frozen treats. Use genuine Madagascar pods for depth: split the pod, scrape the seeds, and add both seeds and pod to warm milk and heavy cream. Heat gently—do not boil—to coax out aromatic oils.
If pods aren’t available, substitute 2 teaspoons vanilla bean paste or 1 tablespoon pure vanilla extract per batch. When time is short, add extract at the end of base prep to preserve volatile notes.
Steep the pod in the chilled base for at least 1 hour to intensify flavor; remove the spent pod before you churn. Reuse spent pods to perfume future milk or custards.
- Prioritize whole pods for layered aroma and specks.
- For custard with egg yolks, give the base a full overnight rest to deepen body and flavor.
- Balance sugar and salt so the vanilla note can shine.
For more ideas and brand-specific tips, see this short guide on a related flavor approach: vanilla flavor tips.
Pro Tips for a Smooth, Non-Icy Texture
Small changes in chilling and timing yield a much smoother, non‑icy final pint. Start with a very cold base—ideally chilled overnight—and a thoroughly pre‑frozen canister to limit crystal growth.
Completely chill and prepare your bowl
Pre‑freeze the canister (often 24 hours) and place the cold mixture into the machine after it’s running. This avoids flash freezing on the canister walls.
Manage sugar and salt
Balance sugar to lower the freezing point for better scoopability and add a pinch of salt to sharpen flavor. For custard, split sugar between dairy and egg yolks to protect proteins.
Stabilizers at home
Use 1 tsp stabilizer or 1/2 tsp xanthan per 3 cups liquid. Whisk it into the cream mixture before heating to activate and avoid lumps.
Avoid over‑churning
Stop when volume rises ~33% and the mixture pulls from the sides. Over‑churning risks fat separation and a greasy mouthfeel. Move quickly to a pre‑chilled container, press plastic wrap on top, and freeze steadily.
“Chill fully, start the machine first, and watch the texture—those steps save a batch.”
- Use an ice bath for hot custards to cool fast.
- Keep freezer temps consistent to prevent surface crystallization.
- Work quickly from churn to container to lock in texture and flavor.
Serving Ideas, Toppings, and Mix‑Ins
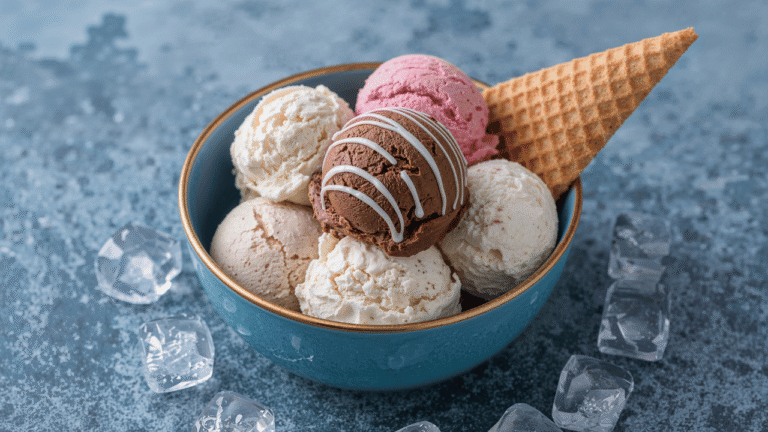
Finish your batch with thoughtful toppings and timely mix‑ins to elevate every scoop. A small toppings bar helps guests customize sundaes and keeps your homemade ice cream service lively.
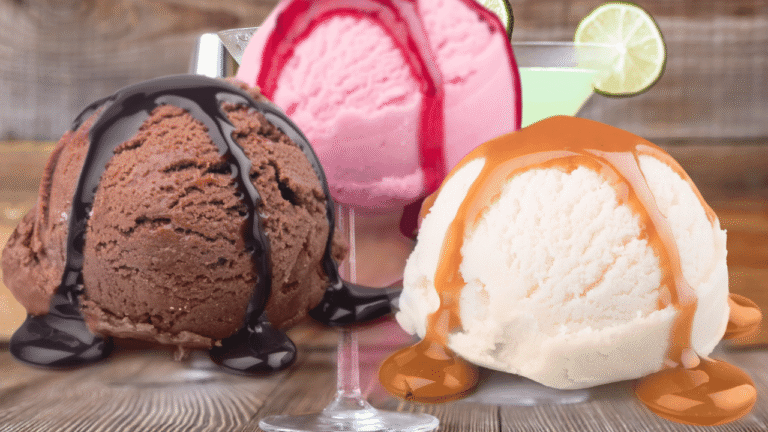
Classic options include warm hot fudge or salted caramel, sprinkles, crushed cookies, fresh berries, whipped cream, and chopped toasted nuts. These add flavor, color, and texture to each serving.
- Offer a toppings bar: warm fudge, caramel, sprinkles, crushed Oreos, candies, berries, and whipped cream.
- Add crunchy contrast with toasted almonds or pistachios and a pinch of flaky salt for balance.
- Stir in mix‑ins—chips, cookie pieces, or fruit swirls—during the last 2–3 minutes of churning for even distribution.
Perfect pairings include serving scoops à la mode with apple pie, peach cobbler, or strawberry‑rhubarb pie. Brownies, simple cakes, and sticky toffee pudding also complement the rich flavor and texture.
Serve in pre‑chilled bowls or cones to slow melting in warm kitchens. Store leftover toppings airtight so crunch remains fresh for future batches.
Storage, Scoopability, and Make‑Ahead Timing
Promptly transfer the soft, aerated mixture into a pre-chilled 1-quart container and press plastic wrap on top. This step blocks surface air and helps the frozen product firm evenly so flavor and texture stay true.
Freeze time: Allow at least 3–4 hours for firming; overnight is best. Tightly sealed pints keep quality for 1–2 months when stored in the coldest part of the freezer.
Before serving, rest the container about 5 minutes at room temperature and dip the scoop in hot water between scoops for clean, round portions.
“Move churned ice cream into a cold, airtight container and press plastic wrap directly on the surface to deter ice crystals.”
- Chill storage containers ahead so the batch firms fast.
- Label with date and base (custard or no‑egg) to track freshness.
- Portion into smaller containers to reduce headspace and limit crystallization.
- If frost forms, gently scrape the thin layer away and refresh the wrap before returning to the freezer.
Keep freezer temps steady and avoid frequent door opening; stable cold prevents thaw‑refreeze cycles that cause iciness. These small steps preserve the flavor and scoopability of your homemade ice cream.
Conclusion
A short routine after churning makes the difference between soft, airy pints and icy ones.
Vanilla Bean Ice Cream Recipe Cuisinart, Chill, churn, and store with intent. Aim for the reliable 20–25 minute churn, then move the mix to a cold container, press plastic wrap on the surface, and firm in the freezer for 2–4 hours or overnight.
Choose no-egg for speed and a bright vanilla note, or pick a custard base for richer mouthfeel. Use whole bean pods when you want depth, or high-quality extract or paste when time is tight.
Practice improves results. Tweak sugar balance, trial stabilizers if needed, and test mix-ins. For a full step-by-step and temperature notes, see this detailed how-to: complete guide and tips.

