Plan a bright, easy dessert spread that invites guests to build their dream bowls. Start with a mix of classics and playful flavors, plus a few top non-dairy choices so everyone finds something they love.
Buy enough: use about 1½ cups per person. For 12 guests plan roughly 1¼ gallons; for 20 guests plan about 2 gallons. Thaw very firm tubs for 20 minutes, serve right away, then return tubs to the freezer between rounds.
Keep toppings smart: set shelf-stable items early, slice fruit and whip cream just before serving, and keep candy away from moist fruit to avoid color bleed. Use one scoop per tub and consider tubs set in ice or an ice chiller to protect allergen-sensitive guests.
This intro lays out a simple, stylish game plan—the next sections give quick-start recipes, prepping tips, and exact tools so your summer party feels effortless and unforgettable.
Key Takeaways
- ice cream party food.
- Plan about 1½ cups per guest to buy the right amounts.
- Mix classic and creative flavors plus top non-dairy brands.
- Thaw firm tubs 20 minutes, serve immediately, then refreeze.
- Arrange toppings smartly; keep candy separate from fruit.
- Use chillers or tubs in ice and one scoop per tub for safety.
Classic Vanilla Ice Cream
4
servings15
minutes3
hours50
minutesA creamy homemade vanilla ice cream using simple ingredients.
Keep the screen of your device on
Ingredients
1 cup 1 heavy cream
1 cup 1 whole milk
0.5 cup 0.5 granulated sugar
1 tablespoon 1 vanilla extract
1 pinch 1 salt
Directions
- In a mixing bowl, combine heavy cream, whole milk, granulated sugar, vanilla extract, and a pinch of salt.
- Whisk until the sugar is completely dissolved and the mixture is smooth, which should take about 2 to 3 minutes.
- Cover the mixture and chill in the refrigerator for at least 2 hours or overnight for best results.
- Once the mixture is thoroughly chilled, pour it into your ice cream maker's bowl according to the manufacturer's instructions.
- Churn the mixture for 20 to 25 minutes or until it reaches a soft-serve consistency.
- Transfer the ice cream into an airtight container and freeze it for at least 4 hours to firm up.
- Serve the ice cream in bowls or cones, allowing it to sit at room temperature for 5 minutes if it’s too hard to scoop.
Recipe Video
Nutrition Facts
- Serving Size: 1g
- Total number of serves: 4
- Calories: 230kcal
- Fat: 17g
- Saturated Fat: 11g
- Trans Fat: 0g
- Polyunsaturated Fat: 0.5g
- Monounsaturated Fat: 4.5g
- Cholesterol: 65mg
- Sodium: 45mg
- Potassium: 105mg
- Carbohydrates: 19g
- Fiber: 0g
- Sugar: 18g
- Protein: 3g
- Vitamin A: 550IU
- Vitamin C: 0mg
- Calcium: 120mg
- Iron: 0mg
- Vitamin D: 1mg
- Vitamin E: 0.5mg
- Vitamin K: 0mg
- Thiamin: 0mg
- Riboflavin: 0.2mg
- Niacin: 0mg
- Vitamin B6: 0mg
- Vitamin B12: 0.2mg
- Folate: 5mg
- Biotin: 0mg
- Pantothenic Acid: 0.3mg
- Phosphorus: 100mg
- Iodine: 0mg
- Magnesium: 10mg
- Zinc: 0mg
- Selenium: 2mg
- Copper: 0mg
- Manganese: 0mg
- Chromium: 0mg
- Molybdenum: 0mg
- Chloride: 0mg
Did you make this recipe?
Tag @https://www.instagram.com/ice_cream_haven/ on Instagram and hashtag it with #IceCreamIceCreamHavens
Like this recipe?
Follow @https://www.pinterest.com/Ice_Cream_Haven/ on Pinterest
Join our Facebook Group!
Follow https://www.facebook.com/icecreamhavens/ on Facebook
Quick-Start List of Fun Ice Cream Party Food Recipes
Kick off your spread with quick, crowd-pleasing recipes that look as fun as they taste. These builds are designed to be bright, fast, and easy to assemble so guests customize every bite.
Classic Ice Cream Sundae Cups with Hot Fudge and Sprinkles
Classic cups layer hot fudge, rainbow sprinkles, and a dollop of whipped cream for instant nostalgia. Serve in small bowls so each guest can add their favorite toppings.
Cookie Crumble Sundaes with Oreos and Whipped Cream
Crush Oreos over rich vanilla for a crunchy, crave-worthy contrast. Top with billows of whipped cream for texture and shine.
Brownie Bite Sundaes with Caramel Sauce and Cherries
Mini brownie bites, caramel drizzle, and maraschino cherries make a decadent tray that disappears fast.
Mint Chocolate Chip Cones with Chocolate Chips and Nuts
Offer cones stacked in two spots and top mint scoops with chocolate chips and chopped walnuts for a cool, crunchy finish.
Strawberry Shortcake Sundaes & DIY Sandwich Board
Fold in fresh strawberries and wafer pieces for a bright shortcake sundae. Build a DIY sandwich board with chocolate chip cookies and multiple fillings for hands-on fun.
“Arrange toppings in small bowls, place sprinkles and M&Ms in the center, and fan cookies around fruit bowls for a vibrant look.”
- Whipped cream, sprinkles, chips, mini M&Ms, Oreos, gummy candies, and fresh fruit.
- Line chips one edge, separate colors, and serve scoops on the side.
- Let guests choose bowls or a cone to tailor each bite.
Crowd-Pleasing Ice Cream Flavors to Scoop
Build a scoop selection that pairs familiar favorites with bright, surprising options for every guest.
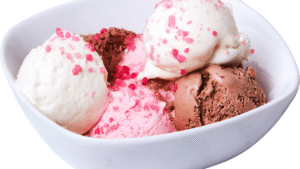
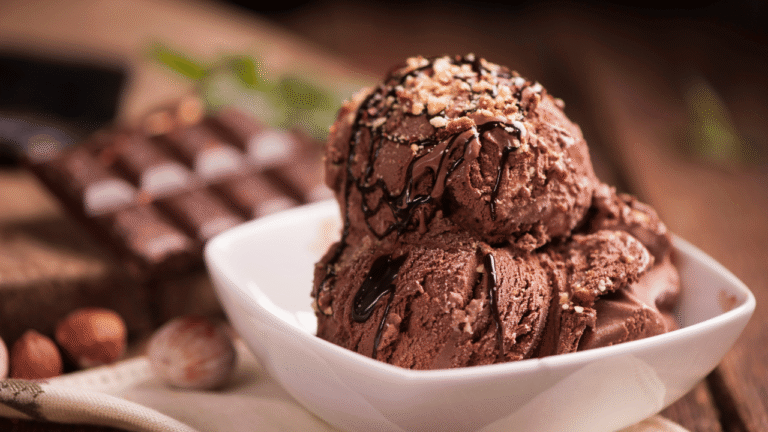
Classics anchor your menu. Start with vanilla, chocolate, and strawberry so every topping works. Vanilla ice cream is the universal pairing for sauces, fruit, and crunchy mix-ins.
Creative favorites
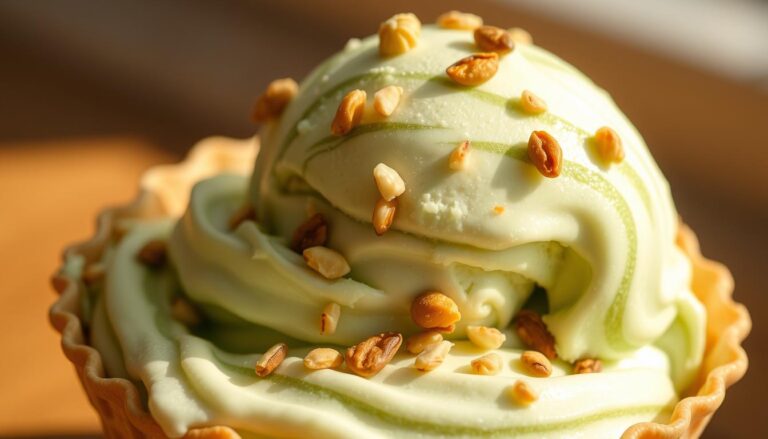
Layer in cookies & cream, cookie dough, mint chocolate chip, coffee, and salted caramel to delight flavor explorers. Buy smaller tubs of adventurous tastes to avoid waste while keeping variety.
Non-dairy and sorbet picks
Offer a couple of dairy-free or sorbet options so kids and adults with needs have choices. Top non-dairy names to try include Jeni’s Dairy-Free, Ben & Jerry’s Non-Dairy Pints, Talenti Dairy-Free Gelato & Sorbetto, Breyers Non-Dairy, Oatly, and So Delicious.
- Balance: one creamy classic, one chocolate-forward, one fruit-bright, and one playful mix-in.
- Label tubs clearly so guests find favorites fast and the line keeps moving.
- Choose the best ice cream your budget allows for richer texture and true flavor payoff.
“A thoughtful flavor spread sets the mood for a generous, welcoming celebration.”
Irresistible Toppings for an Epic Sundae Bar
A vibrant toppings spread turns simple scoops into unforgettable treats. Arrange small add-ins in individual bowls so guests mix freely and lines move fast.
Sweet Tooth All-Stars
Place mini M&Ms, Reese’s pieces, Snickers bits, and gummy bears front and center to catch kids’ eyes and spark smiling faces. For a board serving 12–18, plan about ½ cup of small toppings per bowl section.
Fruit & Nut Boosters
Balance candy with fresh fruit and nuts. Strawberries, bananas, cherries, raspberries, and walnuts add bright flavor and texture.
Keep candies away from moist fruit to prevent color bleed and soggy bites.
Crunch & Cookie Mix-Ins
Add Oreos, chocolate chip cookies, pretzels, and graham cracker crumbs for crunch that contrasts with soft scoops. Fan cookies around fruit bowls for a photogenic layout and easy reach.
“Arrange sprinkles and M&Ms in the center, line chips along one edge, and keep candies separate from produce for the cleanest spread.”
- Build a spread with colorful candies, fruit, crunchy cookies, and salty pretzels.
- Use individual bowls and group like colors for a bright, photogenic display.
- Offer multiple popular choices so favorite toppings don’t bottleneck the line.
Tip: Adults often prefer chocolate and fruit, while kids lean toward gummies and sprinkles. Provide clear labels and a few cream toppings and sauce options nearby so every guest finds their favorite toppings quickly.
Sauces, Syrups, and Drizzles That Make It Dessert
A short lineup of glossy drizzles turns simple scoops into show-stopping desserts. Keep sauces compact but varied so each guest can finish a bowl with confidence.
Hot fudge and chocolate syrup offer that nostalgic, glossy finish that makes a sundae sing. Use a warm insulated server or a squeeze bottle for neat pours.
Caramel, dulce de leche, and butterscotch add rich, buttery notes. These syrups pair wonderfully with crunchy mix-ins and salty pretzels for contrast.
Fruit syrups such as raspberry brighten rich flavors and pair beautifully with vanilla and berries. Keep them chilled and labeled for quick grabs.
Peanut butter sauce and nutty swirls introduce savory-sweet depth. Offer a nutty option for guests who like a more grown-up touch.
- Turn every scoop into a true dessert with a short lineup of reliable drizzles guests can’t resist.
- Place sauces at the end of your line to avoid spills and to finish creations cleanly.
- Keep warm sauces insulated and use ladles or squeeze bottles for tidy, controlled drizzling.
- Pairing ideas: hot fudge with walnuts, caramel with pretzels, raspberry with vanilla for easy wins.
- Keep a stack of napkins nearby to manage drips and keep the line moving.
“A few great sauces elevate even simple sundae combinations into something spectacular.”
For homemade topping ideas and creative sauces to round out your spread, check this collection of homemade toppings and let guests finish each bowl with flair.
Ice cream party food: Build-Your-Own Ice Cream Bar Setup Ideas
Design a tidy build-your-own bar where each step is clear and beautiful to look at. Start with a bar cart or a dedicated table covered in pretty dish towels. Add a chalkboard that lists flavors and sauces so guests find choices fast.
Bowls vs. Cones: Waffle Bowls, Paper Bowls, and Cone Holders
Offer multiple vessel options so everyone picks the right portion. Set out waffle bowls and paper bowls side by side and display cones in an acrylic cone holder for easy one-handed grabs.
Small Containers for Toppings: Mason Jars, Jars, and Muffin Tins
Use small mason jars or muffin tins to keep toppings tidy and easy to restock. Place tiny spoons at each jar and label items clearly to help those with allergies and dietary needs.
Stylish Display: Bar Cart, Dish Towels, Serving Spoons, and a Chalkboard Menu
Dress the station with polished serving spoons and patterned towels for a warm, stylish look. Nestle tubs in a galvanized bin of ice to keep scoopable texture, or use a compact chiller for longer service.
Printable Signage to Guide Guests
Printable signs speed the line. Add a simple “build your sundae” step list, flavor labels, and sauce names so everyone—kids and adults—can move confidently through the setup.
“Create a clean flow from bowls and cones to toppings and sauces so the line moves smoothly.”
- Create a guided flow with a cart or table that leads guests from vessels to toppings.
- Display toppings in jars and muffin tins for a cute, organized layout.
- Keep tubs in a galvanized bin of ice and include a trash and napkin station at the end.
Smart Serving: How to Keep Ice Cream from Melting
Small prep steps let you serve cold, perfect scoops without stress. A short plan keeps lines moving and preserves texture so every guest gets a delightful bowl.
Pre-scoop for speed: Scoop several flavors onto a parchment-lined sheet pan and refreeze. Use a spatula to transfer frozen scoops to bowls when it’s time to serve. This technique limits handling and helps keep ice cream melting at bay.
Practical staging and rotation
Set tubs in a galvanized bin filled with ice and rotate backups from the freezer. Thaw very firm tubs about 20 minutes for scoopability, then serve immediately to protect texture and avoid cream melting.
Chillers, timing, and service flow
An ice cream chiller works best for long outdoor hours. Stage shelf-stable toppings early, slice fruit and add whipped cream just before service, and position napkins and spoons where guests can grab them fast.
- Pre-portion scoops to control portions and speed service.
- Rotate tubs often and encourage small, frequent replenishing.
- Assign a helper to swap pans and refill sauces so you can greet guests.
“Aim for a smooth, ready serve cadence that keeps everything cold, creamy, and party-perfect.”
How Much Ice Cream and Toppings to Buy for Guests
A simple formula makes shopping painless and keeps every bowl full without waste.
Per-person guide: plan about 1½ cups per guest. That means roughly 1¼ gallons (9 pints) for 12 guests and about 2 gallons (15 pints) for 20 guests. Use this rule to decide how much ice cream to buy and to avoid last-minute runs.
Smart topping math
For a board serving 12–18 people, allocate about ½ cup for small mix-ins (sprinkles, chopped candy) and 1 cup for larger items like fruit per section. Offer 5–7 core toppings to keep options varied without clutter.
Planning for a mixed crowd
Adults often prefer chocolate-forward and fruit add-ins. Kids tend toward sweeter candies and gummies. Balance selections and label tubs so guests choose quickly.
- Buy with confidence: 1½ cups per person is your baseline.
- Stock small add-ins at ~½ cup and fruit at ~1 cup per board section.
- Keep extra tubs frozen and set up a small refill station behind the table.
“Translate headcount into gallons or pints for fast, accurate shopping.”
Easy Make-Ahead Treats: Sandwiches, Brownie Bites, and More
Make a show-stopping sandwich board ahead of time to open with a ready-to-serve centerpiece. Assemble chocolate chip cookies with scoops and mix-in candies so guests can grab a handheld treat. Keep sandwiches frozen until the moment guests arrive to preserve clean edges.
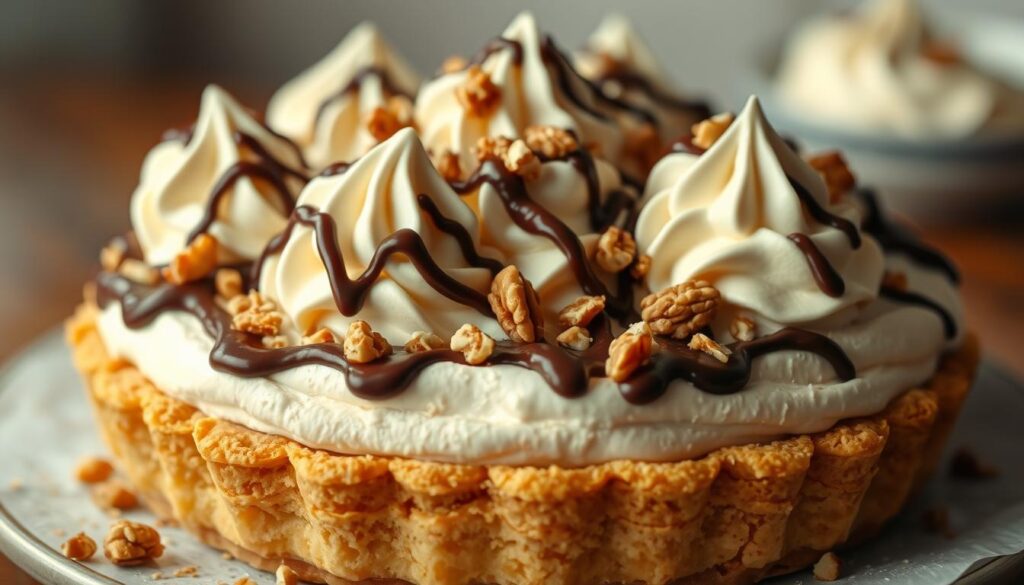
Layer baked goods beside tubs for instant crumble toppings. Cut brownies, pie bars, or dessert pizza into bite-size pieces so they double as topping or a base. Present them close to sauces for quick assembly into a cream sundae or a plated dessert.
Make no-churn and a simple vanilla base the day before. Freeze in pint containers and label with a short recipe card. Offer swirls of caramel, crushed cookies, or berry ribbons so guests can personalize flavor.
“A scoop, a crumble, and a drizzle equals instant applause.”
- Prep an ice sandwich board ahead to open with a showstopper.
- Bake or buy brownies and cookie pieces for easy crumble additions.
- Stir up no-churn and a vanilla ice base, freeze in pints for gifting.
- Keep sandwiches frozen and present baked goods beside scoops for layering.
Tools and Essentials for a Smooth Ice Cream Party
A well-prepared toolkit keeps your cream bar moving and your guests smiling. Set up stations so people can build quickly and safely.
Multiple scoops for each flavor
Use a dedicated scoop per tub to speed service and prevent cross-contamination. This is vital for guests with allergies and makes lines faster.
Chiller and galvanized tub with ice
Park tubs in a chiller or a galvanized bin packed with ice to keep scoopable texture. Rotate backups from the freezer and keep lids closed between rounds.
Sturdy bowls, footed glasses, and plenty of spoons
Offer tough bowls or footed sundae glasses and more spoons than you think you’ll need. Label each flavor and topping so family and kids choose confidently.
Acrylic cone holder and extra napkins
Use an acrylic cone holder to keep cones upright and crisp. Stock lots of napkins and a wipe-down cloth for quick resets and tidy service.
- Provide small spoons for toppings jars so guests build neatly.
- Style the station with dish towels and a mini chalkboard for a polished look.
- Stage backups—extra scoops, towels, and bowls—just off the main table for fast restocking.
- Cap the setup with the best ice management: rotate tubs and swap chilled backups as the event rolls.
“A simple, organized toolkit keeps the bar efficient and guests happy.”
Conclusion
Ready, set, serve, then relax: wrap your event with a short checklist that keeps the sundae bar neat and moving.
Remember the basics: plan 1½ cups per guest—about 1¼ gallons for 12 guests and 2 gallons for 20. Pre-scoop onto a lined sheet pan, set tubs in an ice-filled tub or chiller, and rotate backups from the freezer.
Use small jars or muffin tins for toppings and add a chalkboard menu plus printable labels. Offer classic and non-dairy options (Jeni’s, Ben & Jerry’s Non-Dairy, Talenti Dairy-Free, Breyers Non-Dairy, Oatly, So Delicious) so every guest finds a favorite.
Final tip: keep tools handy—sturdy bowls, extra spoons, napkins, and a ready serve station—and let guests build joyful cream flavors that make your summer party shine.

