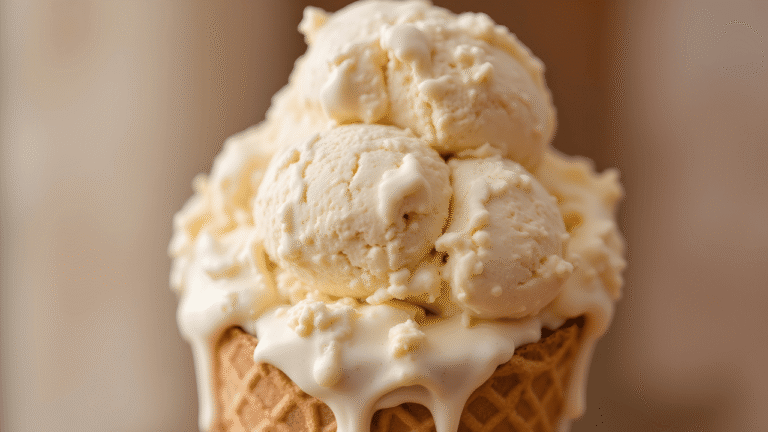
Turn simple ingredients into a silky, custard-style treat by focusing on clean flavor and careful technique. This method rubs granulated sugar with vanilla caviar, uses fewer eggs for a pale, pure color, and heats the dairy gently to 175°F before finishing off-heat near 180°F.
Strain the warm base into an ice bath, chill below 40°F, and age overnight for depth. Pre-freeze your canister at least 24 hours so the mixture churns to a soft-serve texture. Listen for a shift in machine sound, then transfer to shallow, airtight containers with parchment pressed to the surface.
Ripen the frozen desserts in the freezer and enjoy peak texture within 1–2 weeks. The result is a spoonable, silky base with tiny crystals and a floral, layered flavor that proves simple frozen treats can feel truly luxurious.
Key Takeaways
- Best Vanilla Bean Ice Cream Recipe.
- Rub sugar with vanilla caviar to unlock floral notes.
- Use fewer eggs for a lighter color and cleaner flavor.
- Heat to 175°F, finish near 180°F, then cool fast in an ice bath.
- Pre-freeze the canister 24+ hours and chill the base below 40°F before aging.
- Churn to soft-serve, then ripen in shallow, airtight containers.
- Enjoy within 1–2 weeks for best texture and flavor.
Vanilla Bean Ice Cream Recipe Cuisinart
4
servings30
minutes40
minutes300
kcal1
hour10
minutesClassic creaminess with real vanilla essence.
Keep the screen of your device on
Ingredients
1 cup 1 whole milk
3/4 cup 3/4 granulated sugar
2 cups 2 heavy cream
1 teaspoon 1 pure vanilla extract
1 whole 1 vanilla bean
Directions
- In a medium bowl, use a hand mixer on low speed to combine the milk and sugar until the sugar is dissolved, about 2 minutes.
- Stir in the heavy cream and vanilla extract, ensuring all ingredients are well combined.
- Split the vanilla bean lengthwise with a sharp knife and scrape out the seeds. Add the seeds and the whole bean to the milk mixture.
- Cover the bowl and refrigerate for at least 2 hours or overnight for richer flavor development.
- Remove the vanilla bean and stir the mixture before pouring into the ice cream maker bowl.
- Set the ice cream maker to manufacturer’s instructions, and churn the mixture for 15-20 minutes, or until thickened.
- Transfer the ice cream to an airtight container and freeze for an additional 2 hours, for a firmer texture before serving.
Recipe Video
Nutrition Facts
- Serving Size: 125g
- Total number of serves: 6
- Calories: 290kcal
- Fat: 22g
- Saturated Fat: 14g
- Trans Fat: 0g
- Polyunsaturated Fat: 0.5g
- Monounsaturated Fat: 6g
- Cholesterol: 80mg
- Sodium: 50mg
- Potassium: 100mg
- Carbohydrates: 22g
- Fiber: 0g
- Sugar: 23g
- Protein: 3g
- Vitamin A: 1000IU
- Vitamin C: 1mg
- Calcium: 100mg
- Iron: 0.5mg
- Vitamin D: 2mg
- Vitamin E: 0.5mg
- Vitamin K: 1mg
- Thiamin: 0.05mg
- Riboflavin: 0.2mg
- Niacin: 0.3mg
- Vitamin B6: 0.05mg
- Vitamin B12: 0.5mg
- Folate: 10mg
- Biotin: 2mg
- Pantothenic Acid: 0.3mg
- Phosphorus: 85mg
- Iodine: 15mg
- Magnesium: 10mg
- Zinc: 0.5mg
- Selenium: 2mg
- Copper: 0.05mg
- Manganese: 0.02mg
- Chromium: 1mg
- Molybdenum: 2mg
- Chloride: 100mg
Did you make this recipe?
Tag @https://www.instagram.com/ice_cream_haven/ on Instagram and hashtag it with #IceCreamIceCreamHavens
Like this recipe?
Follow @https://www.pinterest.com/Ice_Cream_Haven/ on Pinterest
Join our Facebook Group!
Follow https://www.facebook.com/icecreamhavens/ on Facebook
Why this vanilla bean custard shines right now
A bright, bean-forward custard feels especially right now, balancing clean aroma with cool comfort.
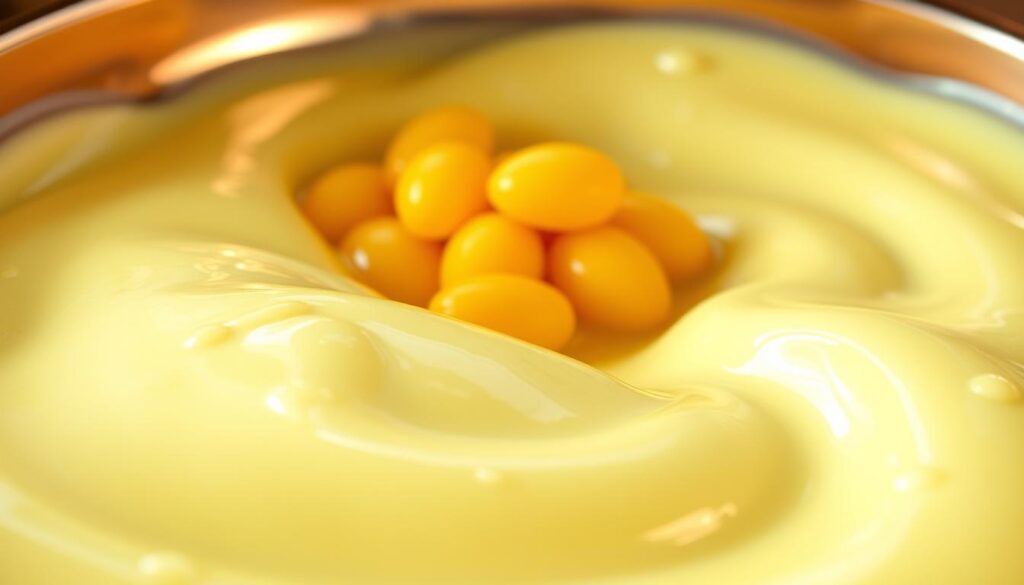
Two whole eggs keep the color pale and let the vanilla sing. Heating slowly to 175°F on medium avoids curdling; stirring off the heat toward 180°F sets the base without boiling.
Aging the chilled base below 40°F for several hours—ideally overnight—builds body and improves scoopability. That rest time stabilizes fat networks and shrinks ice crystals for smoother texture.
Short ingredient lists reward careful technique: gentle heat, steady stirring, and a quick plunge into an ice bath safeguard the custard’s elegance.
Pre-freezing the canister at least 24 hours shortens churn time and reduces iciness, so your homemade ice cream forms into lush scoops faster.
- Fewer eggs protect the bean’s nuanced aroma.
- Precise temperatures lock in a satiny feel.
- Patience—aging for hours—yields better mouthfeel.
Ingredients for an ultra-creamy vanilla-forward base
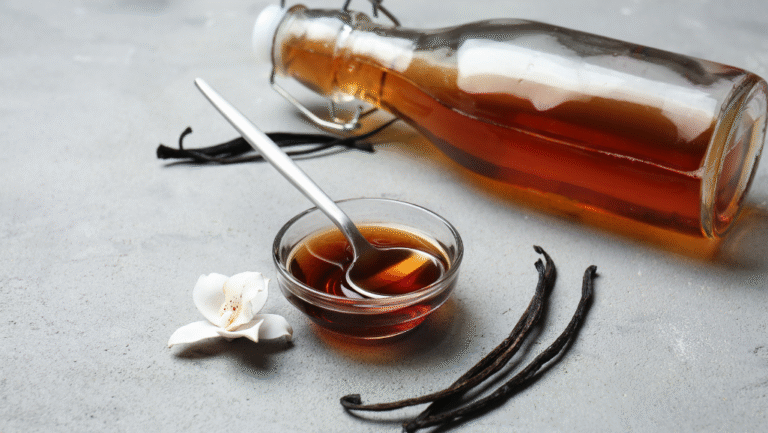
Start with ingredients that do heavy lifting: one plump Grade A bean, cold dairy, and careful salt. Choose a supple pod that smells floral; a single pod yields plenty of caviar for specks and deep aroma.
Choosing pods and savvy buying
Select Grade A pods that feel moist and fragrant. Buying online or in bulk (for example, Slo Food Group) often saves money versus single pods at retail.
Dairy and proportions
Use 2 cups heavy cream and 1 cup whole milk for a rich but balanced base. Half-and-half can replace some cream to lighten texture if you prefer.
Eggs, sugar, and seasoning
Rub 1/2 cup granulated sugar with scraped caviar to disperse specks and prevent clumps. Whisk in two large eggs and a pinch of kosher salt (Diamond Crystal tested; halve the amount for Morton’s).
Extract vs. whole pod
Extract works in a pinch, but a whole pod layers subtle perfume and visual specks. Return the spent pod to the warm base to coax out every last drop of flavor, or save it to steep homemade extract.
“Thoughtful ingredients make a simple base taste unforgettable.”
Tools and setup: your ice cream maker, thermometer, and cold-ready bowls
A calm mise en place is the unsung tool behind every salon-quality churn. Lay out each item so transitions from stove to ice bath happen in minutes. That small discipline preserves delicate vanilla aromatics and improves final texture.
Canister and maker readiness
Freeze the canister at least 24 hours before you plan to churn. A fully chilled ice cream maker shortens churn time and cuts iciness.
Thermometer, strainer, and bowls
Use a reliable instant-read thermometer to hit 175°F without stress. A heavy-bottomed saucepan spreads heat evenly and prevents scorching as you stir.
Set up two nesting metal bowls for an ice bath. Rapid cooling in this bowl combo reduces crystal growth immediately after cooking.
- Fine-mesh strainer: keeps curdled bits out but lets vanilla specks through.
- Whisk, spatula, rubber spatula: scrape edges and stir for even thickening.
- Pre-chill containers: store in airtight container and press parchment on the surface.
“Staging your tools turns ordinary steps into pro-level results.”
Best vanilla bean ice cream recipe: step-by-step method
Work with clear stages so the custard forms smoothly and the flavor blooms. This method keeps timing tight and heat gentle to protect aroma and texture.
Rub, whisk, and build the base
1. Scrape the caviar and massage it into 3/4 cup sugar so seeds disperse and aroma blooms.
2. Whisk in 2 large eggs and 1/4 tsp kosher salt until the mixture lightens and thickens slightly.
Heat, strain, and cool
Whisk in 2 cups cream and 1 cup milk, add the spent pod, then cook over medium, stirring constantly to 175°F (about 8 minutes).
Pull from heat and stir for one minute to reach ~180°F. Strain into a cold metal bowl set in an ice bath and return the pod to steep.
Chill, churn, and finish
Chill the base to ≤40°F, ideally overnight. Churn to soft-serve, then transfer to shallow airtight containers.
- Press parchment on the surface, freeze until firm.
- Keep patience: cooking takes minutes, but chill time makes the difference.
“Small, timed steps turn a simple mixture into a silky custard that freezes into memorable scoops.”
Technique and science: custard cues, yolks, and avoiding iciness
Mastering the custard’s cues makes the difference between silky scoops and grainy disappointment. Watch texture, not the clock: a few visual and tactile signs tell you the base is ready.
Why fewer yolks keep flavor bright
Using fewer yolks reduces eggy notes and keeps the color pale so the vanilla can sing. Two yolks won’t mask delicate floral aromatics, yet they add silk and stability to the custard.
Tempering versus gradual heating
Both approaches work. Tempering protects eggs when you add hot dairy to the whisked yolks. Gradual heating from the start also succeeds if you mix sugar into the eggs and stir steadily.
Tip: sugar and thorough whisking buffer the eggs, letting you use steady, medium heat and avoid a hectic tempering step.
Preventing iciness and over-churning
Fast chilling in an ice bath and aging the base below 40°F reduce ice formation. A fully frozen canister and a deeply chilled base shorten churn time and keep texture smooth.
Stop churning at soft-serve. Over-churning whips in air and can harm body; let the freezer finish firming the texture.
Troubleshooting: curdling and heat control
Stir constantly, scraping edges and bottom where heat concentrates. Use medium, controlled heat and avoid boiling—~180°F is the upper target. If tiny bits form, a fine strainer fixes texture without removing vanilla specks.
“Watch cues, not the clock: nappe on a spoon and a clean line drawn with your finger mean the custard is set.”
- Visual cue: light coating (nappe) on a spoon.
- Textural cue: a stable line when you draw a finger through the custard.
- Practical habit: constant stirring and medium heat preserve a dreamy custard.
Serving ideas and creative variations
Pairing a silky frozen scoop with a warm dessert makes every bite sing. Try a generous scoop alongside a warm blackberry cobbler so the tart fruit and cool texture balance. A square of dense chocolate cake also benefits from a chilled, aromatic contrast.
Perfect pairings and small plates
For coffee-friendly desserts, add a light espresso drizzle to amplify depth. Serve slightly warm so the chilled scoop softens into glossy pools for dramatic plating.
Mix-ins and gentle swirls
Keep additions subtle: ribbons of caramel, a coffee swirl, or flecks of nut brittle complement the bean-forward profile without stealing focus. Introduce delicate shortbread crumbs or toasted nuts after churning to preserve a smooth body.
Finishing touches and hosting tips
Finish with warm fudge, a whisper of citrus zest, or a pinch of flaky salt to heighten contrast. If whole beans aren’t handy, vanilla extract makes a fine substitute; save spent pods to steep homemade extract later.
“Let restraint guide you—enhancements should support the flavor, not mask it.”
- Use small serving containers to keep scoops firmer at the table.
- Play with macerated berries or a touch of cardamom—taste as you go.
- Serve warm-and-cold combinations for the best sensory impact.
Storage, containers, and make-ahead timing
How you store frozen custard finishes the work you do on the stove. A quick, calm transfer into the right vessel keeps texture glossy and minimizes ice. Follow a few simple steps to protect the flavor and body you built in the base.
Best containers and surface protection
Use shallow, airtight containers so the mixture hardens evenly and fast. Shallow storage reduces large ice crystals and keeps the top scoopable.
Press parchment directly onto the surface before sealing. This cut off air and holds that glossy finish you want after days in the freezer.
Freezer timing: soft-serve to scoopable
Fresh-churned texture is soft-serve; let it ripen in the freezer for a few hours until scoopable. For predictable results, pre-freeze the canister for at least 24 hours and chill the base to ≤40°F before churning.
Label containers with the churn date and flavor so you can rotate and enjoy within 1–2 weeks while quality is highest.
Texture tips after freezing
Store smaller portions so you only open what you’ll serve. Frequent thaw-and-refreeze cycles encourage ice growth; a steady, cold freezer helps keep a fine texture.
Before serving, let the container sit a few minutes at room temp. That brief rest eases scooping without melting the whole batch.
“Careful handling from churn to container is the final step that makes homemade ice cream rival a scoop shop.”
- Pre-chill containers to speed cooling when you transfer.
- Use a chilled bowl for any quick mixes or swirls before packing.
- Divide into smaller containers to preserve unopened portions longer.
Pro tips for homemade ice cream success
Small, attentive habits at the stove and the churn make the difference between silky custard and a grainy finish. These practical tips help you protect texture, aroma, and mouthfeel.
Listen and move with purpose: many ice cream maker models change pitch as the mix thickens. Stop when the sound shifts—this signals soft-serve texture and the ideal time to finish churning.
Listen for the churner’s sound change at soft-serve stage
Train your ear to the maker’s pause or higher pitch. That audible cue beats a strict timer because it tracks viscosity, not clocked minutes.
When the churn slows, transfer quickly to shallow containers and press parchment to the surface to avoid surface ice.
Don’t walk away: steady medium heat and constant stirring
On the stove keep to steady medium heat. Stir constantly, scraping the pan edges so the custard thickens evenly without curdling.
Have your strainer, ice bath, and storage ready before you start. Smooth handoffs keep the base cold and shorten churn time.
- Pre-freeze the canister 24 hours so the cream maker chills fast and churning is efficient.
- Aged, cold base shortens churn time and preserves delicate vanilla aromatics.
- Avoid over-churning — let the freezer finish firming after you reach soft-serve.
- Use minutes for key intervals, but rely on nappe and nappe cues to confirm doneness.
“A calm, deliberate process yields a custard that churns like a dream every time.”
Conclusion
Finish with confidence: a restrained custard and patient chilling turn modest ingredients into memorable scoops.
Choose Grade A pods, balance two yolks for silk, and hold steady heat to the 175–180°F window. Strain to remove chalazae while keeping those tiny specks that signal real flavor.
Chill the base below 40°F, listen for the churner’s change at soft-serve, then press parchment and ripen in shallow, airtight containers in the freezer. Small choices—fast cooling, the right pod, and careful yolk balance—separate good from unforgettable.
Make this method your template. With a calm stove, a cold bowl, and a keen ear, your homemade ice cream can rival a shop scoop and stay delightful for 1–2 weeks.


