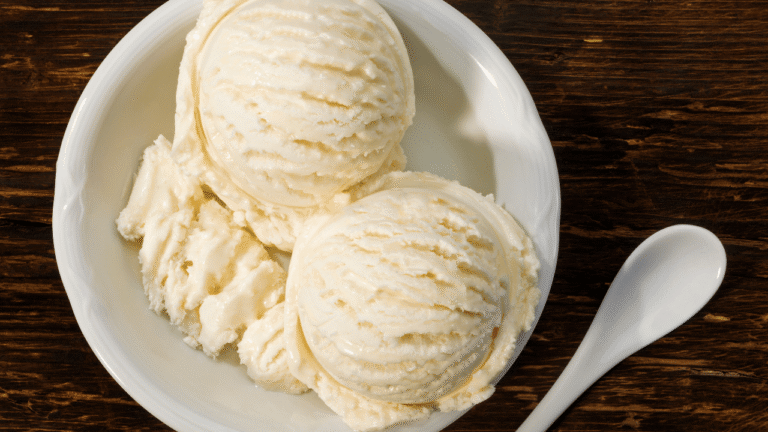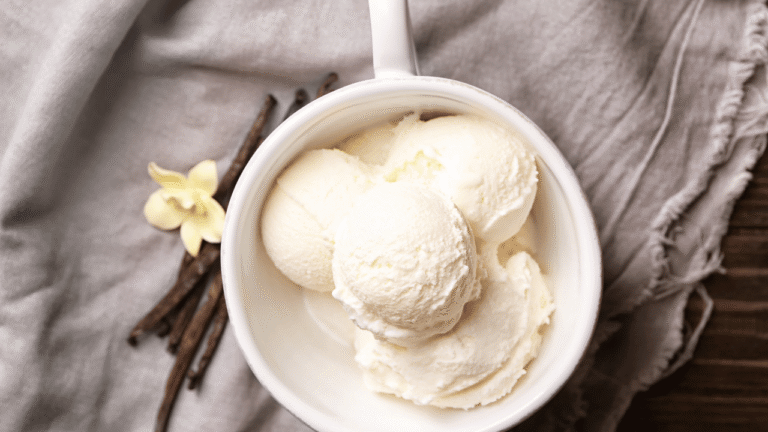

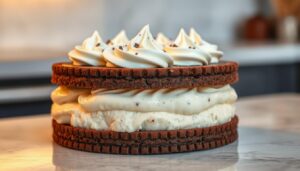

Homemade Vanilla Ice Cream
4
servings30
minutes40
minutes300
kcal1
hour10
minutesEasy homemade vanilla ice cream with everyday ingredients.
Keep the screen of your device on
Ingredients
2 cups 2 heavy cream
1 cup 1 whole milk
3/4 cup 3/4 granulated sugar
1 tablespoon 1 vanilla extract
1/4 teaspoon 1/4 salt
Directions
- In a medium bowl, whisk together heavy cream, whole milk, granulated sugar, vanilla extract, and salt until sugar is completely dissolved.
- Cover the mixture with plastic wrap and refrigerate for at least 2 hours until chilled.
- Pour the chilled mixture into the ice cream maker and churn according to the manufacturer's instructions, approximately 20-25 minutes.
- Once the ice cream reaches a soft-serve consistency, transfer it to an airtight container.
- Place the container in the freezer for at least 2 hours to allow the ice cream to firm up.
- Serve the ice cream in bowls or cones, and enjoy immediately.
Nutrition Facts
- Total number of serves: 8
- Calories: 250kcal
- Cholesterol: 70mg
- Sodium: 50mg
- Potassium: 80mg
- Sugar: 18g
- Protein: 3g
- Calcium: 100mg
- Iron: 0mg
- Thiamin: 0mg
- Riboflavin: 0.1mg
- Niacin: 0mg
- Folate: 0mg
- Biotin: 0mg
- Phosphorus: 80mg
- Iodine: 0mg
- Magnesium: 8mg
- Zinc: 0.3mg
- Selenium: 2mg
- Copper: 0mg
- Manganese: 0mg
- Chromium: 0mg
- Molybdenum: 0mg
- Chloride: 0mg
Did you make this recipe?
Tag @https://www.instagram.com/ice_cream_haven/ on Instagram and hashtag it with #IceCreamIceCreamHavens
Like this recipe?
Follow @https://www.pinterest.com/Ice_Cream_Haven/ on Pinterest
Join our Facebook Group!
Follow https://www.facebook.com/icecreamhavens/ on Facebook
Your No‑Bake Summer Showstopper
Line a deep 9×13 pan with 12 ice cream sandwiches to start a quick, showy centerpiece that comes together in about 10 minutes of hands‑on time. Spread half of a 16‑ounce tub of thawed Cool Whip over the first layer, then add a ribbon of chocolate or hot fudge and a drizzle of caramel sauce. Sprinkle toppings for color and crunch, repeat with another 12 ice cream sandwiches, and finish with the remaining whipped topping on top.
Freeze for 1–3 hours or overnight for clean, sliceable layers; serve chilled (best slightly firm, not rock solid). A deep lasagna pan helps keep edges straight and makes pressing easier so each layer sets evenly. Lightly press softened sandwiches (they should give slightly at the edges) so the layers lock into a neat loaf that slices like a pro.
- This no‑bake wonder was made for hot days—assemble fast, then chill.
- A quick chocolate drizzle on each layer gives a classic sundae look with little effort.
- Finish the top with sprinkles or chopped treats to add texture in every forkful.
| StepActionTime | ||
| 1 | Line pan with 12 sandwiches and spread half of Cool Whip | 5 minutes |
| 2 | Drizzle sauces (chocolate, hot fudge, caramel), add toppings, repeat layer | 3 minutes |
| 3 | Top with remaining whipped topping and chill until firm | 1–3 hours or overnight |
Printable recipe card • Serves 8–12 • Best served slightly firm from the freezer
Ingredients, Tools & Simple Swaps for an Easy Dessert
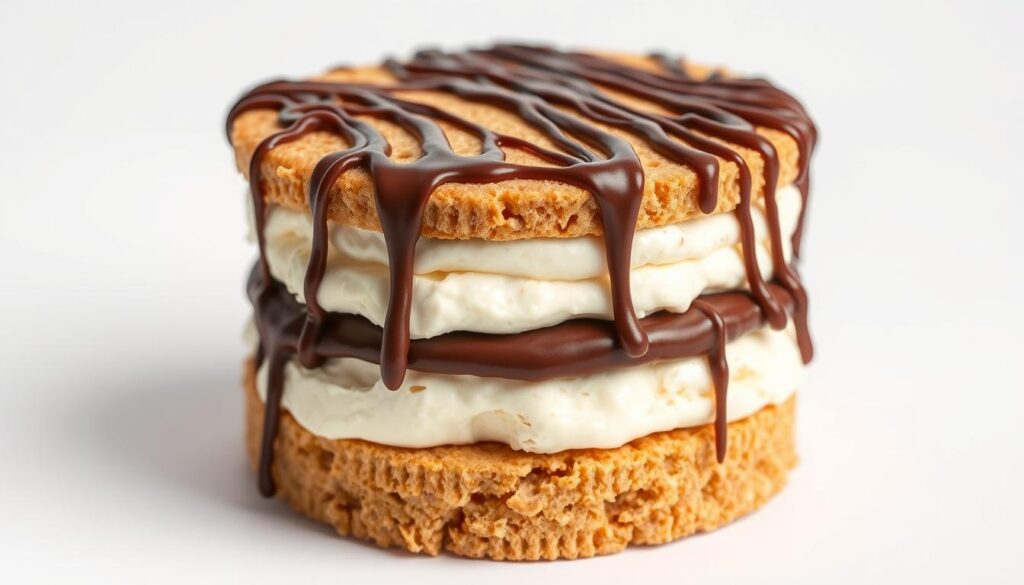
A few smart choices—sandwich flavor, a sturdy pan, and a cold whipped topping—make assembly effortless.
What you’ll need
Plan on about 24 rectangular ice cream sandwiches for a deep 9×13. Use one 16‑ounce tub of whipped topping (such as Cool Whip) thawed in the refrigerator overnight. Add chocolate syrup and caramel sauce plus mix‑and‑match toppings: mini M&M’s, crushed Oreos, toffee bits, chopped nuts, or chopped candy bars. (If your brand’s sandwiches are smaller, you may need 26–30 — measure one layer first.)
Best pan and setup
Choose a deep 9×13 baking dish or lasagna pan to keep sides tall and layers tidy. For travel, a foil pan with a fitted lid protects the decorated top and fits in the freezer easily.
Simple swaps and tips
Vanilla, Neapolitan, or chocolate ice cream sandwich flavors all work; round “Skinny Cow” style needs about 24–30 pieces. Prefer homemade? Lightly sweetened whipped cream (whip cold heavy cream to soft peaks and stabilize with a tablespoon of powdered sugar or a bit of cream cheese) can replace store topping—spread fast and freeze promptly for cleaner slices. For dietary swaps, use dairy‑free sandwich bars or gluten‑free cookies as needed.
| ItemAmountNotes | ||
| Rectangular ice cream sandwiches | 24 | About 12 per layer for a 9×13 pan; measure your brand |
| Whipped topping (Cool Whip) | 16 oz | Thaw in fridge overnight; holds up well in freezer |
| Sauces & toppings | As desired | Chocolate syrup, caramel sauce, crushed Oreos, candy bars, sprinkles |
For a full step‑by‑step guide and serving ideas, see the complete recipe & printable card.
How to Make Ice Cream Sandwich Cake
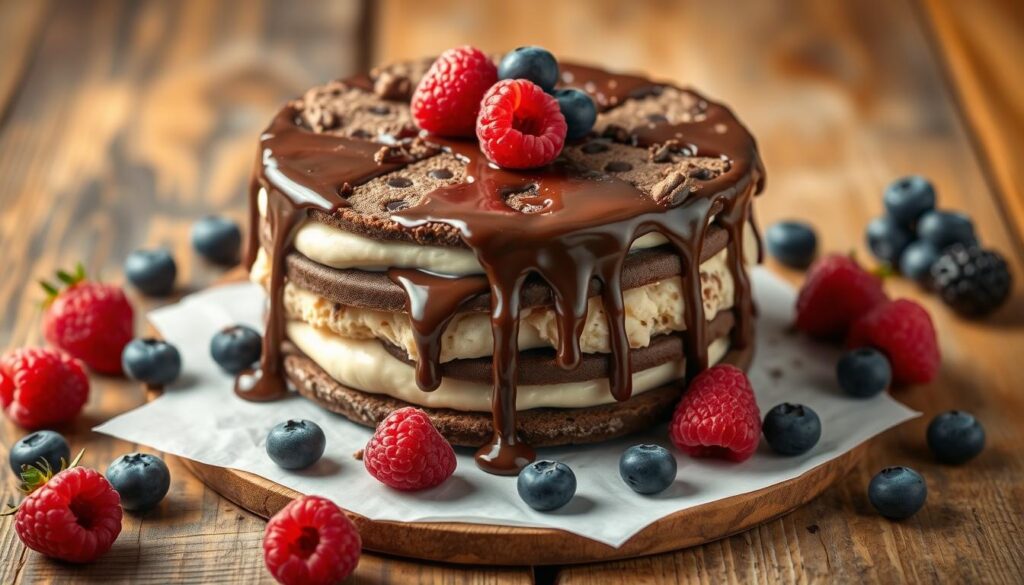
Follow a simple, layered method to build this showstopping frozen dessert with minimal hands‑on time.
Start by arranging 12 ice cream sandwich bars snugly in a deep 9×13 baking dish. Let the edges soften just enough that the sandwiches give when pressed—about 30–90 seconds in a warm kitchen—so they settle flat without melting through. Gently press down with a spatula or a sheet of parchment to create an even first layer.
- Spread half of a 16‑ounce tub of whipped topping over the first layer to seal gaps and smooth the surface.
- Drizzle hot fudge or chocolate syrup and a ribbon of caramel sauce for sundae flavor; sprinkle chopped cookies or candy for crunch.
- Repeat with a second layer of 12 bars, then frost the top with the remaining whipped topping.
Freeze for 1–3 hours or overnight for the cleanest slices; overnight yields firmer, neater portions. A deep lasagna pan helps keep layers even if you prefer not to press. Don’t let the assembled cake sit at room temperature more than 10 minutes when decorating or serving.
Quick serving tips: Run a serrated knife under hot water for 10–15 seconds, wipe dry, then slice in long, decisive strokes. Wipe the blade between cuts to keep slices tidy. Return unused portions to the freezer right away.
Want to use homemade ice cream? If you make ice cream, chill it fully before assembling so the layer ice sets quickly; treat homemade fillings the same as store bars when layering.
“A serrated knife and quick plating keep slices tidy on warm days.”
| StepActionTime | ||
| 1 | Line 12 bars in bottom of dish and press (edges should give slightly) | 2 minutes |
| 2 | Spread half the whipped topping; add sauces (hot fudge, chocolate) and toppings | 3–5 minutes |
| 3 | Repeat layer, frost, then freeze until firm | 1–3 hours or overnight |
Toppings, Variations & Party Ideas
Give your layered dessert a personality by mixing cookies, chopped bars, and a drizzle that suits the season.
Top 5 crowd‑pleaser combos
- Cookies & Cream: crushed Oreos between layers and on top for a cookies-and-cream twist (use coarse crumbs so they don’t get soggy).
- Candy Bar Crunch: chopped Butterfinger, Snickers, or Reese’s peanut butter cups scattered in each layer.
- Birthday Vibes: cake‑flavored or brightly colored sandwiches finished with rainbow sprinkles.
- Neapolitan Nostalgia: mix vanilla, strawberry, and chocolate sandwiches; add sliced strawberries for a fresh touch.
- Hot Fudge & Caramel: alternating ribbons of hot fudge and caramel sauce for sundae-style richness.
Oreo crush and cookies-and-cream twist
Turn it into a cookies-and-cream dream by sprinkling about 1/2 to 3/4 cup crushed Oreos between layers and a light dusting on top. Use coarse crumbs so the texture stays crunchy after freezing.
Candy bar crunch
Go full candy-shop: chop candy bars into small pieces and scatter so each slice has a crunchy surprise. Note: contains nuts in peanut butter cups — offer nut-free candy alternatives where needed.
Fudge, caramel, and Magic Shell
Swap sauces to set the mood: silky chocolate or hot fudge for richness, buttery caramel for chew, or Magic Shell for a satisfying crackle on top. Be aware Magic Shell may set differently on very cold whipped topping—warm slightly if it won’t drizzle.
| SauceEffectPairings | ||
| Chocolate / Hot fudge | Rich, smooth | Peanut butter cups, Oreos |
| Caramel | Buttery, chewy | Toffee, chopped bars |
| Magic Shell | Crunchy shell | Sprinkles, chopped candy |
“A few well-chosen toppings transform the look and flavor in seconds.”
Make‑Ahead, Storage & Pro Tips
Assemble your frozen centerpiece in minutes, then let the freezer do the work while you plan the party.
Timeline
Quick build: plan on about 10–15 minutes of hands‑on time to layer and decorate. Freeze at least 1–3 hours before serving; overnight is ideal for the firmest, cleanest slices.
Make‑ahead schedule
- T‑24 hours: thaw whipped topping in the fridge.
- T‑2 hours: line and assemble layers (hands‑on time ~10–15 minutes).
- T‑overnight: freeze for best slicing results; refrigerate briefly before serving if needed.
Freezer storage
Wrap the dish tightly with foil or plastic to prevent freezer burn and label with the date. A foil pan with a lid protects the decorated top and makes transport simple — great for potlucks and events.
Beat the melt
Keep the whipped topping cold and work quickly in warm kitchens. For neat slices, run a serrated knife under hot water for 10–15 seconds, dry it, and slice in long, decisive strokes; wipe between cuts. Don’t let slices sit out more than 10 minutes, and avoid refreezing portions that have fully thawed.
Smart substitutions
Try sugar‑free or light whipped topping, swap nuts for cookies to avoid allergens, or add extra sprinkles for color. If you prefer to make ice cream at home, chill it fully before layering so the layer ice sets promptly. Clearing a flat shelf in the freezer ensures the dish chills level and sets evenly.
| TipWhy it helpsWhen to use | ||
| Freeze overnight | Best for firm, clean slices | Birthday party or potluck |
| Foil pan with lid | Protects top for travel | Transport to events |
| Serrated knife | Cleaner cuts, less melting | Serving at warm gatherings |
“Prep ahead and let the freezer finish the work — you’ll thank yourself at party time.”
Why This Ice Cream Sandwich Cake Wins Every Time
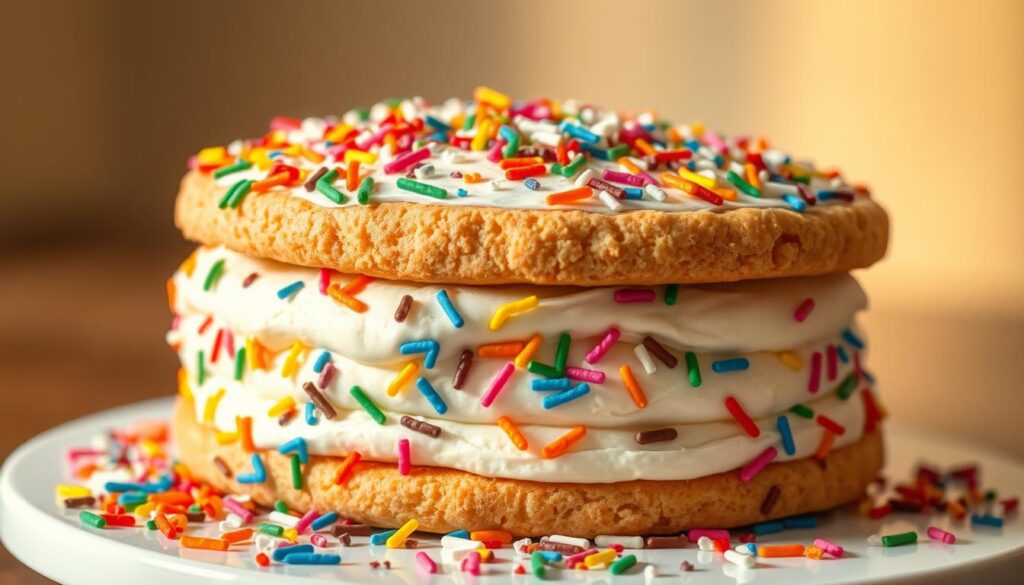
Quick, reliable, and endlessly fun: this Ice Cream Sandwich Cake comes together with about 10–15 minutes of hands‑on time and freezes firm for clean, showy slices.
Speed is the star. Layer ice cream sandwiches, add whipped topping and sauces, then freeze — perfect for birthdays, potlucks, or casual summer gatherings. It scales easily for a crowd and travels well in a foil pan with a lid.
Flexibility fuels creativity. Use vanilla, chocolate, or Neapolitan sandwiches; swap in crushed cookies or chopped bars; add chocolate or caramel ribbons. A peanut butter ribbon or a crisp Magic Shell provides contrast and texture without extra fuss.
Tools matter: choose a deep dish for tidy layers and a serrated knife for clean slices. The simple method makes this cream sandwich cake a reliable ice cream cake alternative any host can trust.
“Simple layers, smart tools, and a little freezer time make a showstopping dessert every host can trust.”
- Fast to build and beautiful to serve.
- Endless flavor swaps and toppings welcome.
- Scales for crowds and travels well in a lidded pan.
Make it your signature: change colors, sauces, or toppings to match the occasion and pin this easy dessert for summer entertaining.
Conclusion
Finish strong with a chilled centerpiece that comes together in minutes and pleases every crowd.
This simple recipe builds a reliable cream sandwich cake using 24 rectangular sandwiches, about 16 ounces of whipped topping, and ribbons of chocolate and caramel to define each layer. Press gently in a deep dish, add a generous top layer of whipped topping, then decorate with chopped candy or cookie bits.
Freeze at least 1–3 hours (overnight is best). Store tightly covered in a foil pan or airtight dish and label with the date; for best quality, enjoy within 3–5 days. Slice with a serrated knife and serve promptly for neat portions.
With just a few ingredients and 10–15 minutes of hands‑on time, this no‑bake dessert makes birthdays and summer gatherings effortless. Save or print the recipe and personalize the topping to make it your signature ice cream cake.
FAQ
How long does it take to assemble this no‑bake summer showstopper?
What are the essential ingredients and tools I need?
Can I use real whipped cream instead of Cool Whip?
What flavor combinations work best?
How do I prevent the dessert from getting icy in the freezer?
Can I make substitutions for dietary needs?
What’s the best way to slice and serve clean pieces?
Can I assemble this ahead for a birthday or potluck?
Any tips for adding a cookie or Oreo layer?