Make a spoonful that sings. This homemade dessert blends a rich vanilla base with crushed candy bars for a creamy-meets-crunchy bite that the whole family will love.
We use a classic churned method so you can enjoy soft-serve straight from the machine or let it ripen in the freezer for scoopable texture. Pre-chill the base and freeze the canister to speed freezing and cut down on ice crystals.
The texture is key: a smooth, custard-like base without eggs carries ribbons of chocolatey, peanutty bars for contrast. Add crushed pieces in the final five minutes of churning to keep chunks intact and bold.
Quick timeline: minimal hands-on time, about 20–25 minutes to churn, and 2–3 hours in the freezer for firm scoops. Store in an airtight container for up to a month, or longer depending on your freezer.
Key Takeaways
- Butterfinger Ice Cream Recipe.
- Classic churn gives soft-serve now or scoopable treats after a short freeze.
- Pre-chilling the base and canister improves texture and reduces ice.
- Add candy bars late in the churn for big, crunchy pieces.
- Simple, family-friendly method that yields a crave-worthy flavor and texture contrast.
- Store properly to keep freshness and best mouthfeel for weeks.
Butterfinger Ice Cream
8
servings30
minutes4
hours450
kcalDelicious homemade Butterfinger ice cream with simple ingredients.
Keep the screen of your device on
Ingredients
1 cup 1 granulated sugar
2 cups 2 heavy cream
1 cup 1 whole milk
1 teaspoon 1 vanilla extract
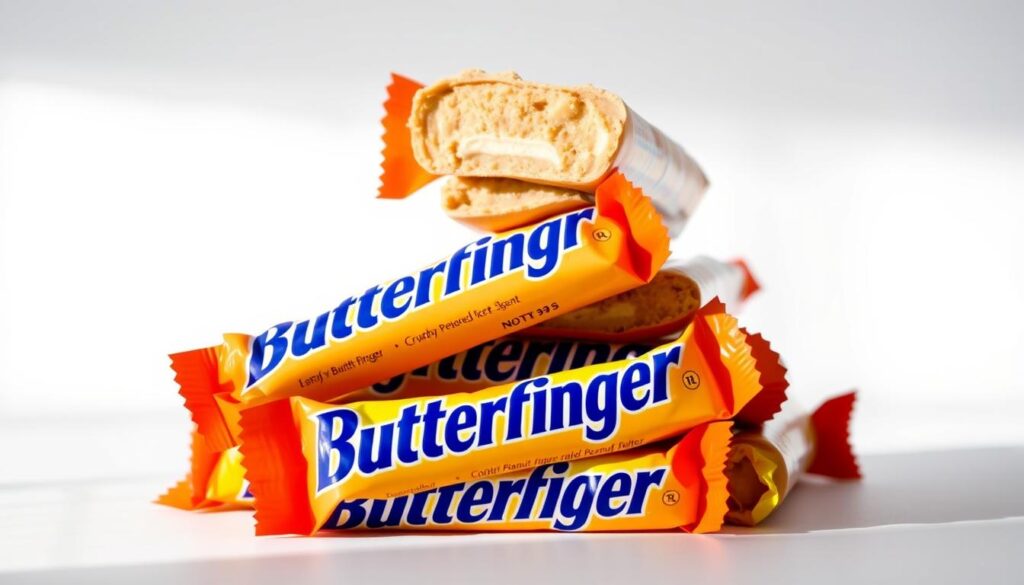
5 pieces 5 Butterfinger candy bars
Directions
- Chop the Butterfinger candy bars into small pieces, around 1/4 inch in size, and set them aside for later use.
- In a medium bowl, combine the granulated sugar, heavy cream, whole milk, and vanilla extract; whisk until sugar is dissolved.
- Cover the mixture and refrigerate for at least 1 to 2 hours, or until it is completely chilled.
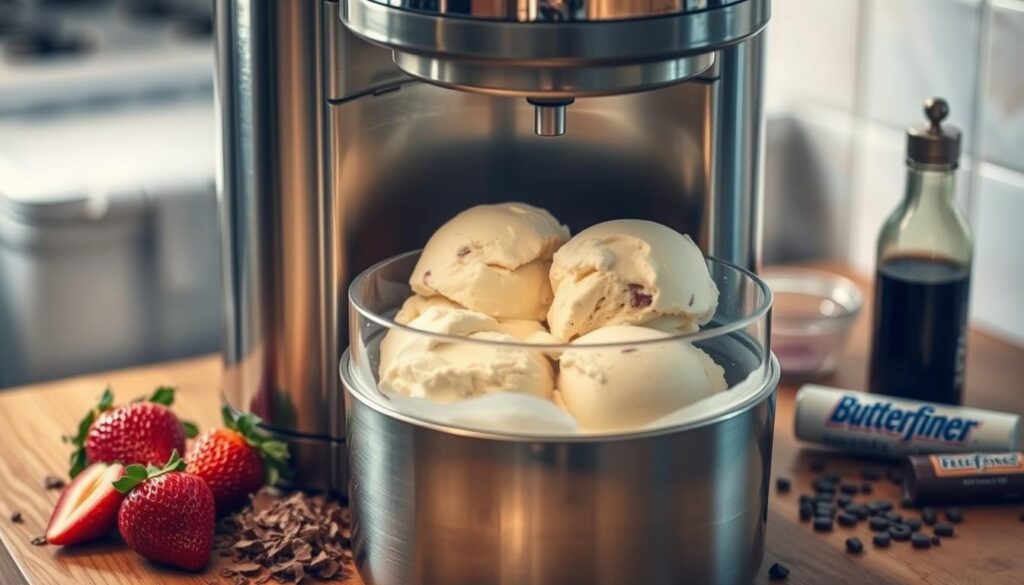
- Pour the chilled mixture into the ice cream maker and churn according to the manufacturer's instructions, typically for 20 to 25 minutes.
- About 5 minutes before the churning is complete, add the chopped Butterfinger pieces to the ice cream maker.
- Once the ice cream is thick and creamy, transfer it to an airtight container and freeze for 3 to 4 hours before serving.
- For best results, let the ice cream sit at room temperature for a few minutes before scooping to soften slightly.
Recipe Video
Nutrition Facts
- Calories: 450kcal
- Cholesterol: 85mg
- Sodium: 120mg
- Potassium: 150mg
- Sugar: 40g
- Protein: 5g
- Calcium: 15mg
- Iron: 2mg
- Thiamin: 2mg
- Riboflavin: 2mg
- Niacin: 1mg
- Folate: 2mg
- Biotin: 2mg
- Phosphorus: 15mg
- Iodine: 2mg
- Magnesium: 10mg
- Zinc: 5mg
- Selenium: 5mg
- Copper: 2mg
- Manganese: 2mg
- Chromium: 1mg
- Molybdenum: 1mg
- Chloride: 0mg
Did you make this recipe?
Tag @https://www.instagram.com/ice_cream_haven/ on Instagram and hashtag it with #IceCreamIceCreamHavens
Like this recipe?
Follow @https://www.pinterest.com/Ice_Cream_Haven/ on Pinterest
Join our Facebook Group!
Follow https://www.facebook.com/icecreamhavens/ on Facebook
Why You’ll Love This Homemade Butterfinger Ice Cream
You’ll fall for the way a smooth, spoon-coating base meets bold, crunchy chunks in each bite. The texture is velvety yet lively, with candy bars folded in late so pieces stay chunky and distinct.
What to expect: whisk the milk and cream base in minutes, then churn about 20–25 minutes. Add the candy during the final five minutes so the bits keep their crunch.
The yield is flexible. Make a large batch for parties (about 16 servings) or a smaller one for family bowls (6–8). Serve straight from the maker for soft-serve or freeze 2–3 hours for scoopable texture.
Family-friendly timing and flavor
- Velvety base highlights the chocolate-peanut crunch for a premium flavor and texture.
- Simple hands-on time: a few minutes to prep, then minutes of churn time and a short freeze if desired.
- Leftovers keep well when sealed tightly—perfect for late-night bowls and repeat servings.
Butterfinger Ice Cream Recipe Ingredients and Tools
Gather your pantry and tools so the base comes together quickly and the bars stay crunchy. Start with cold dairy and quality vanilla to build a stable, flavorful base.
Base ingredients: whole milk, heavy cream, granulated sugar, and vanilla extract. Add a pinch of sea salt for balance or a spoon of vanilla instant pudding for body and texture.
Extra richness: swap in sweetened condensed milk or evaporated milk for a denser mouthfeel. Using condensed milk also keeps the mixture scoopable with less freezer time.
- Prep about 8–10 fun-size bars (roughly 10 ounces) and crush into a mix of fine crumbs and large chunks for layered crunch.
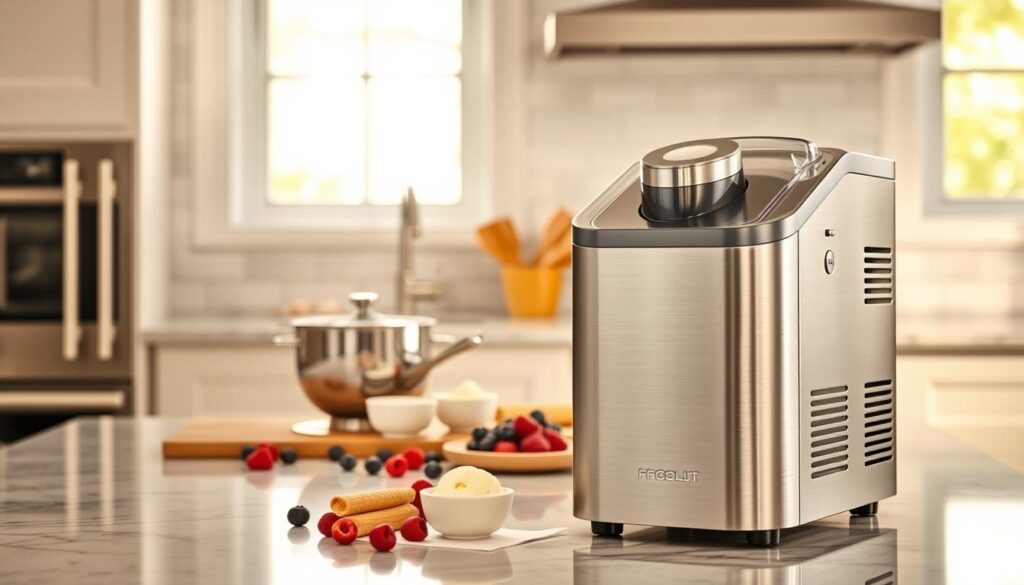
- Equipment: a reliable ice cream maker or cream maker with a pre-frozen bowl, an extra bowl for big batches, airtight containers, and plastic wrap to press on the surface before sealing.
- Tools: whisk, spatula, and a chilled mixing bowl so the mixture stays cold while you transfer to the maker.
Tip: measure candy and dairy before you start. Having containers and wrap ready keeps the process smooth and preserves texture in the freezer.
Step-by-Step: Make Ice Cream with an Ice Cream Maker
This step-by-step guide walks you through chilling, whisking, and churning so every batch comes out smooth and studded with crunch.
Chill and prep: Freeze the canister fully before you start. Chill the mixture and even freeze crushed candy so it won’t warm the churn. Keeping parts cold reduces ice crystals and speeds freezing.
Whisk the base
Whisk whole milk, heavy cream, sugar, and vanilla extract until the sugar dissolves. For richness, stir in sweetened condensed milk, a splash of evaporated milk, or a spoon of instant pudding.
Churn time
Power on your ice cream maker or cream maker before pouring the cold mixture so churning starts right away. Let it run about 20–25 minutes until the texture is thick and soft-serve like.
Add the mix-ins
Drop in crushed bars through the top about 5 minutes before the end. This keeps the chunks distinct and spread evenly without turning to crumbs.
Serve or ripen
For instant gratification, scoop into a bowl and enjoy. For firm, scoopable results, transfer to a chilled container, press plastic on the surface, seal, and freeze 2–3 hours.
- Start cold: canister and mixture.
- Whisk until sugar dissolves; enrich if desired.
- Churn ~20–25 minutes; add crushed mix-ins in last 5 minutes.
- Scoop soft or freeze for a couple hours for clean scoops.
Pro Tips for the Best Texture and Flavor
Keep temperatures tight and timing precise to lock in smooth texture and bold crunch. A few careful steps make a big difference in your final batch.
Keep everything cold
Chill milk, bowls, and add-ins so the churn works faster and forms fewer ice crystals. Place pudding mix, cans, and candy in the fridge before you begin.
Chunk strategy
Freeze crushed butterfinger and add it in the last minutes so large pieces stay distinct. This keeps the candy crunchy and prevents it from turning to dust in the mixture.
Maker notes
If your cream maker bowl is small, split the batch or use an extra pre-frozen bowl to run back-to-back. Press plastic wrap directly on the surface before sealing the container to block frost.
“Track cues: when the paddle leaves trails and the mixture holds its shape, you’re at soft-serve readiness.”
- Balance body with sweetened condensed milk or a touch of instant pudding.
- Store in tight containers to cut air gaps and preserve flavor.
- Time each churn to avoid overworking the mash and keep chunks bold.
Serving Ideas: Top, Scoop, and Share
A few simple serving tricks turn homemade scoops into party-ready treats. Let the batch rest 2–3 hours in the freezer for firm scoops that hold on cones. That little wait rewards you with perfect texture and clean edges.
Bowls and cones: get those perfect scoops
For cones that don’t flop, freeze the churned mix until firm. Use a warmed scoop for round, tidy balls that look pro.
Toppings and mix-ins: chocolate, caramel, butterscotch, extra crushed bars
Create a sundae bar with chocolate and caramel sauces, butterscotch, and extra crushed candy bars. Let guests pile on toppings so every bowl feels personal.
Sweet pairings: warm brownies, cookie sandwiches, party-ready containers
Spoon a generous scoop over a warm brownie so the edges melt into fudgy bliss. Or press a scoop between soft cookies and roll the rim in more candy for a handheld treat.
- Offer bowls for kids and cones for the adventurous; family smiles are guaranteed.
- Use a tight-lidded container to carry pints to gatherings without freezer burn.
- Balance sweetness with salted nuts or a drizzle of dark chocolate to highlight flavor.
“Let toppings be playful—texture and contrast turn a scoop into a shared memory.”
Storage, Containers, and Nutrition at a Glance
A few careful steps after churning make the difference between icy tubs and spoon-ready scoops.
How to store: Transfer the warm-from-the-maker mixture to a chilled container, smooth the top, and press plastic wrap directly on the surface before sealing the lid. This simple barrier helps prevent ice crystals and keeps the top softer for serving.
Place the sealed tub near the back of the freezer where temperatures stay steady. Label with the date and flavor so you can rotate pints easily.
Freezer life and timing
- Ripen 2-3 hours for firm, scoopable texture; soft-serve is ready within minutes after churn ends.
- Typical churn time is about 20–25 minutes in your ice cream maker or cream maker—write the minutes down the first run to dial in your ideal result.
- In an airtight container the frozen dessert keeps about a month; under optimal storage, it can last up to 3 months in the freezer.
Notes on flavor and scooping: Bases made with sweetened condensed milk often taste richer after a day as flavors meld. Let a pint sit at room temperature for a minute or two, then dip your scoop in warmed water for clean balls that glide from the bowl.
Conclusion
Wrap up with confidence: churn about 20–25 minutes, fold in crushed bars during the final five minutes, then let the batch ripen 2–3 hours for scoopable texture.
You’re ready to make butterfinger ice cream at home with an ice cream maker or a cream maker. This approach gives a silky base and big, crunchy bits without fuss.
Store tubs with plastic pressed to the surface and seal in an airtight container to keep flavor and texture. Tweak add-ins, note your favorite minutes, and share a pint—this homemade ice cream is one you’ll repeat.

