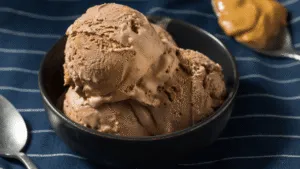
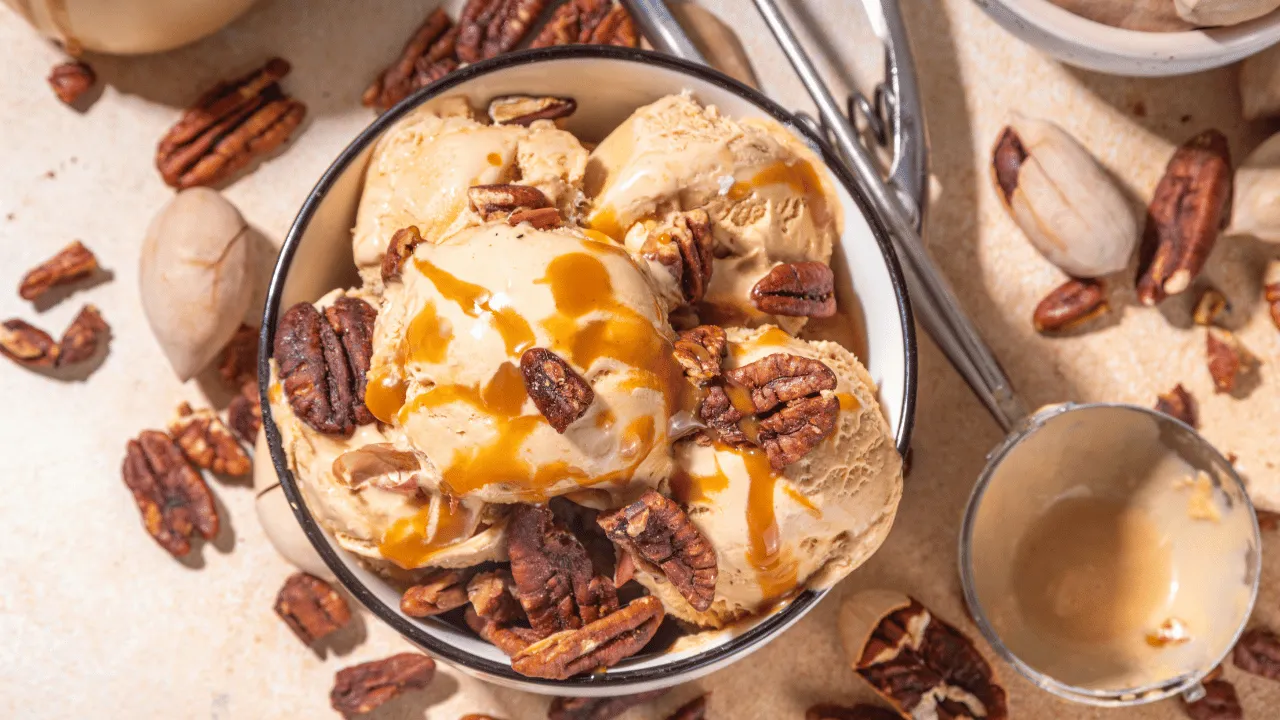
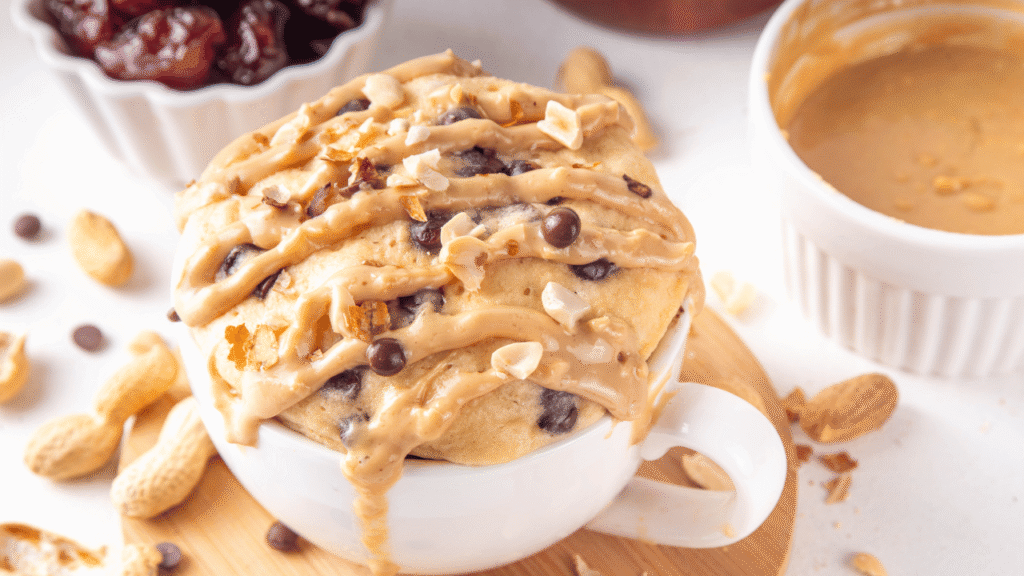
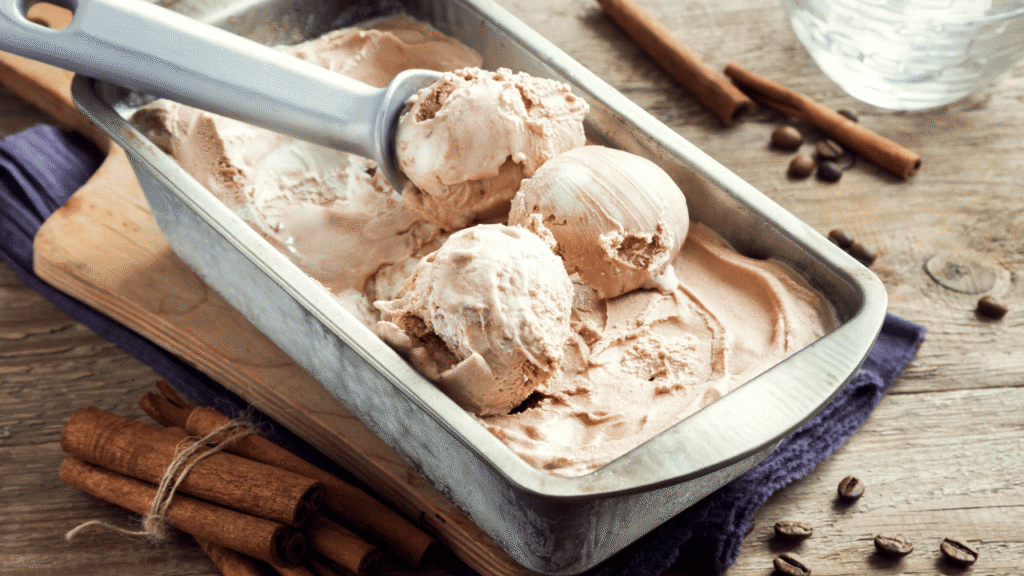
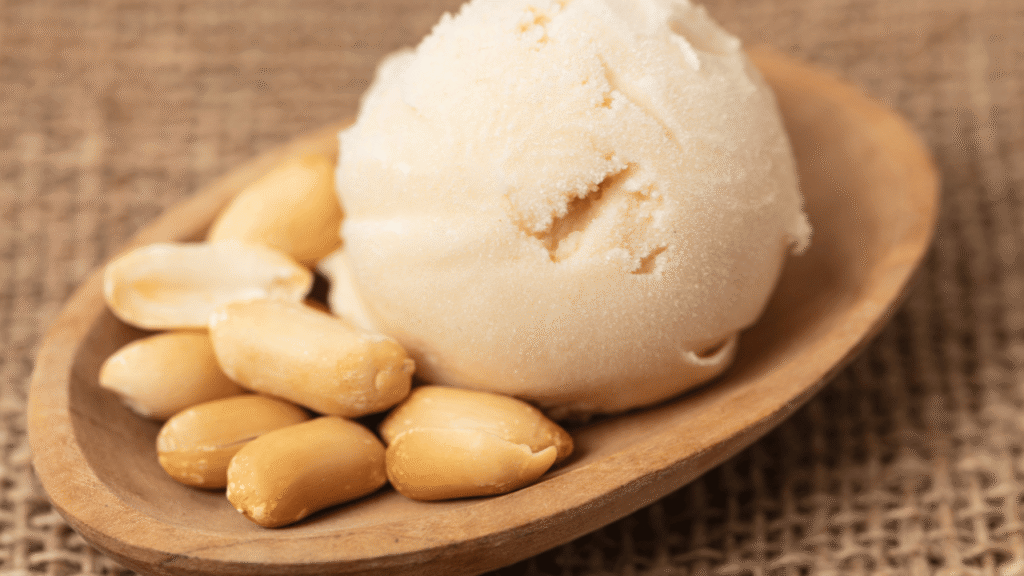
This guide shows how to make a rich, smooth base by whisking creamy peanut butter with sugar, whole milk, heavy cream, vanilla, and salt until the sugar dissolves. You will learn both churn and no-churn methods so you can choose the path that fits your schedule and tools.
Homemade Peanut Butter Ice Cream recipe, The churned method asks for a frozen bowl and about 25–30 minutes of spinning until the mixture is thick, then layering melted peanut butter and chopped cups before a final freeze of at least six hours. The no-churn option whips heavy cream to stiff peaks, folds in sweetened condensed milk and peanut butter, adds frozen chunks, and freezes overnight for scoopable results.
Expect a dense, parlor-style texture and bold nutty flavor. I include clear ingredient lists, timing tips, storage notes (store tightly for up to two weeks), and serving guidance so you can make ice cream with confidence.
Key Takeaways
- Two reliable paths: churn for classic texture, no-churn for easy prep.
- Whisking and proper whipping improve stability and mouthfeel.
- Layering melted peanut butter and chopped cups boosts flavor and texture.
- Freeze times matter: churned plus 6+ hours; no-churn overnight.
- Serve smaller scoops—this dessert is rich but highly satisfying.
Peanut Butter Ice Cream
4
servings30
minutes40
minutes300
kcal1
hour10
minutesCreamy homemade peanut butter ice cream with a simple process.
Keep the screen of your device on
Ingredients
1 cup 1 heavy cream
1 cup 1 whole milk
0.75 cup 0.75 granulated sugar
1 cup 1 smooth peanut butter
1 teaspoon 1 vanilla extract
0.25 teaspoon 0.25 salt
Directions
- Combine the heavy cream, milk, sugar, peanut butter, vanilla extract, and salt in a large mixing bowl.
- Whisk together until the sugar is dissolved and the mixture is smooth and fully combined.
- Cover the bowl with plastic wrap and chill the mixture in the refrigerator for at least 2 hours.
- Pour the chilled mixture into an ice cream maker and churn according to the manufacturer's instructions, typically 20-25 minutes.
- Transfer the churned ice cream to an airtight container and freeze for at least 3 hours, or until firm.
- When ready to serve, let the ice cream sit at room temperature for a few minutes to soften slightly before scooping.
Recipe Video
Nutrition Facts
- Total number of serves: 6
- Calories: 350kcal
- Cholesterol: 50mg
- Sodium: 150mg
- Potassium: 200mg
- Sugar: 20g
- Protein: 6g
- Calcium: 10mg
- Iron: 1mg
- Thiamin: 0mg
- Riboflavin: 0mg
- Niacin: 2mg
- Folate: 20mg
- Biotin: 0mg
- Phosphorus: 100mg
- Iodine: 0mg
- Magnesium: 30mg
- Zinc: 0mg
- Selenium: 0mg
- Copper: 0mg
- Manganese: 0mg
- Chromium: 0mg
- Molybdenum: 0mg
- Chloride: 0mg
Did you make this recipe?
Tag @https://www.instagram.com/ice_cream_haven/ on Instagram and hashtag it with #IceCreamIceCreamHavens
Like this recipe?
Follow @https://www.pinterest.com/Ice_Cream_Haven/ on Pinterest
Join our Facebook Group!
Follow https://www.facebook.com/icecreamhavens/ on Facebook
Why This Creamy Peanut Butter Ice Cream Belongs on Your Summer (and Anytime) Dessert List
A single spoonful delivers candy-bar nostalgia: silky nut swirls, chopped cups, and balanced dairy richness.
The mix of churned dairy and integrated nut butter creates a plush cream body that stays smooth right from the freezer. That structure keeps texture steady on hot days and lets the peanut character shine through.
Choose granulated sugar for a clean sweet base, or swap in brown sugar to lift caramel notes without masking the nut flavor. A warm drizzle of chocolate or hot fudge adds a classic chocolate peanut butter finish that many love.
- Competes with top ice cream recipes for bold flavor while remaining simple to make.
- Fat from the cream balances richness so smaller servings feel just right for gatherings.
- Versatile for holidays, cookouts, or quiet weeknights—easy to scale and serve.
For a chocolate-peanut-butter boost, try pairing a scoop with warm sauce or follow a trusted tutorial like this chocolate-peanut-butter guide to amplify candy-like pleasure without extra fuss.
Homemade Peanut Butter Ice Cream recipe Ingredients, Mix-Ins, and Gear You’ll Need
Stocking the right pantry and gear makes the difference between a grainy batch and a silky finish. Below are precise ingredients and practical gear choices so you can gather everything in one trip.
- Base (yields ~1.5 qt): 1 cup creamy peanut butter, 3/4 cup granulated sugar (or swap brown sugar for richer notes), 1 cup whole milk, 2 cups heavy cream, 1 tsp vanilla, 1/4 tsp salt.
- Mix-ins & swirls: 1 cup chopped peanut butter cups; warm 1/3 cup peanut butter 30–60 seconds to drizzle, whisk with powdered sugar for firmer ribbons.
- Optional add-on: warm hot fudge or chocolate sauce for a chocolate peanut butter finish.
Why creamy peanut butter? It blends smoothly into the milk and cream so the mixture stays uniform and resists separation when chilled.
Gear checklist: 2-qt ice cream maker or cream maker (preferred), loaf pan or 2-qt pan, large mixing bowl, airtight container, rubber spatula. For no-machine method add freezer-safe zip-top bags, lots of ice, and coarse salt to make ice without a maker.
Notes on texture: heavy cream gives the richest, silkier mouthfeel; half-and-half reduces fat and yields a lighter body. Whisk sugars fully in a chilled bowl so the cream mixture stays smooth before churning or freezing.
Homemade Peanut Butter Ice Cream Recipe: Step-by-Step
Start with a chilled bowl and a clean, well-mixed base. Freeze the maker bowl 12–24 hours so the churn reaches thickness in minutes. Whisk the milk, sugar, vanilla, salt, and creamy peanut butter until the sugar dissolves and the mixture looks smooth.
Churn method (ice cream maker): Pour the cream mixture into the canister and churn 25–30 minutes. Add chopped peanut butter cups during the last 3–5 minutes. Layer a quarter of the churned ice cream into a 2-qt pan, drizzle warm peanut butter, swirl, and repeat. Cover and freeze at least 6 hours or overnight for firm scoops.
No-churn: Whip heavy cream to stiff peaks, fold in sweetened condensed milk blended with peanut butter, and gently add frozen 1/2‑tsp peanut dollops. Transfer to a pan and freeze overnight for scoopable texture.
Bag method (no maker): Seal the base in nested bags. Place in a larger bag with ice and 1/2 cup coarse salt. Shake ~5 minutes until soft serve, then pour ice cream into a pan, swirl, add cups, and harden in the freezer for at least 6 hours.
| Method | Time | Best for |
|---|---|---|
| Churn | 25–30 minutes + 6+ hours freeze | Classic texture, even mix-ins |
| No-churn | 10–15 minutes prep + overnight | Quick, no maker needed, fluffier |
| Bag method | ~5 minutes shake + 6 hours freeze | On-the-go, fun for kids |
Pro tips: Do not use natural-style spreads for no-churn; oils may separate. Dissolve sugar fully and avoid overmixing so the airy body stays intact. Track minutes and freezer checkpoints to pour ice into the pan with confidence.
Flavor Variations, Toppings, and Serving Ideas
A few simple swaps and toppings instantly shift this base into candy-bar territory. Add chopped Reese’s peanut butter cups, Reese’s pieces, or Butterfinger bits for crunchy, salty-sweet bursts that layer well into the mixture.
Chocolate upgrade: Drizzle warm chocolate sauce or hot fudge between layers to create a ribboned chocolate peanut butter profile that tastes like a sundae bar. Hold sauce until serving when short on time.
For a PB&J twist, freeze jam in 1/2‑teaspoon dollops, then fold them into the base so the jam stays intact and won’t bleed through the pan.
Presentation tips: use a sharp scoop to cut neat portions and serve smaller bowls to match the dessert’s richness. Tight-seal containers make gifting easy, and sprinkling chopped cups on the final layer gives an inviting finish.
| Add-in | Effect | Use with |
|---|---|---|
| Reese’s peanut butter cups (chopped) | Crunch; candy bar flavor | Layered in pan or folded in |
| Reese’s pieces / Butterfinger | Color and snap | Stir during last minutes of churn |
| Frozen jam dollops | Clean fruit swirls | Fold in before final freeze |
| Warm chocolate sauce | Chocolate ribbon | Drizzle between layers or at serving |
Want the classic technique? Try the classic version for more ideas on texture and timing.
Homemade Peanut Butter Ice Cream recipe Storage, Make-Ahead, and Nutrition Notes
How you store a batch matters almost as much as how you make it. Proper packing preserves texture and flavor so each scoop stays smooth and flavorful.
Best containers and labeling
Choose airtight containers that seal well to block odors and prevent dehydration. Label lids with flavor and date before you place freezer tubs side by side. If you batch multiple mixes, keep a simple spreadsheet or lid notes with dates and mix-ins for quick reference.
Freezer time and serving
Store covered in an airtight container up to two weeks for best quality. Return the tub to cold storage promptly between scoops to limit thaw-refreeze cycles.
Before serving, let the pan sit at room temperature about 10 minutes so a scoop glides through without chipping. Portioning into smaller pints is great for gifting and helps friends enjoy fresh texture within hours of opening.
Keep lids snug to reduce ice crystals and protect the buttery notes. Swapping to half-and-half lowers fat and softens body, while a higher dairy ratio preserves a firmer mouthfeel. Sugar levels and peanut content set sweetness and satiety; adjust portions and cups to control calories.
Clean scoops in warm water between uses to keep neat edges. For organized freezers, place freezer containers toward the back where temperatures stay most consistent, which helps maintain peak quality for several hours and beyond.
Conclusion
Homemade Peanut Butter Ice Cream recipe, Ready-to-serve results arrive when you plan for bowl freezing, layer swirls, and allow at least six hours or overnight to set. The method delivers peanut ribbons and chopped cups in every bite and a velvety cream body that stays scoopable straight from the freezer.
Bookmark this guide for dependable weekend projects or quick weeknight treats. Whether you churn, fold in whipped dairy, or make it in a bag, simple steps and timing lead to shop-quality ice cream you can repeat and riff on.
Plan your freezing windows so swirls and ribbons set with clean lines. Store a sealed tub up to two weeks and let it temper 10 minutes before scooping. Finish bowls with warm chocolate or chopped candy for contrast—no fuss, big payoff.
For more twist ideas and a chocolate-peanut pairing, try this chocolate-peanut-butter chunk ice cream inspiration and experiment with portions and mix-ins to keep this treat in rotation all year.

