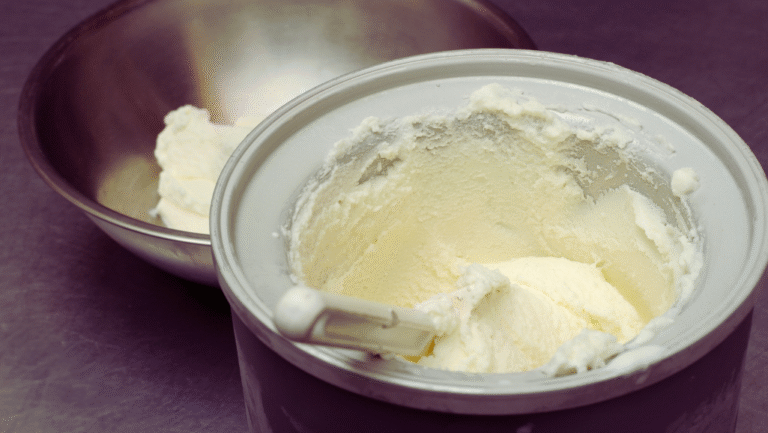
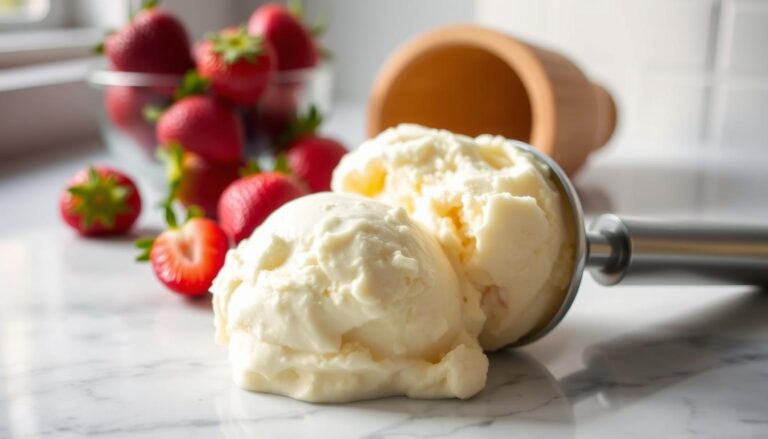
There’s something magical about creating KitchenAid Ice Cream Maker Recipes homemade frozen desserts. With the right tools and a little creativity, you can transform simple ingredients into rich, creamy treats that rival any store-bought option. Using modern appliances like the KitchenAid stand mixer with its specialized attachment makes the process effortless and fun.
Whether you’re a seasoned chef or a beginner, this guide will walk you through the best methods to achieve professional-quality results. From preparing the perfect mixture of milk, egg, and natural flavorings to mastering the churning process, you’ll discover how easy it is to make your favorite frozen desserts at home.
Ready to embark on a culinary adventure? Let’s dive into the world of homemade frozen treats and explore how you can customize flavors and textures to suit your taste. With the right tools and a bit of patience, you’ll be crafting delicious desserts in no time!
Key Takeaways
- Transform simple ingredients into rich, creamy frozen treats.
- Use the KitchenAid attachment for effortless and efficient churning.
- Quality ingredients like milk and egg are key to achieving the perfect texture.
- Customize flavors and textures to suit your personal preferences.
- Enjoy professional-quality results with minimal effort.
KitchenAid Ice Cream Maker Recipes
4
servings30
minutes40
minutes300
kcal1
hour10
minutesCreamy vanilla ice cream using everyday ingredients for a perfect dessert.
Keep the screen of your device on
Ingredients
2 cups 2 heavy cream
1 cup 1 whole milk
0.75 cup 0.75 granulated sugar
1 tablespoon 1 vanilla extract
1/8 teaspoon 1/8 salt
Directions
- In a medium mixing bowl, whisk together heavy cream, whole milk, and granulated sugar until sugar is completely dissolved.
- Stir in vanilla extract and salt, ensuring the mixture is well combined and even in texture.
- Cover the bowl and refrigerate for at least 2 hours to chill thoroughly for best results.
- Once chilled, set up your ice cream maker according to the manufacturer's instructions.
- Pour the mixture into the ice cream maker and churn for about 20 minutes or until it reaches a soft-serve consistency.
- Transfer the churned ice cream into an air-tight container and freeze for at least 2 hours to firm up.
- When ready to serve, scoop the ice cream into bowls or cones. Allow 5 minutes at room temperature if too hard to scoop.
Recipe Video
Nutrition Facts
- Total number of serves: 4
- Calories: 210kcal
- Cholesterol: 60mg
- Sodium: 45mg
- Potassium: 90mg
- Sugar: 15g
- Protein: 2g
- Calcium: 80mg
- Iron: 0mg
- Thiamin: 0mg
- Riboflavin: 0.1mg
- Niacin: 0.1mg
- Folate: 5mg
- Biotin: 0mg
- Phosphorus: 60mg
- Iodine: 6mg
- Magnesium: 8mg
- Zinc: 0.3mg
- Selenium: 2mg
- Copper: 0mg
- Manganese: 0.02mg
- Chromium: 0mg
- Molybdenum: 0mg
- Chloride: 76mg
Did you make this recipe?
Tag @https://www.instagram.com/ice_cream_haven/ on Instagram and hashtag it with #IceCreamIceCreamHavens
Like this recipe?
Follow @https://www.pinterest.com/Ice_Cream_Haven/ on Pinterest
Join our Facebook Group!
Follow https://www.facebook.com/icecreamhavens/ on Facebook
Getting Started with Your KitchenAid Ice Cream Maker
Starting your journey into homemade frozen treats is easier than you think. With the right tools and a little preparation, you can create smooth, creamy desserts that impress everyone. Let’s break down the essentials to get you started.
Essential Tools and Attachments
To make the process seamless, you’ll need a few key items. A stand mixer with the right attachment is a game-changer. This tool ensures your mixture is light and airy, giving your dessert the perfect texture.
Don’t forget the freeze bowl. This double-walled bowl is crucial for even freezing. Make sure to place it in the freezer for at least 24 hours before use. Proper preparation ensures your base churns smoothly.
Preparing Your Ice Cream Base and Freeze Bowl
Creating the base is where the magic happens. Start by combining egg yolks and sugar in your stand mixer. This step is essential for a rich, creamy texture. Once mixed, add high-quality cream for that indulgent finish.
Timing is key. Ensure your freeze bowl is fully chilled before you begin. This way, your mixture freezes evenly, preventing ice crystals. With these steps, you’re ready to churn your first batch like a pro.
Remember, patience and precision make all the difference. Follow these tips, and you’ll be crafting delicious frozen treats in no time. Ready to take the next step? Let’s get churning!
Exploring KitchenAid ice cream maker recipes That Delight
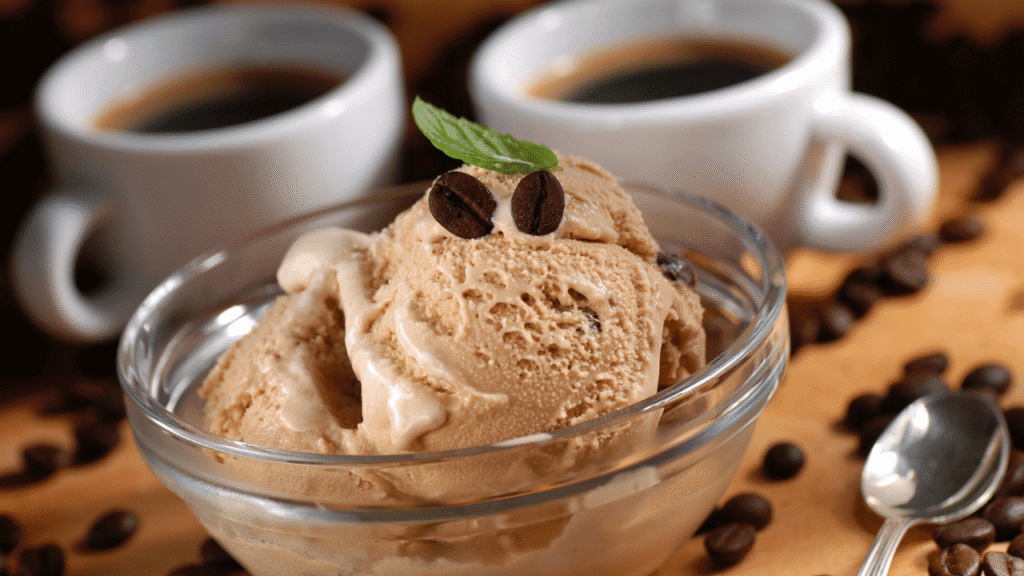
Creating frozen treats at home is a rewarding experience that combines creativity and precision. With the right tools and techniques, you can achieve professional-quality results that delight your taste buds. Let’s dive into the process of churning the perfect dessert and mastering a smooth, creamy texture every time.
Step-by-Step Guide to Churning the Perfect Ice Cream
Start by preparing your base. Combine egg yolks and sugar in your mixer to create a rich, creamy foundation. Add high-quality cream and a touch of vanilla for flavor. This step ensures your dessert has the perfect balance of sweetness and richness.
Next, ensure your freeze bowl is fully chilled. Place it in the freezer for at least 24 hours before use. Proper preparation prevents ice crystals and ensures even freezing. Once ready, pour your base into the bowl and attach it to your mixer.
Churn the mixture on a low setting for 20-30 minutes. This process incorporates air, giving your dessert a light, airy texture. Keep an eye on the consistency—it should resemble soft-serve when done.
Achieving a Smooth, Creamy Texture Every Time
Quality ingredients are key to a smooth texture. Use whole milk and full-fat cream for a rich, indulgent finish. Avoid low-fat alternatives, as they can result in an icy consistency.
Timing is crucial. Ensure your freeze bowl is fully chilled and your base is at the right temperature before churning. This prevents uneven freezing and ensures a creamy result.
For added flavor, experiment with mix-ins like crushed cookies or fresh fruit. Add these during the last few minutes of churning to maintain texture. With practice, you’ll master the art of creating smooth, delicious treats at home.
KitchenAid Ice Cream Maker Recipes Creative Flavor Ideas and Perfect Mix-In Tips
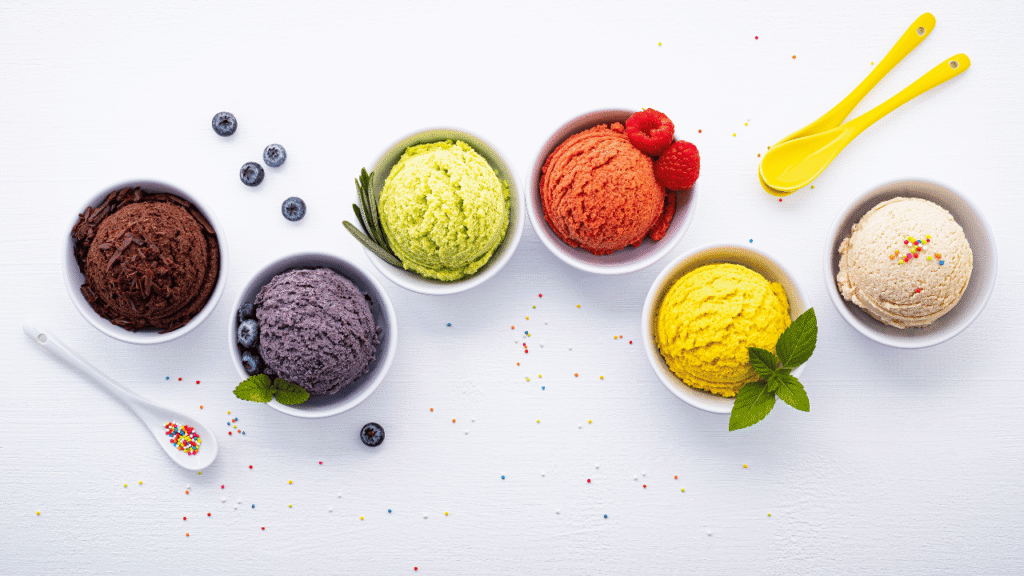
Unlock endless possibilities by experimenting with unique flavors and mix-ins. With a solid base, you can transform your frozen treats into personalized masterpieces. Whether you’re craving something classic or adventurous, the right add-ins can take your dessert game to new heights.
Customizing Your Desserts with Exciting Add-Ins
Start with a high-quality base and let your creativity shine. Crushed cookies, chocolate chunks, and caramel swirls are just the beginning. For a fruity twist, try fresh berries or mango purée. The key is to add mix-ins during the last few minutes of churning to maintain texture.
Using the right stand mixer attachment ensures every ingredient is perfectly blended. This process guarantees a smooth, creamy result every time. Don’t be afraid to experiment—bold flavors like matcha or ube can turn a simple recipe into a showstopper.
Seasonal Inspiration and Dietary Variations
Seasonal ingredients can elevate your treats. Think pumpkin spice in the fall or fresh strawberries in the summer. For dietary needs, swap dairy for coconut milk or almond milk. These variations keep your desserts inclusive and delicious.
Timing is crucial. Let your base chill for at least an hour before churning. This ensures a smooth consistency. With a little patience and creativity, you’ll craft desserts that impress everyone.
Ready to explore? Start with a classic recipe and make it your own. The possibilities are endless—so go ahead, experiment boldly, and discover your signature flavor!
Conclusion
Crafting homemade frozen KitchenAid Ice Cream Maker Recipes is a delightful adventure that blends simplicity and creativity. From preparing the cream base to monitoring each minute during churning, every step is designed to bring you closer to professional-quality results. Using the right tools, like a well-chilled bowl, ensures a smooth, creamy texture every time.
One of the best parts of this process is the freedom to experiment. Adjust the sugar level, add your favorite mix-ins, or try seasonal flavors. The possibilities are endless, and the results are always rewarding. Store your creations in a sealed container to maintain freshness and enjoy them within two weeks for the best taste.
This journey is not just about the final treat—it’s about the joy of creating something uniquely yours. So, gather your ingredients, stir up some creativity, and savor every part of the process. Your next delicious masterpiece is just a churn away!


