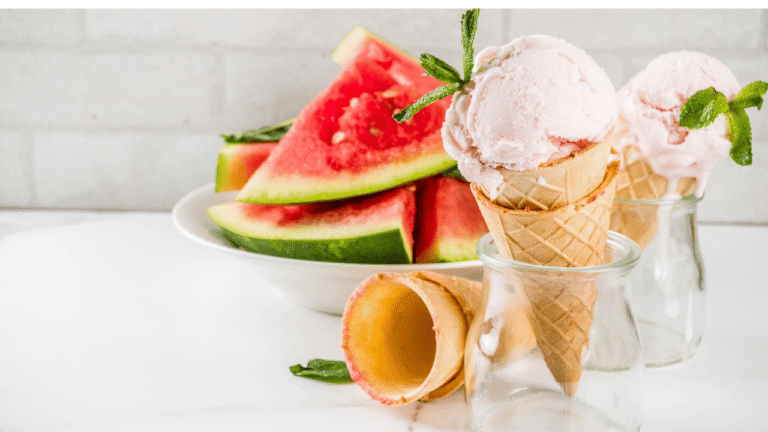
Are you ready to elevate your dessert game? Discover the ultimate homemade Pampered Chef Ice Cream Recipe treat that’s perfect for anyone with a sweet tooth. This Pampered Chef ice cream recipe is designed to bring gourmet quality right to your kitchen. With simple mix-ins and toppings, you can customize it to suit your taste buds.
From classic vanilla to unique flavors like black cherry or cereal-infused creations, the possibilities are endless. Inspired by popular sources like Ice Cream Haven, this recipe encourages creativity. Whether you’re a beginner or a seasoned pro, the ice cream maker experience makes it easy and fun.
This recipe is versatile, allowing you to experiment with flavors like blueberry cream cheese or apple pie. It’s perfect for dessert lovers who want to impress their guests or simply enjoy a delicious treat at home. Let’s dive into the world of homemade delights and create something extraordinary!
Key Takeaways
- Customize your with simple mix-ins and toppings.
- Enjoy gourmet-quality ice cream made at home.
- Explore a wide range of flavors, from classic to unique.
- Use an ice cream maker for an easy and fun experience.
- Perfect for dessert lovers who love to experiment.
Pampered Chef Ice Cream
6
servings20
minutes5
minutes250
kcal25
minutesSimple homemade vanilla ice cream with everyday ingredients.
Keep the screen of your device on
Ingredients
2 cups 2 heavy cream
1 cup 1 whole milk
0.75 cup 0.75 granulated sugar
1 tablespoon 1 vanilla extract
1 pinch 1 salt
Directions
- In a medium mixing bowl, whisk together the heavy cream, whole milk, granulated sugar, vanilla extract, and salt until the sugar is dissolved completely.
- Pour the mixture into a saucepan and gently heat over low heat, stirring occasionally until the mixture is slightly warm and the sugar is fully dissolved, about 5 minutes.
- Remove the saucepan from heat and let the mixture cool to room temperature. Once cooled, cover with plastic wrap and refrigerate for at least 2 hours or until thoroughly chilled.
- Once chilled, pour the mixture into your ice cream maker. Follow your ice cream maker's instructions for churning, usually about 20-25 minutes, until it reaches a soft-serve consistency.
- Transfer the churned ice cream into an airtight container and let it freeze for at least 2 hours or until firm.
- Serve the ice cream in bowls or cones, and enjoy your homemade treat!
Recipe Video
Nutrition Facts
- Total number of serves: 6
- Calories: 250kcal
- Cholesterol: 70mg
- Sodium: 50mg
- Potassium: 105mg
- Sugar: 22g
- Protein: 3g
- Calcium: 10mg
- Iron: 0mg
- Thiamin: 0mg
- Riboflavin: 5mg
- Niacin: 0mg
- Folate: 0mg
- Biotin: 0mg
- Phosphorus: 8mg
- Iodine: 0mg
- Magnesium: 0mg
- Zinc: 4mg
- Selenium: 0mg
- Copper: 0mg
- Manganese: 0mg
- Chromium: 0mg
- Molybdenum: 0mg
- Chloride: 0mg
Did you make this recipe?
Tag @https://www.instagram.com/ice_cream_haven/ on Instagram and hashtag it with #IceCreamIceCreamHavens
Like this recipe?
Follow @https://www.pinterest.com/Ice_Cream_Haven/ on Pinterest
Join our Facebook Group!
Follow https://www.facebook.com/icecreamhavens/ on Facebook
Introduction to the Ice Cream Maker Experience
Transform your kitchen into a dessert haven with the right tools. The cream maker is a game-changer for anyone who loves homemade treats. It takes simple ingredients like milk, sugar, and cream and turns them into a decadent dessert in just minutes.
What Sets This Recipe Apart
This recipe stands out because it combines tradition with innovation. Unlike generic recipes, it encourages creativity with mix-ins and toppings. Whether you’re making classic vanilla or experimenting with unique flavors, the results are always smooth and creamy.
One key feature is the use of a cream maker to achieve the perfect consistency. This tool ensures that every batch is soft, rich, and free of ice crystals. It’s perfect for beginners and experts alike.
Exploring the Role of the Ice Cream Maker
The cream maker is essential for turning your dessert dreams into reality. It works by churning the mixture while freezing it, creating a soft-serve texture. This process takes about 20-30 minutes, making it quick and efficient.
For best results, pre-chill the bowl and follow the recipe’s mixing and freezing times. If you encounter issues like icy texture, check out these troubleshooting tips to perfect your technique.
Ready to get started? Learn more about using your cream maker with this detailed guide. With the right tools and a little creativity, you’ll be making gourmet desserts in no time.
Essential Ingredients and Tools for a Perfect Pampered Chef Ice Cream Recipe
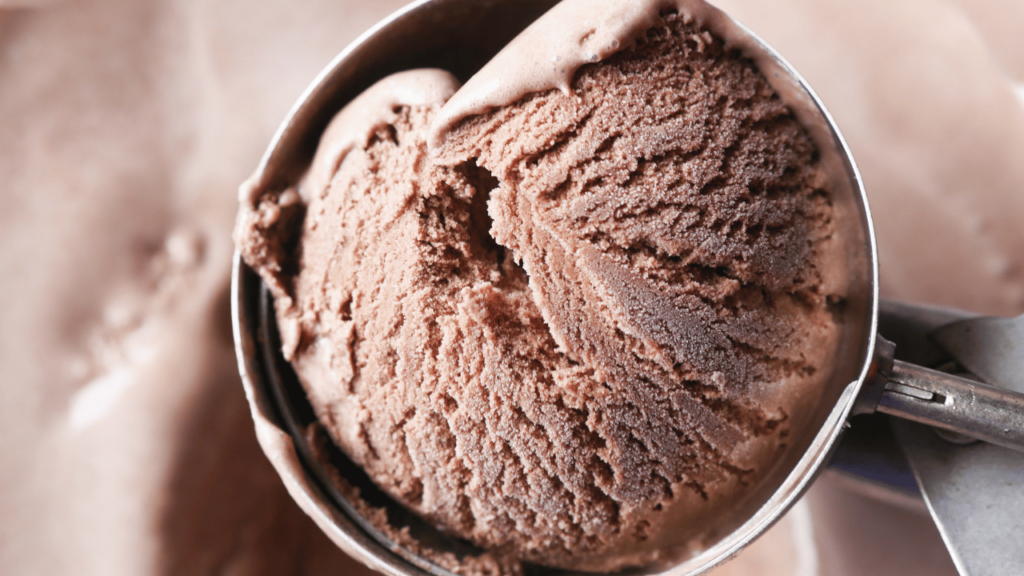
Creating the perfect dessert starts with the right ingredients and tools. Whether you’re aiming for a classic vanilla or a rich chocolate flavor, the quality of your components makes all the difference. Let’s explore the essentials you’ll need to craft a smooth and creamy treat.
Must-Have Kitchen Tools and Cream Maker Essentials
To achieve that soft-serve consistency, you’ll need a reliable cream maker freezer. This tool churns the mixture while freezing it, ensuring a smooth texture. Other essentials include a mixing bowl, whisk, and measuring cups for precise ingredient ratios.
For best results, pre-chill the freezer bowl and follow the recommended churning time. This ensures your dessert has the perfect texture every time. If you’re new to using a cream maker, check out this detailed guide for expert tips.
Selecting Fresh Ingredients and Simple Mix-ins
Fresh ingredients are the foundation of any great dessert. Start with high-quality heavy whipping cream and whole milk for a rich base. Add sugar to sweeten the mixture and enhance its flavor.
For unique twists, consider mix-ins like dark cherries or chocolate ganache. These additions can transform a simple vanilla base into something extraordinary. Remember, precise measurements are key to achieving the perfect balance of flavors.
Here’s a quick checklist for your ingredients:
- Heavy whipping cream
- Whole milk
- Granulated sugar
- Fresh mix-ins (e.g., cherries, chocolate)
By focusing on quality and precision, you’ll create a dessert that’s both delicious and memorable. Ready to get started? Gather your tools and ingredients, and let’s make something amazing!
Crafting the Perfect Blend From Mixing to Freezing
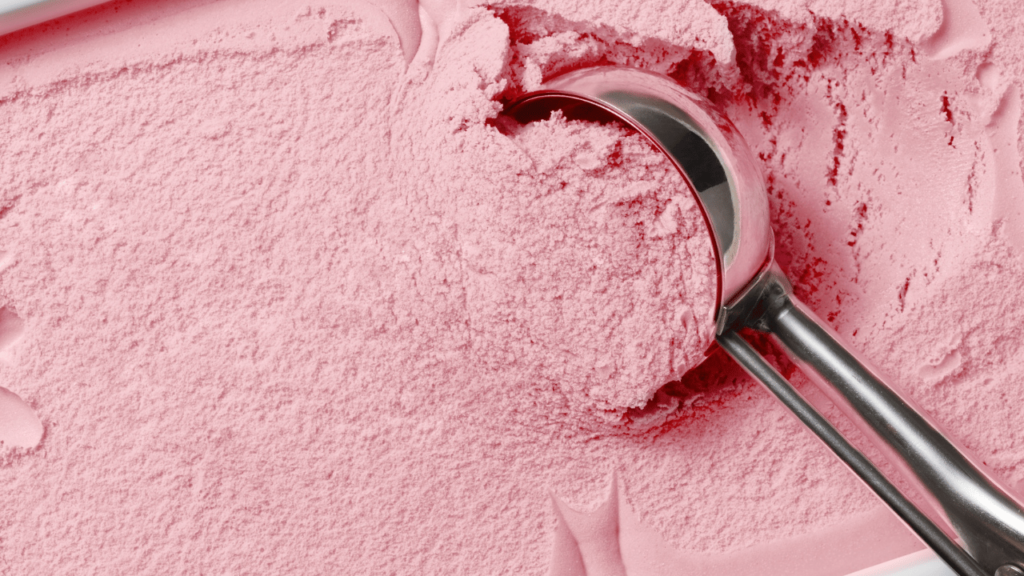
Master the art of blending and freezing for a dessert that’s perfectly textured. The key to achieving that soft-serve consistency lies in the techniques you use. From mixing to freezing, every step matters. Let’s break down the process to ensure your creation is smooth and creamy.
Achieving Soft-Serve Consistency with the Right Technique
Start by thoroughly mixing your ingredients in the bowl. This ensures even distribution of flavors and prevents lumps. Use a whisk or hand mixer for best results. Once combined, place the mixture in the freezer for at least two hours. This step is crucial for achieving the right consistency.
Timing is everything. Churn the mixture in your maker for about 20 minutes. This process incorporates air, giving your dessert its light and fluffy texture. If you’re using a well-calibrated maker, adjust the freezing process to avoid over-churning or under-mixing.
Transfer the mixture into the freezer with an assembled clear lid. This preserves the texture and prevents ice crystals from forming. For best results, let it set for an additional hour before serving. This ensures the perfect balance of firmness and creaminess.
Experiment with different techniques while maintaining the quality of your mix. For more tips on achieving the ideal texture, check out this detailed guide. With the right approach, you’ll create a dessert that’s both delicious and memorable.
Mastering the pampered chef ice cream recipe

Discover the key steps to mastering a smooth and creamy treat. With the right techniques, you can create a dessert that’s both rich in flavor and perfect in texture. Let’s dive into the process and ensure every session in the kitchen is a success.
Step-by-Step Mixing and Freezing Process
Start by gathering your ingredients and tools. Combine heavy cream, whole milk, and sugar in a mixing bowl. Whisk thoroughly to ensure even distribution. This step is crucial for achieving a smooth base.
Next, pour the mixture into your cream maker. Churn for about 20-25 minutes, monitoring each minute to ensure the right consistency. The goal is a soft-serve texture that’s light and airy.
Once churned, transfer the mixture to a freezer-safe container. Let it set for at least an hour before serving. This ensures the perfect balance of firmness and creaminess.
Troubleshooting Consistency and Timing Issues
If your dessert turns out too icy, it might be due to over-churning. Adjust the session time by reducing it by a few minutes. For a creamier texture, ensure your cream maker bowl is pre-chilled for at least 24 hours.
Timing is key. If you’re hosting a party, plan ahead to account for freezing and churning times. A consultant tip: always check the mixture’s temperature before freezing. It should be around 40°F for best results.
For more detailed advice, refer to expert guides or consult a consultant. With patience and attention to detail, you’ll master the art of dessert-making in no time.
Pampered Chef Ice Cream Recipe Creative Twists and Serving Ideas
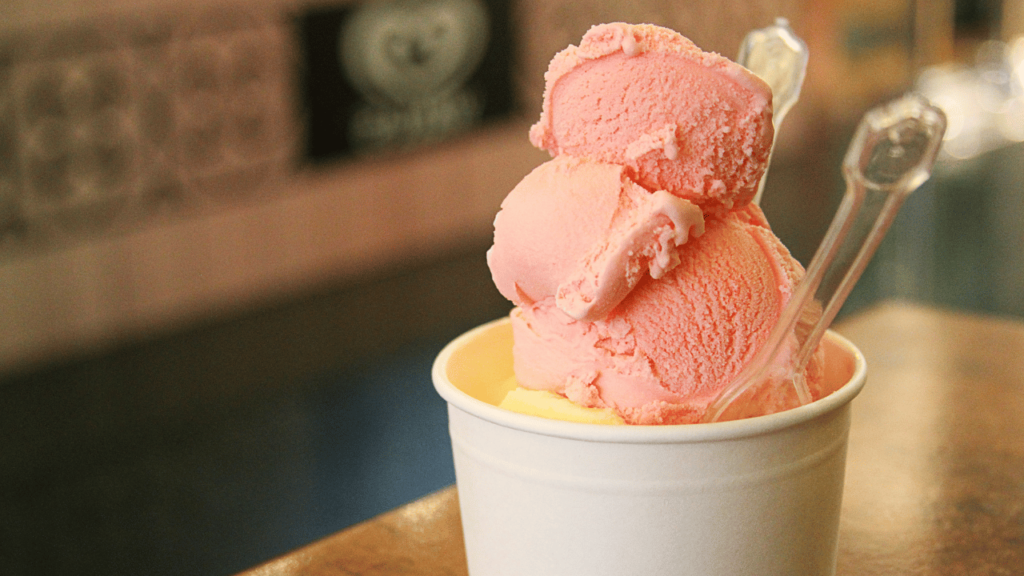
Unleash your creativity with unique flavor combinations and stunning serving ideas. Whether you’re hosting a party or enjoying a quiet night in, these tips will help you elevate your dessert game.
Inspiration for Unique Flavor Combinations and Toppings
Experiment with bold flavors to create a dessert that’s truly your own. Try adding peanut butter cups for a rich, indulgent twist or fresh mint leaves for a refreshing finish. For a playful touch, mix in cereal or cookie crumbles for added texture.
Pair your creation with complementary sauces like chocolate ganache or caramel drizzle. These additions not only enhance the flavor but also add a touch of elegance to your serving presentation.
Here are some ideas to inspire your next batch:
- Combine dark cherries with chocolate chunks for a decadent treat.
- Add a splash of peanut butter whiskey for a grown-up twist.
- Top with fresh fruit and a sprinkle of nuts for a balanced finish.
For a quick and easy option, try this 3-ingredient homemade ice cream recipe. It’s perfect for customizing with your favorite mix-ins.
When it comes to serving, presentation matters. Use a decorative place bowl or a stylish clear lid to showcase your creation. This not only enhances the visual appeal but also keeps your dessert fresh.
Don’t forget to adjust your maker freezer settings to achieve the perfect texture. Set a timer minute reminder to ensure your dessert is ready on time. With these tips, every scoop will be a culinary delight.
Conclusion
Creating the perfect homemade Pampered Chef Ice Cream Recipe treat is all about balance and precision. Start with quality milk and fresh ingredients to ensure a rich base. Use the right tools, like a cream maker, to achieve the desired consistency every time.
Experiment with unique twists like peanut butter or almond mix-ins to elevate your creation. A clear lid on your container not only keeps the dessert fresh but also showcases its assembled clear presentation.
Remember, timing and technique are key. For more inspiration, try this dairy-free sugar-free recipe. It’s a great way to explore new flavors while keeping it healthy.
Share your creations and celebrate your dessert-making success. Enjoy the journey of crafting something truly special!


