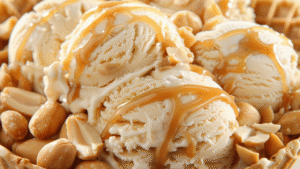
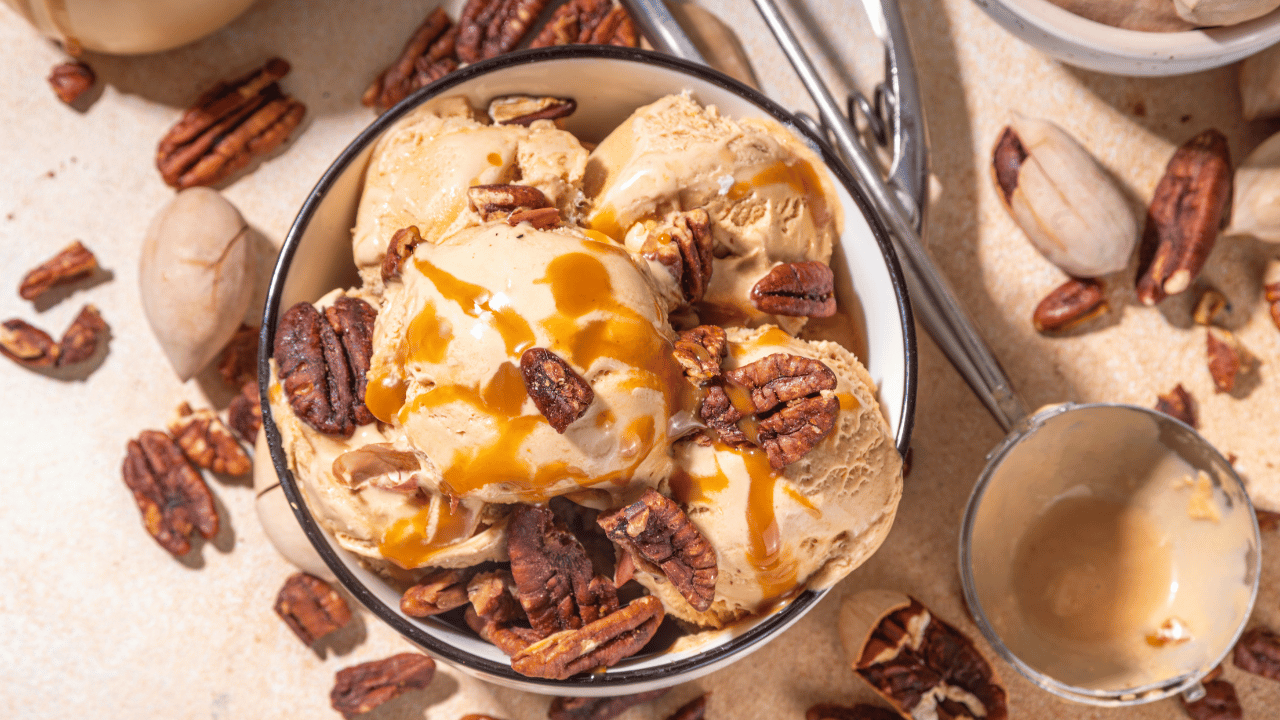
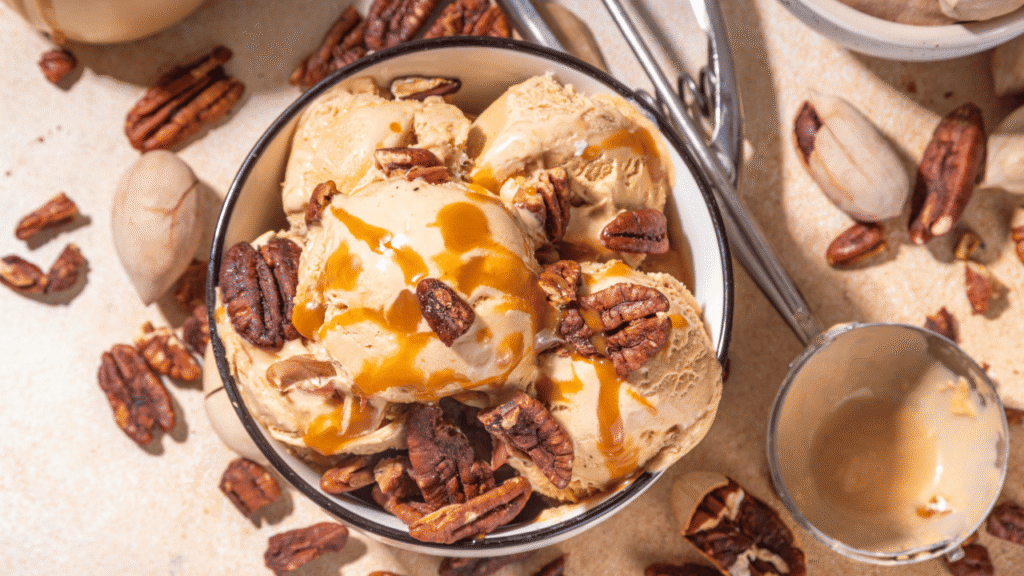
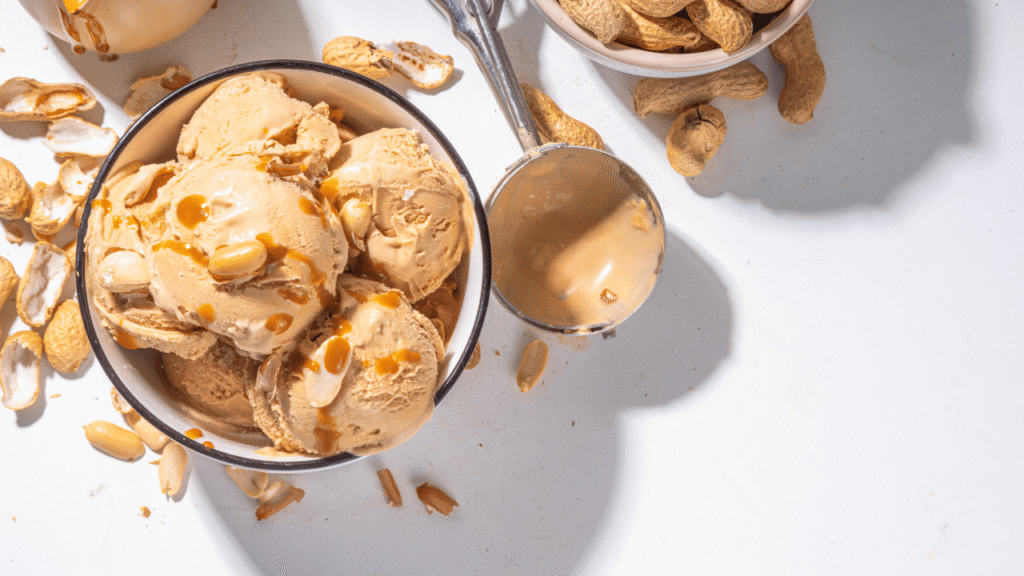
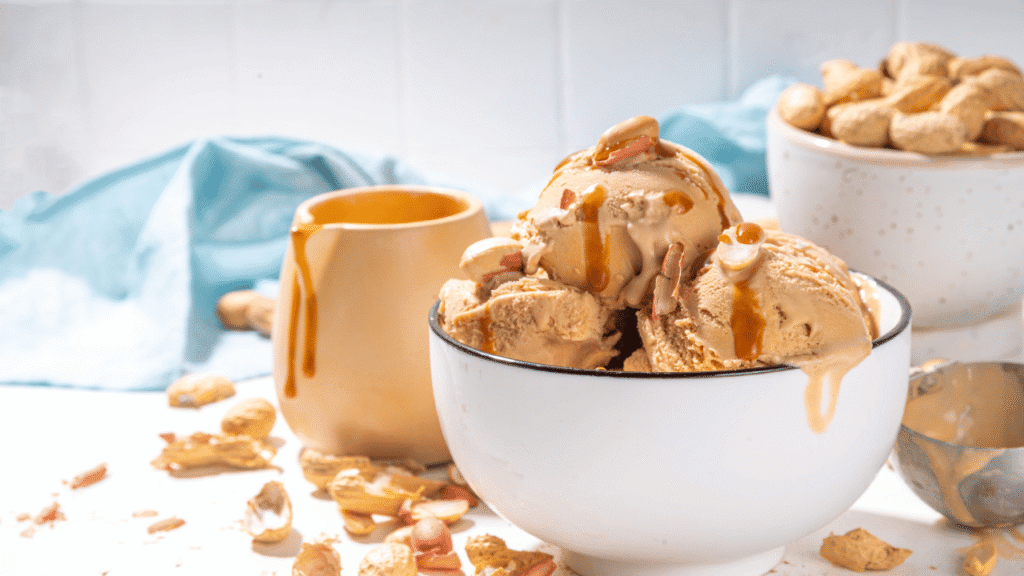
This egg-free, peanut-forward frozen dessert Peanut Butter Ice Cream Recipe brings rich flavor with no fuss. A short list of pantry items—granulated sugar, whole milk, heavy cream, vanilla, and a pinch of salt—forms a silky base. Churn in an ice cream maker for about 25–30 minutes, then layer with melted peanut butter for a decadent swirl.
If you love peanut butter, add chopped peanut butter cups or a chocolate ripple for contrast. For cooks without a machine, the bag-and-ice method makes soft-serve in minutes, then firm it in the freezer for scoopable texture.
The active work is under an hour, and the pan chills for at least six hours or overnight for best firmness. Store covered up to two weeks, and scale the quantities for family-size pints or gift containers.
Expect reliable results: this post covers ingredients, equipment, steps, a no-machine alternative, tips, storage, and tasty variations so you can master homemade ice cream at home.
Key Takeaways
- Simple, egg-free base yields creamy texture with common dairy and pantry staples.
- Ice cream maker speeds churning; bag-and-ice method works without special tools.
- Signature swirl and optional cups add crunch and chocolate balance.
- Active prep is brief; freeze overnight for scoopable results.
- Adjust mix-ins and dairy for lighter or richer versions and portion sizes.
Peanut Butter Ice Cream
4
servings30
minutes40
minutes300
kcal1
hour10
minutesCreamy homemade peanut butter ice cream with a simple process.
Keep the screen of your device on
Ingredients
1 cup 1 heavy cream
1 cup 1 whole milk
0.75 cup 0.75 granulated sugar
1 cup 1 smooth peanut butter
1 teaspoon 1 vanilla extract
0.25 teaspoon 0.25 salt
Directions
- Combine the heavy cream, milk, sugar, peanut butter, vanilla extract, and salt in a large mixing bowl.
- Whisk together until the sugar is dissolved and the mixture is smooth and fully combined.
- Cover the bowl with plastic wrap and chill the mixture in the refrigerator for at least 2 hours.
- Pour the chilled mixture into an ice cream maker and churn according to the manufacturer's instructions, typically 20-25 minutes.
- Transfer the churned ice cream to an airtight container and freeze for at least 3 hours, or until firm.
- When ready to serve, let the ice cream sit at room temperature for a few minutes to soften slightly before scooping.
Recipe Video
Nutrition Facts
- Total number of serves: 6
- Calories: 350kcal
- Cholesterol: 50mg
- Sodium: 150mg
- Potassium: 200mg
- Sugar: 20g
- Protein: 6g
- Calcium: 10mg
- Iron: 1mg
- Thiamin: 0mg
- Riboflavin: 0mg
- Niacin: 2mg
- Folate: 20mg
- Biotin: 0mg
- Phosphorus: 100mg
- Iodine: 0mg
- Magnesium: 30mg
- Zinc: 0mg
- Selenium: 0mg
- Copper: 0mg
- Manganese: 0mg
- Chromium: 0mg
- Molybdenum: 0mg
- Chloride: 0mg
Did you make this recipe?
Tag @https://www.instagram.com/ice_cream_haven/ on Instagram and hashtag it with #IceCreamIceCreamHavens
Like this recipe?
Follow @https://www.pinterest.com/Ice_Cream_Haven/ on Pinterest
Join our Facebook Group!
Follow https://www.facebook.com/icecreamhavens/ on Facebook
Why You’ll Love This Homemade Peanut Butter Ice Cream
This homemade version delivers a deeply nutty scoop with a silky mouthfeel that feels indulgent yet simple to make. The egg-free base blends creamy peanut butter with sugar, milk, heavy cream, vanilla, and a pinch of salt for a smooth churn.
Expect ultra-smooth texture: the mix whisks quickly and reaches soft-serve in about 25–30 minutes in a 2-quart machine. Add chopped peanut butter cups near the end so they stay chunky without overworking the churn.
- Swirls of melted peanut create pockets of concentrated flavor when layered before the final freeze.
- Because it’s egg-free, the base feels lighter in perceived fat while still holding scoopable structure.
- Yield varies by richness: plan 5–6 smaller servings for decadent pints or about 8–10 average servings for lighter batches.
Simple wins: this easy butter ice cream approach gives a peanut-forward profile that pleases people who love peanut butter, and it converts well into other homemade peanut options or chocolate twists.
Peanut Butter Ice Cream Recipe
Gather measured ingredients and simple gear to make a consistent, scoopable batch every time.
Ingredients (makes about 10 servings):
- 1 cup creamy peanut butter
- 3/4 cup granulated sugar
- 1 cup whole milk
- 2 cups heavy cream
- 1 tsp vanilla extract
- 1/4 tsp salt
- Optional: 1 cup chopped peanut butter cups; 1/3 cup creamy peanut butter for swirl
Equipment: a 2-quart ice cream maker (freeze the bowl 12–24 hours ahead), a large mixing bowl, rubber spatula, and a 2-quart freezer-safe pan or 9×5-inch loaf pan.
Whisk the base until the sugar dissolves and the mixture feels smooth. Chill briefly if needed, then follow your machine’s directions to churn.
Yield & nutrition note: this formulation yields about 10 servings. A standard portion averages ~586 kcal for ten servings; richer portions served in smaller cups will raise calories per serving. Store in a tight-lidded container in the freezer, or wrap the pan with plastic and foil to prevent ice crystals.
Step-by-Step: How to Make Peanut Butter Ice Cream Recipe at Home
Use these simple techniques to transform a smooth base into a stable, scoopable pint. Start by whisking the base in a large bowl for a couple of minutes so the sugar dissolves and the mixture feels uniform.
Using an ice cream maker
Pre-freeze your cream maker bowl 12–24 hours ahead. Start the maker and carefully pour ice cream base in, scraping the bowl so no sugar lumps remain.
Churn about 25–30 minutes until the ice cream mixture thickens to soft-serve. Add chopped cups during the last 3–5 minutes to distribute them evenly.
No-machine method
To make ice cream without a machine, double-bag the base in a zip-top bag. Place that bag inside another with ice and 1/2 cup coarse salt, then shake and massage for about 5 minutes until you reach soft-serve.
Transfer the soft mixture to a pan, fold in mix-ins, add the swirl, and move to the freezer to firm up for 6 hours or overnight.
Creating the peanut butter swirl
Microwave 1/3 cup spread for 30–60 seconds until pourable. For a sweeter ribbon, whisk in a little powdered sugar.
Layer one-quarter of the churned mixture into a 2-quart container, drizzle one-quarter of the warmed spread, and repeat. Use a knife to create gentle swirls without overworking the layers.
Freezing to set
Seal the container tightly to avoid freezer burn. Freeze at least 6 hours; overnight yields neater scoops and a stable texture.
- Timing tip: Monitor minutes during churn — stop when soft peaks hold to avoid overchurning.
- Keep it cold: Work quickly during transfers so the base stays chilled and resists large ice crystals.
- Container choice: Use a 2-quart pan or 9×5 loaf for easy layering and slicing into neat servings.
Peanut Butter Ice Cream Recipe Pro Tips, Swirls, Mix-Ins, and Variations
Simple technique changes yield softer texture and clearer swirls. Fully dissolve sugar in the chilled base and pre-freeze the cream maker bowl 12–24 hours before churning. Quick freezing helps form small crystals for a silky mouthfeel.
Texture and flavor tips
Timing matters: stop churn when soft-serve peaks hold. Work fast during transfers so the base stays cold and resists large ice crystals.
- Warm 1/3 cup spread and whisk in a little powdered sugar to make visible ribbons that slice cleanly through the mix.
- Add peanut butter cups during the last 3–5 minutes to keep pieces intact and evenly distributed.
- Use a shallow, lidded container and press plastic on the surface before covering to limit freezer burn.
Substitutions and lighter options
To lower fat, swap half-and-half for part of the milk and cream. The result is slightly less rich but still scoopable.
“For a chocolate peanut butter twist, fold in cocoa or drizzle melted chocolate between layers for contrast.”
Storage, serving, and toppings
Label containers with date and flavor and use within two weeks for peak quality. Allow the pint to temper a few minutes at room time before scooping for easier servings.
- Serve smaller portions for richer batches and add warm hot fudge for balance.
- Rotate mix-ins beyond butter cups—chopped bars or roasted nuts work well—keeping total add-ins modest to protect structure.
Conclusion
After churning, a patient freeze yields consistent scoops and preserves the swirl you worked for.
This egg-free base gives a rich, shelf-stable dessert that sets in about 6 hours to overnight. Churn for 25–30 minutes, layer warmed swirl and cups, then seal in a lidded pan or loaf dish.
Use a cold bowl and a well-chilled ice cream maker or try the bag-and-ice method if you don’t own a machine. Store in airtight containers and finish within two weeks for best texture.
If you want more ideas, see our take on peanut butter ice for mix-in inspiration and serving tips.

