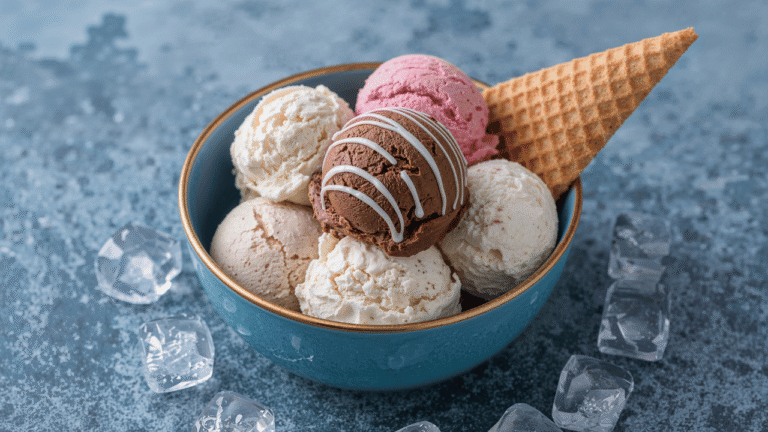
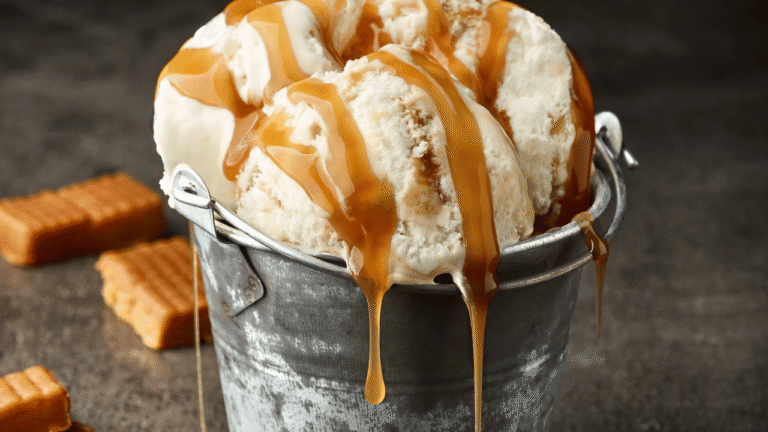
Sugar-free Almond Milk Ice Cream Recipe method, Make a creamy, dairy-free dessert with just a few pantry staples and a simple approach that works for most kitchens. This introduction shows how a 4-ingredient base—unsweetened almond milk, allulose, coconut butter, and vanilla—yields rich texture with about 2.4g net carbs per serving.
Choose a blender-only, ice-tray no-churn trick for fast soft-serve, or use a churn for scoopable results after a short freeze. Small additions like MCT oil, a splash of vodka, or a pinch of xanthan boost body and cut down on iciness.
Simple swaps give you vegan or lower-calorie options: steeped stovetop bases with gelatin or cashew blends create different textures without extra fuss. Expect clear guidance on timing, storage, and flavor mix-ins so you can make ice cream at home confidently, even without special gear.
Key Takeaways
- Quick and flexible: blender or churn options for soft-serve or firm scoops.
- Four core ingredients deliver creamy, low-carb results.
- Fat and stabilizers improve texture and reduce iciness.
- No-churn ice-tray technique mimics churned smoothness fast.
- Flavor variations and make-ahead tips are included for easy planning.
Guilt-free, creamy, and easy: what to expect from this recipe today
A quick ten-minute prep gives you a silky base that becomes spoonable in a few hours. Blend-only and stovetop-steeped versions both start fast. Chill or freeze time then ranges from about 1 to 4 hours depending on which path you choose.
No-churn cube freezing means bases freeze in small portions and re-blend into soft-serve in roughly 2 hours. If you use a churn, expect about 4 hours in the freezer after processing for scoop-ready firmness.
- The mouthfeel is velvety at first, then firms to classic scoopable texture.
- Softening time varies: about 10 minutes for cashew-based vegan versions and up to 1 hour for very low-fat mixes.
- Flavor additions — cocoa, coffee, mint, or berry — blend easily into the neutral base.
Plan portions to speed softening and make timing predictable. For more tips and a full walkthrough, see the low-sugar ice cream guide.
Why you’ll love this sugar-free almond milk ice cream
This approach makes a reliably creamy frozen treat that scales easily and accepts countless flavors.
Healthy and low-carb: A four-ingredient base—unsweetened almond milk, allulose, coconut butter, and vanilla—can run about 2.4g net carbs per serving. Choose an egg-and-gelatin churned base or a vegan cashew-almond blend for other dietary needs.
Easy and flexible: The steps are short and clear. You can mix in a blender or use a churn with similar results. This works whether you have an ice cream maker or not.
Versatile flavor platform
- Use cocoa, extracts, or chopped berries to change the flavor fast.
- Fold in cookie dough bites or sugar-free chocolate chips before the final freeze.
- Scale the base for parties—freeze in loaf pans or containers for make-ahead portions.
Want a full walk-through and scaled variations? See the detailed guide at almond milk ice cream.
Ingredients you’ll need for the best flavor and texture
Begin with a few reliable ingredients that build a silky base and resist icy crystals during freezing. Keeping the list short helps consistency and makes the process repeatable.
Core base: unsweetened almond milk, vanilla, and a creamy backbone
Choose a good unsweetened almond milk to keep sugars low and provide a clean, neutral base. Use quality vanilla extract to lift aroma and round the perceived sweetness.
Creamy backbone: coconut butter adds fat and body. Almond or cashew butter work well as swaps for similar richness.
Sweeteners that stay scoopable
Opt for allulose or a liquid low-carb sweetener; they keep the sweetness soft and cut down on icy crystallization. Granular erythritol can lead to a firmer freeze.
For non‑low‑carb versions, a touch of maple syrup or agave will sweeten without harsh cooling effects.
Optional add-ins and smart swaps
- Stir in cocoa powder and a bit more sweetener for deep chocolate flavor.
- Fold chopped sugar-free chocolate, cookie dough bites, or fresh berries for texture.
- For vegan richness, blend soaked cashews with almond milk to thicken and mimic dairy’s silky mouthfeel.
“Small tweaks — a pinch of salt or a spoon of coconut butter — can sharpen sweetness and improve scoopability.”
Helpful equipment for making Sugar-free Almond Milk Ice Cream Recipe method at home
Having the right tools speeds the process and improves texture for every batch. Whether you choose a churn or a no‑maker path, simple steps make a big difference in final mouthfeel.
With an ice cream maker: churn for ultra-smooth results
An ice cream maker adds air while freezing, producing tiny crystals and a velvety texture.
Pre-chill the machine bowl and the base, then process about 25–30 minutes in a prepared, chilled cream maker. Colder starts reduce ice formation and speed freezing.
Without a maker: blender-and-freezer or stir-and-freeze
If you lack a cream maker, freeze the blended base in trays, then blitz cubes back to soft-serve. This mimics churning by breaking large freezes into small portions.
Alternatively, use a shallow pan and stir every 15–30 minutes during the first hour to disrupt crystals.
- Use a loaf pan or a lidded freezer-safe container to set and store the final batch.
- Keep a sturdy spatula to scrape blender sides and aid circulation for low-fat bases.
- Fold in mix-ins at the soft-serve stage, then label the container with date and flavor.
“Follow clear instructions for your specific maker model—churn times vary, and blender power affects how quickly cubes process back to soft-serve.”
Sugar-free almond milk ice cream recipe method
Follow clear instructions to finish the base into a silky frozen treat. Below are two hands-on paths and a timing card to help you plan prep and chill time.
No‑churn blender path with trays
Blend the base until the mixture is smooth and the sweetener fully dissolves. Pour into ice cube trays and freeze about 2 minutes per test cube check; expect roughly 2 hours to set.
Pop cubes and blitz on high for 1–2 minutes until soft-serve forms. Fold in mix-ins, then press into a loaf pan and freeze 2–3 hours for scoopable texture.
Churned path with a chilled maker
For churned ice cream, optionally steep a stovetop base with egg and gelatin, then chill 60–70 minutes and strain. Cold-start the base in your ice cream maker to reduce crystals.
Process for about 25–30 minutes in the chilled maker, then transfer to a lidded container and freeze 4 hours for firm scoops.
Timing guide: prep minutes, freezing, and softening
- Active prep: 10–15 minutes blending or steeping.
- Tray freeze: ~2 hours; blitz 1–2 minutes to soft-serve.
- Churn time: 25–30 minutes; harden 4 hours.
- Softening: cashew-enriched batches ~10 minutes; low-fat milk ice may need up to 60 minutes.
“Blend until emulsified—fully dissolved sweetener and evenly distributed fat give the smoothest set.”
Keep a card nearby with cup measures and minute-by-minute notes for quick recall when you make the next batch.
Step-by-step: from blended base to scoopable Sugar-free Almond Milk Ice Cream Recipe method
Follow a clear sequence from blender to freezer so each step builds a silkier, scoopable finish. These concise instructions walk you through blending, quick freezing, and finishing for the best texture.
Blend the base
Start by combining unsweetened almond milk, your chosen sweetener, vanilla, and coconut or nut butter in a blender. Process until the mixture looks glossy and uniform.
Taste and adjust sweetness now. Add a small pinch of salt to lift flavor and balance the base.
Freeze in cubes for faster re-blending
Pour the mixture into ice cube trays on a sheet pan so cubes freeze evenly. Freeze about two hours until solid.
Re-blend to soft-serve and add mix-ins
Transfer frozen cubes back to the blender and process 1–2 minutes until the texture is soft-serve smooth. Pause to scrape the sides for even mixing.
Fold in chocolate chips or small cookie pieces at this stage so they keep their shape during the final set.
Churn option
If using a churn, strain and thoroughly chill the base, then process in your cream maker until it resembles soft-serve. Add mix-ins near the end of churning and proceed to set.
Set, store, and scoop
Press the soft-serve into a loaf pan or airtight container, cover with parchment, and freeze 2–3 hours for scoopable firmness. Check at the two-hour mark for texture.
“For longer storage, very lean bases become firmer—allow a brief room-temperature rest before serving.”
- Quick tip: soft-serve now or freeze briefly for firm scoops.
- Store in a sealed container to reduce freezer burn and large ice crystals.
- For full step-by-step instructions, see the detailed guide.
Pro tips to keep it creamy, soft, and scoopable
A few targeted tricks—proper sweetener, added fat, and a tiny stabilizer—keep your dessert soft straight from the freezer.
Pick the right sweetener: prefer allulose because it mimics sucrose and resists recrystallizing. That helps a softer set and better perceived sweetness when chilled.
Boost body with fat: add two tablespoons MCT oil or coconut butter for a richer cream phase. Olive oil or nut butter like cashew also builds mouthfeel without adding ice crystals.
Stabilize smartly: a micro-dose of xanthan or guar gum tames free water and improves texture. If you use gelatin, choose grass-fed for custard-like structure in very low-fat bases.
- Stir in about 1 tablespoon vodka to lower the freezing point and reduce firmness.
- Avoid undissolved granulated sweeteners; they seed larger ice crystal growth.
- Keep the mix cold from blend to freeze to preserve fine texture and easy scooping.
“Small changes to fat, stabilizer, and cooling keep texture stable and scooping simple.”
Flavor variations and mix-ins to try
A handful of mix-ins and extracts turns the neutral base into vivid, classic flavors. Keep additions simple and add them at soft-serve stage so texture stays even and mix-ins don’t sink or get soggy.
- Chocolate: Whisk in unsweetened cocoa powder and raise the sweetener a touch for balance. This yields a fudgy finish that still tastes clean.
- Chocolate chip: Fold in sugar-free chips at soft-serve for even distribution without melting or sinking.
- Strawberries and berries: Stir in finely chopped fresh or frozen berries. Their bright acidity cuts richness and keeps the mix refreshing.
- Mint or coffee: Use a few drops of peppermint or coffee extract for big flavor without added water that can cause iciness.
- Nut butter swirls: Warm a spoonful of peanut or almond butter and ripple it through for ribboned contrast.
- Cookie add-ins: Fold in cookie dough bites or crumbles at the end to preserve texture and bite.
- Banana or coconut twists: Try banana extract for low-sugar banana notes, or pair coconut butter with flakes for a tropical lift.
“Always add mix-ins once the base reaches soft-serve. That keeps pieces suspended and the final texture scoopable.”
Serving ideas, toppings, and presentation
Make service part of the fun. A thoughtful finish brings out each flavor and keeps texture at its best. Small choices — chilled bowls, neat scoops, and warm contrasts — change how the dessert reads on the plate.
Classic sundaes
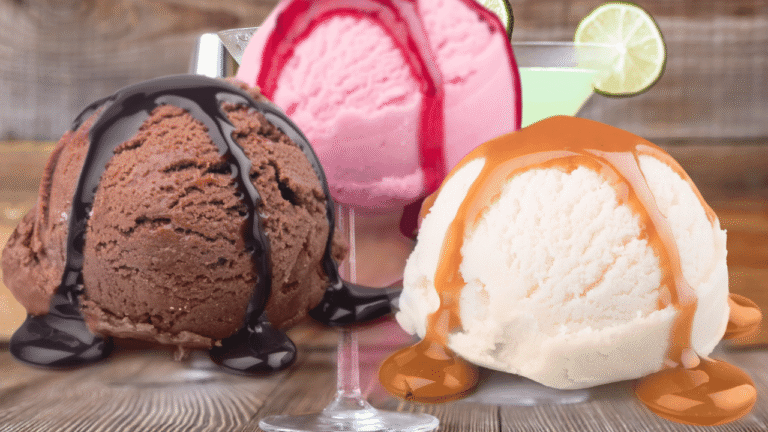
Build a keto-friendly sundae with toasted nuts, fresh berries, and a drizzle of sugar-free chocolate or caramel syrup. Add a spoonful of nut butter or a light kiss of sea salt to amplify sweetness.
Sandwich it
Make neat sandwiches using low-carb cookies or chaffles. Place a 1/2 cup scoop between two cookies, press gently, then freeze briefly to set clean edges.
A‑la‑mode and toppings bar
Serve a small scoop over warm brownies or pie so it melts into a silky sauce. Offer a topping bar with coconut flakes, chopped chocolate, and chips so guests can customize crunch and texture.
- Quick tip: add chips or crumble last minute to keep them crisp.
- Soften most batches about 10 minutes at room temperature for scoopable texture.
- Keep an extra container sealed so earlier scoops stay firm during service.
“Chilled bowls, a brief soften, and thoughtful garnishes make every scoop look intentional.”
Sugar-free Almond Milk Ice Cream Recipe method Storage, softening, and make-ahead tips
How you freeze and store your batch determines if the final scoop feels silky or icy. Follow a few simple habits to protect texture and flavor so your dessert performs well at serving time.
Best enjoyed same day; storing up to a few months
For peak texture, enjoy the batch the day you churn or re-blend. Extended freezer time can firm low-fat batches and blunt the fresh mouthfeel. You can store the container tightly sealed for up to three months, but flavor and creaminess are best within the first several weeks.
Airtight containers and headspace
Use an airtight container with minimal headspace. Press a sheet of parchment directly on the surface to limit air contact and frost formation.
Softening window and serving time
Plan a softening window at room temperature. Low-fat bases may need up to 60 minutes, while cashew-enriched versions often soften in about 10 minutes.
- Label each container with flavor and date so you can track freshness.
- Avoid frequent temperature swings; keep the freezer closed during the final set for even results.
- For events, move the container from deep freeze to fridge 20–30 minutes before service, then finish softening at room temperature.
“If surface frost forms, scrape a thin layer off before scooping to refresh appearance and mouthfeel.”
Nutrition and dietary notes for U.S. cooks
Understand the numbers and swaps that keep this frozen treat aligned with your goals.
Keto and low‑carb pointers
Portion control matters: use a 1/2 cup serving when tracking macros; many labels and a typical recipe card use this standard. A lean allulose plus coconut butter base can be as low as ~2.4g net carbs per serving.
Liquid sweeteners and syrup-style stevia mixes reduce recrystallization better than many granulated options. That helps keep a softer set and easier scooping.
Dairy‑free and egg‑free paths
If you avoid dairy or eggs, choose a cashew-thickened base or a blended cashew-almond approach for creaminess. Skip gelatin and use tiny amounts of xanthan or guar gum to stabilize texture.
For lower-fat needs, a gelatin-stabilized almond milk option gives a creamy feel at modest calories — some churned versions register about 45 kcal per 1/2 cup. Vegan cashew-almond servings are higher — roughly 161 kcal per portion — so adjust portions accordingly.
- Homemade almond milk or unsweetened store versions both work; aim for consistent strength so freezing is predictable.
- Check labels for sodium and calcium if you track minerals closely.
- Review base and mix-ins for allergens; swap nut butters or chips to suit your household.
“Small changes to sweetener type and a pinch of stabilizer often make the biggest difference in final texture.”
Conclusion
Sugar-free Almond Milk Ice Cream Recipe method, Wrap up confidently: you can get soft-serve in minutes or firm scoops after a short chill depending on the path you choose.
Keep a simple recipe card with cup measures, minutes to churn or freeze, and the typical softening time. The blender-cube fast track gives soft-serve quickly; a chilled churn in an ice cream maker yields a creamier, scoopable finish after about 4 hours.
Focus on the mixture and texture: blend thoroughly, keep the base cold, and add a touch of fat or a stabilizer to avoid iciness. Store the batch in a sealed container with parchment on the surface, then allow a brief room-temperature rest before scooping.
Use the card to note ingredients like vanilla, sweetener choice, and any mix-ins—chocolate, strawberries, or coconut—so you can repeat the best versions. With these steps you can confidently make ice cream at home that tastes great and holds its texture.


