Small-batch frozen treats 1 Pint Ice Cream Recipe make it easy to test flavors and control portions. A single 16 oz, freezer-safe jar fits this compact batch, leaving about an inch of headspace so the mix can expand as it freezes.
This post guides you through both quick no-churn builds that take about 10 minutes of hands-on time and several hours in the freezer, and machine-churned methods that need a chilled canister and a bit more prep. You’ll learn how to balance fats and sugars for rich, creamy scoops that avoid the hollow whipped texture.
Expect clear notes on equipment, timing, and freezer storage so your pint stays scoopable longer. Beginners get step-by-step direction, while experienced cooks will appreciate tips for mix-ins like vanilla, chocolate, or fruit and ideas to make a small batch feel parlor-worthy.
Key Takeaways
- A 16 oz jar is ideal for a single small batch and allows safe expansion.
- No-churn versions take ~10 minutes to assemble and freeze 4+ hours.
- Churned methods need a frozen canister and 20–30 minutes of churning.
- Balance fats and sugars for creamy texture, not frozen whipped air.
- This post covers bases, variations, troubleshooting, and serving ideas.
- Find the full step-by-step guide and exact proportions at easy homemade pint guide.
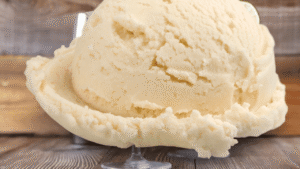
Classic Vanilla Ice Cream
4
servings15
minutes3
hours50
minutesA creamy homemade vanilla ice cream using simple ingredients.
Keep the screen of your device on
Ingredients
1 cup 1 heavy cream
1 cup 1 whole milk
0.5 cup 0.5 granulated sugar
1 tablespoon 1 vanilla extract
1 pinch 1 salt
Directions
- In a mixing bowl, combine heavy cream, whole milk, granulated sugar, vanilla extract, and a pinch of salt.
- Whisk until the sugar is completely dissolved and the mixture is smooth, which should take about 2 to 3 minutes.
- Cover the mixture and chill in the refrigerator for at least 2 hours or overnight for best results.
- Once the mixture is thoroughly chilled, pour it into your ice cream maker's bowl according to the manufacturer's instructions.
- Churn the mixture for 20 to 25 minutes or until it reaches a soft-serve consistency.
- Transfer the ice cream into an airtight container and freeze it for at least 4 hours to firm up.
- Serve the ice cream in bowls or cones, allowing it to sit at room temperature for 5 minutes if it’s too hard to scoop.
Recipe Video
Nutrition Facts
- Serving Size: 1g
- Total number of serves: 4
- Calories: 230kcal
- Fat: 17g
- Saturated Fat: 11g
- Trans Fat: 0g
- Polyunsaturated Fat: 0.5g
- Monounsaturated Fat: 4.5g
- Cholesterol: 65mg
- Sodium: 45mg
- Potassium: 105mg
- Carbohydrates: 19g
- Fiber: 0g
- Sugar: 18g
- Protein: 3g
- Vitamin A: 550IU
- Vitamin C: 0mg
- Calcium: 120mg
- Iron: 0mg
- Vitamin D: 1mg
- Vitamin E: 0.5mg
- Vitamin K: 0mg
- Thiamin: 0mg
- Riboflavin: 0.2mg
- Niacin: 0mg
- Vitamin B6: 0mg
- Vitamin B12: 0.2mg
- Folate: 5mg
- Biotin: 0mg
- Pantothenic Acid: 0.3mg
- Phosphorus: 100mg
- Iodine: 0mg
- Magnesium: 10mg
- Zinc: 0mg
- Selenium: 2mg
- Copper: 0mg
- Manganese: 0mg
- Chromium: 0mg
- Molybdenum: 0mg
- Chloride: 0mg
Did you make this recipe?
Tag @https://www.instagram.com/ice_cream_haven/ on Instagram and hashtag it with #IceCreamIceCreamHavens
Like this recipe?
Follow @https://www.pinterest.com/Ice_Cream_Haven/ on Pinterest
Join our Facebook Group!
Follow https://www.facebook.com/icecreamhavens/ on Facebook
Why a Small-Batch, 1 Pint Ice Cream Recipe Is Perfect for Summer
Summer calls for quick, fresh scoops — making a small batch is the fastest way to get them. A pint-sized approach cuts waste and lets you try multiple flavors without a lot of leftover frozen goodness. Smaller volumes chill and set faster, so you can enjoy homemade ice the same day.
If you use an ice cream maker, freeze the canister at least 12 hours ahead; most pint batches churn in 10–20 minutes. No-churn versions only need a bowl and a hand mixer, then 4+ hours in the freezer.
Portion control is another win: a single container is perfect for cones or sundaes and avoids overbuying. You also spend less on quality dairy and vanilla, so premium ingredients are affordable.
- Run two batches at once to compare vanilla ice with chocolate swirl or fruit mix-ins.
- Swap equipment easily — a bowl and mixer work in small kitchens or dorms.
- Customize each batch for dietary needs and rotate seasonal flavors weekly.
1 Pint Ice Cream Recipe: What You’ll Make and Why You’ll Love It
This small batch starts with a vanilla-forward base that’s easy to dress up for sundaes or cones. Use a no-churn mix of heavy cream and sweetened condensed milk for quick assembly, or a churned base with cream, whole milk, cane sugar, vanilla, and a pinch of salt for classic texture.
Rich, creamy results come from balancing fats and sugars. Add a spoonful of whipped cream cheese to no-churn bases for tang and better scoopability. For churned batches, chilling the base first helps the canister work efficiently.
Mix-ins and timing
Fold crushed cookies, cookie dough pieces, or brownie chunks in near the end so they stay chunky. A warmed chocolate drizzle mixed with a bit of coconut oil makes even small batches feel decadent.
Why the pint format works
- The small container spreads mix-ins evenly, so bites stay consistent.
- Minimal gear—hand mixer and bowl or a compact maker—keeps prep simple.
- Active time is short: assemble, churn or freeze, then enjoy the same day.
Essential Ingredients and 1 Pint Ice Cream Recipe Base Fundamentals
The right fats, sugars, and flavorings determine whether a pint scoops smoothly.
Start by choosing heavy cream and whole milk for the churned base. Heavy cream supplies body and a smooth mouthfeel while milk keeps richness balanced. Add cane sugar and a pinch of salt to sweeten and lower the freezing point for fewer ice crystals.
Fats and sugars for a rich texture
- Heavy cream gives the base its lush feel; whole milk tempers that richness.
- Sugar sweetens and helps keep the final product scoopable by depressing freezing point.
- Use cane sugar for a clean flavor; adjust if adding sweet mix-ins like caramel.
Vanilla options
Vanilla extract works well, but a vanilla bean or paste adds aromatic depth and tiny specks to the finish. A pinch of salt also boosts vanilla without making the base taste salty.
Custard-style vs. no‑churn
For custard-style, temper and cook egg yolks gently to emulsify and enrich. Chill thoroughly before churning; colder bases churn faster and form smaller crystals.
No‑churn mixes need whipped heavy cream folded into sweetened condensed milk. Stirring in a spoonful of whipped cream cheese improves tang and scoopability for small batches. For custard halves, rounding down egg yolks still yields a rich base — see homemade custard tips at homemade custard tips.
Two Easy Ways to Make Ice Cream: With and Without a Machine
Decide what suits your time and gear: a quick no‑churn jar or a chilled canister for ultra-smooth results.
No‑churn mason jar or bowl method: Beat your flavor base, then add heavy cream and whip to medium peaks with a hand mixer. Fold in chilled mix-ins and transfer the mixture to a freezer-safe 16 oz jar, leaving about an inch of headspace. Freeze at least 4 hours until set.
No‑churn tips to avoid frozen whipped texture
Boost fats and sugars with sweetened condensed milk. Stir in a spoonful of whipped cream cheese if the base seems light. These tricks keep your no‑churn batch from tasting like frozen whipped topping.
Churned method for silky texture
Pre-freeze the canister 12–24 hours. Chill the base 2–24 hours for smaller crystals. Churn a pint in 10–30 minutes, then pack into a tight-lidded container and chill 2–4 hours for scoopable firmness.
- To make chocolate shards, melt chopped chocolate with 1/2 tsp coconut oil and drizzle into the semi‑frozen mixture for thin flakes.
- Chill mix-ins before folding so they stay chunky.
- Label jars with flavor and date to track freshness.
1 Pint Ice Cream Recipe Time, Yield, and Texture: What to Expect
Smart scheduling—short hands-on work followed by passive chilling—gets the best texture from small batches. Expect about 10–15 minutes of active prep for either method, then most of the total time is passive cooling and freezing.
Machine method timeline
Canister pre-freeze: at least 12 hours; 18–24 hours gives more consistent churning and smaller crystals.
Base chill: 2–24 hours so the cream base is cold before churning.
Churn: a chilled pint often hits soft-serve in 10–20 minutes; plan 20–30 minutes if your maker runs slower.
Firming: pack and freeze 2–4 hours for parlor-style scoops.
No‑churn timeline
Mix about 10 minutes, then freeze at least 4 hours. Overnight is best to firm the mixture fully without excess iciness.
- Texture checkpoints: soft-serve right after churning, scoopable after short hardening, firmer after extended freeze.
- Proper base chilling reduces crystal size and improves mouthfeel.
- Smaller batches cool and churn faster—helpful when you need to make ice for a gathering.
Plan around the least hours you have available to hit serving time. Warmer kitchens can add a bit of wait, so judge doneness by texture rather than the clock. For quick no‑churn ideas, try this three-ingredient no‑churn guide to make a simple, fast batch.
Flavor Variations and Mix-Ins to Try Right Now
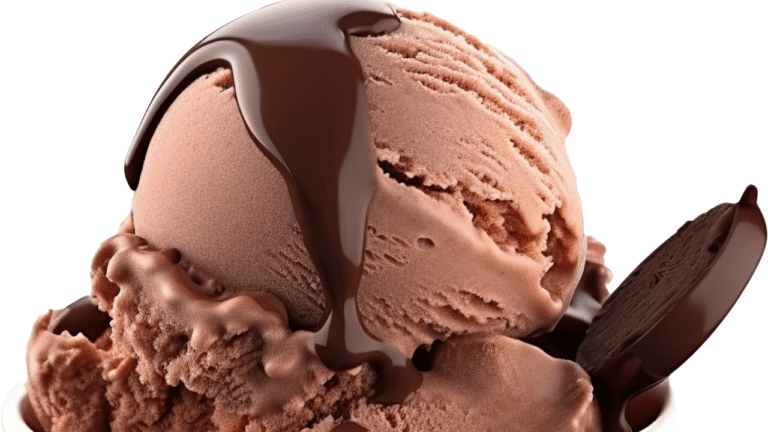
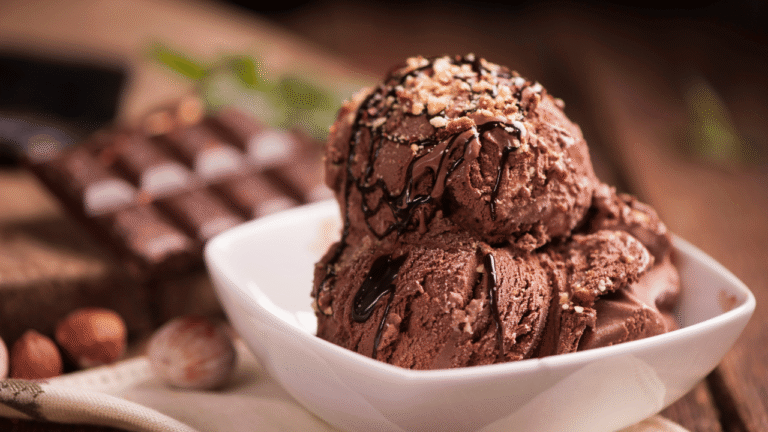
A quick twist in your base can turn a basic pint into a show-stopping flavor in minutes. Start by making a concentrated chocolate paste: whisk 2 tbsp cocoa with 2 tbsp boiling water, then stir that into the chilled base with an extra tablespoon of sweetened condensed milk. This boosts chocolate depth without watering down texture.
Ripple strategies work well: spoon hot fudge or caramel between layers of base, then use a skewer to gently swirl for visible ribbons. For crisp flakes, drizzle melted chocolate with about 1/2 tsp coconut oil into the semi‑frozen mix; it will harden into delicate shards.
Cut cookies and brownie chunks into small, bite-friendly pieces and fold them in near the end so they stay chunky. If you want cookie dough, use an edible dough that skips raw eggs and heat-treats or uses safe flour.
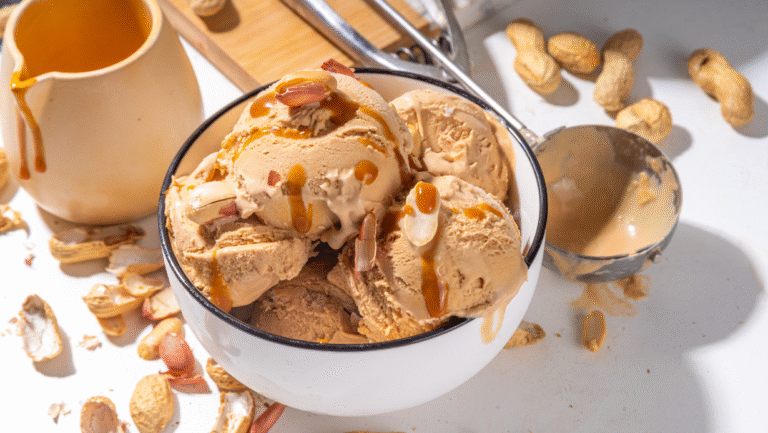
- Nut butter swaps: peanut, almond, cashew, or hazelnut-chocolate spreads give a richer, slightly salty counterpoint.
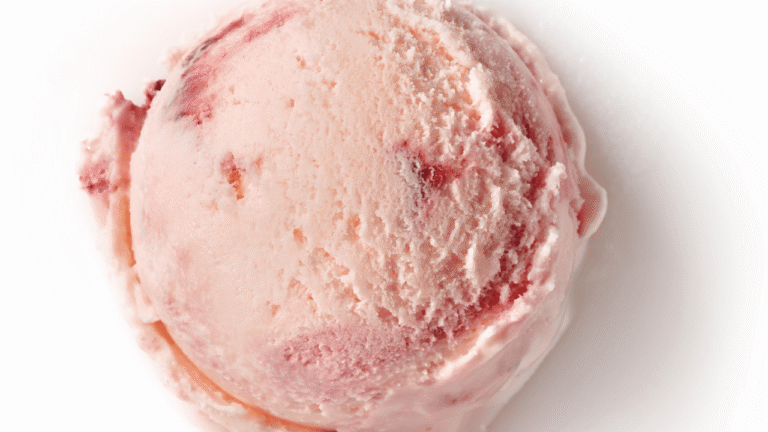
- Fruity ideas: roast strawberries or peaches for depth; try cherry compote or an apple butter swirl for fall flavors.
- Vanilla-forward: use a scraped bean or paste for aromatic speckles and a classic finish.
Balance sweetness by cutting base sugar when adding sugary sauces. Keep total mix-ins scaled down so the base still binds everything—aim for the pint proportion of the standard 2–2.5 cups per quart guideline.
Pro Tips for Soft, Scoopable Homemade Ice Cream
A few targeted tweaks to fats, sugar, and time yield noticeably softer, silkier frozen results.
Whip to medium peaks. For no‑churn mixes, stop when cream holds soft peaks so it folds into the ice cream base without separating. Overwhipping makes a dense texture after freezing.
Balance fats and sweeteners. Sweetened condensed milk adds body and lowers the freezing point, giving a rich creamy feel and fewer crystals. Use modest extra sugar if you add tart fruit or unsweetened chocolate.
- Try a teaspoon of neutral alcohol to curb crystal growth without altering flavor.
- Chill churned bases 2–24 hours; pre‑freeze the canister at least 12 hours (18–24 ideal) for faster, smoother churns.
- Work fast when transferring from churner to container and press plastic on the surface to limit freezer air exposure.
- Pre‑chill add-ins (brownie or chocolate pieces) so they keep shape and don’t melt into streaks.
Short hands-on minutes and careful prep of the bowl, hand tools, and cold base produce better mouthfeel. Track time and temperature, and you’ll get consistent results with any of these ice cream recipes.
Troubleshooting, Storage, and Serving
A few simple moves can rescue a grainy batch and keep your frozen dessert smooth. Start with hands-on fixes for manual methods, then follow storage steps to prevent crystals later. Finally, try warm pairings and crunchy toppings to elevate each scoop.
Grainy or icy texture fixes without a machine
For no‑machine batches: pour a chilled mixture into a shallow, freezer-safe pan. Every 30–45 minutes for about 2–3 hours, whisk vigorously to break forming crystals and redistribute the mix.
If the finished pint is too hard, let it stand a few minutes at room temperature before scooping. Avoid microwaving, which creates melted pockets that refreeze unevenly.
How to store a pint for up to a month and prevent ice crystals
Pack your batch in airtight containers with minimal headspace. Press plastic wrap or foil directly onto the surface before sealing to limit air contact and slow crystal growth.
Label each jar with flavor and date and keep pints in the coldest, most consistent zone of the freezer. Most homemade frozen desserts stay best for up to a month.
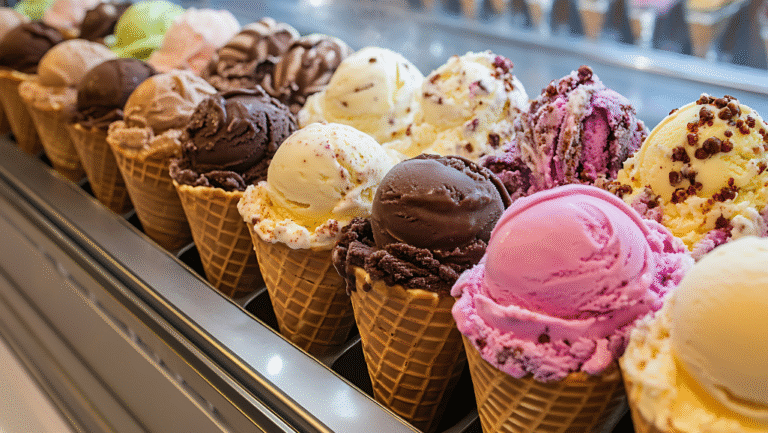
Serving ideas: cones, sundaes, fruit toppings, and warm dessert pairings
Top scoops with hot fudge or caramel sauce, crumbled cookies, or cookie dough bites for texture contrast. Pair warm desserts like apple pie, peach crisp, or brownies for a classic hot-and-cold finish.
- After churning, freeze 2–4 hours to firm texture for cleaner scoops.
- If using a machine, ensure the canister froze at least 12 hours and the base chilled well to avoid thin mixtures.
- Keep scoops clean by warming serving tools in hot water and drying between uses.
Conclusion
Two simple approaches—no‑churn for ease and churned for silkier texture—both deliver satisfying small‑batch ice cream at home.
1 Pint Ice Cream Recipe, Key fundamentals are the same: balance fats and sugars, chill the base well, and keep equipment cold for the best texture. Plan chill and firming windows so the dessert is ready when guests arrive.
Try making two pints at once to compare vanilla and chocolate or test mix‑ins side by side. Store jars up to a month in airtight containers and press plastic on the surface to limit ice crystals.
These base frameworks adapt easily for dietary swaps and seasonal fruit. For a complete how‑to, see the full pint guide and the one‑cup method for more small‑batch ideas.
A well-made pint is a quick, rewarding project that turns simple ingredients into parlor‑quality scoops at home.

