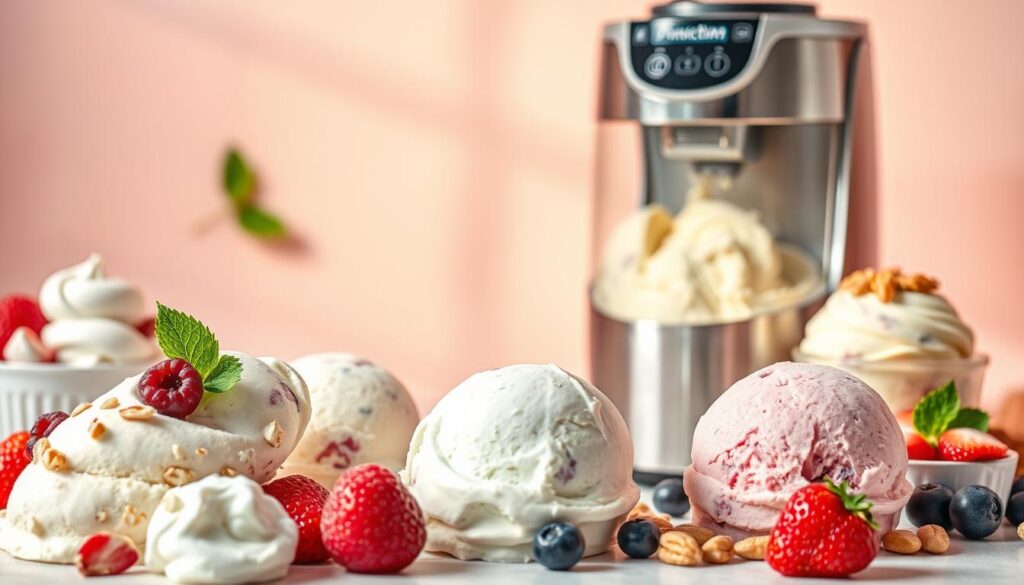
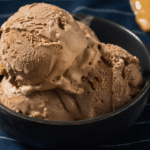
Imagine turning your kitchen into a personal dessert lab where every craving becomes reality. The revolutionary frozen treat appliance reshaping home kitchens lets you craft professional-quality creations with unmatched flexibility. Unlike conventional methods, this device handles everything from dairy-free sorbets to protein-packed shakes in minutes.
Since its 2021 debut, this social media phenomenon has inspired millions to explore creative recipes. Users share vibrant mango sorbets and decadent cookie-dough blends across platforms like TikTok, proving gourmet results require no culinary expertise. The magic lies in its ability to transform frozen bases into velvety textures – no cream or stabilizers needed.
What truly sets it apart? Total ingredient control. Design keto-friendly pints, vegan gelatos, or low-sugar options while keeping flavors bold. Families love making allergen-safe versions, and health-conscious creators appreciate skipping artificial additives. It’s not just about ice cream – think frothy lattes, cocktail slushies, or even baby food purees.
Key Takeaways
- Ninja Ice Cream Maker Recipes
- Make restaurant-quality frozen treats with customizable ingredients
- Create dairy-free, vegan, or diet-specific desserts effortlessly
- Explore beyond ice cream with milkshakes, cocktails, and smoothies
- Join a passionate community sharing creative recipes online
- Save money while controlling exactly what goes into each batch
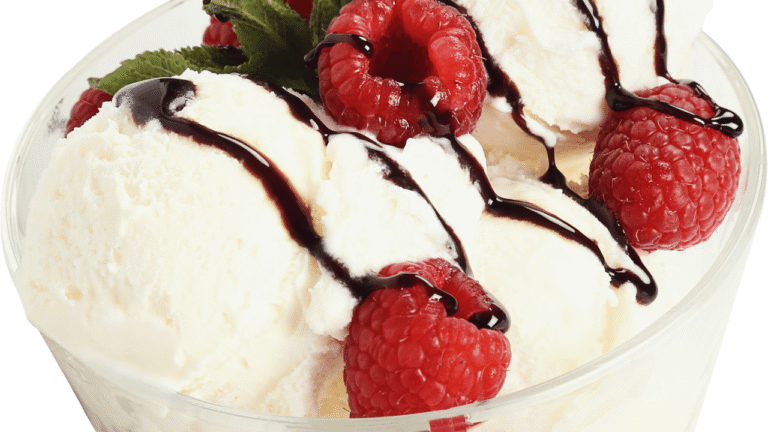
Classic Vanilla Ice Cream
4
servings30
minutes40
minutes300
kcal1
hour10
minutesSimple homemade vanilla ice cream with everyday ingredients.
Keep the screen of your device on
Ingredients
1 cup 1 whole milk
3-4 cup 3-4 granulated sugar
2 cup 2 heavy cream
1 tablespoon 1 vanilla extract
1 pinch 1 salt
Directions
- In a medium bowl, whisk together whole milk and granulated sugar until the sugar dissolves completely for about 2 minutes.
- Add heavy cream, vanilla extract, and a pinch of salt to the milk and sugar mixture, stirring until well combined.
- Cover the bowl with plastic wrap and refrigerate for at least 1 hour to chill thoroughly.
- Once chilled, pour the mixture into the ice cream maker and churn according to the manufacturer’s instructions, typically 20-25 minutes.
- Transfer the churned ice cream to an airtight container, press a piece of plastic wrap against the surface, and store in the freezer for at least 2 hours to firm up.
Nutrition Facts
- Total number of serves: 4
- Calories: 210kcal
- Cholesterol: 60mg
- Sodium: 60mg
- Potassium: 120mg
- Sugar: 21g
- Protein: 3g
- Calcium: 100mg
- Iron: 0mg
- Thiamin: 0mg
- Riboflavin: 0mg
- Niacin: 0mg
- Folate: 5mg
- Biotin: 0mg
- Phosphorus: 90mg
- Iodine: 0mg
- Magnesium: 10mg
- Zinc: 0.5mg
- Selenium: 0mg
- Copper: 0mg
- Manganese: 0mg
- Chromium: 0mg
- Molybdenum: 0mg
- Chloride: 0mg
Did you make this recipe?
Tag @https://www.instagram.com/ice_cream_haven/ on Instagram and hashtag it with #IceCreamIceCreamHavens
Like this recipe?
Follow @https://www.pinterest.com/Ice_Cream_Haven/ on Pinterest
Join our Facebook Group!
Follow https://www.facebook.com/icecreamhavens/ on Facebook
Getting Started with Your Ninja Creami
Unlock the secrets to perfect frozen treats with your new kitchen companion. This appliance’s unique approach flips traditional dessert-making rules, letting you craft velvety textures from rock-solid bases. Success begins with understanding its game-changing mechanics.
What Makes the Ninja Creami Stand Out?
The Ninja Creami machine uses a patented blade system that shaves and aerates fully frozen mixtures. Unlike conventional models needing liquid bases, it transforms solid pints into smooth creations in 2 minutes. No churning. No waiting. Just instant, spoon-ready results.
This method lets you prep multiple batches days ahead. Freeze bases in dedicated containers, then process whenever cravings strike. The “freeze now, blend later” system means spontaneous dessert nights become effortless.
Essential Tools and Equipment for Success
Stock up on extra pint containers – they’re the backbone of efficient operation. With 3-4 containers, you’ll always have frozen bases ready. Follow these tips:
- Label each container with flavors and dates
- Store pints flat in your freezer for even freezing
- Keep blades clean and dry between uses
The right setup turns this machine into a dessert powerhouse. Whether whipping up midnight snacks or impressing guests, you’ll love having options at your fingertips.
Diving into ninja ice cream maker recipes
Every culinary adventure begins with a solid foundation, and crafting frozen delights is no exception. The right base mixture unlocks endless possibilities, from nostalgic classics to bold new flavor frontiers. Let’s explore the building blocks that turn simple ingredients into extraordinary treats.
The Classic Vanilla Base Recipe
This essential formula combines 1/2 ounce cream cheese, 1/3 cup sugar, 3/4 cup heavy cream, 1 cup milk, and 1 teaspoon vanilla extract. The secret weapon? Cream cheese. It acts as a natural stabilizer, ensuring scoopable texture even with dairy-free swaps.
Whole milk delivers maximum richness, but almond or oat versions work beautifully. Remember: heavy cream (not whipping cream) creates that luxurious mouthfeel. This precise balance took countless tests to perfect – your guarantee of success on the first try.
Adapting the Base for Flavor Variations
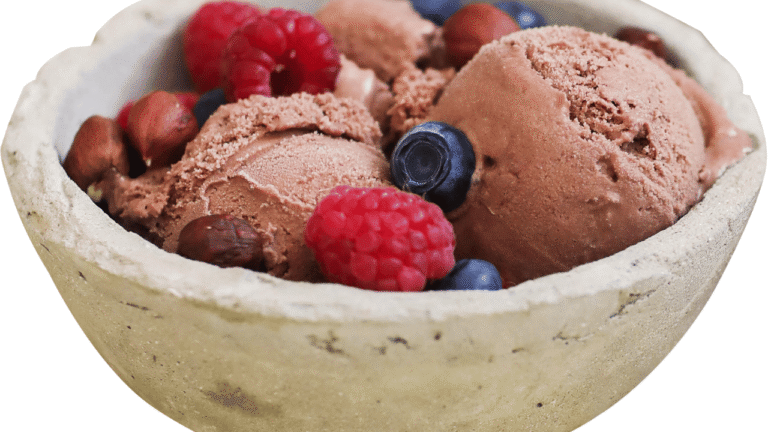
Once mastered, this versatile base becomes your flavor playground. Stir in cocoa powder for chocolate lovers, or swirl in fruit purees for vibrant sorbets. Dietary needs? Swap sugar for monk fruit sweetener or use coconut cream for vegan versions.
Texture enthusiasts can fold in crushed cookies or toasted nuts after churning. The magic lies in the base’s adaptability – it welcomes bold experiments while maintaining that signature creaminess every time. Your next creation might just go viral!
Mastering Recipe Prep and Freezing Techniques
Perfect frozen treats begin long before you press the start button. The journey from raw ingredients to spoon-ready desserts hinges on precise preparation methods that set the stage for flawless results.
Prepping Ingredients for Optimal Consistency
Start by microwaving cream cheese with a tablespoon of cream for 30 seconds—this softens it for smooth blending. Transfer the mixture to your pint container, add sugar, and whisk vigorously until crystals disappear. Proper dissolving prevents gritty textures, a common pitfall for beginners.
Freezing time makes or breaks your creation. While 24 hours is ideal, three hours in the freezer works for creamy outcomes. Always secure the lid tightly to prevent freezer odors from seeping in. For best results, lay containers flat to freeze evenly.
Pro tip: Prep multiple pints during downtime. Having bases ready cuts wait time between batches. Label each with dates and flavors using waterproof tape—no more mystery containers!
Step-by-Step Guide to Churning Your Ice Cream
The journey from frozen base to creamy perfection requires precision and know-how. Let’s break down the process that turns rock-solid mixtures into spoon-ready delights through smart technology and smart technique.
How to Properly Freeze and Process Your Mixture
Start by removing your fully frozen pint from the freezer. Secure the container into the machine, ensuring it clicks into place. Select the “ice cream” setting and let the blades work their magic. In 3-4 minutes, you’ll witness a dramatic transformation – solid blocks become silky swirls.
If the result looks crumbly or uneven, don’t panic. This simply means the mixture needs more blending time. The “it’s done when it’s done” philosophy applies here – trust the process over strict timers.
Guidelines for Using the Re-Spin Function
The re-spin feature is your ally for achieving ideal texture. Run additional cycles until the dessert reaches velvety consistency. Three key indicators demand another spin:
- Visible ice crystals on the surface
- Resistance when scooping
- Grainy mouthfeel during taste tests
Each cycle aerates the mixture further, creating that signature creaminess. “Patience creates perfection,” as seasoned users say. With practice, you’ll recognize the exact moment your creation hits peak smoothness.
Creative Flavor Combinations and Mix-In Options
Transform ordinary desserts into extraordinary creations with bold mix-ins and clever combinations. The real magic happens when your base achieves silky smoothness – that’s your green light to introduce texture-building elements. Timing matters as much as ingredients here.
Inspiring Mix-In Ideas for Extra Texture
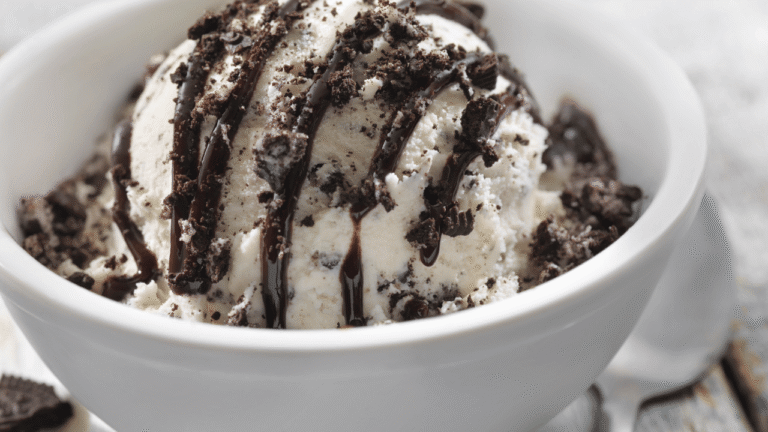
Crushed sandwich cookies steal the show in upgraded cookies and cream variations. Try biscoff crumbs for caramel warmth or golden Oreos for a vanilla-forward twist. “The crunch of chilled cookies transforms every bite into an adventure,” shares one frozen treat enthusiast.
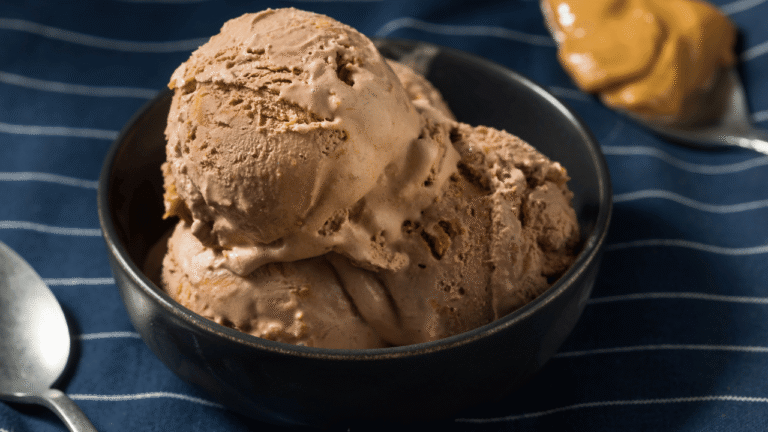
Chocolate lovers have endless options. Fold in mini chocolate chips during the final spin for pockets of melt-in-your-mouth goodness. For intense richness, swirl cooled ganache into nearly-set bases. Cocoa powder works wonders in protein-packed batches – just add two tablespoons to your shake-based mixture.
Always chill mix-ins for 15 minutes before adding. Room-temperature butter swirls or toasted nuts can create unwanted soft spots. Pro tip: Layer ingredients strategically – press larger chunks into the top after processing for Instagram-worthy reveals when scooping.
Health-Conscious Variations and Diet Friendly Options
Fuel your wellness journey without sacrificing flavor. Modern dessert innovation meets nutritional science, letting you indulge guilt-free while hitting fitness goals. Discover how simple swaps and smart ingredients elevate ordinary treats into powerhouse snacks.
Power Up With Protein and Dairy Alternatives
Transform shakes into frozen marvels with 12 ounces of protein drink mixed with Greek yogurt and powdered peanut butter. This combo delivers 25g of muscle-fueling power per serving. For tangy richness, blend 1¼ cups Greek yogurt with vanilla extract and milk – the probiotics boost gut health while creating velvety texture.
Cottage cheese becomes a cream hero when processed. Combine 1½ cups with milk and sweetener for a 20g protein punch that rivals traditional versions. Higher fat ingredients like full-fat dairy alternatives prevent icy textures – coconut milk creates lush vegan bases that scoop like dream.
Three game-changing options for every lifestyle:
- Whey-based mixes for post-workout recovery
- Plant-powered bowls using almond or oat milk
- Keto-friendly batches with avocado and MCT oil
“My clients never believe it’s healthy until they taste it,” shares a nutrition coach. With these formulas, every spoonful supports your goals while satisfying sweet cravings completely.
Enhancing Flavor with Advanced Techniques
Elevate your frozen creations from basic to brilliant with professional-grade flavor secrets. The difference between good and extraordinary lies in smart ingredient swaps and precision timing. Let’s unlock methods that turn simple recipes into artisanal masterpieces.
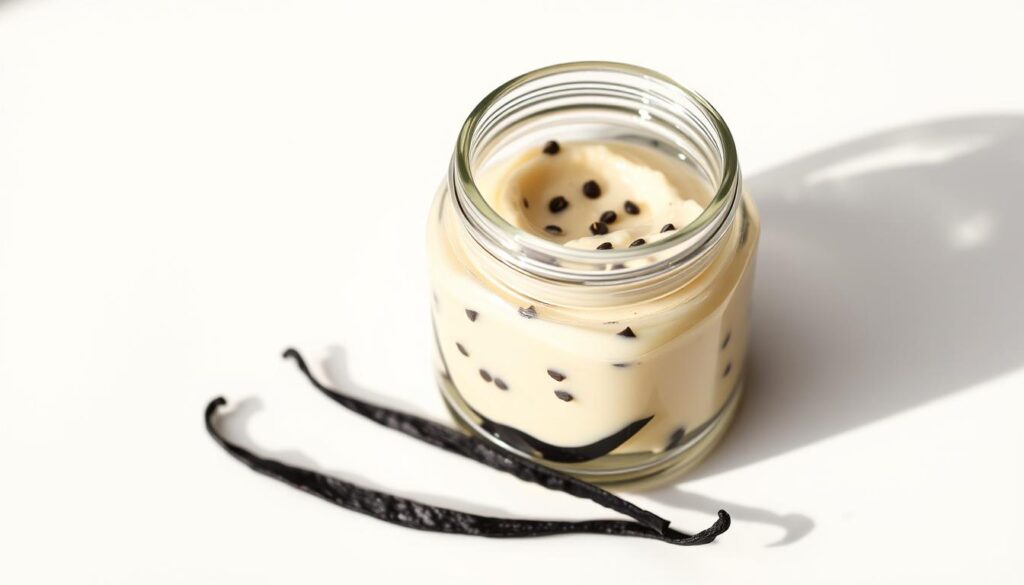
Swap standard vanilla extract for rich vanilla bean paste. Those tiny black specks? They’re packed with intense aromatic compounds. “The depth of flavor shocked me – like comparing candlelight to sunlight,” raves one dessert blogger. For chocolate lovers, blend premium cocoa powder into warm cream before freezing. This dissolves particles evenly, preventing grittiness.
Sweetness matters, but not all sugar works equally. Allulose mimics traditional sweetness without crystallization issues. Stevia blends pair best with creamy bases like coconut milk. Want silky texture? Stir 2 tablespoons of instant pudding mix into your recipe. It acts like a texture guardian, keeping ice crystals at bay.
Timing transforms ingredients. Add extracts after cooling mixtures to preserve volatile flavors. Layer mix-ins during the final spin for perfect distribution. With these techniques, every scoop becomes a flavor revelation – no professional training required.
Troubleshooting Common Challenges
Even the most skilled dessert enthusiasts encounter hurdles when crafting frozen delights. Understanding common pitfalls transforms frustration into mastery, empowering you to create consistently smooth results. Let’s tackle frequent issues with practical solutions that keep your dessert game strong.
Avoiding Overfilling and Ice Crystal Formation
Never fill your container beyond the max line – leave 1 inch of space for expansion. Overpacking strains the blade and creates uneven textures. For crystal-free results, blend bases thoroughly before freezing and consider adding 1/4 teaspoon xanthan gum as a natural stabilizer.
Quick-thaw lids for 5 minutes if frost forms. Wipe condensation immediately to prevent ice buildup. Store pints in freezer door compartments? Bad idea. Central shelves maintain steadier temperatures for optimal consistency.
Tips for Achieving the Perfect Texture
Crumbly outcomes demand immediate action. Add 1 tablespoon milk or cream before using the respin function. This hydrates the mixture for silkier results. Still too dense? Pulse manually using short bursts while scraping sides.
Remember: Texture improves with practice. Track adjustments in a recipe journal – small tweaks make monumental differences. Your patience today becomes tomorrow’s flawless scoop!


