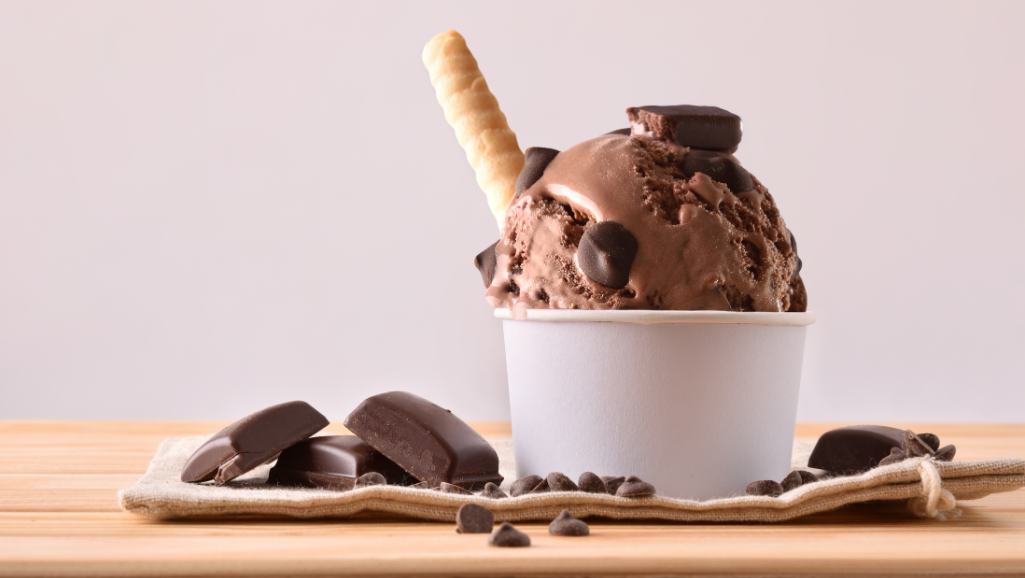
Welcome. You’re about to make a deeply chocolatey, lush frozen treat that feels gourmet but is surprisingly simple.
No custard cooking required. A quick whisk, a satisfying whip, a gentle fold, and a churn turn pantry staples into a scoopable delight you can savor by the cup.
This recipe is the one to bookmark and print for weeknight desserts, weekend gatherings, or sudden cravings. It uses approachable techniques and tools most home cooks already own or can borrow.
Expect versatility: serve soft-serve swirls straight from the churn or let pints rest for firmer scoops. The balance of cocoa intensity, chocolate milk sweetness, and velvety cream will please fans of bold flavor.
Beginners and pros both get clear steps, time-saving tips, and storage ideas ahead. For the exact method using a popular machine, see the Ninja Creami recipe linked here: Ninja Creami chocolate ice cream recipe.
Key Takeaways
- Chocolate Ice Cream with Chocolate Milk.
- Make rich, no-cook frozen dessert using simple steps.
- Uses pantry staples for fast prep and short freeze time.
- Great for soft-serve right away or firmer pints after a short rest.
- No custard base needed; saves time without losing richness.
- Easy to print, store, and customize with mix-ins.
Cuisinart Chocolate Ice Cream
4
servings30
minutes40
minutes300
kcal1
hour10
minutesCreamy chocolate ice cream using everyday ingredients.
Keep the screen of your device on
Ingredients
1 cup 1 unsweetened cocoa powder
2/3 cup 2/3 granulated sugar
1/2 cup 1/2 packed dark brown sugar
1/4 teaspoon 1/4 salt
1 cup 1 whole milk
2 cups 2 heavy cream
1 tablespoon 1 vanilla extract
Directions
- In a medium bowl, whisk together the cocoa, sugars, and salt to remove lumps.
- Add the whole milk to the cocoa mixture and whisk until the dry ingredients are dissolved.
- Stir in the heavy cream and vanilla extract. Mix until fully combined.
- Cover the mixture with plastic wrap, then refrigerate for at least 2 hours or overnight.
- Once chilled, pour the mixture into the ice cream maker’s bowl and follow the manufacturer's instructions for proper churning.
- Churn the mixture for approximately 15 to 20 minutes, or until it reaches a creamy consistency.
- Transfer the ice cream to an airtight container and freeze for at least 2 hours before serving for a firmer texture.
Nutrition Facts
- Total number of serves: 8
- Calories: 250kcal
- Fat: 15g
- Saturated Fat: 9g
- Trans Fat: 0g
- Polyunsaturated Fat: 0g
- Monounsaturated Fat: 1g
- Cholesterol: 55mg
- Sodium: 100mg
- Potassium: 0mg
- Carbohydrates: 31g
- Fiber: 3g
- Sugar: 28g
- Protein: 3g
- Vitamin A: 8IU
- Vitamin C: 0mg
- Calcium: 8mg
- Iron: 6mg
- Vitamin D: 0mg
- Vitamin E: 0mg
- Vitamin K: 0mg
- Thiamin: 0mg
- Riboflavin: 0mg
- Niacin: 0mg
- Vitamin B6: 0mg
- Vitamin B12: 2mg
- Folate: 0mg
- Biotin: 0mg
- Pantothenic Acid: 0mg
- Phosphorus: 10mg
- Iodine: 0mg
- Magnesium: 0mg
- Zinc: 0mg
- Selenium: 0mg
- Copper: 0mg
- Manganese: 0mg
- Chromium: 0mg
- Molybdenum: 0mg
- Chloride: 0mg
Did you make this recipe?
Tag @https://www.instagram.com/ice_cream_haven/ on Instagram and hashtag it with #IceCreamIceCreamHavens
Like this recipe?
Follow @https://www.pinterest.com/Ice_Cream_Haven/ on Pinterest
Join our Facebook Group!
Follow https://www.facebook.com/icecreamhavens/ on Facebook
Why this chocolate milk ice cream recipe hits the spot right now
This recipe is built for speed and flavor. Modern freezer-bucket makers cut the churn time dramatically, so a homemade batch goes from mix to spoon faster than traditional methods that need salt and ice.
Start-to-finish convenience makes these recipes ideal for warm days along the Gulf Coast or any time you want a quick treat. Use a pre-frozen bowl, whisk a simple base, then churn for soft-serve delight.
“Enjoy right after churn for a Frosty-style texture, or freeze briefly for firm scoops.”
- Layered flavor: begin with chocolate milk to build depth without custard fuss.
- Texture control: higher-fat dairy adds richness; leaner choices yield a lighter, icier bite.
- Stability & batching: a small box of instant pudding helps hold shape; larger makers handle party-size batches while 1.5-quart units suit split-day churning.
Quick note: This content focuses on practical tips, equipment choices, and time-saving swaps so you can get reliable results—then sign up by email for more recipes and updates.
Chocolate ice cream with chocolate milk: the core recipe
Here’s the straightforward core formula that turns a few pantry items into a silky frozen treat. The method focuses on texture and balance so each scoop feels homemade and refined.
Simple ingredients
Gather:
- 1 1/2 cups chocolate milk
- 3/4 cup granulated sugar
- 1/4 cup cocoa powder
- Pinch of salt
- 1 cup chilled heavy whipping cream
Basic equipment
You’ll need a few reliable tools for steady results.
- Mixing bowl and whisk
- Electric mixer to whip the cream
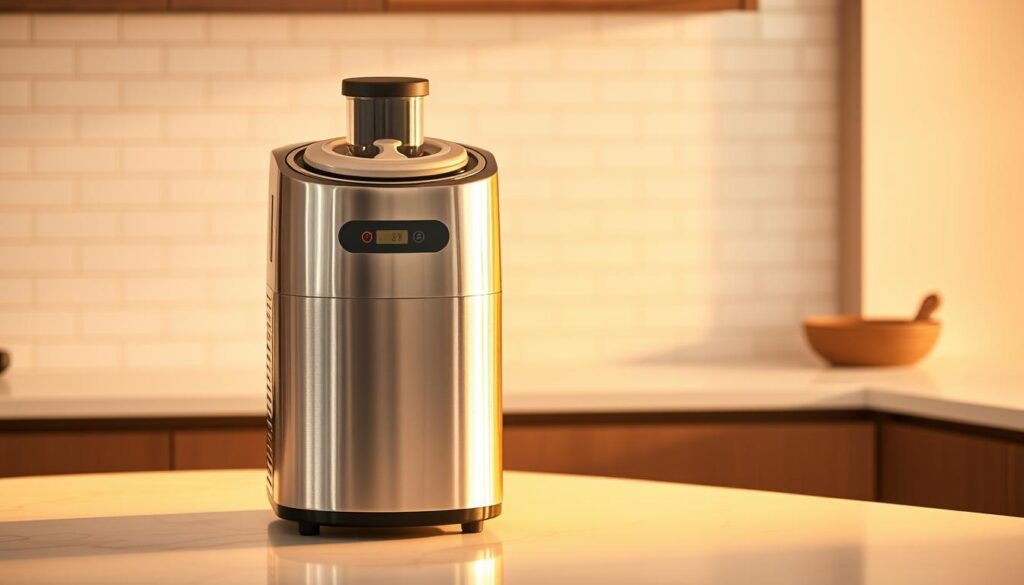
- An ice cream maker or a small freezer-bucket maker
- Freezer-safe container for setting and storage
Step-by-step: whisk, whip, fold, churn, freeze
- Whisk chocolate milk, sugar, cocoa, and salt until smooth and glossy.
- Whip the heavy cream to soft peaks; this adds air and body.
- Gently fold the whipped cream into the chocolate base until uniform.
- Pour into your ice cream maker and churn until thickened to your liking.
- Transfer to a chilled container, press parchment on the surface, and freeze until firm.
Make-ahead, storage, and serving ideas
Make ahead: churn earlier in the day, then freeze 2–4 hours for neat scoops. For softer service, pull a pint to the counter for 5–10 minutes.
For parties, double the batch and churn in two turns so your maker performs at its best. Serve a cup, a cone, or pair a scoop with warm brownies for contrast. For a machine-specific method try the Ninja Creami Fairlife method to adapt this recipe to that maker.
Techniques, tools, and smart variations for creamier results
Small gear choices and a few clever swaps make huge differences in texture and speed. Pick a machine that matches your plan and keep ingredients very cold for the best results.
Using modern makers and freezer-bucket machines
Modern pre-frozen bowl makers are fast and user-friendly. They cut churn time and are great for same-day soft servings.
Classic freezer-bucket or ice-and-salt setups still win on raw chilling power for large runs. Use the method that fits your batch size.
No-churn inspiration and Frosty-style swaps
For a no-churn Frosty-style treat, blend chocolate milk and sweetened condensed milk with a tub of Cool Whip and chocolate syrup. Serve right away as a spoonable cup or freeze briefly for firmer scoops.
Prefer a nostalgic twist? Swap Yoo-hoo 1:1 for milk to get a maltier, lighter profile without changing technique.
Stabilizers, batching, and freezer tips
Instant chocolate pudding added to the base helps hold air and cut down crystal growth. It’s a simple stabilizer that improves texture overnight.
- Chill the canister fully to speed churn time.
- Press parchment on the surface before freezing to limit crystals.
- Split large mixes into smaller batches if your maker is under 2 quarts.
“Keep dairy cold and work fast—temperature beats extra ingredients for smoothness.”
Quick troubleshooting: if the result is icy, raise the fat slightly or shorten dilution; if too soft, add a few extra minutes of churn or more freeze time.
Conclusion
Keep this method on hand so a silky scoop is always within reach. You now have a dependable path to homemade ice cream that honors chocolate without a custard step.
Trust the process: cold ingredients, gentle folding, and the right churn give a creamy finish. Use careful timing to limit ice crystals and tweak fat for texture.
Store pints for weeknights and batch for guests. Serve a scoop in a cup, warm a scoop over brownies, or try an affogato for contrast. Small stabilizers help longer holds.
Share your results and try new twists on this recipe. For fresh tips, gear notes, and seasonal recipes, join our email list and keep the inspiration flowing.


