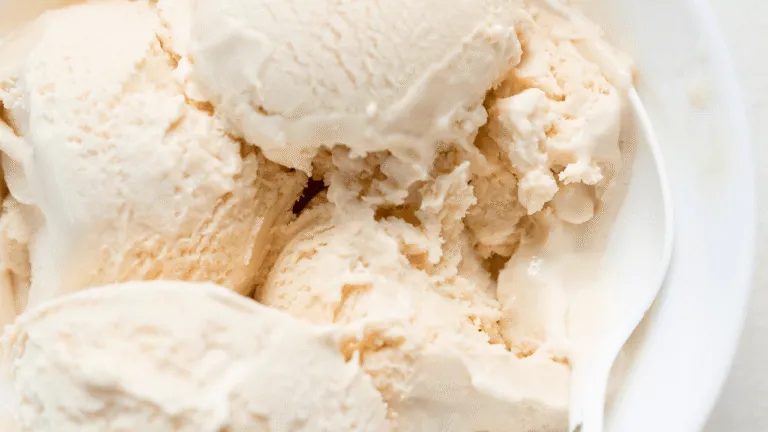
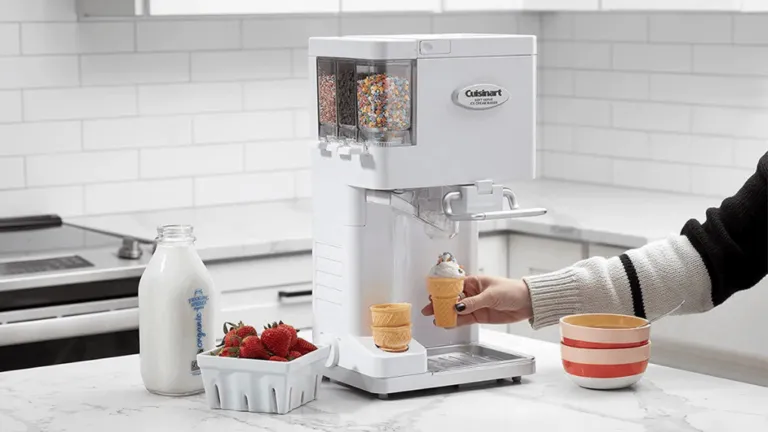
Ready to make silky, homemade vanilla ice cream that beats store pints? This short guide lays out a clear path from a chilled base to scoopable bliss. Follow a simple recipe and a reliable timeline so each batch delivers consistent results.
Start with real ingredients: two cups heavy cream, one cup whole milk, three quarters cup sugar, vanilla, and a pinch of salt. Whisk until the sugar dissolves, chill the mixture for one to two hours or overnight,then churn about 20–25 minutes for soft-serve.
Finish for perfect scoops: transfer the churned mix into an airtight container and freeze two to four hours for firm servings. Keep the bowl well chilled, avoid overfilling, and watch the texture as minutes pass for reliable results.
Key Takeaways
- how to use cuisinart ice cream maker.
- Whisk well and chill the base for better texture and flavor.
- Churn roughly 20–25 minutes for soft-serve consistency.
- Move to an airtight container and freeze 2–4 hours for scoopable firmness.
- Use quality vanilla and balanced sugar for superior results.
- Keep the bowl cold and avoid overfilling for consistent servings.
Cuisinart ice cream maker recipes
4
servings30
minutes40
minutes300
kcal1
hour10
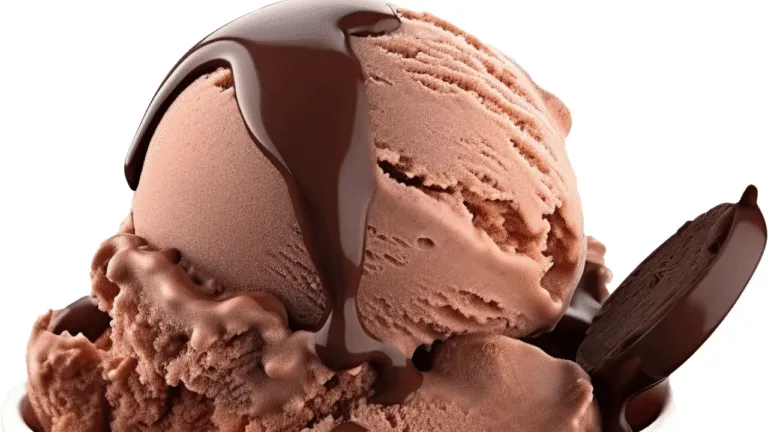
minutesDelicious homemade chocolate ice cream with everyday ingredients.
Keep the screen of your device on
Ingredients
1 cup 1 whole milk
0.75 cup 0.75 granulated sugar
2 tablespoons 2 unsweetened cocoa powder
2 cups 2 heavy cream
1 teaspoon 1 vanilla extract
1 pinch 1 salt
Directions
- In a medium saucepan, combine the milk, sugar, and cocoa powder. Whisk together over medium heat until the sugar and cocoa are dissolved.
- Once the mixture is smooth and uniform, remove it from heat and allow it to cool slightly.
- Stir in the heavy cream, vanilla extract, and a pinch of salt. Mix until well combined.
- Transfer the mixture to a bowl and cover it with plastic wrap. Chill in the refrigerator for at least 2 hours until thoroughly cooled.
- Set up your Cuisinart ice cream maker. Pour the chilled mixture into the frozen bowl of the ice cream maker.
- Churn the mixture in the ice cream maker according to the manufacturer's instructions, approximately 15-20 minutes, until thickened.
- Transfer the soft ice cream to an airtight container and freeze for at least 3 more hours for a firmer texture.
- When ready to serve, let the ice cream sit at room temperature for a few minutes to soften slightly.
Recipe Video
Nutrition Facts
- Total number of serves: 8
- Calories: 220kcal
- Cholesterol: 65mg
- Sodium: 35mg
- Potassium: 170mg
- Sugar: 14g
- Protein: 3g
- Calcium: 100mg
- Iron: 1mg
- Thiamin: 0mg
- Riboflavin: 0mg
- Niacin: 0mg
- Folate: 0mg
- Biotin: 0mg
- Phosphorus: 85mg
- Iodine: 0mg
- Magnesium: 30mg
- Zinc: 0mg
- Selenium: 0mg
- Copper: 0mg
- Manganese: 0mg
- Chromium: 0mg
- Molybdenum: 0mg
- Chloride: 0mg
Did you make this recipe?
Tag @https://www.instagram.com/ice_cream_haven/ on Instagram and hashtag it with #IceCreamIceCreamHavens
Like this recipe?
Follow @https://www.pinterest.com/Ice_Cream_Haven/ on Pinterest
Join our Facebook Group!
Follow https://www.facebook.com/icecreamhavens/ on Facebook
Before You Churn: Prep for Perfect Homemade Ice Cream
Proper setup and chilling ensure every batch reaches a creamy texture. Take a few focused steps now and your vanilla ice cream will churn with better body and flavor.
Freeze the freezer bowl at least 24 hours ahead so the cold core sustains churning power. Place the bowl on a stable counter and assemble the dasher and lid before you start.
- Mix the base in a chilled bowl. Use cups heavy measurements and heavy cream for a rich base.
- Whisk until sugar dissolves — about two minutes — and add a pinch of salt to brighten vanilla.
- Chill the mixture 1–2 hours or overnight; colder base shortens churn minutes and improves texture.
- Don’t overfill the freezer bowl. Leave headroom for proper aeration and better results.
- Keep an airtight container ready; transfer at soft-serve and freeze for several hours for firm scoops.
Do a quick view check: is the bowl frozen solid, the base cold, and space cleared in the freezer? Small habits like these make recipes repeatable and inspiring.
How to use cuisinart ice cream maker: step-by-step recipe
Begin with cold, measured ingredients and a frozen bowl for the best results. This keeps churn time short and helps the mixture reach a silky, steady texture.
Ingredients for classic vanilla ice cream
Simple, quality ingredients make the flavor sing.
- 2 cups heavy cream
- 1 cup whole milk
- 3/4 cup granulated sugar
- 1 tbsp vanilla extract or scraped beans
- Pinch of salt
Equipment checklist
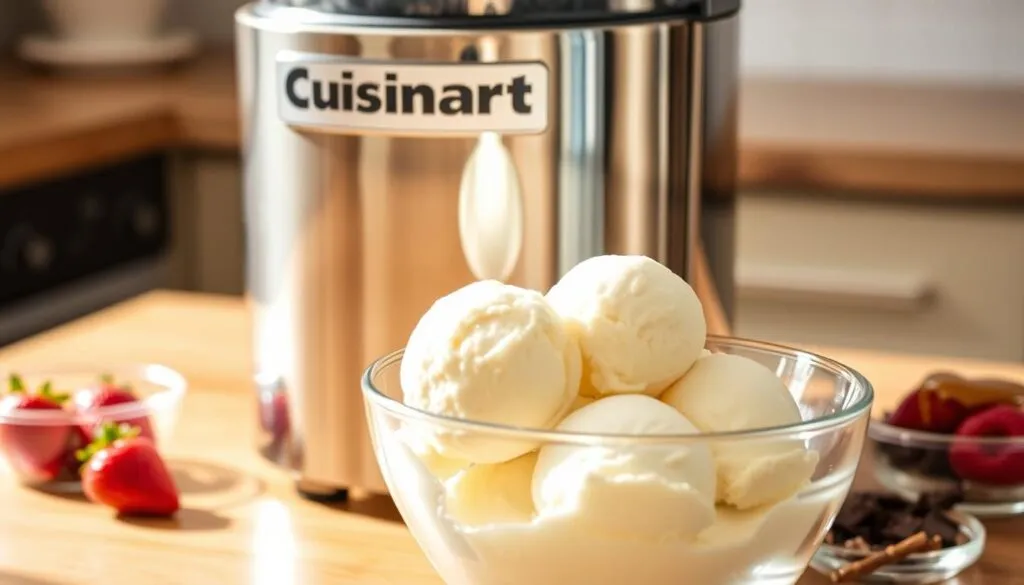
Have the ice cream maker ready with a frozen freezer bowl, dasher, a chilled mixing bowl, measuring cups, and an airtight container waiting in the freezer.
Make the base and chill
Whisk the cups heavy cream, cup whole milk, cup granulated sugar, vanilla extract, and a pinch of salt for about two minutes until sugar dissolves.
Refrigerate the mixture at least 1–2 hours or overnight. Colder mixture improves creamy texture and cuts churn minutes.
Churn, add-ins, and finish
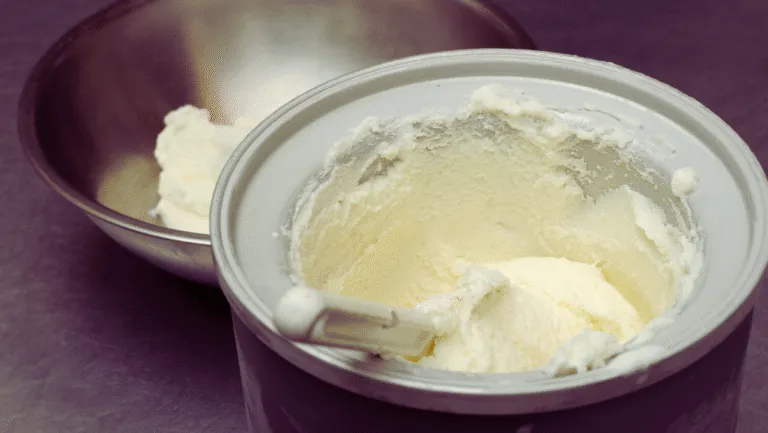
Pour the chilled mixture into the machine and churn about 20–25 minutes until it reaches soft-serve consistency.
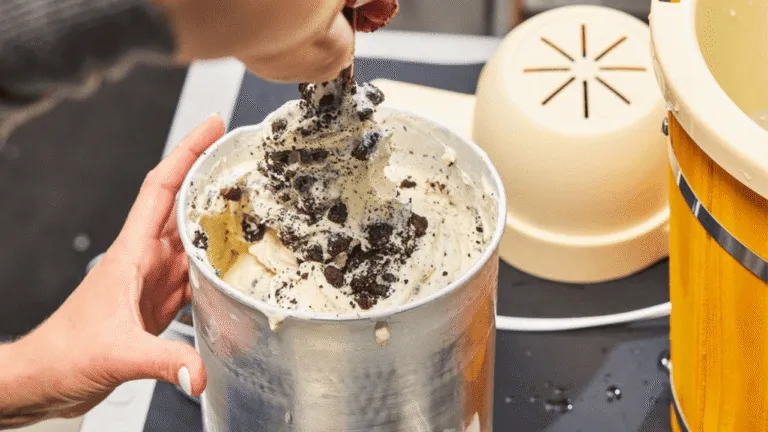
Add mix-ins like chocolate chips, crushed cookies, or fruit in the final minutes so they disperse evenly without sinking.
Transfer and freeze
Move the churned vanilla ice cream into an airtight container. Press parchment on the surface to limit ice crystals, then freeze 2–4 hours for scoopable firmness.
Tip: For a custard-style base, cook with egg yolks, cool fully, then chill and churn for an even richer result.
Serving, Storage, and Pro Tips for the Creamiest Results
A few simple serving tricks will make each scoop feel special. Treat the finish like part of the recipe and your dessert will shine for guests or quiet weeknights.
Scoop and serve
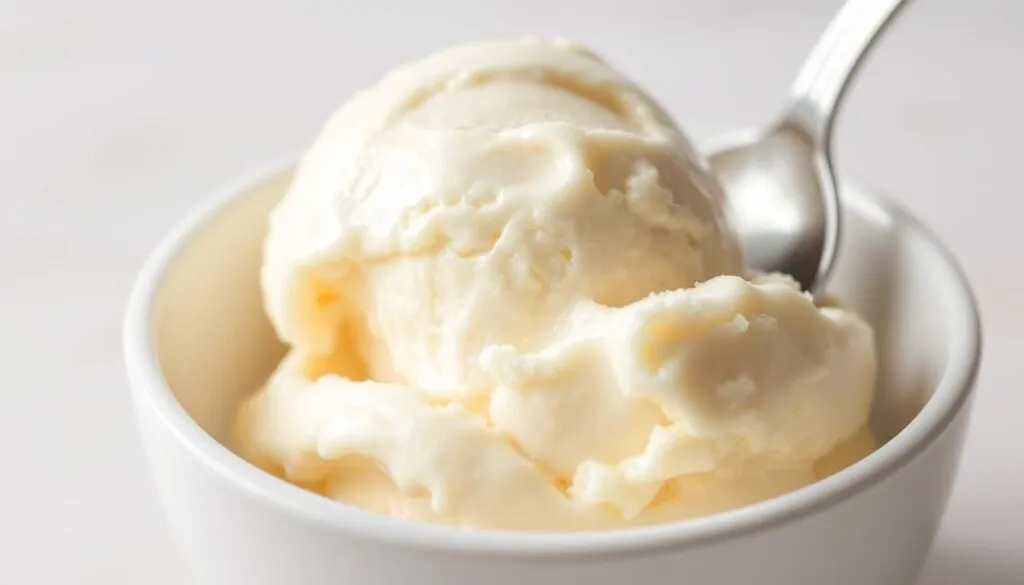
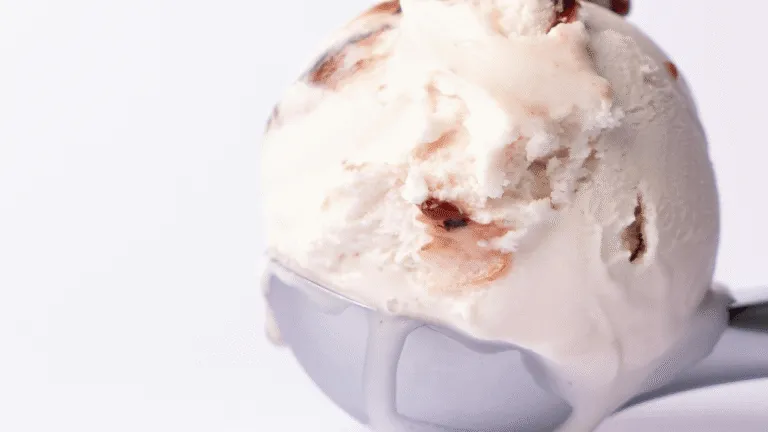
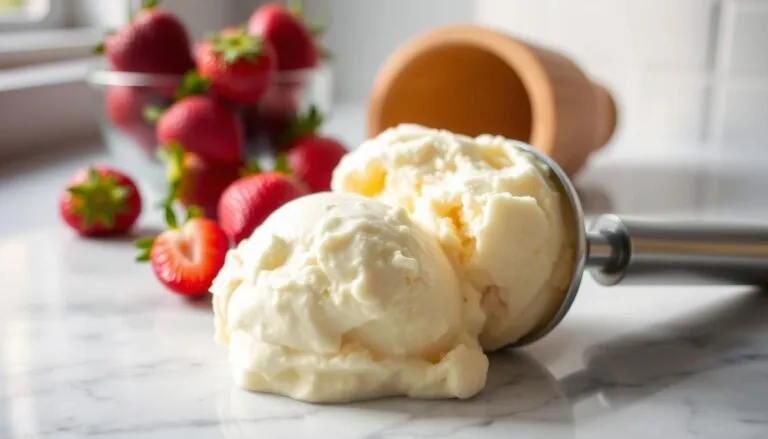
Let the container sit a few minutes at room temperature so the vanilla ice cream softens for clean scoops. Glide a warm scoop through the surface for neat curls.
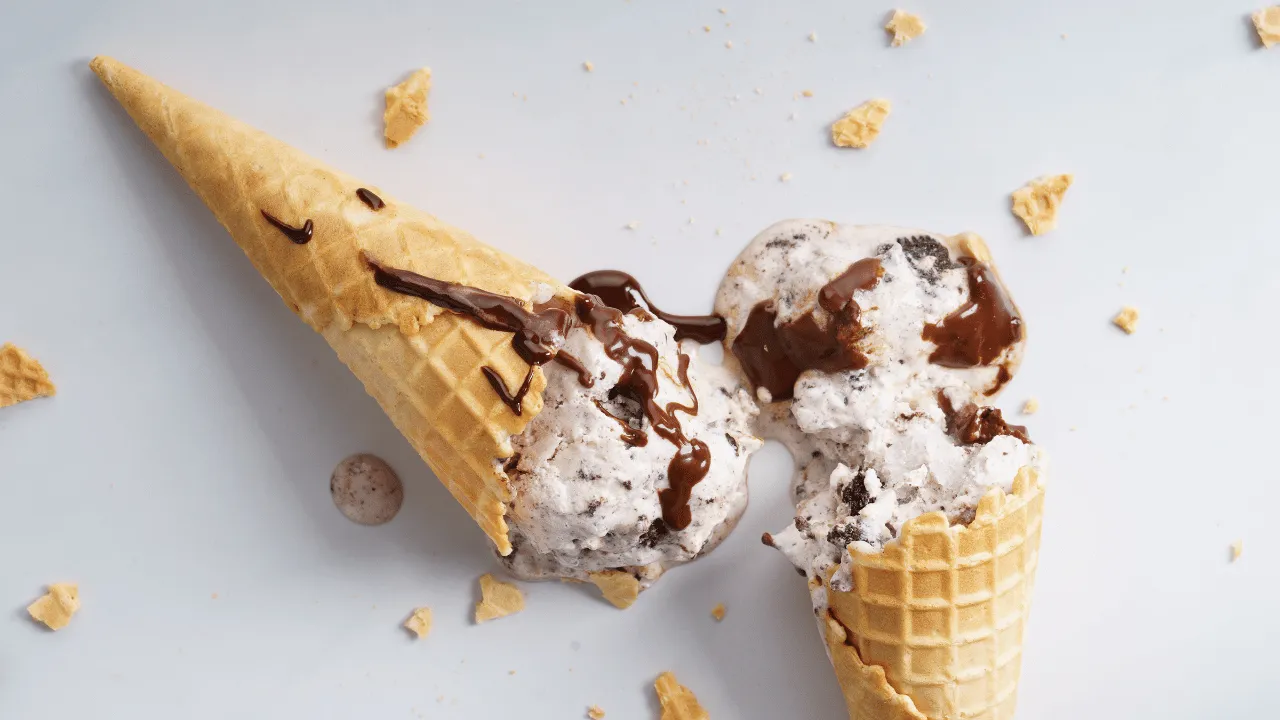
Serve in chilled bowls or waffle cones and add warm fudge, cookie crumbles, or fruit for contrast.
Store like a pro
Transfer the batch into an airtight container and leave a small headspace. Press parchment on the top before sealing to limit ice crystals.
- Place the container in the coldest part of the freezer for steady results.
- Label with date and flavor; most homemade vanilla ice cream keeps best for a few weeks.
Fixing texture and model notes
If the mixture turns too soft, check that the bowl was fully frozen and that you churned the full minutes. For excess iciness, increase chill time and confirm sugar dissolved fully.
Compressor, self-freezing units and freezer-bowl ice cream maker models both work well — the difference is prep and turnaround for back-to-back batches.
Conclusion
Close this recipe with confidence: you now have a clear path from chilled base to firm, scoopable vanilla ice cream. Follow the steps and the result will be reliably smooth and flavorful.
Let your cream maker become a creative tool. Try seasonal mix-ins, tweak sugar and fat, and follow the simple recipe framework for new flavors that match your taste.
Most of all, enjoy the ritual. Small habits—cold mixture, steady churn minutes, mindful storage—turn each batch into an easy triumph. Cream1 on the label means one more reason to smile with every scoop.

