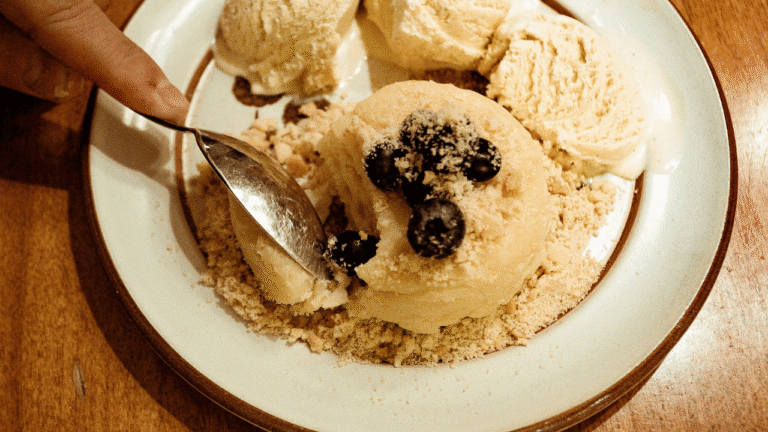
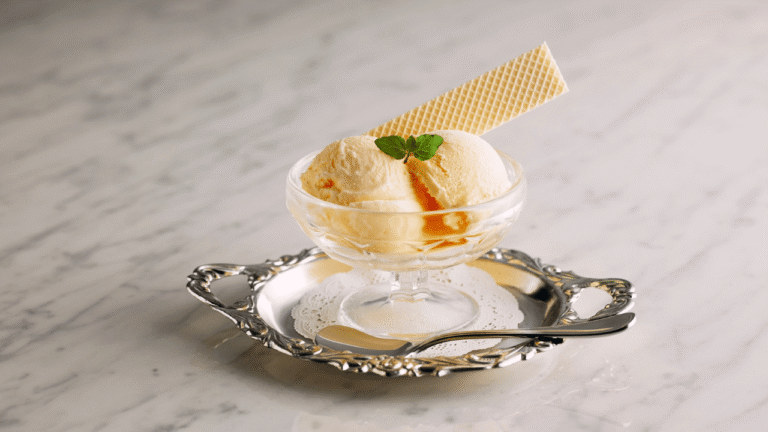
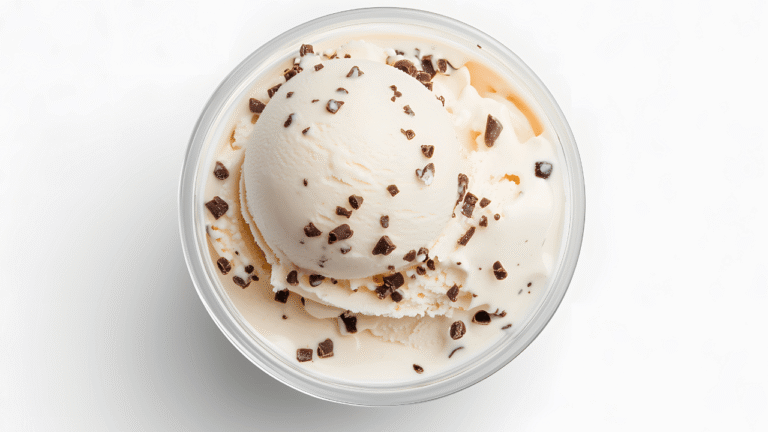
Make homemade One Cup Ice Cream Recipe fast with a Philadelphia-style, no-egg base that uses five everyday ingredients: heavy cream, whole milk, sugar, vanilla, and a pinch of salt. This method skips custard but still delivers a rich, clean vanilla flavor with minimal fuss.
Choose your prep path: whisk cold for a quick mix or simmer briefly to dissolve sugar for an ultra-smooth base. Chill the mix 2–24 hours and freeze your machine bowl at least 12 hours ahead.
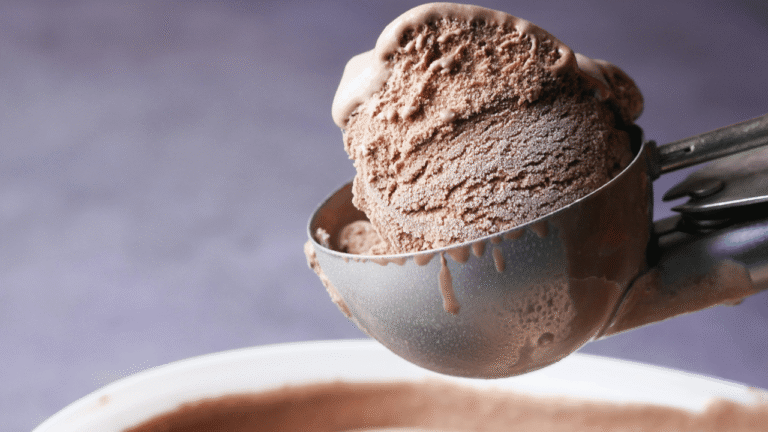
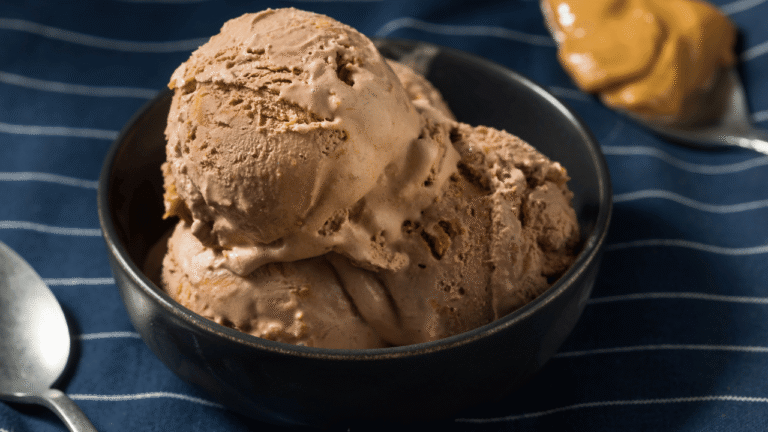
Churn about 20–30 minutes for soft serve, or freeze 2–4 hours for scoopable texture. Real vanilla—extract, paste, or bean—gives the best flavor and can be paired with mix-ins like chocolate chunks or berry swirls without overpowering the base.
This small-batch format scales easily for tests or quick desserts. For step-by-step guidance and a tested no-cook method, see a simple technique at no-cook vanilla ice cream.
Key Takeaways
- Philadelphia-style base uses five common ingredients for a no-egg, creamy result.
- Two prep options: cold whisk for speed or short simmer for smoothness.
- Plan time: freeze bowl 12 hrs, chill base 2–24 hrs, churn 20–30 mins.
- Real vanilla gives the best flavor; add mix-ins sparingly to preserve balance.
- Scales up or down and stores well with airtight packing to limit ice crystals.
One Cup Ice Cream
1
servings15
minutes4
hours300
kcal4
hours15
minutesSimple homemade ice cream using everyday ingredients.
Keep the screen of your device on
Ingredients
1/2 cup 1/2 heavy cream
1/2 cup 1/2 whole milk
2 tablespoon 2 granulated sugar
1 teaspoon 1 vanilla extract
1/8 teaspoon 1/8 salt
Directions
- In a medium bowl, combine heavy cream, whole milk, sugar, vanilla extract, and salt. Whisk until the sugar is fully dissolved.
- Cover the bowl with plastic wrap and place it in the refrigerator to chill for at least 2 hours.
- Once the mixture is thoroughly chilled, pour it into your ice cream maker and churn according to the manufacturer's instructions.
- Churn the mixture for approximately 20 minutes or until it reaches a soft-serve consistency.
- Transfer the churned ice cream into an airtight container and freeze for an additional 2 hours for a firmer texture.
- When ready to serve, let the ice cream sit at room temperature for a few minutes to soften before scooping.
Recipe Video
Nutrition Facts
- Total number of serves: 1
- Calories: 300kcal
- Cholesterol: 80mg
- Sodium: 100mg
- Potassium: 150mg
- Sugar: 18g
- Protein: 4g
- Calcium: 150mg
- Iron: 0.2mg
- Thiamin: 0.02mg
- Riboflavin: 0.2mg
- Niacin: 0.1mg
- Folate: 5mg
- Biotin: 1mg
- Phosphorus: 100mg
- Iodine: 10mg
- Magnesium: 10mg
- Zinc: 0.5mg
- Selenium: 3mg
- Copper: 0.1mg
- Manganese: 0.01mg
- Chromium: 0mg
- Molybdenum: 0mg
- Chloride: 10mg
Did you make this recipe?
Tag @https://www.instagram.com/ice_cream_haven/ on Instagram and hashtag it with #IceCreamIceCreamHavens
Like this recipe?
Follow @https://www.pinterest.com/Ice_Cream_Haven/ on Pinterest
Join our Facebook Group!
Follow https://www.facebook.com/icecreamhavens/ on Facebook
Why This Homemade Vanilla Ice Cream Belongs in Your Freezer Right Now
Keep a batch of homemade vanilla ice cream on hand and you gain instant desserts, fast entertaining options, and a reliable treat for weeknights. The five-ingredient base—cream, milk, sugar, vanilla, and a pinch of salt—creates rich texture without using eggs.
Skip the custard fuss. No tempering or long cook times means less stove work and more time enjoying dessert. Chill the base well, churn 20–30 minutes, and you get a consistent soft-serve texture that firms into smooth scoops after a short freeze.
Why homemade wins:
- Brighter, cleaner vanilla flavor than store-bought pints.
- Control over sweetness and fat so you can tailor texture and taste.
- Versatile base for bold sauces or delicate fruit pairings.
Stash a container and you’re ready for sundaes, pie à la mode, or quick hostess gifts. Good vanilla—extract, paste, or bean—lifts the flavor and makes this freezer staple sing through every season.
Ingredients & Smart Substitutions for a Creamy Ice Cream Base
The secret to a silky frozen treat lies in the ingredients and how they work together. Use five core components to build a reliable base: heavy cream for body, whole milk for balance, sugar for softness, vanilla for aroma, and a pinch of salt to lift flavors.
The classic five
- Heavy cream: 1½–2 cups for richness and a smooth mouthfeel.
- Whole milk: 1–1½ cups to temper density and keep churn time steady.
- Sugar: ⅔–¾ cup—lowers the freezing point so the final texture is scoopable, not rock-hard.
- Vanilla: 1–2 teaspoons extract or 1 tablespoon paste/bean for aroma and flecks.
- Salt: ⅛ teaspoon fine sea salt to heighten overall flavor.
Vanilla choices and functionality
Vanilla extract is convenient and consistent. A split vanilla bean or paste adds speckles and a bakery-style perfume for a more premium look and flavor.
Fat and sweetness: why they matter
More fat from cream improves body and reduces iciness. Keep a roughly 1:1 to 2:1 cream-to-milk ratio to avoid a dense or icy result. Sugar controls softness; too little leads to a hard texture after overnight freezing.
Smart swaps
- Use vanilla paste for visual appeal when beans are costly.
- Choose fine sea salt to avoid sharp notes.
- Stick with whole milk; lower-fat milks increase the chance of iciness.
Taste the base before chilling—the mix should taste a touch sweeter than you want. A balanced base churns predictably and yields a smoother, less icy frozen dessert.
Step-by-Step: Make One Cup Ice Cream Recipe Like a Pro (Present-Day Method)
Prep the equipment first. Prep time matters: freeze the maker’s bowl for at least 12 hours so the coolant is fully solid. A well-frozen bowl prevents long churns and icy textures.
Make the base by warming cream, milk, sugar, vanilla, and salt over medium-low heat for about 5 minutes, whisking to dissolve sugar. Or whisk everything cold to speed prep.
Chill the base 2–24 hours; a colder mixture churns faster and smoother. Follow your ice cream maker instructions and set a timer.
- Most machines reach soft serve in 20–30 minutes; stop when the paddle leaves ridges.
- Serve soft serve immediately, or transfer to an airtight container and freeze 2–4 hours for firmer scoops.
- Leave headspace in the container and avoid opening the lid while churning to keep temps steady.
Quick tips: Strain out any pod pieces if you used a split vanilla bean. Rinse and dry the bowl before refreezing to avoid ice buildup for the next batch.
Equipment & One Cup Ice Cream Recipe Maker Options for Home Cooks
Choosing the right equipment makes the difference between a gritty batch and a silky pint. Your tool influences churn time, texture, and how often you can run batches back-to-back.
Freezer-bowl units like the KitchenAid stand mixer attachment and many Cuisinart models are common at home. They typically churn in about 20–30 minutes once the bowl is fully frozen. These are compact and affordable for casual makers.
Compressor machines add built-in refrigeration so you skip the bowl freeze and can make multiple batches. They cost more but are ideal if you often churn or test different recipes.
No machine? How to proceed
You can still make a batch without a machine using a no-churn method. Whip the base, freeze it, and stir or beat every 30–45 minutes to break up ice crystals. Textures differ from churned results but are still tasty and simple.
“Freeze the bowl flat and undisturbed — a tilted bowl freezes unevenly and lengthens churn time.”
- Capacity: 1–2 quart machines suit most homes; larger volumes need stronger motors.
- Maintenance: Dry the bowl fully and avoid metal tools on nonstick surfaces to prevent damage.
- Accessories: Keep a shallow lidded container, a long-handled scoop, and a flexible spatula handy.
- Test mix-ins: Add chocolate or nuts during the last minutes of churning to check distribution.
For a detailed look at a popular home option, see Cuisinart options and compare features before you buy.
One Cup Ice Cream Recipe
Scale down the process to test flavors quickly and avoid waste. Small batches are perfect for experimenting with different extracts, swirls, or mix-ins without committing to a full pint.
The quick ratio note: scaling cream, milk, and sugar for small batches
For roughly 1 cup total dairy, use about ½–⅔ cup heavy cream and ⅓–½ cup whole milk. Sweeten with 2–3 tablespoons sugar per cup of dairy, then add a pinch of salt and ½–1 teaspoon vanilla.
Whisk cold to dissolve sugar or warm briefly and cool. Chill the mini base fully—cold base reduces ice crystal formation and improves texture.
“Churn until the mixture thickens and leaves defined ridges—usually about 20–30 minutes, even in small batches.”
- Mini formula: ½–⅔ cup heavy cream + ⅓–½ cup whole milk.
- Adjust sugar to taste; reduce if adding sweet sauces.
- For soft serve, serve right away; for scoopable texture, freeze 1–2 hours.
Mix-Ins, Flavors & Toppings to Personalize Your Ice Cream
A few well-chosen add-ins transform texture and flavor without extra fuss. Fold solids into freshly churned base so they suspend in the semi-soft mixture. Aim for about 2–2½ cups of finely diced mix-ins per quart to keep structure and scoopability.
- Fold-ins: Add brownie bites, cookie dough chunks, or mini chocolate chips immediately after churning for even distribution.
- Swirls: Layer ice and ribbons of caramel sauce, hot fudge, or berry sauce in the storage container to create distinct streaks.
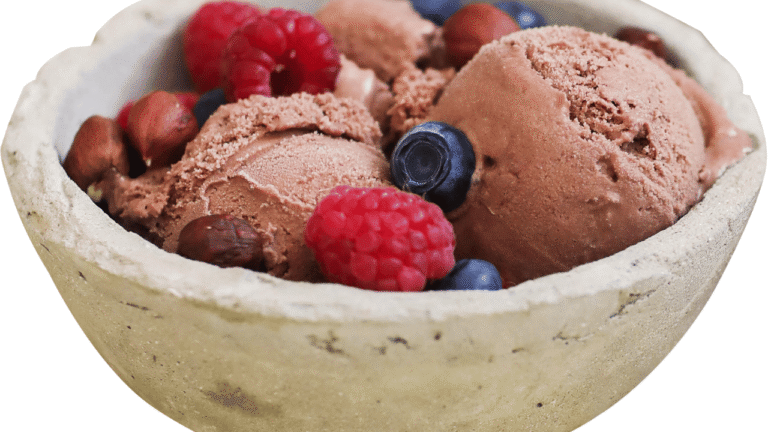
- Fruity & crunchy: Dice and pat dry strawberries or peaches; toast nuts for more depth and crunch.
- Flavor shifts: Use extracts like almond or peppermint, or stir cocoa dissolved in warm cream for a rich chocolate direction.
- Finishing touches: Sprinkle coconut, sprinkles, or cookie crumbs between layers for texture in every scoop.
“Keep the mixture cool while working; if it warms, chill briefly to preserve sharp swirls and defined mix-ins.”
For a practical mini guide to scaling and testing mix-ins, see this mini batch guide.
Storage, Texture & Scoopability Tips
Move freshly churned ice cream into a shallow, airtight container to lock in texture and flavor.
Quick handling matters: press plastic or foil directly onto the surface before sealing to stop frost and slow crystal growth. Pop the tub into the freezer right away for the best results.
Pack & freeze for scoopable sets
- Use a quart-size airtight container to limit air exposure and slow ice formation.
- Fill the container nearly to the top to reduce headspace and protect vanilla notes.
- Freeze 2–4 hours for firm, scoopable texture; the soft serve stage is right after churning.
- If the pint is very firm after long storage, let it sit at room temperature a few minutes before scooping.
Freezer habits and equipment care
- Keep the freezer at a steady setting and avoid frequent door openings to preserve texture.
- Choose shallow, wide containers for faster, even freezing and easier scooping across the surface.
- Clean and dry the bowl thoroughly before refreezing; leftover moisture causes ice buildup next time.
- Label each container with date and flavor; aim to enjoy within a month for best taste and texture.
“Pressing wrap directly on the surface is the simplest way to prevent surface frost and keep the top layer creamy.”
Nutrition Notes & What to Serve with Your Ice Cream
Nutrition for a standard half-cup serving varies by formulation, so use the range below as a guide. A typical half-cup portion runs about 270–370 calories, with roughly 16–30 g carbohydrates, 22–27 g fat, and about 3 g protein.
Values shift when you change the base or add mix-ins. More cream and sugar raise calories and fat. Fruit swirls add carbs but little extra fat. Add-ins like chocolate chunks or cookie dough increase both calories and fat quickly.
Dietary notes & storage
Allergens: this base contains dairy and milk; the standard method uses no eggs, but always check mix-ins and sauces for hidden allergens.
Portion and storage: start with about ½–¾ cup per person. Return any unused portion to the freezer promptly in a sealed container to preserve texture and flavor.
Perfect pairings
- Classic pairings: cherry or apple pie, peach crisp, and blueberry cobbler—vanilla ice cream adds cool balance to warm desserts.
- Seasonal pick: grilled peaches with a drizzle of honey or hot fudge for warm-versus-cold contrast.
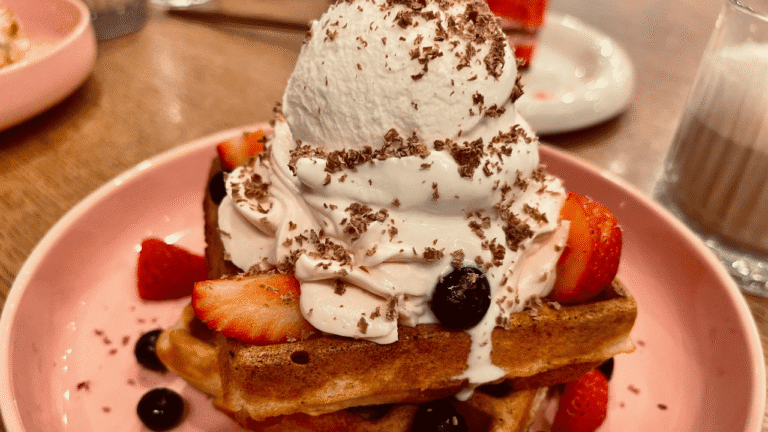
- Finishes: add crunch with toasted nuts or a few chocolate shavings to lift texture and bring patisserie flair.
“Serve toppings at the table so guests can tailor sweetness and texture.”
Conclusion
A solid system—freeze the bowl 12 hours, chill the five-ingredient base, then churn—turns good ingredients into reliably smooth results.
One Cup Ice Cream Recipe, Use fresh whole milk and a touch of heavy cream, real vanilla (extract or vanilla bean), sugar, and salt. Pick an ice cream maker that fits your needs: a freezer-bowl unit for casual use or a compressor model for frequent batches.
Churn about 20–30 minutes for soft serve, then transfer to an airtight container and freeze 2–4 hours for scoopable texture. Try swapping extract for bean, nudging sugar, or folding in chocolate, fruit, or a drizzle of caramel sauce at the end.
Label tubs, note prep time, and keep mix-ins ready. Make homemade ice cream tonight—once the bowl is frozen, the rest comes together fast and rewards you with reliable, delicious vanilla ice cream.

