
...

Butterfinger Ice Cream Recipe: Creamy Delight

0.0 from 0 votes

Make a classic candy-bar crunch at home with a silky vanilla base that feels like an ice cream shop treat. This at-home version mixes smooth dairy, chopped candy pieces, and a quick churn so you get soft-serve right away or a scoopable texture after a short stint in the freezer.

Expect cool vanilla, buttery candy crunch, and chocolatey bits in every spoonful. The base is simple—milk, sugar, and rich vanilla—so busy cooks can mix and chill with minimal hands-on time. Chilling the base first speeds freezing and improves texture.

This butterfinger ice cream recipe is perfect for family nights and gatherings. It makes plenty to share, stores well when pressed with plastic wrap, and avoids that icy layer when kept in an airtight container. Read on for ingredients, tools, churn steps, and storage tips that keep your homemade ice cream creamy and full of bite.

Key Takeaways

  • The recipe blends a vanilla base with crushed candy for a crunchy, chocolatey finish.
  • Serve soft-serve right after churning or let it ripen in the freezer for firmer scoops.
  • Chill the base first to speed freezing and improve texture.
  • Store in an airtight container with plastic wrap pressed to the surface to prevent icing.
  • Simple prep and mostly hands-off time make this great for family gatherings.

Butterfinger Ice Cream

Recipe by Rabeya khanom
0.0 from 0 votes
Course: DessertCuisine: AmericanDifficulty: Easy
Servings

8

servings
Prep time

30

minutes
Cooking time

4

hours 
Calories

450

kcal

Delicious homemade Butterfinger ice cream with simple ingredients.

Cook Mode

Keep the screen of your device on

Ingredients

  • 1 cup 1 granulated sugar

  • 2 cups 2 heavy cream

  • 1 cup 1 whole milk

  • 1 teaspoon 1 vanilla extract

  • 5 pieces 5 Butterfinger candy bars

Directions

  • Chop the Butterfinger candy bars into small pieces, around 1/4 inch in size, and set them aside for later use.
  • In a medium bowl, combine the granulated sugar, heavy cream, whole milk, and vanilla extract; whisk until sugar is dissolved.
  • Cover the mixture and refrigerate for at least 1 to 2 hours, or until it is completely chilled.
  • Pour the chilled mixture into the ice cream maker and churn according to the manufacturer's instructions, typically for 20 to 25 minutes.
  • About 5 minutes before the churning is complete, add the chopped Butterfinger pieces to the ice cream maker.
  • Once the ice cream is thick and creamy, transfer it to an airtight container and freeze for 3 to 4 hours before serving.
  • For best results, let the ice cream sit at room temperature for a few minutes before scooping to soften slightly.

Recipe Video

Nutrition Facts

  • Calories: 450kcal
  • Cholesterol: 85mg
  • Sodium: 120mg
  • Potassium: 150mg
  • Sugar: 40g
  • Protein: 5g
  • Calcium: 15mg
  • Iron: 2mg
  • Thiamin: 2mg
  • Riboflavin: 2mg
  • Niacin: 1mg
  • Folate: 2mg
  • Biotin: 2mg
  • Phosphorus: 15mg
  • Iodine: 2mg
  • Magnesium: 10mg
  • Zinc: 5mg
  • Selenium: 5mg
  • Copper: 2mg
  • Manganese: 2mg
  • Chromium: 1mg
  • Molybdenum: 1mg
  • Chloride: 0mg

Did you make this recipe?

Tag @https://www.instagram.com/ice_cream_haven/ on Instagram and hashtag it with #IceCreamIceCreamHavens

Like this recipe?

Follow @https://www.pinterest.com/Ice_Cream_Haven/ on Pinterest

Join our Facebook Group!

Follow https://www.facebook.com/icecreamhavens/ on Facebook

Why You’ll Love This Homemade Butterfinger Ice Cream

A silky, extra‑creamy vanilla base meets crunchy candy-bar shards for a texture that feels indulgent but stays homemade. Add the mix-ins near the end of churning so big pieces remain snappy and the base keeps its luxuriously smooth mouthfeel.

Rich vanilla base and crunchy mix-ins

The core appeal is simple: a buttery vanilla foundation with chocolate-coated, peanutty, crispy candy pieces that give each spoonful a satisfying snap. Note that the mix-ins contain peanuts, so plan for guests with allergies.

Adding candy bars late in the churn keeps chunks intact. That trick preserves contrast between creamy base and crunchy bits.

Perfect for summer gatherings and big batches

This homemade butterfinger serves crowds easily. Make a large batch for cookouts, birthdays, or any family gathering and watch plates clear fast.

Soft-serve now or scoops later

Your choose-your-adventure moment: serve straight from the ice cream maker for soft-serve delight, or let it ripen 2–3 hours in the freezer for cone-ready scoops.

  • Quick prep: whisk the base, chill, then let the machine do the work.
  • Choose texture: soft-serve now or firmer scoops after freezer time.
  • Make ahead: this homemade butterfinger ice stretches across days for easy treats later.

Butterfinger ice cream recipe: Ingredients, Tools, and Prep Tips
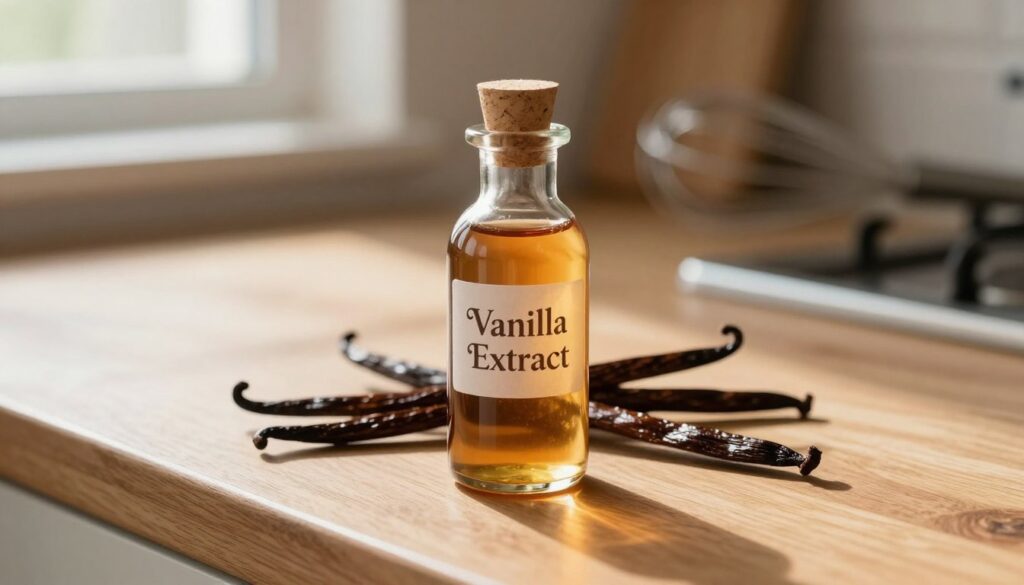
A close-up image of a small, elegant glass bottle of pure vanilla extract on a wooden kitchen countertop. The bottle features a cork stopper and a label showing 'Vanilla Extract' in a classic font. Surrounding the bottle are fresh vanilla beans, with their deep brown color contrasting against the rich, light amber liquid inside the bottle. Soft, natural lighting streams in from a nearby window, casting gentle shadows that enhance the texture of the countertop. In the background, blurred out, there are hints of kitchen tools like a whisk and measuring spoons, suggesting a warm, inviting atmosphere perfect for baking. The overall mood is cozy and homely, ideal for home cooking inspiration.

Choosing the right dairy and pre‑chill routine makes all the difference for silky texture.

Core dairy options: Use heavy cream plus whole milk for a rich base. For extra stability and a smoother mouthfeel, add a splash of evaporated milk or a little sweetened condensed milk. Higher fat equals a creamier result and fewer ice crystals.

Sweeteners and flavor builders: Whisk sugar into the milk until dissolved to lower the freezing point for scoopable texture. Add vanilla extract for aroma and a small pinch of salt to brighten the buttery‑vanilla notes.

Texture-boosting secrets: Consider a spoonful of vanilla instant pudding mix or condensed milk to stabilize the base and keep it velvety after freezing.

Candy-bar prep: Use about 10 ounces of butterfinger candy bars total. Pound some bars in their wrappers into fine crumbs for flecks throughout. Chop the rest into larger chunks for satisfying bites. Freeze the pieces briefly so they stay snappy when folded in.

  • Equipment essentials: an ice cream maker with a well‑frozen bowl, the churn paddle, and a freezer‑safe container with a tight lid for ripening.
  • Prep tips: Pre‑freeze the bowl well ahead, chill the base 2–3 hours (or overnight), and keep a second bowl or plan for multiple churns if your maker is small.

See the full method for step‑by‑step guidance and yield notes.

How to Make Butterfinger Ice Cream in an Ice Cream Maker
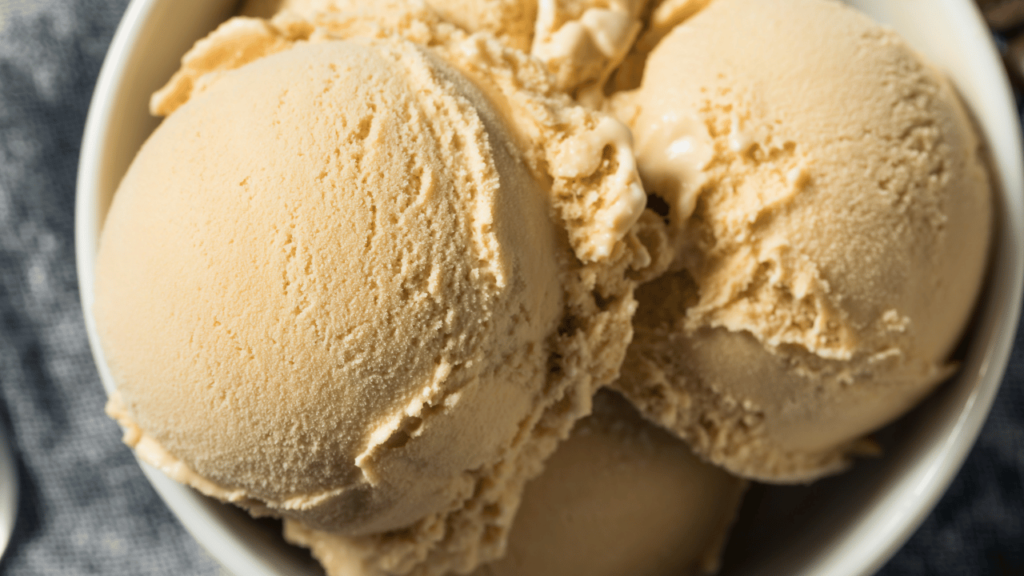
A vibrant kitchen scene showcasing the process of making Butterfinger ice cream. In the foreground, a stainless steel ice cream maker sits on a marble countertop, elegantly churned ice cream in progress, with a scoop of crushed Butterfinger candy beside it. In the middle, various ingredients like a bowl of cream, a jar of sweetened condensed milk, and a handful of Butterfinger pieces are artistically arranged. The background features a cozy kitchen with warm, natural light streaming through a window, subtly illuminating the workspace. Add a soft-focus effect to create a dreamy atmosphere, emphasizing the creamy texture and delightful colors of the ice cream. The overall mood is inviting and cheerful, evoking the joy of homemade treats.

Follow clear instructions to get a silky, scoopable result. Whisk milk and sugar until the sugar dissolves, then stir in vanilla and chill the base until very cold. Chilling 2–3 hours or overnight helps the maker work faster and builds a smooth texture.

Whisk the base, then chill until very cold

Combine milk, sugar, and vanilla and whisk until smooth. Dissolving the sugar well prevents graininess and makes the top texture velvety.

Tip: A cold base shortens churn time and gives a richer mouthfeel.

Churn until thickened, add candy near the end

Pour the chilled mix into your pre-frozen ice cream maker and run the machine until it reaches soft-serve thickness — usually 20–25 minutes.

Add the chopped candy during the last five minutes to keep chunks intact and preserve crunch. Reserve a bit for the top.

Ripen in the freezer or serve soft-serve

Enjoy immediately as soft-serve, or transfer to a lidded container and freeze 2–3 hours for firmer scoops. A tight lid protects flavor while the batch firms up.

“A cold base and late mix-in are the two small steps that make a big difference.”

Conclusion

Turn everyday pantry staples into a celebratory frozen dessert that delights every scoop. This homemade butterfinger treat is simple, crave-worthy, and fun to make with minimal hands-on time.

Enjoy two ways: serve soft-serve straight from the churn, or let the batch ripen a few hours in the freezer for scoopable perfection. Add a final sprinkle of crushed candy bars or a drizzle of chocolate to dress it up.

Store leftovers in an airtight container and press plastic wrap to the surface to reduce icy buildup. Note that butterfinger bars contain peanuts—plan accordingly for guests with allergies.

Ready to try? Print the recipe, make a batch, and ramp up the crunch with extra bars for a bolder candy-bar finish.

FAQ

What are the must-have ingredients for making this rich, homemade Butterfinger ice cream?

For an ultra-creamy base, gather whole milk, heavy whipping cream, granulated sugar, vanilla extract, and a pinch of salt. To boost texture and flavor, consider adding sweetened condensed milk or a small amount of vanilla instant pudding mix. Finish with crushed Butterfinger candy bars for crunch.

Do I need an ice cream maker, or is there a no-churn option?

An ice cream maker gives the lightest, smoothest results by incorporating air while churning. If you don’t have one, a no-churn method using sweetened condensed milk and whipped cream works well—fold in crushed candy and freeze in a shallow container, stirring occasionally for a firmer texture.

How do I crush the candy bars so they stay crunchy in the frozen dessert?

Freeze the candy bars briefly before crushing to reduce crumbling. Use a rolling pin or pulse in a food processor for large chunks and some fine crumbs. For maximum snap, freeze the crushed pieces on a tray, then fold them into the base at the final stages of churning.

How long should I chill the base before churning?

Chill the combined base in the refrigerator for at least 4 hours, ideally overnight. A very cold base churns faster and produces a smoother texture. Pre-freeze the freezer bowl of your ice cream maker according to manufacturer instructions for best results.

When should I add the candy pieces during the churning process?

Add the crushed candy in the last 1–2 minutes of churning so the pieces remain distinct and crunchy. If you add them too early, they can dissolve or break down into fine crumbs.

Can I make this recipe ahead of time and store it in the freezer?

Yes. After churning, transfer the dessert to an airtight container and press a sheet of parchment or plastic wrap directly onto the surface to prevent ice crystals. Freeze for at least 2–4 hours to firm up. Properly stored, it keeps well for 2–4 weeks.

How do I get scoopable texture right from the freezer?

For firmer, scoopable results, freeze the batch for several hours after churning. If it becomes too hard, let it sit at room temperature for 5–10 minutes before scooping. Using a warmed scoop or dipping it in hot water also helps create clean scoops.

Any tips to prevent ice crystals and maintain creamy consistency?

Use high-fat dairy like heavy cream, chill the base thoroughly, and avoid introducing warm air while transferring. Press a layer of plastic directly on the surface before sealing the container, and keep the freezer temperature steady to minimize ice formation.

Can I swap ingredients to make a lighter version?

Yes. Use reduced-fat milk and less heavy cream, but expect a slightly icier texture. You can also reduce sugar slightly or use a sugar substitute suitable for freezing. Adding a small amount of alcohol, like vodka or liqueur, can help prevent hard freezing but will change flavor.

What tools are essential for a successful batch?
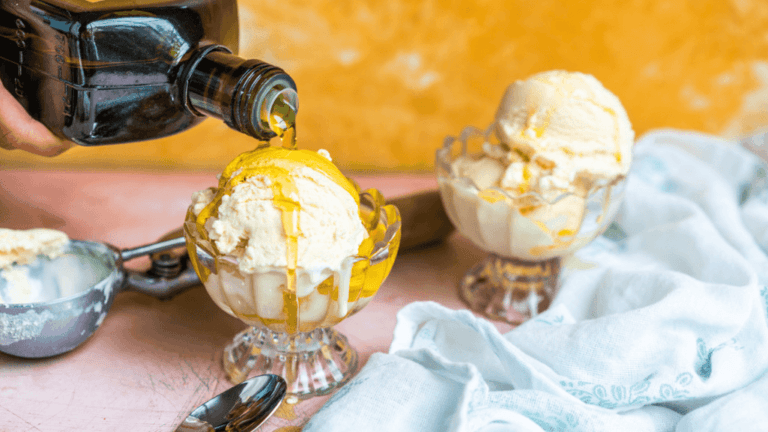
Essentials include a reliable ice cream maker with a pre-freezable bowl or built-in compressor, a mixing bowl, a whisk, measuring cups, a spatula, and an airtight container for storage. A food processor or rolling pin helps crush the candy bars neatly.
Olive Oil Sea Salt Ice Cream
Olive Oil Sea Salt Ice Cream Recipe
Discover a modern, chef-approved flavor that blends fruity, nutty notes with gentle mineral brightness...
cuisinart recipe for vanilla ice cream
Cuisinart recipe for vanilla ice cream
Bring the scoop shop home with a simple, reliable method that turns everyday dairy into a silky, classic...
1 Pint Ice Cream Recipe
Quick & Creamy 1 Pint Ice Cream Recipe
Small batch, big flavor. This guide shows how to make a fast, silky dessert that fits a small freezer...
Ice Cream Texture
Ice Cream Texture: Why Some Pints Feel Sandy or Crunchy (and How to Fix It)
Welcome to an adventurous take on frozen dessert where texture becomes part of the story. This introduction...
moose tracks ice cream
Savor the Iconic Moose Tracks Ice Cream Flavor
Craving that classic scoop-shop taste? You can recreate the famous moose tracks ice cream at home with...
Niaz Sibgatullah
Niaz Sibgatullah

Hello! I’m Muhammad Niaz, a food lover with a big passion for creating and sharing delicious recipes that bring joy to every table. From classic favorites to creative new twists, I love experimenting in the kitchen and turning simple ingredients into something truly special. My goal is to make cooking easy, fun, and flavorful for everyone—whether you're a beginner or a seasoned home chef. Come along and explore recipes that warm the heart and satisfy every craving!

Articles: 152

Leave a Reply

Your email address will not be published. Required fields are marked *

Seraphinite AcceleratorOptimized by Seraphinite Accelerator
Turns on site high speed to be attractive for people and search engines.