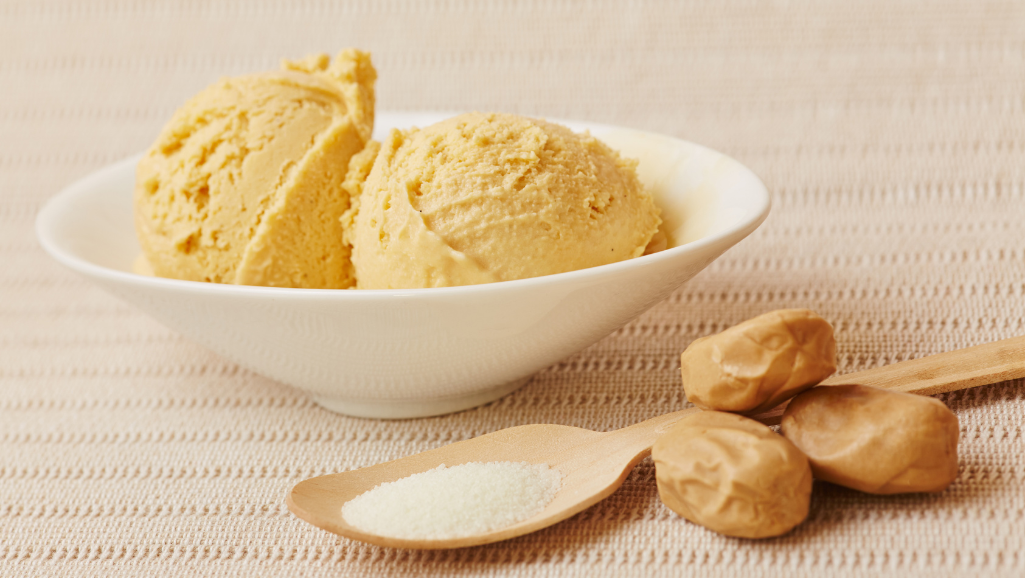
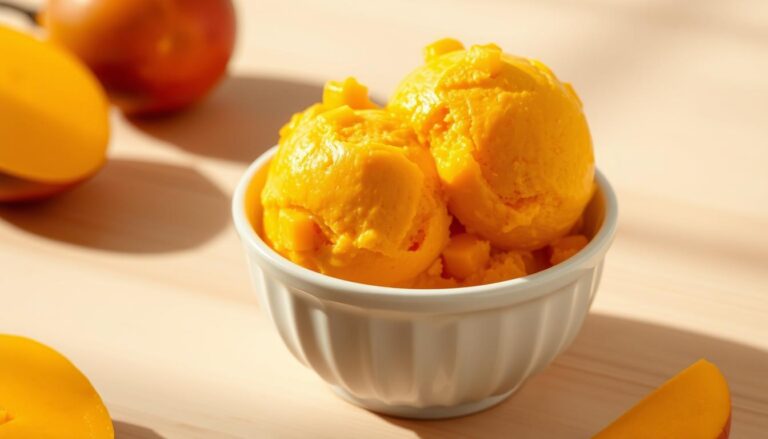
There’s something magical about a creamy, homemade dessert that brings joy to every bite. This butterscotch ice cream recipe is no exception. With its rich, velvety texture and classic flavor, it’s a treat that’s hard to resist. Whether you’re a seasoned chef or a beginner, this recipe is designed to be simple and accessible.
Made with basic ingredients like milk, brown sugar, and butter, this dessert is perfect for any occasion. The combination of browned butter and dark brown sugar creates a deep, caramel-like flavor that’s both nostalgic and indulgent. Plus, you can choose between using an ice cream maker or a no-churn method, making it versatile for everyone.
This recipe has roots in tradition, loved by families and praised by experts. It’s not just a dessert; it’s an experience. From the first whisk to the final scoop, every step is crafted to ensure a smooth, creamy result. Ready to create something unforgettable? Let’s dive in!
Key Takeaways
- This recipe delivers a rich, creamy texture with a classic butterscotch flavor.
- It uses simple, everyday ingredients like milk, brown sugar, and butter.
- You can make it with or without an ice cream maker for added flexibility.
- The dessert has a deep, caramel-like taste that’s both nostalgic and indulgent.
- Perfect for beginners and experienced cooks alike, it’s a treat for any occasion.
Butterscotch Ice Cream
4
servings30
minutes40
minutes300
kcal1
hour10
minutesRich, creamy butterscotch ice cream using everyday ingredients.
Keep the screen of your device on
Ingredients
1 cup 1 brown sugar
2 tablespoons 2 unsalted butter
2 cups 2 heavy cream
1 cup 1 whole milk
0.25 teaspoon 0.25 salt
3 teaspoons 3 vanilla extract
Directions
- In a saucepan over medium heat, combine brown sugar and butter, stirring constantly until the mixture becomes smooth and bubbly, about 5 minutes.
- Slowly add the heavy cream to the saucepan, continuing to stir the mixture until well combined and the sugar is fully dissolved.
- Reduce the heat to low and add whole milk and salt, mixing thoroughly until the mixture is heated through, approximately 3 minutes.
- Remove the saucepan from the heat; stir in vanilla extract and allow the mixture to cool to room temperature, about 20 minutes.
- Pour the mixture into a suitable container and refrigerate until thoroughly chilled, at least 2 hours.
- Once chilled, pour the mixture into an ice cream maker and churn following the manufacturer's instructions, usually about 15-20 minutes.
- Transfer the churned ice cream to a lidded container and freeze until firm, approximately 4 hours or overnight for best results.
- Before serving, allow the ice cream to sit at room temperature for about 5 minutes to soften slightly for easier scooping.
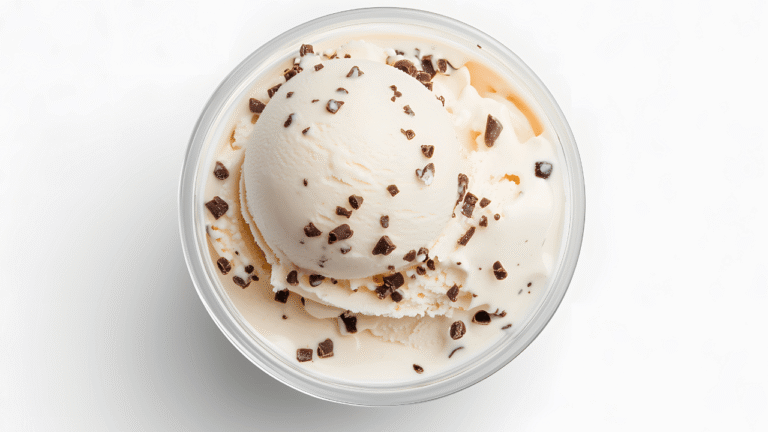
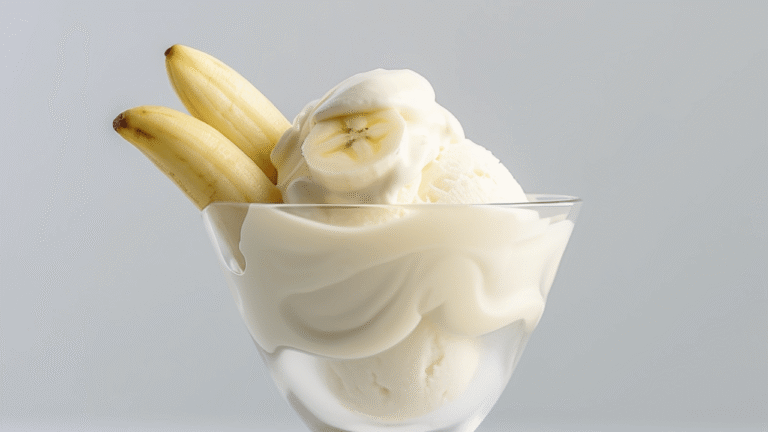
- Enjoy the ice cream plain, or consider mixing in chocolate chips or fresh fruits for an added treat.
Nutrition Facts
- Total number of serves: 6
- Calories: 250kcal
- Fat: 15g
- Saturated Fat: 9g
- Trans Fat: 0g
- Polyunsaturated Fat: 0.5g
- Monounsaturated Fat: 4g
- Cholesterol: 50mg
- Sodium: 80mg
- Potassium: 100mg
- Carbohydrates: 30g
- Fiber: 0g
- Sugar: 30g
- Protein: 2g
- Vitamin A: 10IU
- Vitamin C: 0mg
- Calcium: 8mg
- Iron: 0mg
- Vitamin D: 5mg
- Vitamin E: 1mg
- Vitamin K: 1mg
- Thiamin: 0.1mg
- Riboflavin: 0.2mg
- Niacin: 0.1mg
- Vitamin B6: 0.1mg
- Vitamin B12: 1mg
- Folate: 1mg
- Biotin: 1mg
- Pantothenic Acid: 0.3mg
- Phosphorus: 10mg
- Iodine: 0mg
- Magnesium: 2mg
- Zinc: 1mg
- Selenium: 1mg
- Copper: 0mg
- Manganese: 0mg
- Chromium: 0mg
- Molybdenum: 0mg
- Chloride: 0mg
Did you make this recipe?
Tag @https://www.instagram.com/ice_cream_haven/ on Instagram and hashtag it with #IceCreamIceCreamHavens
Like this recipe?
Follow @https://www.pinterest.com/Ice_Cream_Haven/ on Pinterest
Join our Facebook Group!
Follow https://www.facebook.com/icecreamhavens/ on Facebook
Introducing the Irresistible Butterscotch Ice Cream
Few desserts capture the essence of indulgence quite like butterscotch. Its rich, caramelized notes, combined with a velvety texture, make it a standout flavor. This classic treat is more than just a dessert—it’s a journey into warmth and nostalgia.
What Makes Butterscotch Unique
The magic of butterscotch lies in its ingredients. Brown sugar and butter are caramelized to create a deep, sweet flavor. Unlike caramel, butterscotch has a buttery richness that sets it apart. The addition of vanilla enhances its natural sweetness, making every bite unforgettable.
Experts often describe butterscotch as a flavor that balances sweetness with depth. Its caramelized notes are complemented by hints of salt, creating a complex yet comforting taste. This combination makes it a favorite among dessert lovers.
The Allure of a Classic Dessert
Butterscotch has a timeless appeal that transcends generations. Families often share stories of enjoying this dessert during special occasions. Its ability to evoke memories of warmth and togetherness is unmatched.
For those looking to recreate these moments, nostalgic ice cream recipes offer a perfect starting point. Whether made with an ice cream maker or a no-churn method, the result is always a creamy, indulgent treat.
From its rich flavor to its ability to bring people together, butterscotch is more than just a dessert. It’s an experience that celebrates tradition and craftsmanship. Ready to explore its secrets? Let’s dive deeper into what makes this flavor so irresistible.
Essential Ingredients and Special Equipment
Creating a decadent dessert starts with the right ingredients and tools. Each component plays a vital role in achieving that rich, creamy texture and indulgent flavor. Let’s explore what you’ll need to bring this treat to life.
Key Ingredients for Rich Flavor
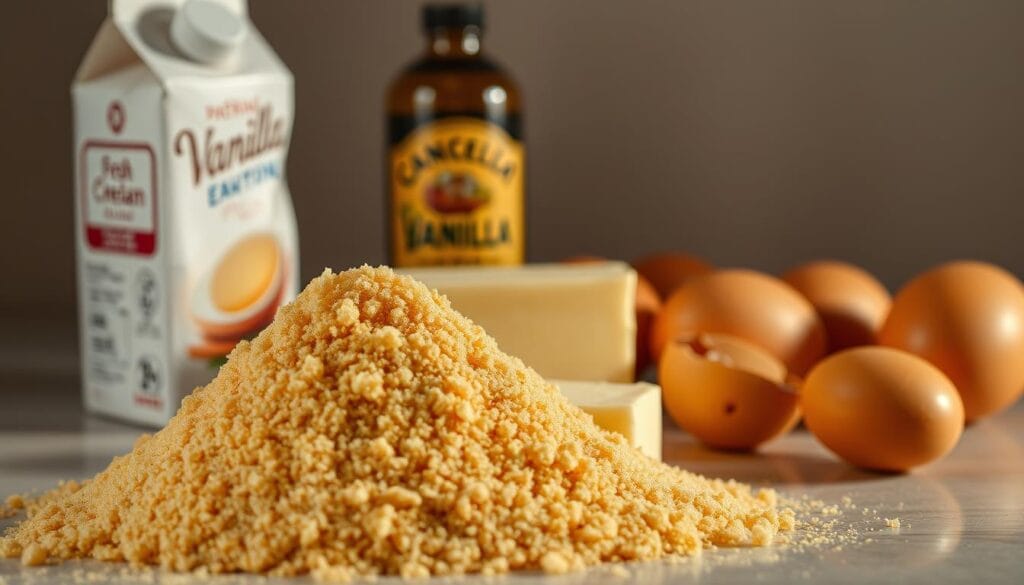
The foundation of this dessert lies in its simple yet high-quality ingredients. Unsalted butter and dark brown sugar are caramelized to create a deep, buttery sweetness. This combination forms the base of the flavor profile, offering a nostalgic and complex taste.
Whole milk and heavy cream are essential for achieving a luxurious texture. The high fat content in heavy cream ensures a smooth, velvety consistency, while milk balances the richness. Fresh egg yolks add thickness and a custard-like quality to the base.
To enhance the flavor, a touch of kosher salt and pure vanilla extract is added. These ingredients elevate the sweetness and add depth, making every bite unforgettable.
Must-Have Tools and Equipment
While the ingredients are crucial, the right tools make the process seamless. An ice cream maker is highly recommended for achieving that perfect creamy texture. If you don’t have one, an immersion blender can be used for no-churn methods.
Other essentials include a bowl for mixing, a measuring cup for precision, and a loaf pan for freezing. These tools are likely already in your kitchen, making this recipe convenient and accessible.
For more detailed guidance on using an ice cream maker, check out this comprehensive guide. It covers everything from setup to achieving the ideal consistency.
“The right tools and ingredients transform a simple recipe into a masterpiece.”
With these essentials, you’re well-equipped to create a dessert that’s both professional-level and deeply satisfying. Ready to get started? Let’s move on to crafting the perfect base.
Creating the Perfect Butterscotch Base
The secret to a truly indulgent dessert lies in its foundation. A smooth, caramelized base transforms any treat into a masterpiece. Here’s how to craft the perfect butterscotch base for your dessert.
Cooking the Butterscotch Sauce
Start by melting unsalted butter in a saucepan over low heat. Add dark brown sugar and stir continuously for about 3-4 minutes. This step is crucial for achieving a deep, caramelized flavor.
Gradually pour in heavy cream, stirring constantly to avoid clumping. The mixture will thicken and become glossy. This process takes another 1-2 minutes. Remove from heat and add a splash of vanilla extract to round out the flavor.
Tips for Achieving Ideal Caramelization
Patience is key when caramelizing sugar. Keep the heat low to prevent burning. Stirring constantly ensures an even consistency and prevents sticking.
Using dark brown sugar enhances the natural molasses flavor, adding depth to the sauce. For a smoother texture, strain the mixture before cooling.
“Taking your time during this step ensures a rich, flavorful base that elevates your dessert.”
For more dessert inspiration, check out this turtle ice cream recipe, which combines caramel, chocolate, and pecans for a decadent treat.
Mastering the butterscotch ice cream recipe
Achieving the perfect texture in your dessert requires understanding the right techniques. Whether you use an ice cream maker or opt for a no-churn method, the process you follow determines the final result. Both approaches have their unique advantages, and mastering them ensures a smooth, indulgent treat every time.
Churn Versus No-Churn Methods
Using an ice cream maker is the traditional way to achieve a creamy texture. This method churns the mixture while freezing it, creating small ice crystals for a smooth finish. It’s efficient and delivers professional-level results.
For those without specialized equipment, the no-churn method is a great alternative. Simply whisk the mixture thoroughly and place it in a container to freeze. Periodically stirring every hour helps prevent large ice crystals, ensuring a creamy consistency.
Ensuring a Creamy, Smooth Texture
Proper chilling and freezing are crucial. Chill the custard for at least 4 hours before freezing. This step allows the flavors to meld and the mixture to thicken. During freezing, whisk the mixture every hour to maintain a soft-serve consistency before the final freeze.
Here are some tips to ensure success:
- Use a high-fat base for a richer texture.
- Store the dessert in an airtight container to prevent freezer burn.
- Allow the dessert to soften slightly before serving for the best experience.
“Patience and attention to detail are the secrets to a flawless dessert.”
Whether you choose the churn or no-churn method, the result is a luscious treat that’s worth the effort. With these techniques, you’ll create a dessert that’s both technically impressive and deeply satisfying.
Step-by-Step Preparation Process
The journey to a perfect dessert begins with careful preparation and attention to detail. From cooling the base to the final freeze, each step ensures a smooth, creamy texture. Let’s break it down into simple, actionable stages.
Mixing and Freezing Techniques
Start by cooling the butterscotch base in the refrigerator for at least 4 hours. This allows the flavors to meld and the mixture to thicken. Once chilled, transfer it to a clean bowl and mix thoroughly using a whisk or immersion blender. This step breaks down any ice crystals, ensuring a smooth consistency.
Next, pour the mixture into a freezer-safe container. To maintain the texture, mix it every hour during the initial freezing stage. This prevents large ice crystals from forming and keeps the dessert creamy. The total freezing time is approximately 6 hours, but patience pays off in the final result.
Layering Flavors and Add-ins
Once the dessert begins to set, it’s time to add your favorite mix-ins. Chocolate chips, nuts, or caramel swirls can elevate the flavor profile. Fold them in gently to distribute evenly throughout the mixture.
For a richer experience, consider layering flavors. Alternate between the base and mix-ins in the container before the final freeze. This creates a delightful surprise in every scoop. For inspiration, check out this rocky road recipe, which combines chocolate, marshmallows, and nuts for a decadent treat.
“Attention to detail during preparation ensures a dessert that’s both visually appealing and irresistibly creamy.”
By following these steps, you’ll create a dessert that’s not only delicious but also a reflection of your culinary skills. Enjoy the process and savor the results!
Variations and Serving Suggestions
Adding a personal touch to your dessert can transform it from ordinary to extraordinary. Whether you’re hosting a gathering or enjoying a quiet treat, these variations and serving ideas will elevate your creation.
Optional Mix-ins and Enhancements
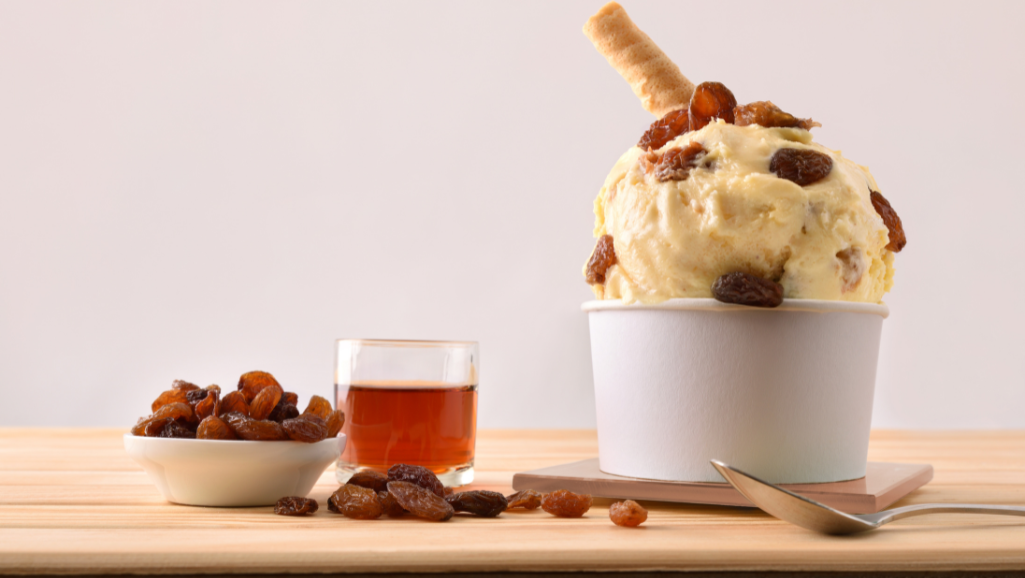
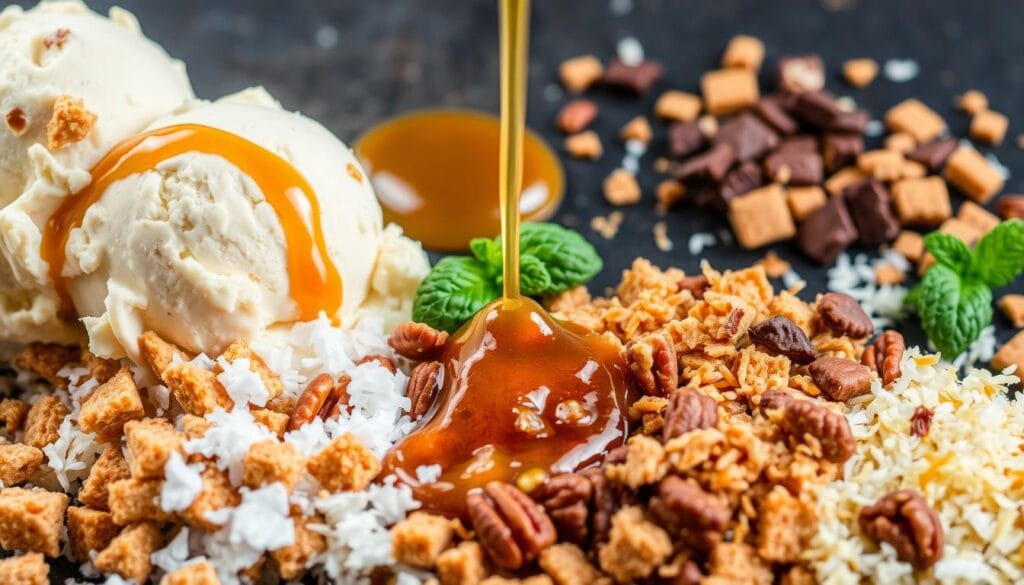
Customize your dessert with a variety of mix-ins to suit your taste. Butterscotch chips add a rich, sweet crunch, while praline offers a nutty contrast. For a decadent twist, try swirling in extra dark brown sauce or folding in crushed cookies.
Experiment with different ingredients to create unique flavor combinations. A sprinkle of sea salt can balance the sweetness, while a drizzle of caramel adds depth. Don’t be afraid to mix and match to find your perfect blend.
Creative Presentation Ideas
Presentation is key to making your dessert stand out. Serve it in a large bowl to showcase its rich color and creamy texture. Top with a generous drizzle of sauce and a sprinkle of chopped nuts for added elegance.
For a fun twist, layer your dessert with additional textures and flavors. Alternate between the base and mix-ins in the container before freezing. This creates a delightful surprise in every scoop.
“A beautifully presented dessert is as much a feast for the eyes as it is for the palate.”
For more inspiration, check out this guide on customizing flavors with the Dash My Pint Ice Cream Maker.
Don’t forget to print or pin the recipe for easy reference. Keeping a copy handy ensures you can recreate this treat anytime. Share your creative results on social media and inspire others to try their own variations!
Conclusion
Creating a homemade dessert that’s both rich and satisfying doesn’t have to be complicated. With a few simple steps, you can achieve a smooth, indulgent treat that’s perfect for any occasion. From preparing the base to choosing between churn or no-churn methods, every detail matters.
Taking your time to chill the mixture and whisk it properly ensures a creamy texture. Adding personal touches like mix-ins or extra sauce can elevate the flavor. Whether you’re a beginner or an experienced cook, this process is designed for success.
For those looking for an even simpler approach, try this easy no-churn method. It’s perfect for customizing with your favorite flavors. Share your creations and inspire others to try their own variations.
Enjoy every scoop of your delicious dessert and revisit this recipe for future celebrations. With a bit of patience and creativity, you’ll create something truly special.


