Meet a versatile Aroma Ice Cream Maker Recipe that blends nostalgia with modern convenience. This machine mixes an electric motor with a hand crank for reliable, creamy results at home. It’s ideal for beginners and fans of homemade ice cream.
The classic base uses heavy cream, whole milk, granulated sugar, vanilla, and a pinch of salt. Heat the milk and sugar to dissolve, chill the mixture for at least two hours, then churn in the canister until soft-serve. Transfer to the freezer for a few hours to harden to scoopable texture.
Key parts to know are the wooden bucket, mixing canister, dasher, motor, and hand crank. Ingredient quality and proper ratios matter for a smooth, balanced dessert. The manual also notes safety basics like short cord guidance and a polarized plug.
This approachable method scales well. Try vanilla, chocolate, or fruit-forward versions and store finished ice cream in an airtight container at the back of the freezer for best texture.
Key Takeaways
- The Aroma machine pairs motor power with a hand crank for consistent results.
- A simple base of heavy cream, whole milk, sugar, and vanilla makes a reliable ice cream recipe.
- Heat, chill, churn 20–40 minutes, then freeze 2–4 hours for scoopable texture.
- Know the parts: wooden bucket, canister, dasher, motor, and hand crank.
- Use quality ingredients and airtight storage for the best homemade ice cream.
Classic Vanilla Ice Cream
4
servings30
minutes40
minutes300
kcal1
hour10
minutesA simple homemade vanilla ice cream recipe for delicious results.
Keep the screen of your device on
Ingredients
1 cup 1 whole milk
0.75 cup 0.75 granulated sugar
2 cups 2 heavy cream
1 teaspoon 1 pure vanilla extract
1 pinch 1 salt
Directions
- In a medium mixing bowl, whisk together the whole milk and granulated sugar until the sugar is completely dissolved, approximately 2 minutes.
- Stir in the heavy cream, vanilla extract, and a pinch of salt until everything is well combined.
- Cover the mixture and chill in the refrigerator for at least 2 hours or overnight for best results.
- Set up your ice cream maker according to the manufacturer's instructions.
- Pour the chilled ice cream mixture into the ice cream maker and churn for 20-25 minutes, or until the ice cream reaches a soft-serve consistency.
- Transfer the ice cream to an airtight container and freeze for an additional 2 hours to firm up before serving.
Nutrition Facts
- Total number of serves: 8
- Calories: 250kcal
- Cholesterol: 70mg
- Sodium: 50mg
- Potassium: 110mg
- Sugar: 17g
- Protein: 3g
- Calcium: 9mg
- Iron: 0mg
- Thiamin: 0mg
- Riboflavin: 0mg
- Niacin: 0mg
- Folate: 0mg
- Biotin: 0mg
- Phosphorus: 0mg
- Iodine: 0mg
- Magnesium: 0mg
- Zinc: 0mg
- Selenium: 0mg
- Copper: 0mg
- Manganese: 0mg
- Chromium: 0mg
- Molybdenum: 0mg
- Chloride: 0mg
Did you make this recipe?
Tag @https://www.instagram.com/ice_cream_haven/ on Instagram and hashtag it with #IceCreamIceCreamHavens
Like this recipe?
Follow @https://www.pinterest.com/Ice_Cream_Haven/ on Pinterest
Join our Facebook Group!
Follow https://www.facebook.com/icecreamhavens/ on Facebook
Why Homemade Ice Cream with Aroma Shines Right Now
Making frozen desserts at home puts control of flavor and ingredients back in your hands. With an ice cream maker, you can pick organic dairy, lower-sugar sweeteners, or plant-based swaps without losing texture.
Ingredient transparency is timely. Store-bought pints often use stabilizers and extra sugar. At home, mixes use simple ingredients and fresher fruit for bolder dairy and fruit aromatics.
- Custom flavors: start with vanilla, then try lavender or rocky road for trend-forward options.
- Efficient churn: a canister-based design yields smooth results with fewer additives.
- Convenience: motorized churning handles bulk batches; the hand-crank option keeps family time hands-on.
Pre-freezing the canister for about 48 hours boosts performance. The result is repeatable, cost-effective homemade ice cream that fits dietary needs and entertains at home.
Getting Started: Set Up Your Aroma Ice Cream Maker Recipe for Success
Unbox the unit on a stable counter and sort each piece into a clean pile. Check for the wooden bucket, mixing canister, dasher, motor head, and hand crank so you can spot any missing parts quickly.
Unboxing and Parts
Wash all removable components before first use. Soak the wooden bucket briefly so the wood swells and seals to prevent leaks.
Pre-chill Protocol
Place the canister and dasher in the freezer at least 48 hours before you plan to churn. A fully frozen canister sets the mixture ice cream faster and reduces ice crystals for smoother texture.
Rock Salt and Ice Layering
Layer ice and rock salt evenly around the canister in the bucket. The salt lowers the freezing point and creates a consistent cold bed that speeds up freezing and improves texture.
Safety First
Short cord guidance: keep the plug and cord clear of water, ice, and moving parts. Use only a properly grounded outlet and connect the polarized plug correctly.
- Seat the canister squarely and align the dasher to avoid scraping or stalling.
- Stage ingredients in a chilled bowl and keep the mixture cold before churning.
- Do a quick pre-flight check: stable surface, cord clear, lid secured, and hands away from moving parts.
Aroma Ice Cream Maker Recipe
Start with a simple, well-balanced base that sets the stage for silky texture and clean flavor. Use 2 cups heavy cream, 1 cup whole milk, about 3/4 cup granulated sugar, 1 tablespoon vanilla extract, and 1/4 teaspoon salt.
Heat the milk and sugar gently, stirring until the sugar fully dissolves. Remove from heat, stir in vanilla, then cool to room temperature. Chill the mixture in the refrigerator at least two hours to reduce ice crystal formation.
Pour the chilled mixture into the pre-frozen canister only up to two-thirds full to allow for expansion. Churn in the machine for about 20–40 minutes; check texture at 20 minutes and stop when soft-serve stage is reached.
Transfer the soft batch to an airtight container and place it in the freezer for 2–4 hours to firm. Taste the mixture before churning to adjust vanilla or salt—aim for slightly sweeter than final desired flavor. Final checklist: heat, chill, churn, harden.
- Why heat: dissolves sugar for a smoother mixture and cleaner texture.
- Chill time: at least 2 hours for reduced ice crystals.
- Timing: most batches finish between 20 and 40 minutes depending on fill and temperature.
Flavor Paths: From Vanilla Ice Cream to Chocolate and Beyond
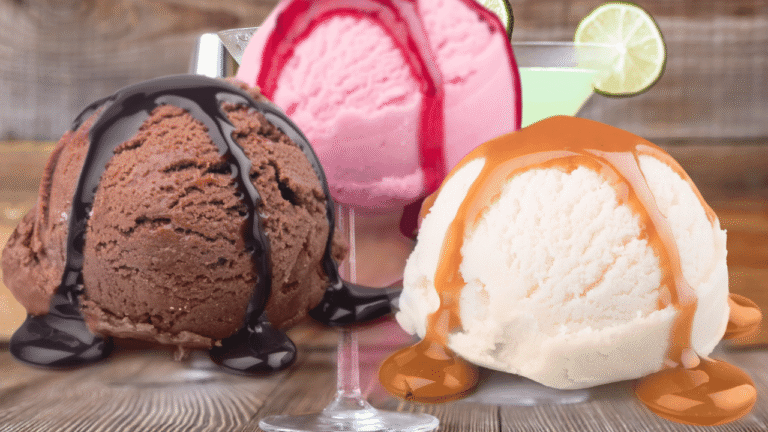
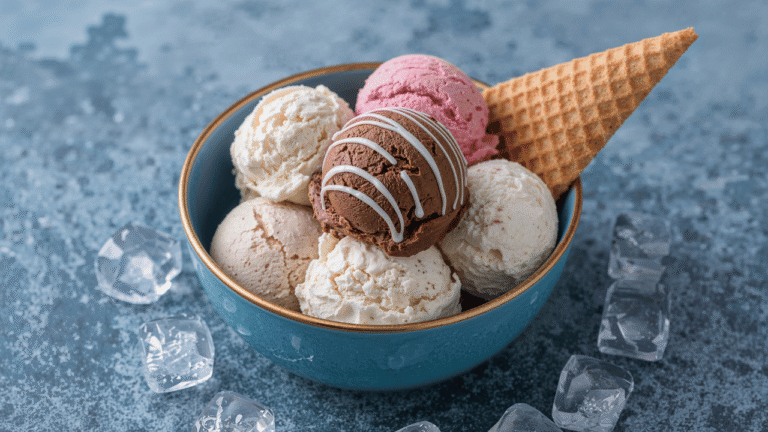
Small tweaks to the base unlock classic, chocolate, fruity, and vegan variations that suit any table. These paths keep the same churn time and most of the same steps, so you can test flavors in small batches at home.
Classic Vanilla
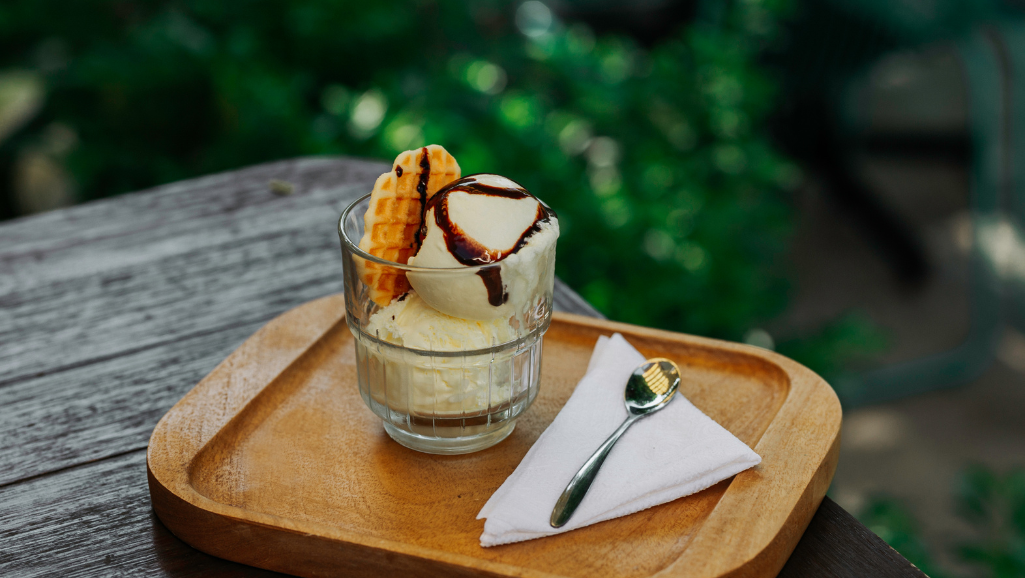
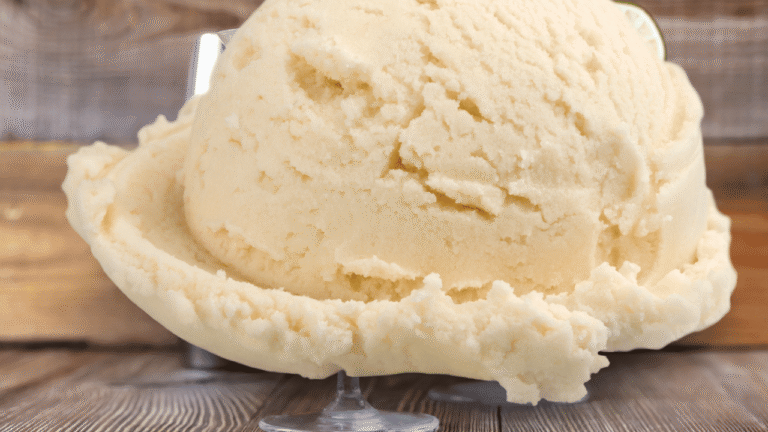
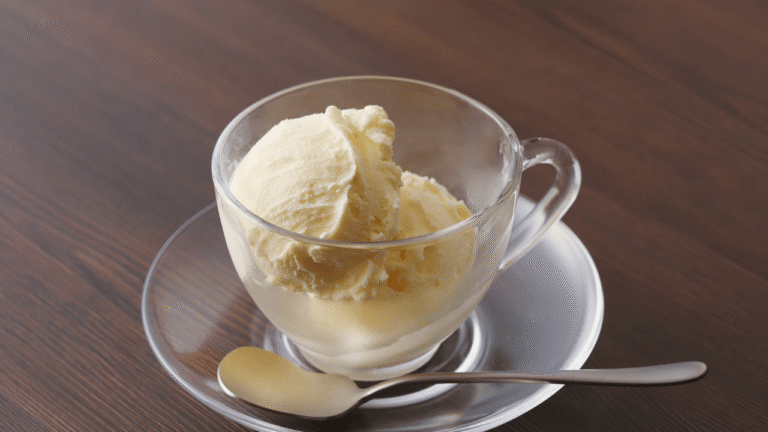
Vanilla ice cream starts with the base of milk and cream and needs just good vanilla and balanced sweetness. It’s the go-to for pairing with warm brownies or an affogato.
Rich Chocolate
Whisk cocoa into warmed cream, stir in melted semisweet chocolate, then chill before churning. This creates a glossy, dense base that yields excellent scoopability and deep flavor.
Fruity Sorbets
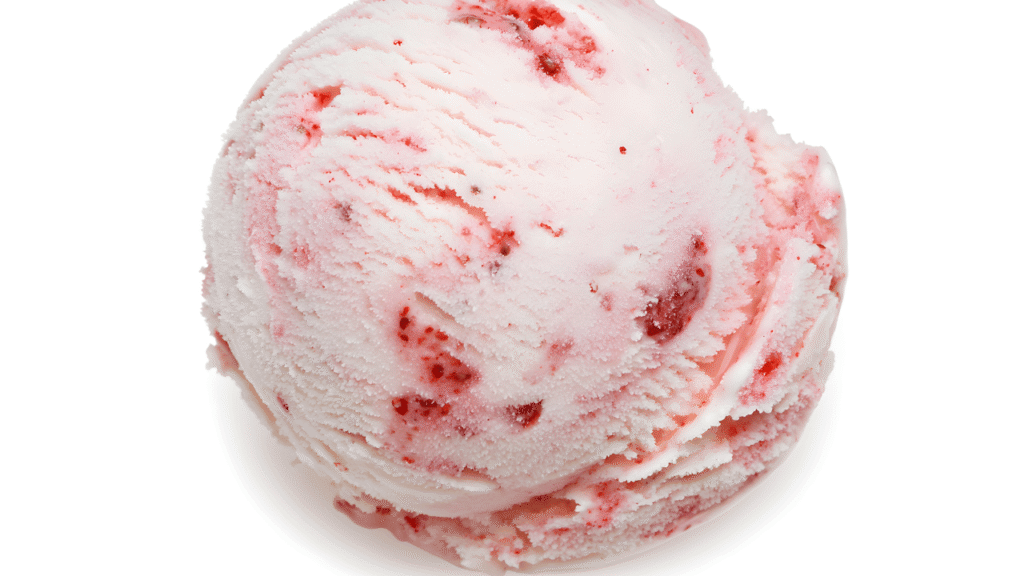
Puree strawberries or mango with a bit of lemon or lime and sweetener, then churn. Fruit sorbets freeze a touch harder, so use slightly more sweetener to keep a pleasant texture and finish in fewer minutes.
Vegan Options
Coconut milk chocolate gives lush body; a cashew vanilla bean blend offers a neutral, creamy canvas. Both work well in a canister-style ice maker and accept mix-ins added in the last minute.
- Add chips, toasted nuts, or swirls in the final minute to keep them suspended.
- Test small batches to fine-tune flavor intensity and texture.
- Remember: fat and sugar balance affects scoopability at freezer temps.
Aroma Ice Cream Maker Recipe Pro Tips for Creamy Texture Every Time
A few careful habits at prep and storage time can keep your scoops smooth and spoonable.
Chill everything — the base, bowls, and mix-ins — to reduce ice crystal formation. For best results, chill the base overnight so the cold mixture aerates better during churning.
Chill Everything
Pre-chill additions like chopped chocolate or fruit so they don’t melt into warm batter and refreeze as hard shards. Cold mix-ins stay suspended and blend evenly into the batch.
Freezer Strategy
Keep your freezer at or below 0°F and store pints at the back where temperature stays steady. Use shallow, airtight containers to set the batch faster and limit air exposure.
- Cover the surface with parchment or plastic wrap under the lid to cut down crystal growth.
- Label date and flavor so you use the freshest pints first; fresher servings taste brighter and hold shape better.
- If a pint is rock-hard, temper it in the fridge a few minutes instead of the counter to avoid melt-and-refreeze damage.
- Portion into smaller containers to reduce repeated warming during scooping and protect texture over time.
These practical tips work with any ice cream maker and will help you get creamy, consistent results every time.
Operating Like a Pro: Electric Motor and Hand Crank Know-How
Start each batch using the electric motor so the dasher spins at a steady rate and builds even aeration in the canister. This gives consistent rise and helps the base gain body without large crystals.
When to switch: run the machine for most of the cycle, then flip to the crank in the final minutes to judge resistance and dial in overrun. Use the hand crank to fluff the mix gently and avoid overchurning.
Keep the fill level under two-thirds of the canister to allow expansion and prevent leaks. Typical batches reach soft-serve in about 20–40 minutes depending on mixture temperature and fill volume.
- Start on motor: steady speed equals even aeration and reliable texture.
- Finish by hand: the crank offers fine control for final feel and volume.
- Watch resistance: rising drag is a good doneness cue—stop at soft-serve.
- Add-ins: pause briefly near the end to fold in chilled mix-ins so they stay suspended.
Cold bases set faster; warm mixtures can add minutes and yield larger crystals. Keep the unit on a stable, dry surface and avoid overpacking ice and salt so the motor isn’t stressed.
Pro routine: motor for bulk churn, crank for precision, then move the batch to the freezer right away for the best carryover set when making ice cream at home.
Cleaning and Maintenance for Long-Term Performance
A quick cleanup and a few checks after each batch prevent long-term wear and keep texture consistent. Regular care protects parts and helps your ice cream maker deliver scoopable results every time.
After-Churn Care
Rinse and hand wash the canister, lid, and dasher in warm, soapy water right after use. Rinse thoroughly and dry each piece to prevent odors or corrosion.
Never submerge the motor. Wipe the exterior with a damp cloth and let it air dry to protect internal components and electrical parts.
Troubleshooting Quick Fixes
Soft sets often mean the canister or base wasn’t fully chilled. Refresh the ice and salt around the canister and check that the mixture was cold before churning.
If the machine overheats, reduce batch size, avoid overpacking the salt/ice layer, and give the unit time to cool between runs. These simple steps can prevent motor stress.
Unusual noise usually points to misalignment. Re-seat the dasher and canister, ensure the pivot cone is aligned, and confirm the lid and crank are securely locked.
- Drain meltwater from the wooden bucket and dry it fully to avoid warping.
- Keep cords and outlets dry; follow polarized plug and short-cord guidance.
- Store parts together in a cool, dry home spot and protect the canister surface from scratches.
Pro tip: log minutes to churn, salt proportions, and any ingredient tweaks. Small records help you repeat the best texture and flavor outcomes in future batches.
Conclusion
Finish strong by following a few last steps that protect texture and freshness. Prep ingredients, chill the canister for 48 hours, and keep the base cold before you churn for 20–40 minutes.
Aroma Ice Cream Maker Recipe, Let the batch harden 2–4 hours in the back of a freezer set near 0°F for best scoopability. The ice cream maker blends electric power with a hand-crank option so you get both speed and control.
Small tweaks to sugar, milk fat, and minutes in the churn refine texture to your taste. Clean and dry parts promptly to keep the machine reliable for many dessert nights.
Ready to start? Plan your ingredients, chill the canister, and consult the Aroma ice cream maker guide to begin making ice cream with confidence today.

