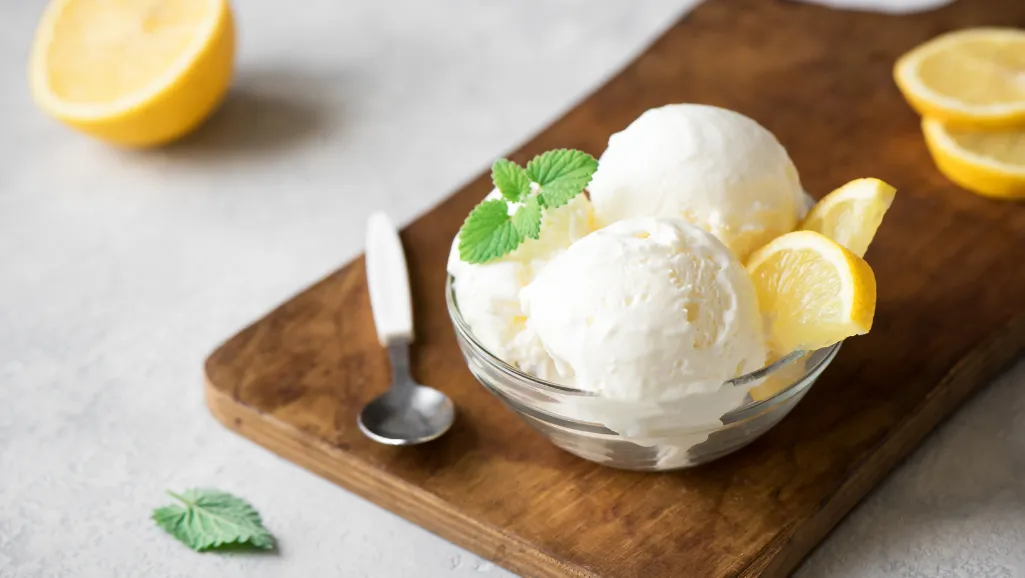
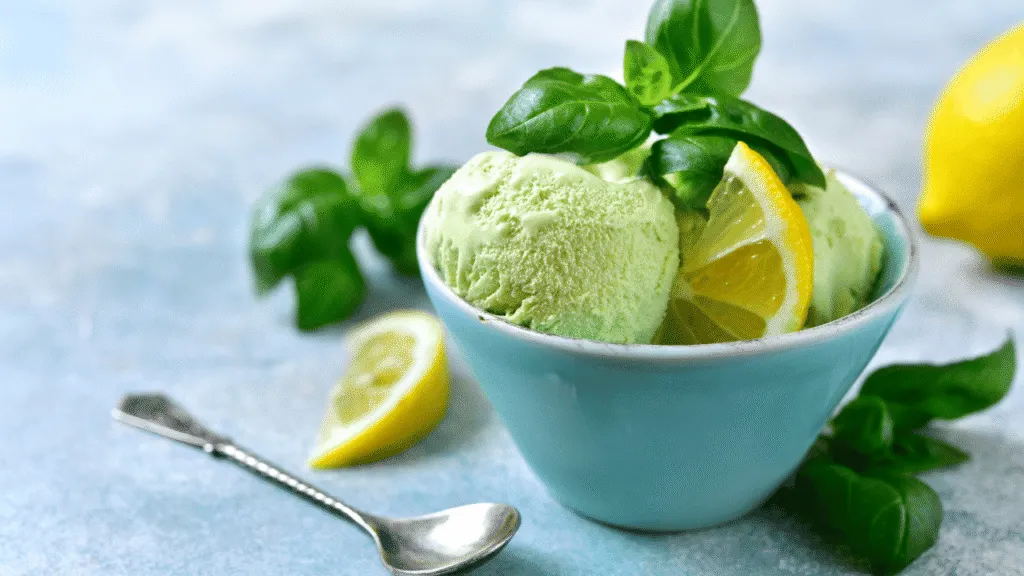
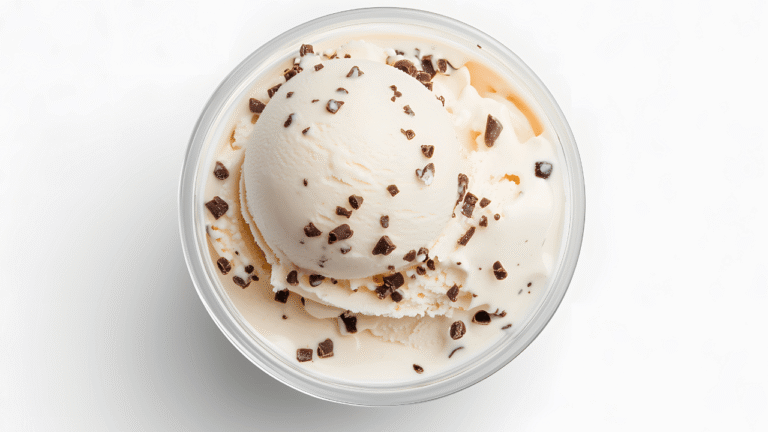
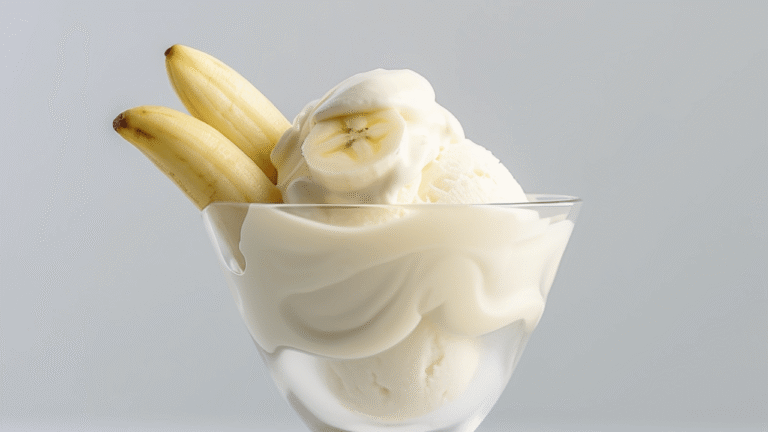
This bright, citrus-forward frozen dessert Lemon Drop ice cream Recipe pairs fresh tartness with an ultra-smooth base for warm afternoons. It’s a no-cook plan that fits busy schedules and simple kitchens.
Whisk the dairy, chill the mix, and churn about 20 minutes in a Cuisinart or KitchenAid attachment for soft serve, then ripen 4–10 hours for firm scoops. No maker? Try the condensed-milk, no-churn method with a two-stage freeze for similar results.
Use pure lemon extract, fresh juice and zest, or crushed candy for texture and aroma. Plan ahead: freeze the freezer bowl 24–48 hours and chill the base overnight for fine texture and quick set.
Yield and storage: this approach makes about a quart and keeps up to a week when airtight. Fold in mix-ins at the end to keep paddles clear and preserve chew.
Key Takeaways
- No-cook, citrus-forward dessert ideal for summer entertaining.
- Two reliable methods: traditional churn or condensed-milk no-churn.
- Freeze the bowl ahead and chill the base overnight for best texture.
- Use extract, fresh juice/zest, or crushed candies to vary flavor.
- Makes about 1 quart; store airtight and consume within a week.
Lemon Ice Cream
4
servings30
minutes40
minutes300
kcal1
hour10
minutesCreamy lemon ice cream made with simple ingredients.
Keep the screen of your device on
Ingredients
2 cups 2 heavy cream
1 cup 1 sugar
1 cup 1 whole milk
1 tablespoon 1 lemon zest
0.5 cup 0.5 fresh lemon juice
1 teaspoon 1 vanilla extract
Directions
- In a medium saucepan, combine the heavy cream, whole milk, and sugar over medium heat. Stir until the sugar is fully dissolved, then remove from heat.
- Add the lemon zest and vanilla extract to the mixture, stirred well to combine. Let cool to room temperature.
- Once cooled, whisk in the fresh lemon juice, ensuring the mixture is smooth and well combined.
- Cover the mixture and refrigerate for at least 4 hours or until thoroughly chilled for best churning results.
- Set up your ice cream maker according to the manufacturer's instructions. Pour the chilled mixture into the ice cream maker.
- Churn the mixture for about 20-25 minutes, or until the ice cream reaches a soft-serve consistency.
- Transfer the churned ice cream to an airtight container, and press plastic wrap onto the surface to prevent ice crystals.
- Freeze the ice cream for at least 2 hours to firm it up before serving.
Nutrition Facts
- Total number of serves: 6
- Calories: 210kcal
- Fat: 14g
- Saturated Fat: 9g
- Trans Fat: 0g
- Polyunsaturated Fat: 0.5g
- Monounsaturated Fat: 3.5g
- Cholesterol: 50mg
- Sodium: 30mg
- Potassium: 100mg
- Carbohydrates: 21g
- Fiber: 0.5g
- Sugar: 20g
- Protein: 2.5g
- Vitamin A: 9IU
- Vitamin C: 5mg
- Calcium: 7mg
- Iron: 0.2mg
- Vitamin D: 2mg
- Vitamin E: 1mg
- Vitamin K: 1mg
- Thiamin: 0.02mg
- Riboflavin: 0.1mg
- Niacin: 0.1mg
- Vitamin B6: 0.05mg
- Vitamin B12: 0.3mg
- Folate: 4mg
- Biotin: 0.5mg
- Pantothenic Acid: 0.3mg
- Phosphorus: 5mg
- Iodine: 3mg
- Magnesium: 2mg
- Zinc: 0.3mg
- Selenium: 0.5mg
- Copper: 0.05mg
- Manganese: 0.03mg
- Chromium: 0mg
- Molybdenum: 1mg
- Chloride: 40mg
Did you make this recipe?
Tag @https://www.instagram.com/ice_cream_haven/ on Instagram and hashtag it with #IceCreamIceCreamHavens
Like this recipe?
Follow @https://www.pinterest.com/Ice_Cream_Haven/ on Pinterest
Join our Facebook Group!
Follow https://www.facebook.com/icecreamhavens/ on Facebook
Why This Lemon Drop Ice Cream Belongs on Your Summer Menu
This lemon ice cream pairs bright citrus with a lush, velvety base for scoops that feel both light and indulgent. The sharp aromatic oils and natural acidity cut through dairy fat, giving each bite a clean, refreshing lift.
No-cook prep keeps the process simple: whisk cold dairy and flavorings, chill, then churn about 20 minutes before ripening 4–6 hours or overnight for firmer texture. Pre-freeze your machine bowl 24–48 hours for the best results.
This post covers two reliable paths. Use a churn (Cuisinart or KitchenAid attachments) for classic mouthfeel. Or choose the condensed-milk no-churn method—tray-freeze 2 hours, blend, then freeze 8–10 hours for scoopable texture.
- Flavor control: pure extract gives steady notes; fresh juice and zest layer bright complexity.
- Texture twist: fold in crushed candies at the end for crunchy pops without melting.
- Plan-ahead friendly: start everything cold so results stay stable even on hot summer days.
Lemon Drop ice cream Recipe Ingredients and Equipment You’ll Need
A reliable batch begins with the right balance of cream, sugar, and citrus plus a frozen bowl and sturdy mixer. Prep first to maintain cold temps and prevent icy texture.
Basic dairy base: 2 cups half-and-half for body, 1 cup heavy cream for richness, and milk if you want a lighter finish. Sweeten with 2/3 cup granulated sugar for a clean, balanced sweetness.
Flavor options: Use 1 teaspoon pure lemon extract for steady notes, or fresh juice and zest for bright natural complexity. Fold in 1/4 cup crushed lemon candies at the end for crunch and zing.
“Measure ingredients, chill the bowl, and keep tools cold for the creamiest results.”
- Exact churned measures for 1 quart: 2 cups half-and-half, 1 cup heavy cream, 2/3 cup sugar, 1 tsp extract, 1/4 cup crushed candy.
- No-churn alternative: sweetened condensed milk with lemon juice, lemonade, and rind set in trays; see condensed-milk method for details at no-churn condensed-milk recipes.
- Gear: pre-frozen freezer bowl (Cuisinart or KitchenAid attachment), whisk or low-speed mixer, freezer-safe container or aluminum trays, microplane and handheld juicer.
Mise en place tip: Measure cups and dairy ahead, zest over a bowl, crush candies gently to avoid powder, and keep the bowl frozen 24–48 hours. Double quantities carefully—ensure the bowl capacity can handle churn expansion.
Lemon Drop ice cream Recipe: Step-by-Step Guide
The key to a silky batch is cold preparation. Freeze the Cuisinart or KitchenAid bowl 24–48 hours until fully solid. This gives the churn room to work and prevents large ice crystals.
Prep the bowl and chill the base
Whisk 2 cups half-and-half, 1 cup heavy cream, 2/3 cup sugar, and 1 teaspoon pure lemon extract until the sugar dissolves.
Optional: Add three drops yellow food coloring for visual pop. Chill the mixture 3 hours or overnight to keep it very cold before churning.
Whisk, pour mixture, and churn
Assemble the machine and start it running before you pour mixture into the spinning, frozen bowl.
Churn for about 20 minutes until the base reaches a thick, soft-serve consistency. Watch the final minutes for volume increase.
Fold in candies and ripen
Gently fold in 1/4 cup crushed lemon drops at the end so the candy stays suspended and the paddle stays clear.
- Pack: Transfer to a quart freezer-safe container and smooth the top.
- Seal: Press parchment to the surface to reduce ice formation and close tightly.
- Ripen: Freeze 4–6 hours or overnight for firmer scoops and creamier texture.
Two Proven Methods: Ice Cream Maker vs. No-Churn Tray Freeze
Two clear paths will get you scoopable, flavorful results whether you own a bowl attachment or prefer a no-fuss blend-and-freeze. Below are stepwise options, timing notes, and what to expect from texture and storage.
Ice cream maker method (Cuisinart/KitchenAid attachments)
Use a pre-frozen bowl 24–48 hours and chill the base at least 3 hours. With the mixer running, pour the cold mixture into the bowl and churn about 20 minutes until soft-serve stage.
Fold in crushed candies at the end, then transfer to a sealed container and ripen 4–6 hours or overnight for firmer scoops.
No-churn condensed milk method with blend-and-freeze
Combine sweetened condensed milk with lemon juice, lemonade, and rind. Pour into two aluminum trays or a metal pan and freeze 2 hours until semi-set.
Blend the semi-set mix to break crystals, return to the same trays, and freeze 8–10 hours until firm. Add mix-ins after blending so pieces stay intact.
- Texture: churned yields classic body and overrun; no-churn is denser and slightly softer.
- Timing: churn ~20 minutes + 4–10 hours ripening; no-churn 2 hours to blend, then 8–10 hours to set.
- Vessels: use aluminum trays or a metal pan for faster freezing and store in an airtight container to prevent freezer burn.
Lemon Drop ice cream Recipe Timing, Temperatures, and Texture for Best Results
Cold management from bowl to freezer is the practical secret behind perfect scoops. Start by freezing your Cuisinart or KitchenAid bowl for 24 to 48 hours so the coolant is fully solid.
Chill the base at least 1–3 hours; overnight is best. A very cold mix shortens churn time and yields finer ice crystals.
- Freeze the bowl a full day—preferably 36–48 hours—for reliable performance.
- With the machine running, expect soft-serve in roughly 20 minutes; volume rises near the end.
- Transfer to shallow containers and ripen 4–10 hours in the freezer for firm, scoopable texture.
Keep the kitchen cool when moving the batch to slow melting and refreezing. Check sweetness while the base is cold; chilling mutes flavor slightly after freezing.
“If the pint is very hard, let it sit about 10 minutes at room temp before scooping to avoid crumbly scoops.”
For more one-bowl techniques and quick batches, see this one-cup method that pairs well with these timing tips.
Pro Tips, Swaps, and Troubleshooting
Small technique changes deliver big improvements. Use pure extract for a steady note, and add finely grated zest to lift aroma without extra acidity. If you want stronger citrus, a little rind goes a long way.
Prevent curdling: always chill the dairy thoroughly and add fresh juice last. Whisk briskly as you add acid to the cold base so proteins disperse and the mixture stays smooth.
Balance tartness with measured sugar or a splash of lemonade. For texture contrast, fold crushed candies only at the finish so pieces remain crunchy after ripening.
Machine handling and common fixes
- Pour mixture into a running, fully frozen bowl to avoid instant freeze-on and large shards on the sides.
- Fill the bowl to the manufacturer’s recommended level to prevent overflow; expect volume expansion in the last minutes of churn.
- If icy edges form, scrape them into the center mid-churn or strain those flakes out before packing to improve smoothness.
- For a softer scoop from the freezer, ripen slightly longer in a shallow, airtight container so the dairy and milk relax.
“Keep the base very cold, add acid last, and save mix-ins for the final moments.”
Following these swaps and checks keeps your batch consistent across recipes and prevents the usual problems that spoil texture or flavor.
Serving, Garnish, Storage, and Nutrition Notes
A few simple finishing touches elevate each scoop from casual to memorable. Serve chilled scoops in chilled bowls to slow melt and keep texture firm. For clean portions, dip your scoop in warm water, shake off excess, and glide through the surface; if the pint is very hard, let the container sit 10 minutes at room temp.
Garnish ideas
Bright accents: finish servings with fresh lemon zest for aroma or a sprinkle of crushed candies for crunchy contrast. A thin stream of sweetened condensed milk or a quick citrus syrup pairs well with tangy notes.
Storage tips
After churning, transfer the batch to an airtight, freezer-safe container and press parchment to the surface to cut down on ice crystals. Ripen 4–6 hours after machine churn; for the no-churn method, allow 8–10 hours after blending for a fully set texture.
- Use shallow pans or a metal loaf pan to speed setting and improve scoopability.
- Keep the container covered and enjoy within about a week for peak flavor and texture.
- Store in the coldest part of the freezer, not the door, to avoid temperature swings.
At-a-glance nutrition considerations
Per 1/2 cup serving expect roughly 289 calories, about 7 g protein, 47.7 g carbohydrates (including sugar), 1.6 g fiber, and ~7.7 g fat. A single cup of milk or extra cream will alter those numbers modestly.
“Plan ripening time carefully: 4–6 hours for churned batches and 8–10 hours for no-churn trays.”
For related variations and a lemon-curd cheesecake variation, see this specialty recipe.
Conclusion
Finish strong by choosing the method that fits your time and gear—both give bright citrus notes and smooth texture.
Lemon Drop ice cream Recipe, Churned batches deliver classic body: freeze the bowl 24–48 hours, chill the base, churn about 20 minutes, then ripen 4–10 hours. The no‑churn tray method mixes condensed milk, freezes 2 hours, blends, then sets 8–10 hours for scoopable results.
Control flavor with pure extract for steady notes or fresh zest and juice for brightness. Fold crushed candies at the end for crunch. Prep the mixture a day ahead, pack airtight, and enjoy within a week.
Serve in 1/2 cup portions, rest briefly before scooping, garnish with zest or seasonal fruit, and use a cold bowl or pan to speed setting. With common ingredients and simple tools, you can master this lemon ice cream for any summer gathering.


