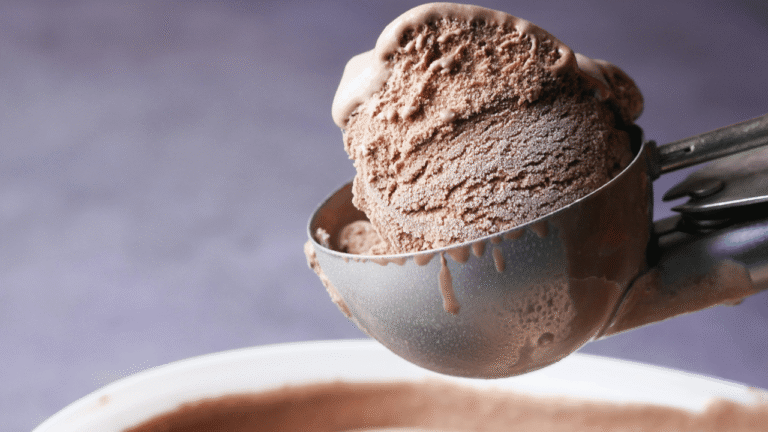
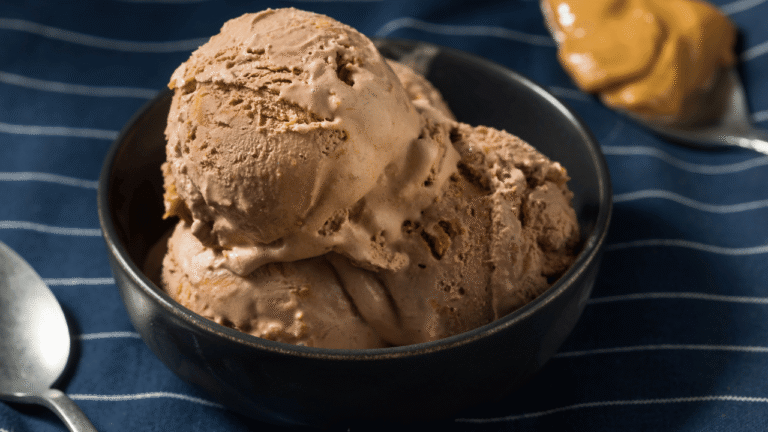
Craving a smooth, dairy-free dessert? Soy Ice Cream Recipe This introduction lays out two practical paths: a churned chocolate version for richness and a fast no-churn vegan method for busy days.
Many home cooks expect a silky texture, but low-fat plant milk can taste beany and freeze icy. We address that up front and show how chocolate, egg yolks, or melted refined coconut oil fix body and flavor without fuss.
The steps use common kitchen gear and simple ingredients. You’ll learn which milk choices boost body, how to manage chill time, and when to churn or freeze so results stay consistent.
Whether you want a classic churned treat or a hands-off freezer method, this guide promises clear directions, smart swap options, and quick troubleshooting so your first batch delivers great texture and balanced flavor.
Key Takeaways
- Two clear methods: churned chocolate for richness and a no-churn vegan option for ease.
- Fix beany notes by choosing thicker milk and using chocolate or fats for better body.
- Uses common kitchen tools and easy ingredients for reliable homemade ice cream.
- Plan chill and freeze time to fit weekday schedules and improve texture.
- Tips and troubleshooting included to help you get consistent, dairy-free results.
Homemade Soy Ice Cream
4
servings30
minutes40
minutes300
kcal1
hour10
minutesCreamy vegan ice cream with everyday ingredients.
Keep the screen of your device on
Ingredients
2 cups 2 soy milk
0.75 cup 0.75 sugar
1.5 teaspoons 1.5 vanilla extract
1 pinch 1 salt
2 tablespoons 2 cornstarch
Directions
- In a saucepan, combine 1.5 cups of soy milk and sugar, and heat on medium, stirring until sugar dissolves.
- Dissolve cornstarch in the remaining 0.5 cups of soy milk before adding to the saucepan.
- Continue heating and stirring until the mixture thickens slightly and coats the spoon.
- Remove from heat, add vanilla extract and salt, stir well, then let cool completely.
- Transfer mixture to a container, cover, and chill in refrigerator for at least 4 hours.
- Once chilled, pour the mixture into an ice cream maker and churn for 20-25 minutes.
- Transfer the ice cream to a freezer-safe container and freeze until firm, about 2 hours.
- Serve scoops of creamy soy ice cream in bowls or cones as desired.
Recipe Video
Nutrition Facts
- Total number of serves: 4
- Calories: 160kcal
- Cholesterol: 0mg
- Sodium: 30mg
- Potassium: 200mg
- Sugar: 18g
- Protein: 3g
- Calcium: 100mg
- Iron: 1mg
- Thiamin: 0.1mg
- Riboflavin: 0.05mg
- Niacin: 1mg
- Folate: 6mg
- Biotin: 0mg
- Phosphorus: 80mg
- Iodine: 0mg
- Magnesium: 20mg
- Zinc: 0.5mg
- Selenium: 2mg
- Copper: 0.1mg
- Manganese: 0.1mg
- Chromium: 0mg
- Molybdenum: 0mg
- Chloride: 50mg
Did you make this recipe?
Tag @https://www.instagram.com/ice_cream_haven/ on Instagram and hashtag it with #IceCreamIceCreamHavens
Like this recipe?
Follow @https://www.pinterest.com/Ice_Cream_Haven/ on Pinterest
Join our Facebook Group!
Follow https://www.facebook.com/icecreamhavens/ on Facebook
Why This Soy Ice Cream Recipe Works Right Now
You can get creamy results at home without specialty equipment or long waits. These methods answer the search intent for a quick, dairy-free dessert by using pantry staples and clear steps.
Two proven routes let you choose between speed and richness. The churned approach uses chocolate and egg yolks to add fat and body, which reduces iciness and masks beany notes. The no-churn vegan method emulsifies refined coconut oil into thicker plant milk, whips to stiff peaks, and folds with sweetened condensed base for smooth texture in about 4–6 hours of freeze time.
Why it works: low fat creates more ice crystals, so adding extra fat and solids gives a softer mouthfeel and better consistency. Soy protein and emulsification stabilize air bubbles during whipping or churning, improving texture and scoopability.
“Add a small touch of heat to melt chocolate or dissolve sugar—this helps the base blend evenly without splitting.”
Choose thicker, higher-quality Asian-style milk for cleaner flavor and more body. With minutes of active prep and a predictable chill and freeze timeline, these homemade ice cream approaches fit dinner plans and let you customize with strawberry ice swirls, mint, or cookie mix-ins once the base is stable.
For a full how-to and ingredient list, see this step-by-step guide.
Soy Ice Cream Recipe Ingredients, Tools, and Pantry Swaps
Small swaps and one or two reliable tools help you turn plant milk into scoopable, satisfying frozen dessert. Gather the staples before you start so prep flows smoothly.
Core ingredients differ by method. For the churned path, use richer soy milk creamer (~7% fat), melted chocolate, egg yolks, sugar, and vanilla extract. Xanthan gum is optional; if used, add it while blending to avoid lumps.
Core ingredients for each method
- Churned: richer soy milk or creamer, cocoa plus melted chocolate, egg yolks, sugar, vanilla extract (xanthan gum optional).
- No‑churn: blend 1 cup unsweetened soy milk with 1 cup melted refined coconut oil to make a neutral cream; chill, whip with powdered sugar and vanilla, fold in 3/4 cup vegan sweetened condensed milk and mix‑ins.
Equipment checklist
Have an ice cream maker or cream maker ready for churned batches. A stand mixer or whisk works for whipping the no‑churn version.
- A large mixing bowl and blender for emulsifying or adding xanthan gum.
- Freezer‑safe containers or a loaf pan for no‑churn storage; pre‑chill containers for churned batches.
- Measuring spoons (teaspoon and tablespoon) and one‑cup measures to keep proportions right.
Smart pantry swaps
Choose refined coconut oil to avoid coconut flavor unless you like that note. Favor thicker, higher‑quality Asian‑style soy milk for more body; boxed versions can be thin.
Tip: Cool churned mixture to about 40°F before spinning and fold chilled mix‑ins into pre‑chilled containers to protect texture.
Soy Ice Cream Recipe: Two Methods Step-by-Step
Follow two clear methods below to turn plant milk into a scoopable, chocolate-forward frozen treat. Each approach focuses on heat, fat, and temperature control so you avoid large ice crystals and keep flavor bright.
Churned chocolate method to reduce iciness and mask “beany” notes
Combine soy milk creamer, cocoa, and finely chopped unsweetened chocolate over moderate heat until it just begins to bubble. Whisk until glossy and unified so the mixture won’t seize.
Temper and whisk in egg yolks for extra fat and body that curb iciness and let chocolate mask beany notes. If you skip yolks, blend a tiny pinch of xanthan gum into the running blender to avoid lumps.
Rapidly chill the base to about 40°F before using the ice cream maker. Churn to soft‑serve stage, then move the batch to a pre‑chilled bowl and gently fold in chilled mix‑ins with a bowl scraper.
No-churn vegan method with soy milk “cream,” coconut oil, and condensed milk
The night before, warm soy milk for a minute or two, then blend it with melted refined coconut oil until the liquid turns white and silky. Refrigerate overnight so the emulsion firms.
Whip the chilled base with powdered sugar and vanilla extract until stiff peaks form. Fold in vegan sweetened condensed milk slowly to keep air and avoid deflating the mixture.
Stir in cookies or swirls, smooth into a loaf pan, cover, and freeze 4–6 hours until scoopable. For best texture, let homemade ice sit a few minutes at room temperature before serving.
Cooling, folding, and freezing timeline for best consistency
Time and temperature matter: cool the churned mixture to 40°F, churn until soft‑serve, and finish setting in pre‑chilled containers. No‑churn needs overnight chill plus 4–6 hours in the freezer.
“A few minutes of precise heating and whipping produce consistent results that rival store‑bought recipes.”
- Heat and whisk: minutes to create a stable chocolate mixture.
- Chill base: bring to ~40°F before running the maker or whipping.
- Freeze time: 4–6 hours for no‑churn; overnight to fully firm for both.
Soy Ice Cream Recipe Pro Tips for Texture, Flavor, and Consistency
Focus on fat, temperature, and gentle emulsification to lift mouthfeel and prevent icy bites. Small choices — yolks, chocolate, or neutral oil — do most of the heavy lifting for body and flavor.
Boost body with fat and solids
Add egg yolks in churned batches or refined coconut oil in the vegan path. Both reduce ice formation and give a dairy-like body that helps scoopability.
Cocoa and melted chocolate add solids that bind water and produce a denser, more satisfying bite.
When to use xanthan gum
If you still need a stabilizer, use a tiny fraction of a teaspoon. Always add xanthan while a blender is spinning to avoid lumps and keep the texture silky.
Temperature and timing control
Pre-chill your bowl, spoons, and containers. Chill bases to about 40°F before churning. Respect a 4–6 hours freeze window for first-day serving.
“Cool quickly, handle gently, and avoid large temp shocks when adding melted chocolate.”
Choosing the right milk
Pick thick, high-quality Asian-style soy milk for cleaner flavor and better structure. Many boxed milks are thinner and yield more iciness.
- Keep active prep to a few focused minutes so you don’t overwork the base.
- Balance sugar to lower freezing point without making the scoop too sweet.
- Store covered and cold to preserve consistency across servings.
Flavor Variations, Mix-Ins, and Serving Ideas
A few smart additions lift texture and bring bold flavor to every scoop.
Classic twists
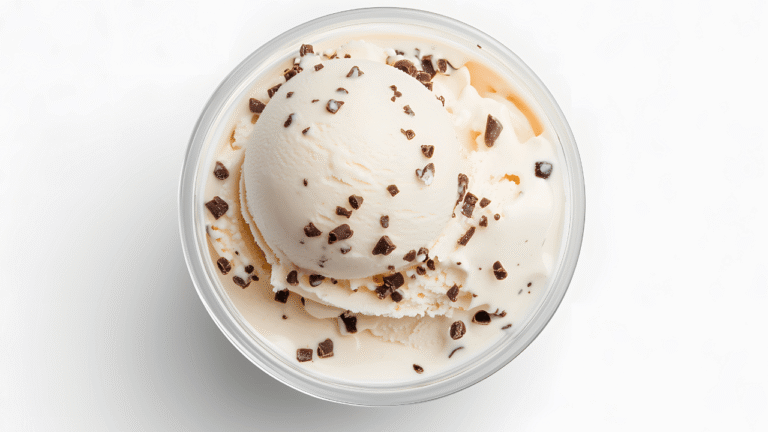
Go classic with vanilla bolstered by vanilla extract, fold in ribbons of strawberry swirls, or keep it simple with chocolate chip for reliable crowd-pleasers.
Creative add-ins
Add texture by folding vegan cookie dough pieces, brownie chunks, chopped pretzels, or a cup of mini chocolate chips into a no‑churn base. For even layering, half-fill a loaf pan, add mix-ins in the middle, then top with more before freezing.
Sauces and toppings
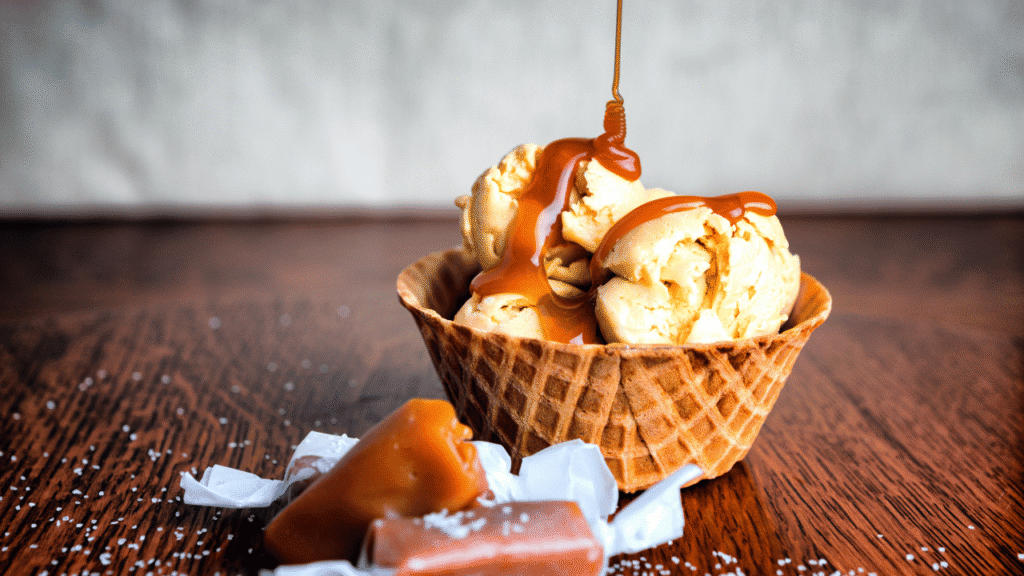
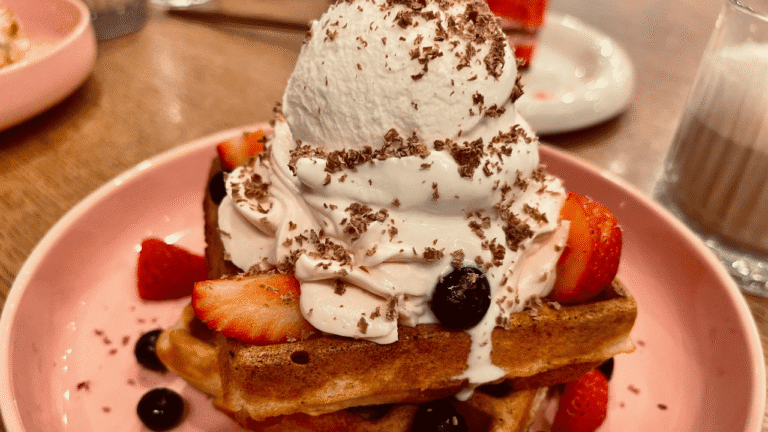
Drizzle vegan hot fudge or salted caramel and crown with vegan whipped cream for a sundae feel. Try a pinch of salt or a touch of instant espresso to deepen chocolate flavors without extra sugar.
“Layer mix-ins after half-filling the pan to ensure even bites in every serving.”
Storage and scooping
- Use a freezer-safe container with a tight lid; press parchment on the surface to limit ice exposure.
- Freeze 4–6 hours in a pan for best no‑churn texture; rest the tub a few minutes at room temp before scooping.
- Keep refined coconut oil in no‑churn bases for neutral flavor; choose unrefined only if you want coconut notes.
Want the full how-to for a soy milk base and more flavor combos? See this soy milk ice cream guide for details.
Conclusion
Finish strong, and follow the small steps that lock in texture and flavor. Cool churn bases to about 40°F, pre-chill your bowl and tools, and respect a 4–6 hour freeze for scoopable results.
Two reliable paths let you choose: a churned chocolate approach with egg yolks for body, or a no‑churn method that emulsifies milk with refined coconut oil and folds in vegan condensed milk.
Pick quality milk and neutral oil, track tablespoon amounts for repeatable pints, and keep a cream maker or mixer handy. These small controls reduce ice formation, boost chocolate or vanilla flavor, and help you enjoy a balanced dessert with added protein. Save notes, tweak sugar to taste, and repeat what works.

