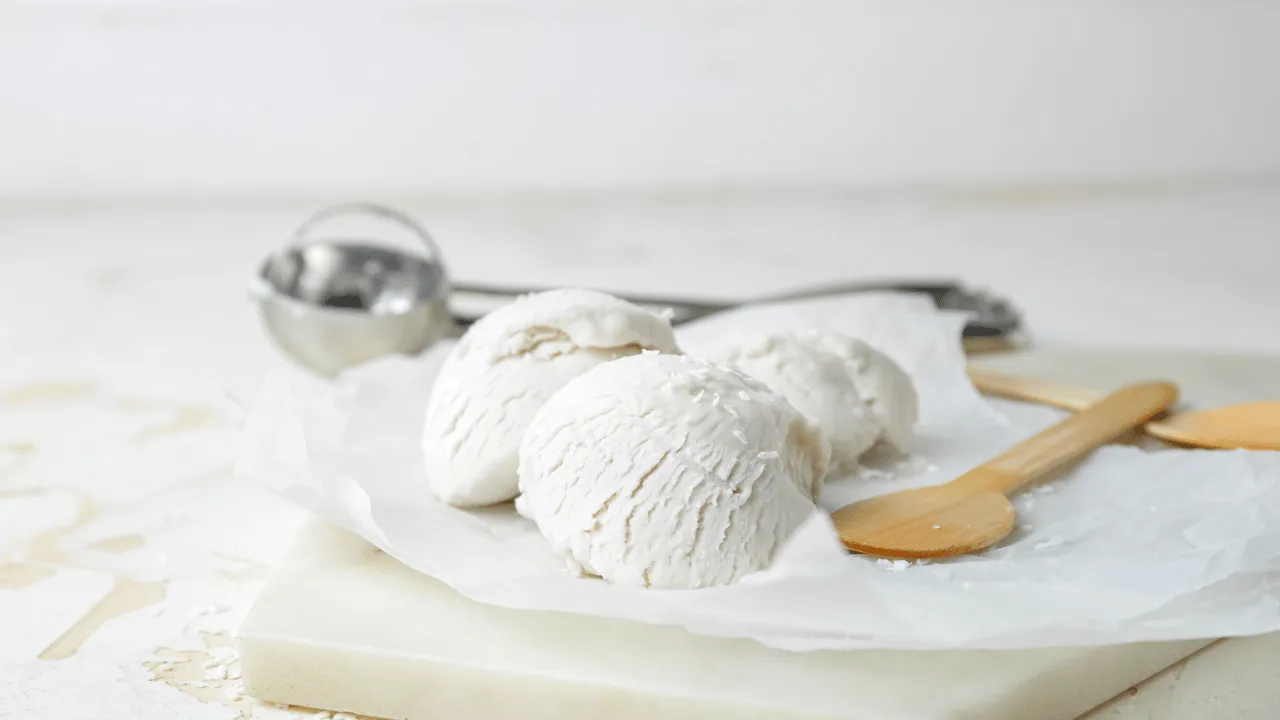
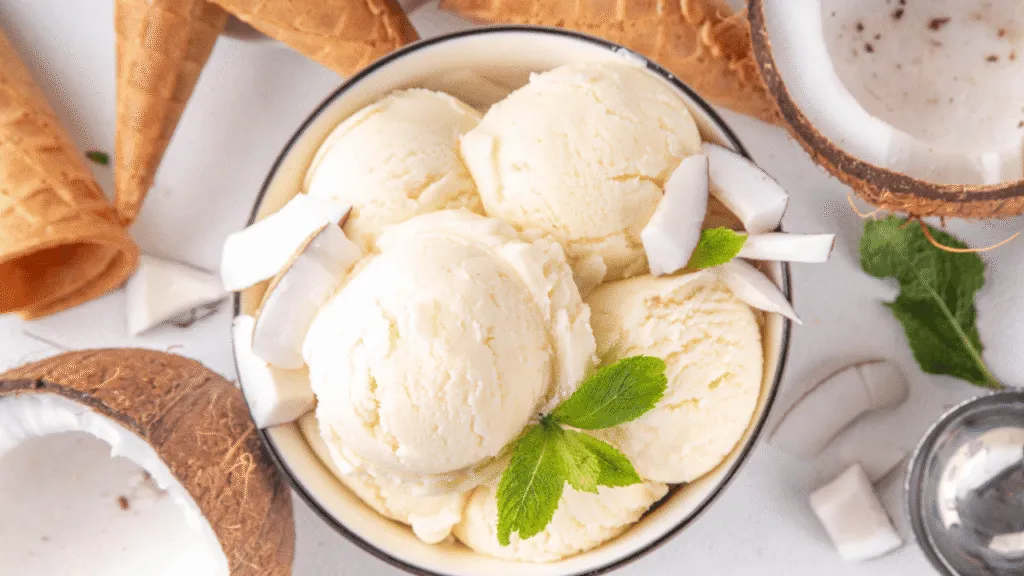
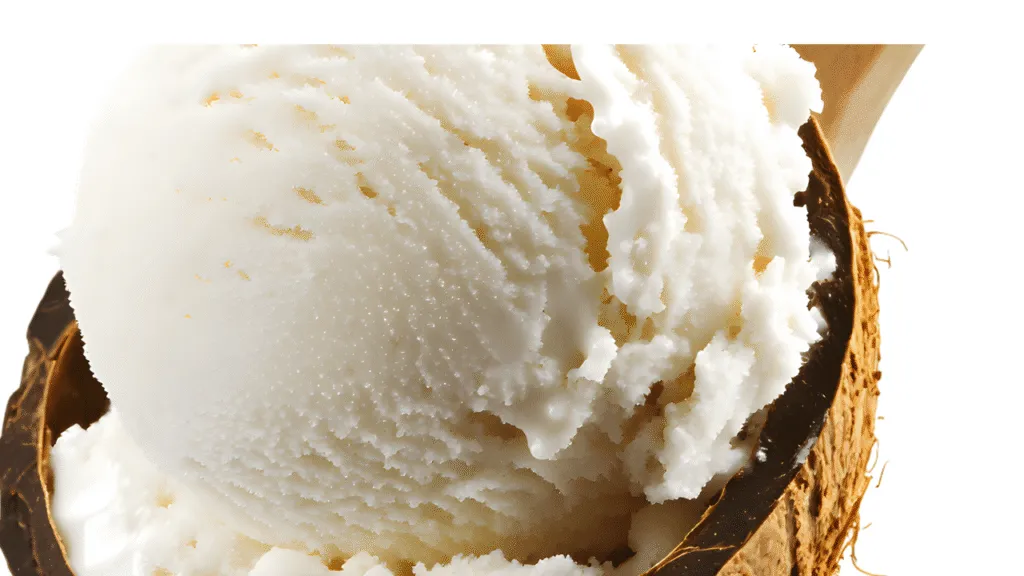
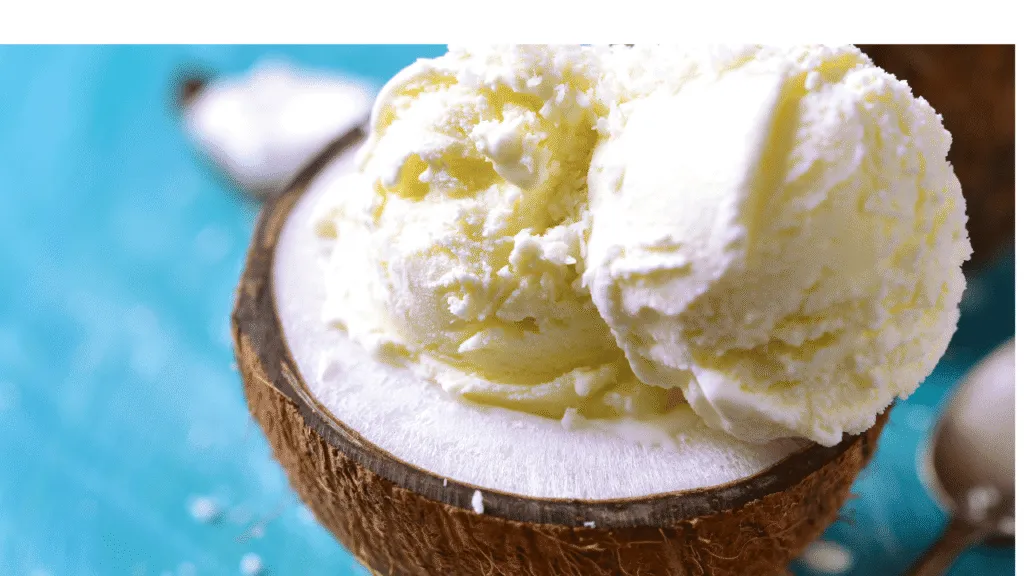
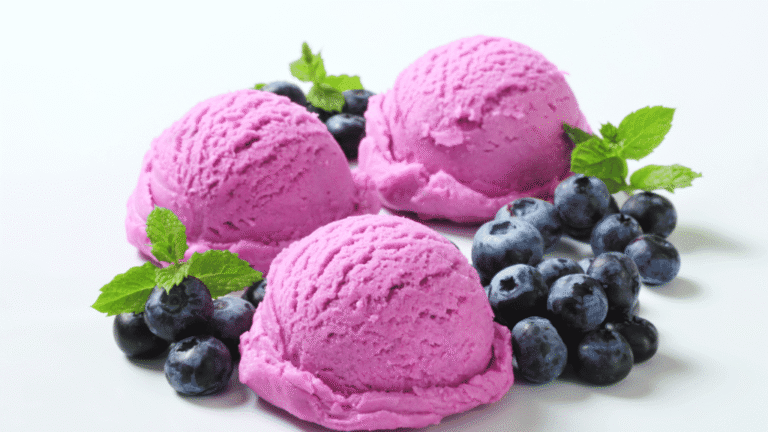
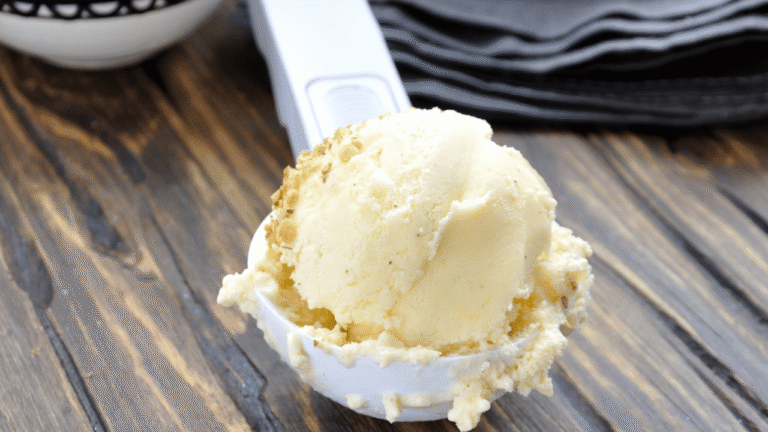
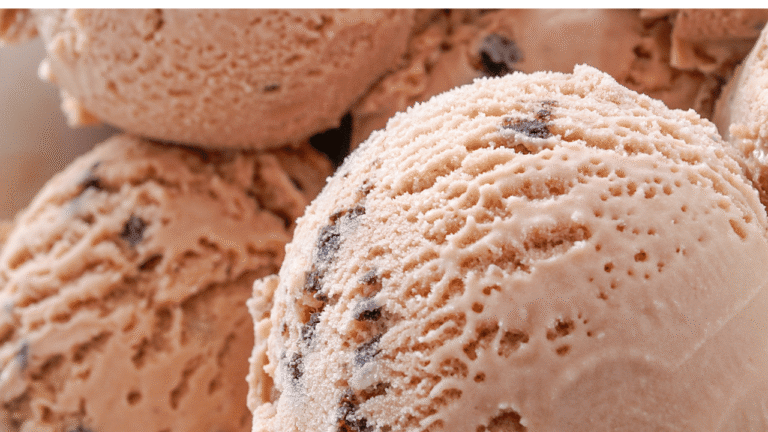
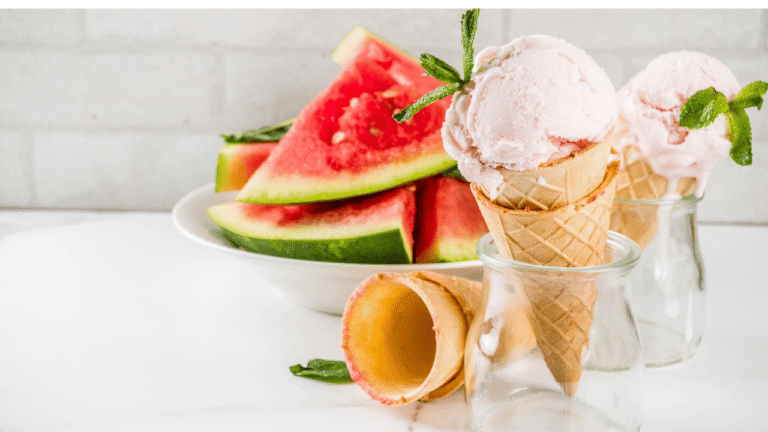
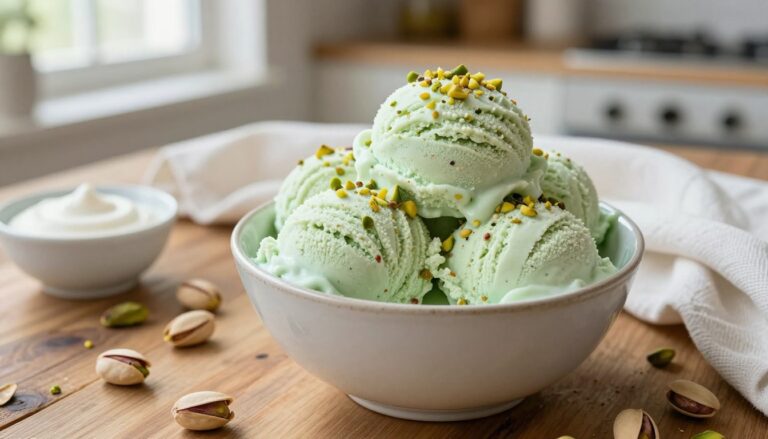
Make a rich, dairy-free frozen dessert Coconut Ice Cream Recipe at home with just a few pantry staples and one reliable technique. This method uses full-fat canned milk for a silky body, a sweetener like sugar or maple syrup, a pinch of salt, and pure vanilla extract to balance flavor.
The process is simple. Chill and churn the base in an ice cream maker, or freeze the mixture in trays and blend for a no-machine version. Freshly made batches are at their best the day you scoop them, but they keep for a few weeks in the freezer. If too firm, let the pint sit about 15 minutes to soften before serving.
Beginners will find this approachable. You control sugar, skip stabilizers, and choose mix-ins like cocoa, coffee, peanut butter, berries, or a salted caramel swirl. Trusted canned brands such as Thai Kitchen, Goya, Chaokoh, Native Forest, and Whole Foods 365 deliver consistent results.
Gather a mixing bowl, a measuring cup, and either an ice tool or a high-speed blender to move from prep to scoopable minutes smoothly.
Key Takeaways
- Use full-fat canned milk for best texture and body.
- Sweetener, salt, and vanilla extract create a balanced base.
- Churn with a machine or use frozen cubes and a blender for no-churn.
- Serve fresh for peak texture; thaw ~15 minutes if too firm.
- Try variations: chocolate, coffee, peanut butter, strawberry, or salted caramel.
- Trusted brands: Thai Kitchen, Goya, Chaokoh, Native Forest, Whole Foods 365.
Coconut Ice Cream
6
servings2
hours30
minutes200
kcal2
hours30
minutesDelicious keto-friendly coconut ice cream with everyday ingredients.
Keep the screen of your device on
Ingredients
2 cups 2 full-fat coconut milk
1/2 cup 1/2 erythritol sweetener
1 tablespoon 1 vanilla extract
1/4 teaspoon 1/4 salt
4 large 4 egg yolks
Directions
- In a medium saucepan, combine 1.5 cups of coconut milk, erythritol, vanilla extract, and salt. Heat over medium heat, stirring occasionally until sweetener dissolves.
- In a bowl, whisk the remaining 1/2 cup coconut milk with the egg yolks until well combined and smooth.
- Gradually pour a small amount of the hot coconut milk mixture into the egg yolks, whisking constantly to temper the eggs.
- Return the tempered egg yolk mixture to the saucepan and cook over medium heat, stirring constantly, until the mixture thickens enough to coat the back of a spoon.
- Remove the mixture from heat and strain it into a bowl to remove any cooked egg bits for smooth texture.
- Cover the bowl with plastic wrap directly touching the surface of the mixture to prevent skin from forming and let it chill in the refrigerator for at least 2 hours.
- Pour the chilled mixture into an ice cream maker and churn according to the manufacturer's instructions, usually around 20 minutes.
- Transfer the ice cream to an airtight container and freeze for at least 2 hours, or until firm enough to scoop.
- Before serving, let the ice cream sit out for a few minutes to slightly soften.
Recipe Video
Nutrition Facts
- Serving Size: 1g
- Total number of serves: 6
- Calories: 200kcal
- Fat: 20g
- Saturated Fat: 18g
- Trans Fat: 0g
- Polyunsaturated Fat: 0g
- Monounsaturated Fat: 1g
- Cholesterol: 135mg
- Sodium: 125mg
- Potassium: 50mg
- Carbohydrates: 5g
- Fiber: 1g
- Sugar: 0g
- Protein: 3g
- Vitamin A: 100IU
- Vitamin C: 0mg
- Calcium: 10mg
- Iron: 0mg
- Vitamin D: 0mg
- Vitamin E: 0mg
- Vitamin K: 0mg
- Thiamin: 0mg
- Riboflavin: 0.1mg
- Niacin: 0mg
- Vitamin B6: 0mg
- Vitamin B12: 0.5mg
- Folate: 10mg
- Biotin: 0mg
- Pantothenic Acid: 1mg
- Phosphorus: 50mg
- Iodine: 0mg
- Magnesium: 20mg
- Zinc: 0mg
- Selenium: 10mg
- Copper: 0mg
- Manganese: 0.3mg
- Chromium: 0mg
- Molybdenum: 0mg
- Chloride: 0mg
Did you make this recipe?
Tag @https://www.instagram.com/ice_cream_haven/ on Instagram and hashtag it with #IceCreamIceCreamHavens
Like this recipe?
Follow @https://www.pinterest.com/Ice_Cream_Haven/ on Pinterest
Join our Facebook Group!
Follow https://www.facebook.com/icecreamhavens/ on Facebook
Why this homemade coconut ice cream is worth it right now
A quick at-home method gives you lush, scoopable results without mystery additives.
Make better-tasting frozen treats for less. Homemade versions cost less per serving than premium pints and let you dial sweetness to taste. You can skip corn syrup, gums, and stabilizers while keeping a rich, silky texture.
Learn two reliable paths to success: churn with an ice cream maker for classic aeration, or use a no-machine approach by freezing the base in trays and blending. Both methods deliver a creamy mouthfeel when you manage fat, liquid sugar, and freezing steps.
What you’ll learn: creamy results with or without an ice cream maker
- Value: better flavor and cost per serving than many store brands.
- Control: choose sweeteners and omit unwanted stabilizers.
- Flexibility: add a chocolate boost with 1/4 cup cocoa or 2 tsp instant coffee for a café-style twist.
- Convenience: a few active minutes, then freeze — fits into a busy weeknight.
“Homemade is fresher, more aromatic, and tailored to your dietary needs.”
Ingredients and equipment for a silky coconut ice cream base
A well-built base is the single best step toward a silky frozen dessert. Start by gathering full-fat canned coconut milk and, if you want extra richness, add a few tablespoons of canned coconut cream. Avoid lite varieties and refrigerated beverage cartons; they lack the fat needed for a smooth texture and often freeze gritty.
Essential ingredients: full fat canned coconut milk for structure, optional coconut cream for richness, vanilla for aroma, a pinch of salt, and your preferred sugar for balanced sweetness.
- Why full fat matters: higher fat stabilizes ice crystals and keeps the base scoopable.
- Gums vs gum-free: products with guar or xanthan smooth the body; pure cream may be slightly more textured but cleaner tasting.
- Sweetener choices: granulated sugar firms texture; maple or honey softens it slightly.
Tools: use an ice cream maker for classic aeration, a high-speed blender for no-churn convenience, or the Ninja Creami for advanced finishing. Measure by the cup—1 to 2 cups full-fat milk plus 1/4 to 1/2 cup cream is a good small-batch starting point.
Dialing in this base sets you up for reliable results across many ice cream recipes. For more guidance on a tested coconut ice cream base, see our linked guide.
coconut ice cream recipe: step-by-step instructions
Follow these clear steps to turn pantry staples into a silky frozen dessert. Start by stirring together 1 1/2 cups canned coconut milk, 1/2 cup additional milk, 1/3 cup sweetener, 1/8 tsp salt, and 1 1/2 tsp pure vanilla extract until the mixture is homogeneous.
- Chill the base well, then pour into your ice cream maker and churn per manufacturer directions.
- Churning usually takes 15–30 minutes depending on the machine and batch size.
- Transfer to a chilled container, press parchment on top, and freeze 2–4 hours for a firmer set.
No-churn method: freeze in ice cube trays, then blend
- Pour the mixture into trays and freeze solid for several hours.
- Blend cubes on high, pausing to scrape down until smooth; enjoy soft-serve or freeze for firmer scoops.
- For a chocolate twist, whisk in 1/4 cup cocoa before freezing so the flavor is fully mixed.
Make sure to clean machine parts promptly to keep performance and store the pint in a tight container in the freezer until serving.
Ninja Creami Coconut Ice Cream Recipe method for ultra-creamy texture
A Ninja Creami transforms a well-balanced base into an ultra-smooth frozen treat in minutes. Start by whisking 175–200 g full fat coconut cream with 175–200 g coconut milk, 80–100 g sweetened condensed coconut milk, a pinch of salt, and optional vanilla extract.
Mix composition: balancing fat, milk, and liquid sugar
Full fat coconut cream supplies structure, while the milk adjusts body. The sweetened condensed coconut milk acts as liquid sugar to bind water and reduce iciness.
Freeze, spin, and respin for a smooth finish
Pour the mixture into a 470 ml Creami tub, fill just under the line, and freeze with the lid off for 12–24 hours.
Let the tub sit at room temperature about 10 minutes before processing. Run the ice cream function, then respin as needed until the texture is cohesive and creamy. Do not add liquid on a powdery first pass—respin instead.
Troubleshooting powdery or icy textures
- Gums (guar/xanthan) in commercial coconut products often yield a silkier mouthfeel; pure products may feel slightly gritty.
- If crumbly after one spin, respin 1–2 times; if still dry, wait a few minutes and try again rather than adding milk.
- Choose condensed brands that list coconut milk and sugar first; Pandaroo is a strong pick in Australia. Avoid Coles Nature’s Kitchen for splitting issues.
Tip: Use a clean, scratch-free container to ensure even freezing and consistent spins.
Pro tips to maximize creaminess and perfect texture
Small changes in balance and timing make the biggest difference to final texture. Adequate fat plus the right amount of sugar depresses the freezing point and limits ice crystal growth. That prevents an icy or greasy mouthfeel in the finished batch.
Fat-to-sugar balance
Aim for enough fat and a touch of liquid sugar. Use full fat canned milk and consider a portion of liquid sweetener to keep the body soft and scoopable. Gums in some products add stability; gum-free bases may be slightly more textured but still tasty.
Full-fat canned milk only
Make sure to avoid lite or refrigerated beverage cartons. They lack the fat needed to support a smooth base and often freeze thin and grainy.
Thaw time and scooping
Homemade coconut ice cream is creamiest the same day. For stored pints, let a covered container sit at room temperature about 10–15 minutes before scooping. Use a warmed scoop and gentle motions to preserve air and texture.
Storage guidelines
Serve fresh when possible. Press parchment onto the surface, seal flat in a tight container, and freeze. Quality is best within a few weeks; thaw several minutes to reach a creamy consistency before serving.
- Chill the base thoroughly before using an ice cream maker or cream maker to ensure even freezing.
- Do not overfill tubs; leave room for expansion and aeration during churning.
- Low‑FODMAP tip: choose lighter canned milk and limit condensed coconut portions per serving.
“Simple handling and the right composition are the secret to a silky, scoopable result.”
For a dairy- and sugar-free option and further guidance on non-dairy techniques, see our dairy- and sugar-free guide.
Flavor variations, mix-ins, and serving ideas
One base, endless twists: here are dependable flavors and serving ideas to try.
Chocolate, coffee, peanut butter, strawberry, and salted caramel twists
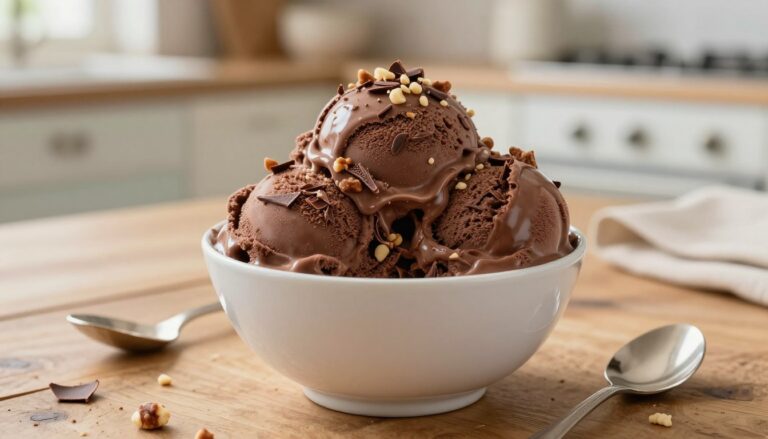
Chocolate: add 1/4 cup cocoa to the base and taste; reduce sugar slightly if you prefer bittersweet notes.
Coffee: stir in 2 teaspoons instant coffee for a café-style lift that plays well with vanilla.
Peanut butter: blend 1/4 cup nut butter into the base for a rich, nutty finish.
Strawberry: puree 1 cup berries into the mix and omit the extra 1/2 cup milk to keep the texture thick and scoopable.
Salted caramel: swirl in coconut caramel after churning or blending, then finish with a light sprinkle of sea salt.
Stir-ins and toppings
- Fold in chocolate chips, shaved chocolate, or small eggless cookie dough pieces at the end to keep texture intact.
- Layering in the freezer: add a thin layer of base, sprinkle mix-ins, and repeat for even distribution in pints.
- Serve with warm brownies, grilled pineapple, or a dusting of toasted flakes for contrast.
Dairy-free and lower‑FODMAP considerations
All variations remain dairy free and coconut-forward. For lower‑FODMAP needs choose light canned milk and limit condensed coconut portions per serving.
Portion control: keep richer swirls and dense mix-ins modest to stay within thresholds while maintaining texture.
“Use the ratios here as a template: adjust sugar when adding bitter cocoa or strong coffee to keep the final scoop balanced.”
Conclusion
Keep it simple: start with full‑fat canned milk, a balanced sweetener level, vanilla, and a pinch of salt to form a dependable base.
Choose your path: churn, use frozen cubes and a blender, or follow the Ninja Creami workflow to reach smooth texture with minimal minutes of hands‑on time.
Manage fat and sugar for scoopability, and let a sealed pint sit about 15 minutes before serving. Fold in mix‑ins by the cup and try chocolate or strawberry twists while keeping base ratios intact.
Practical tip: pantry staples and flexible equipment deliver premium results without the premium price. Store tightly with parchment on top, thaw briefly, then scoop.
Bookmark this post, share your favorite variation, and keep this guide for year‑round frozen treats.


